0
$\begingroup$

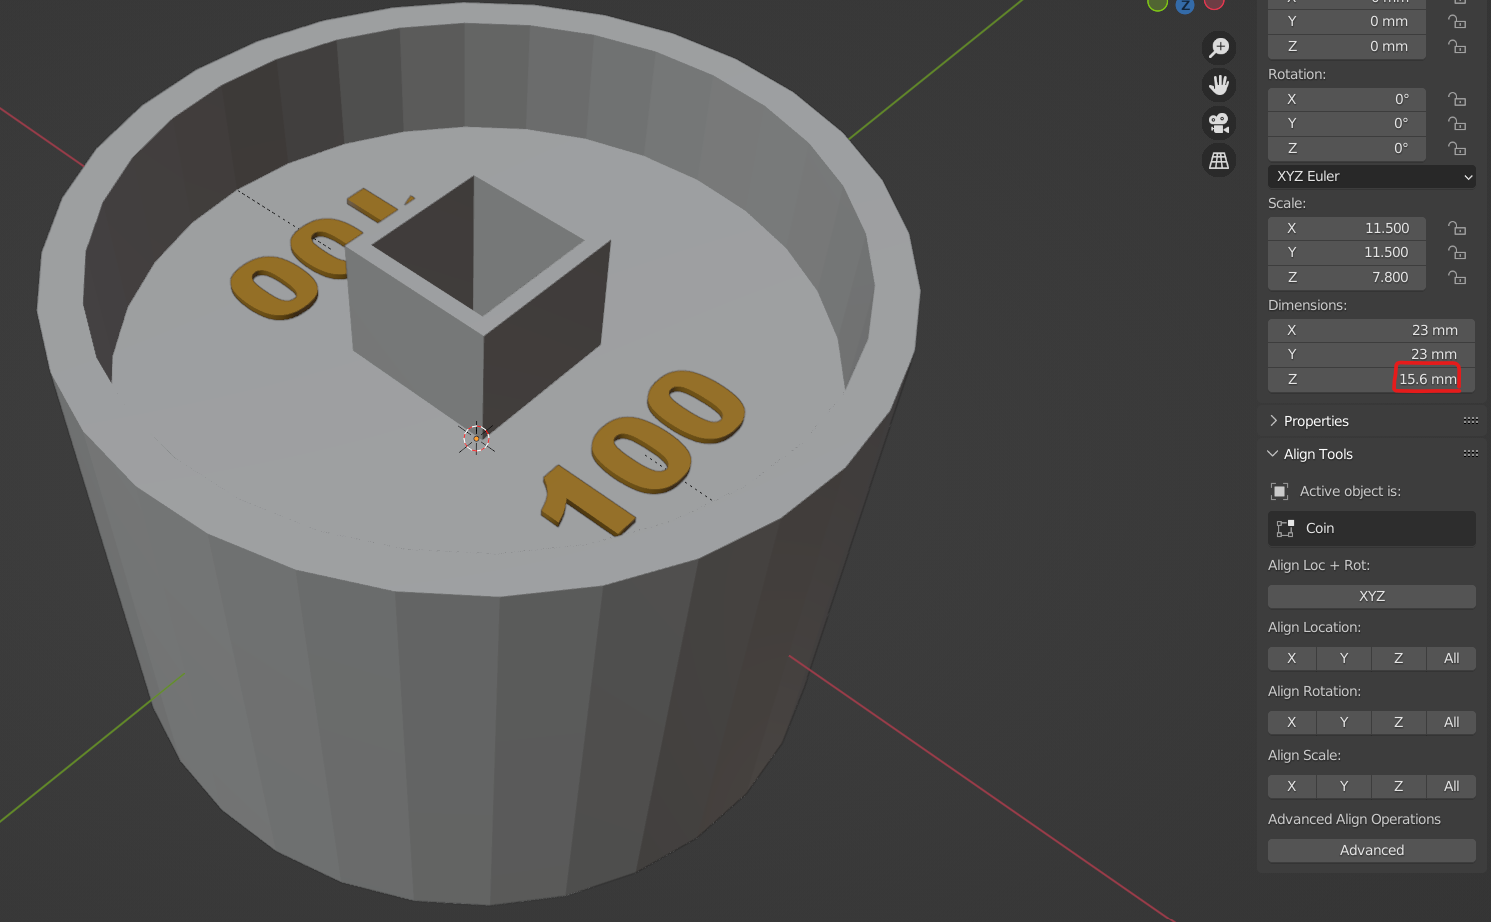
I have the attached object. Initially to achieve the depressed centre of the coin I extruded it (when it was initially just a cylinder). Now I want to resize it so that the coin is thicker, i.e. increase its Z axis dimension from 1mm to more. However I want the extruded part to remain just slightly depressed. If I just increase the Z axis dimension the central depression scales appropriately but I want it to remain the same, absolute value.

How can I do that?

EDIT:
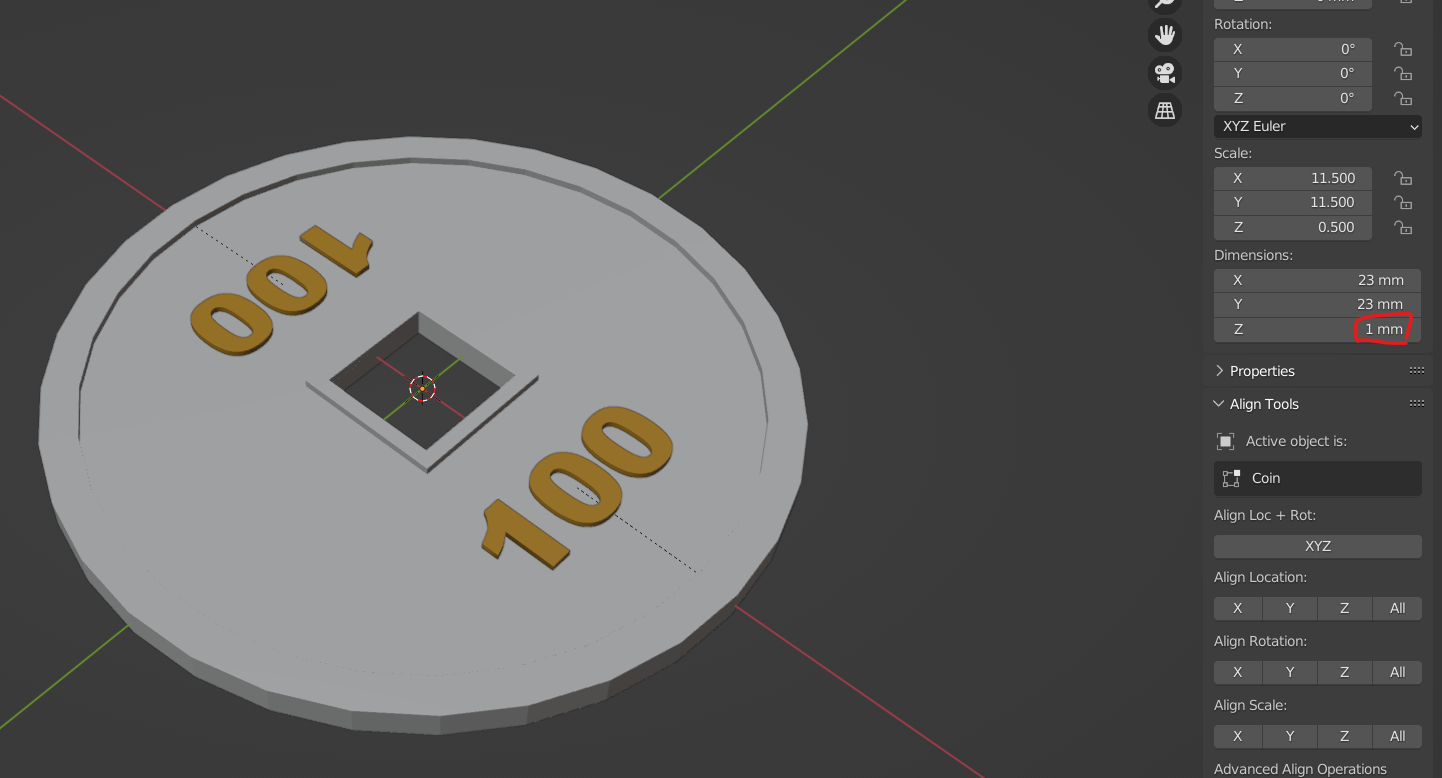
Clarification

Currently I have this: enter image description here

if I increase the Z dimension like so: enter image description here

the coin becomes very ugly.
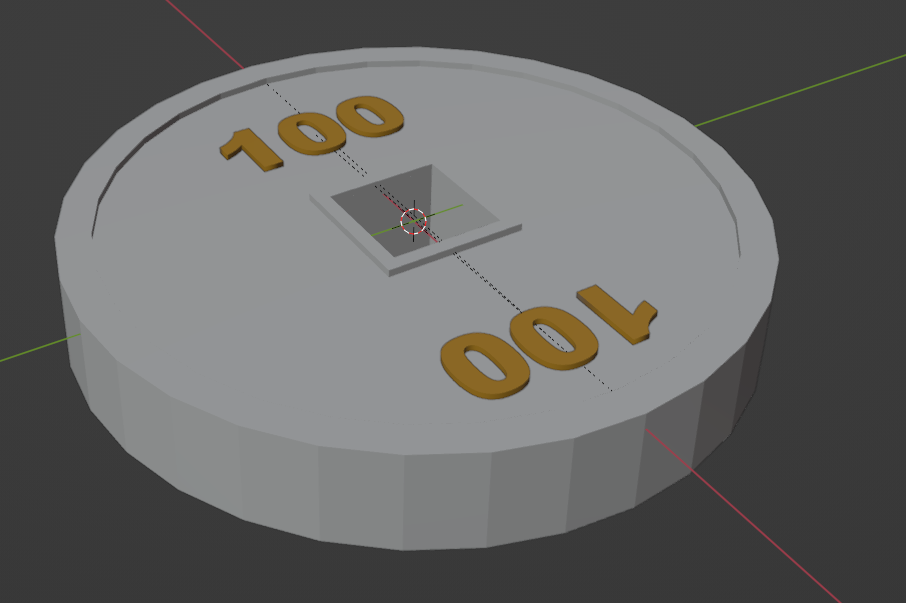
I would, instead, like for something like this to happen: enter image description here

I.e. increase thickness but keep the depression of the face the same.

$\endgroup$
4
  • $\begingroup$ With all due respect. I've looked at your .blend file. From your question it is hard for me to understand what you want to do. Do you want to increase the overall thickness of the coin maintaining the current distance relationship between the face and the edge of the square in the center and the outer lip? If that is what you want to do, one problem is that the scale of the object is not set to 1.0 and even though it shows that it is now 1 mm thick overall, it is actually 2 mm thick. Setting the scales to 1.0 will give you the 1 mm thickness, but move your text off of the coin. Continued... $\endgroup$
    – curious_1
    Commented May 3, 2023 at 6:30
  • $\begingroup$ I don't know what you would have to do to relocate the text. Just an additional thought: is any change you make to the thickness going to be noticeable in whatever you plan to use this for? Is someone going to be able to see a difference between the coin now and what I imagine would be some small increase in thickness? Being "exactly" dimensionally accurate might not be worth the extra work. $\endgroup$
    – curious_1
    Commented May 3, 2023 at 6:30
  • 1
    $\begingroup$ @curious_1, completely understand, I've added clarifying edits. I will be using the model for 3D printing, so it's not the end of the world if I can't set the real dimensions in the file but would prefer to do so if what I want to achieve won't take too much time/effort, as it would make it easier than having to instruct 3D printer guys to change the different scales. $\endgroup$
    – Clueless
    Commented May 3, 2023 at 21:29
  • $\begingroup$ Here is a revised answer. I hope it does what you want. $\endgroup$
    – curious_1
    Commented May 6, 2023 at 7:28

2 Answers 2

1
$\begingroup$

I significantly revised this answer. I thought of a few things that are much easier to do since writing it originally.

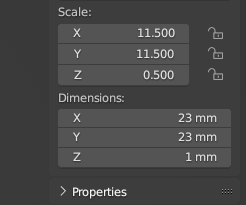
When your .blend file opens, these are the Scale and Dimensions of your coin:
enter image description here

This is the coin in Edit mode, note the edge length on the inside corner of the square and on the outside edge of the lip:
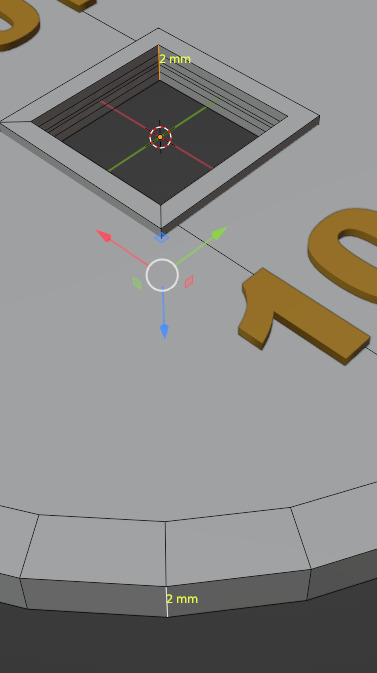
enter image description here

Before applying scale to this, note the X axis location of the text. This will be important later:
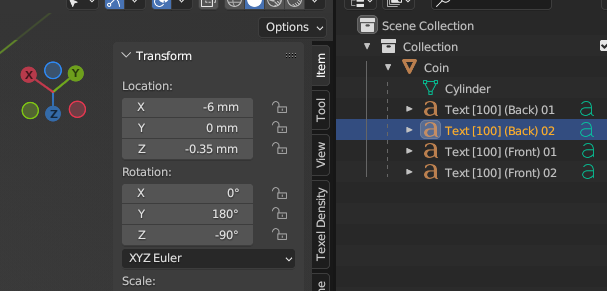
enter image description here

You have it set either + or - depending on which side of center it is.

Selecting everything and using Ctrl->A->Scale to apply a 1.0 scale, this is the result:
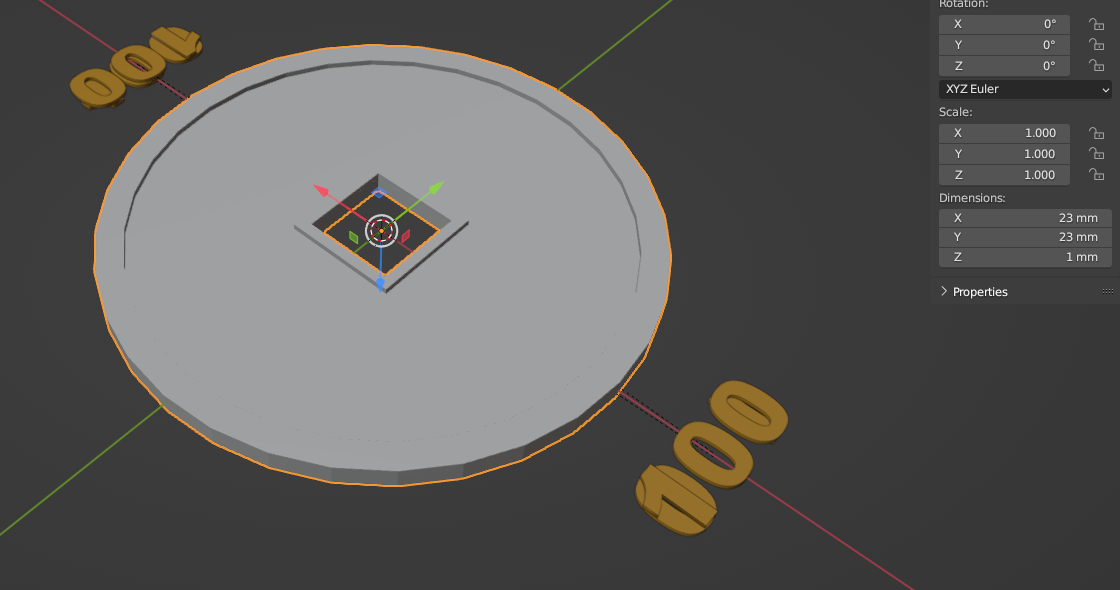
enter image description here

In Edit mode the above edge dimensions are now:
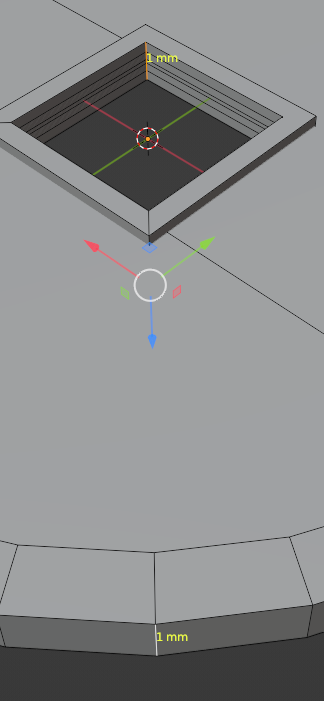
enter image description here

This is the dimension between the face and the edge:
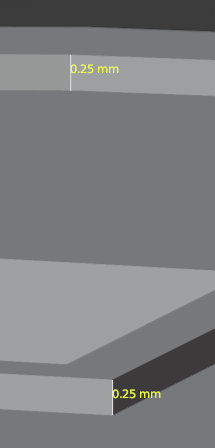
enter image description here

If you, for example, set the Z dimension to 2 mm and apply scale, the distance between the face and the edge becomes:
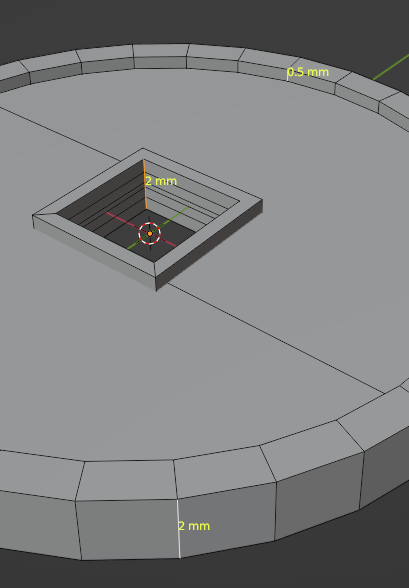
enter image description here

I am not clear on if you want to maintain the .25 mm between the face and the edge, or maintain the proportion between the edge and the face after changing the thickness. If you want to maintain .25 mm, select the faces and with these settings for Transform Pivot Point and Snapping, G->Z:
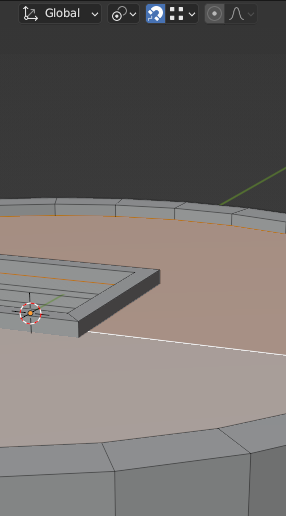
enter image description here

You will then have:

enter image description here

In this case, with the faces selected, G->Z .25 will then give you the desired distance for this side of the coin:
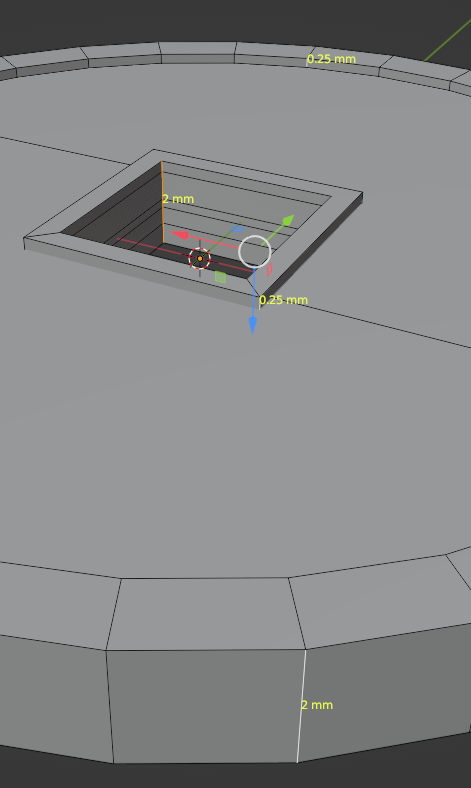
enter image description here

To relocate the text, note the new X dimension:

enter image description here

For that selected text, enter the dimension you noted above. In this case -6 mm. The result:
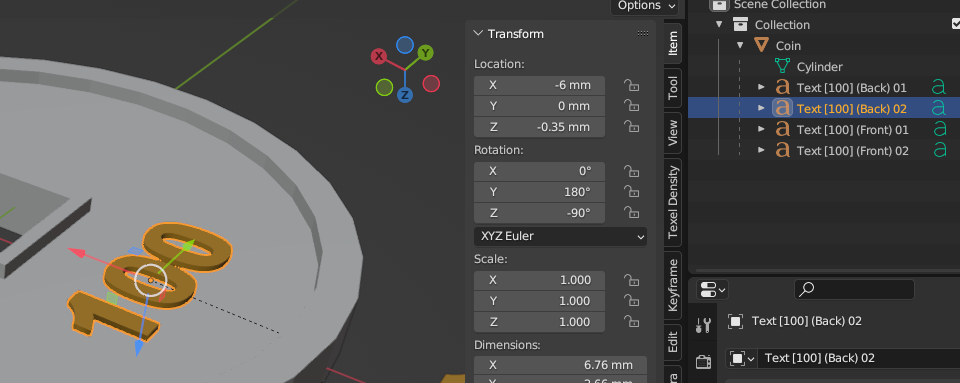
enter image description here

This works with either the .25 mm depth, or a proportionally scaled depth.

If you're using the .25 mm depth, repeat the last three steps for the face on the other side of the coin, using G->Z -.25.

The end result:
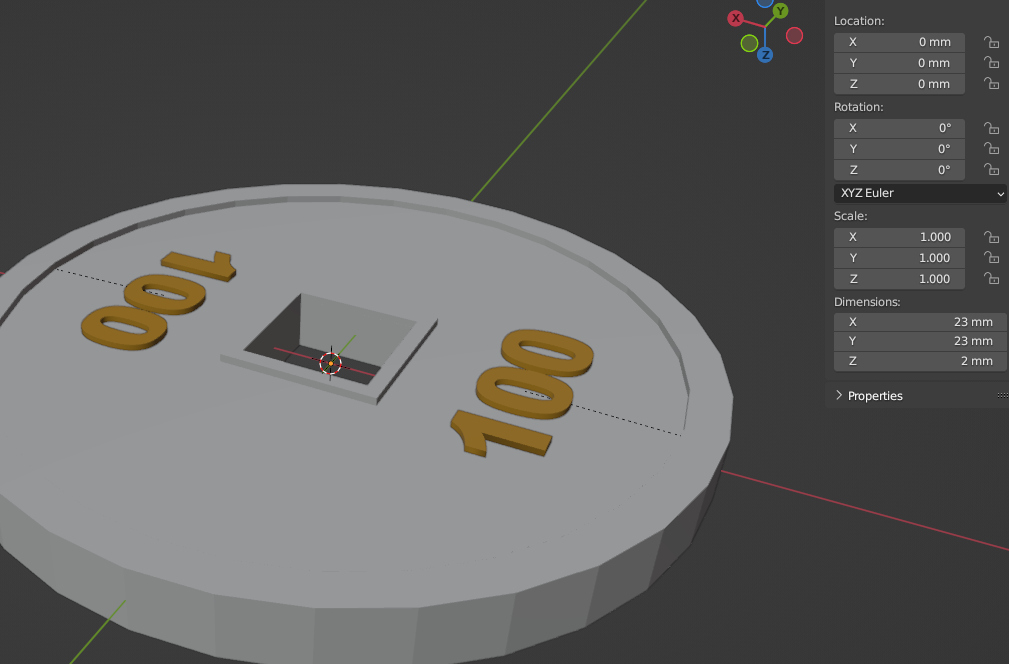
enter image description here

$\endgroup$
6
  • $\begingroup$ Superb, very detailed and amazing answer! Yes, I wanted to keep the 0.25 distance from the edge. I followed your instructions and everything is fine, now. Although I am curious why the faces on one side of the coin were snapping with your settings but on the other they weren't, with the same settings. Also, how did you show distances in your screenshots? $\endgroup$
    – Clueless
    Commented May 6, 2023 at 22:33
  • $\begingroup$ I just now tried snapping the faces of each side and I didn't have any problem. I don't know why one side wouldn't snap for you. To show the edge lengths, see this answer that explains it nicely: blender.stackexchange.com/questions/147250/… In the case of your coin, using that method, I selected the inside edge of the square and an edge on the lip. To show the distance between the face and the lip edge I selected a vert on the face and extruded it E->Z snapping it to a vert on the lip. Continued... $\endgroup$
    – curious_1
    Commented May 7, 2023 at 2:09
  • $\begingroup$ Then in edge select mode, selected that edge and P->Selection to make it a separate object. The square to face, I selected a vert on the square and in face project snapping mode E->Z snapping it to the face. Then separated it. I used the method in the referenced answer to show the lengths of these edges. With the three objects selected and in Edit mode all the dimensions then displayed. $\endgroup$
    – curious_1
    Commented May 7, 2023 at 2:10
  • 1
    $\begingroup$ Just a quick update on the snapping: I didn't realise it was snapping to vertices and got lucky on one side while on the other my mouse didn't go over any vertices, which gave me the above impression. $\endgroup$
    – Clueless
    Commented May 7, 2023 at 16:19
  • $\begingroup$ I had to put trying to figure this to a pause and returned to it today. If I follow your steps I really do get 0.25 depth but changing the thickness of the coin, again does not keep the 0.25 depth but scales it appropriately. I.e. if I increase the thickness from 1mm to 2mm, the depth becomes 0.5. $\endgroup$
    – Clueless
    Commented May 19, 2023 at 11:22
0
$\begingroup$

Go to Edit mode and select upper side of the coin. Then press GZ and input 1mm followed by Enter

This way you get your coin thicker while depressed centre remains the same.

$\endgroup$
2
  • $\begingroup$ Some explanation of this instruction would make the answer nicer. $\endgroup$ Commented May 2, 2023 at 3:04
  • $\begingroup$ When in "Edit mode", I assume you want me to set it to "Faces" and I assume when you say "select upper side of the coin" you mean select the two faces of the depressed part? If so, pressing G then Z and inputting anything doesn't matter - it still behaves the same as before. I.e. depressed centre does not stay the same. $\endgroup$
    – Clueless
    Commented May 2, 2023 at 19:07

You must log in to answer this question.

Not the answer you're looking for? Browse other questions tagged .