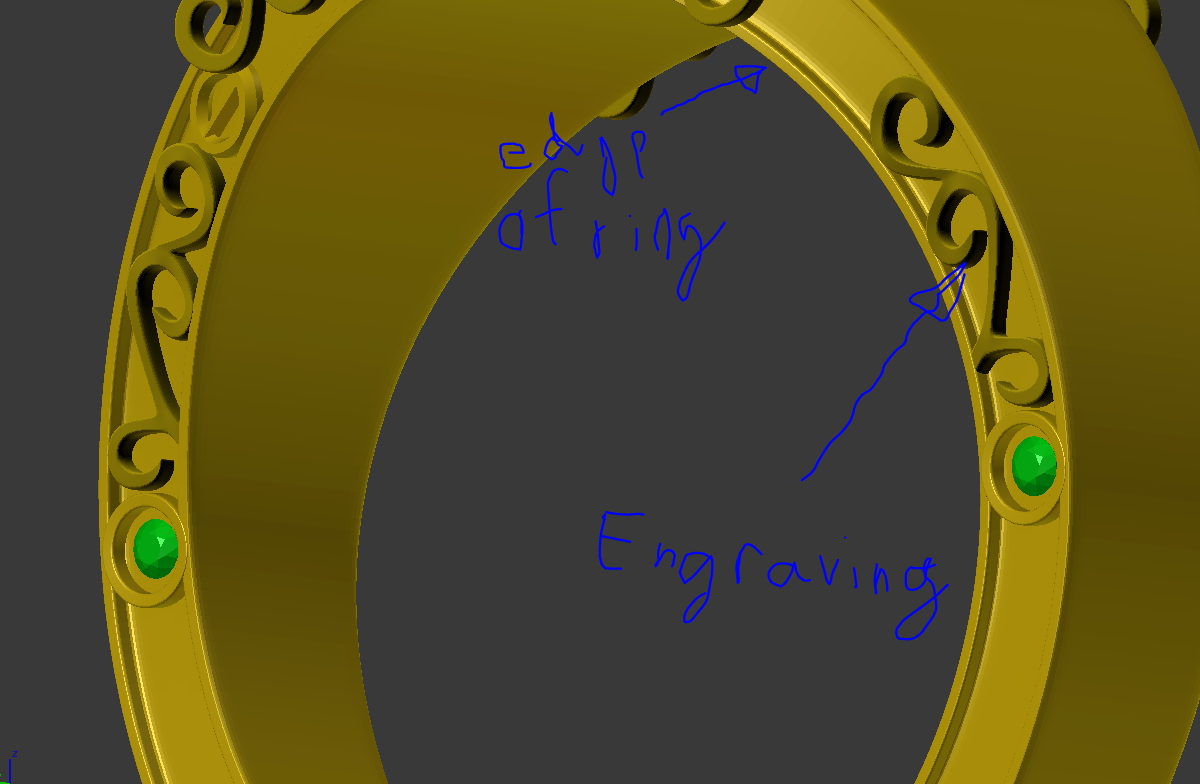
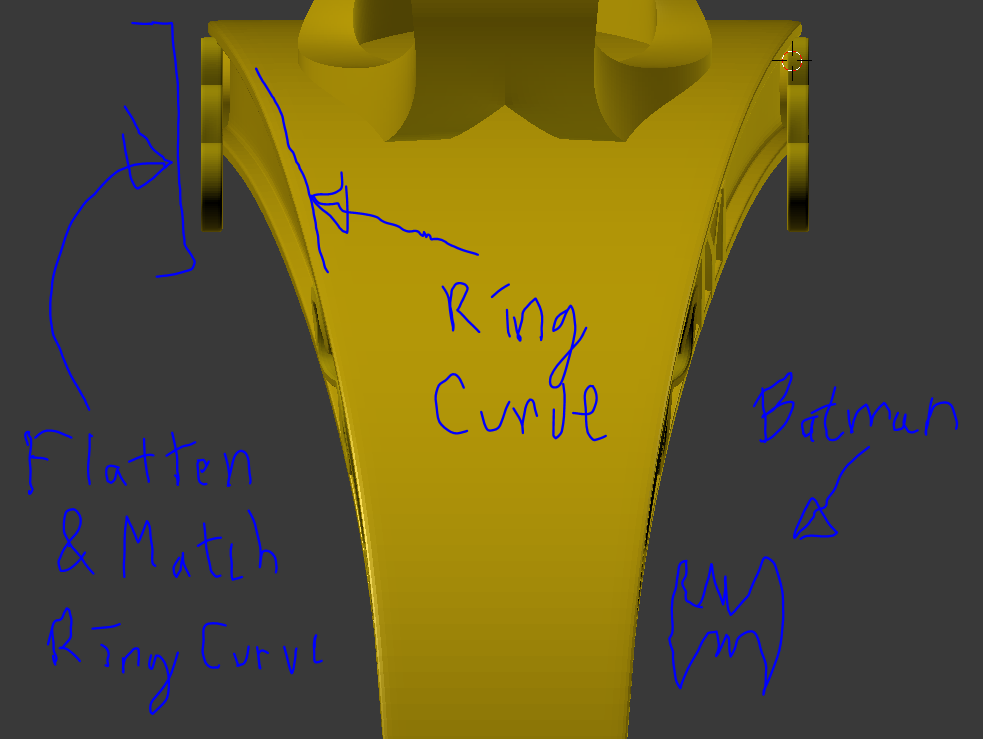
Try using a combination of snapping. For your purposes you will probably want to consider the vertex, face, and edge snapping options. How well it works will probably depend on your topology and stuff, but it's the only method I know could work for sure. There are modifiers that might work too, but I don't have a lot of experience with most modifiers, and they seem a little touchy sometimes.
snapping options http://images.akamai.steamusercontent.com/ugc/171536664510008542/B850D16F4CE2FDE3175B3335D995E9232771F92A/
The horseshoe icon turns snapping on or off. You can also hold ctrl to toggle it on after grabbing the vertex or object you are going to move. With the ctrl hotkey it will only be on while you are holding the hotkey.
If having the engravings clip into the ring doesn't matter, then you can probably do it all with vertex snapping. Position an engraving so the back vertices are all inside the ring where the engraving will be sitting.
Then toggle your vertex snapping on and grab the front vertices and start snapping them to the appropriate vertices on the outer edge of the ring. MAKE SURE that while doing this, you lock your transform to the right axis. Hitting "g" then the "x", "y", or "z" key will lock your transform to the corresponding axis. In your case you will probably be using the "x" or "y" lock.
So you will position the engraving, turn vertex (or maybe edge snapping) snapping on, grab a vertex from the front face of the engraving, lock it to the x or y axis, then move it until it snaps to the closest outside edge vertex of the ring. Then repeat until the engraving is following the curve of the ring.
If you don't want the back vertices of the engravings clipping through the ring, do the same as above, only instead of vertex snapping use face snapping and snap the back vertices to the faces of the ring.


