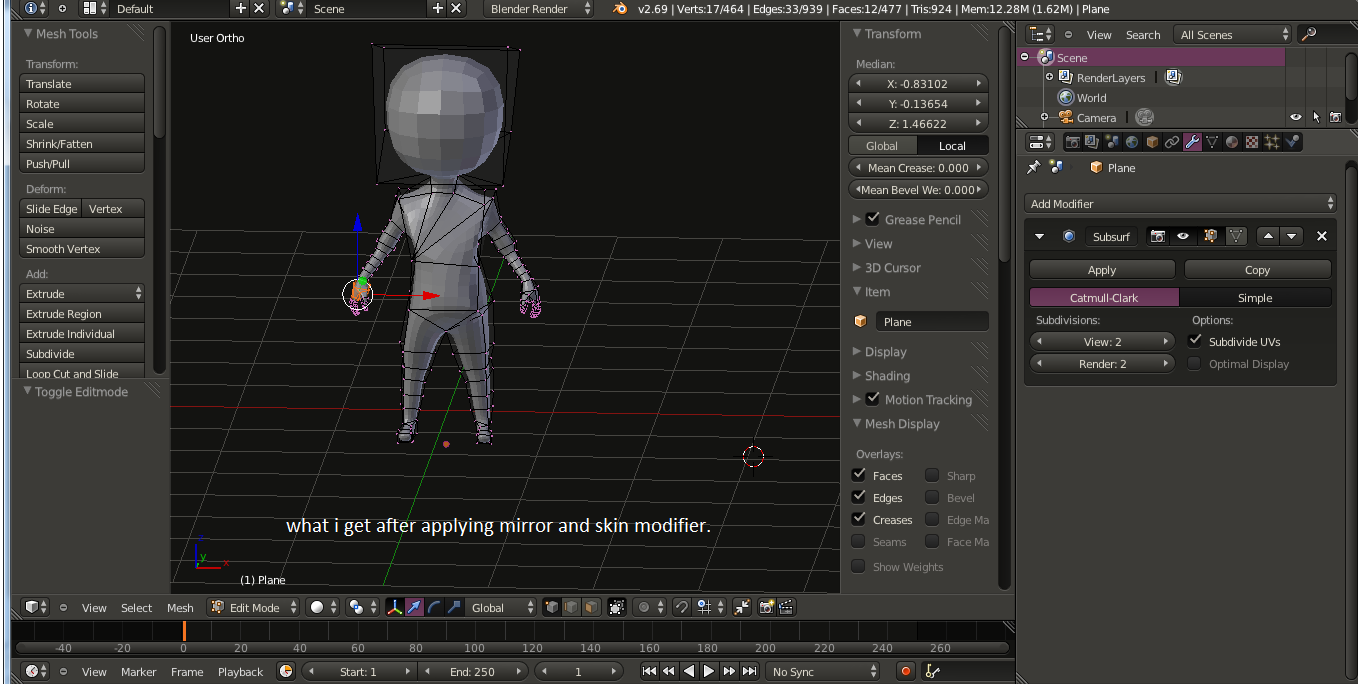
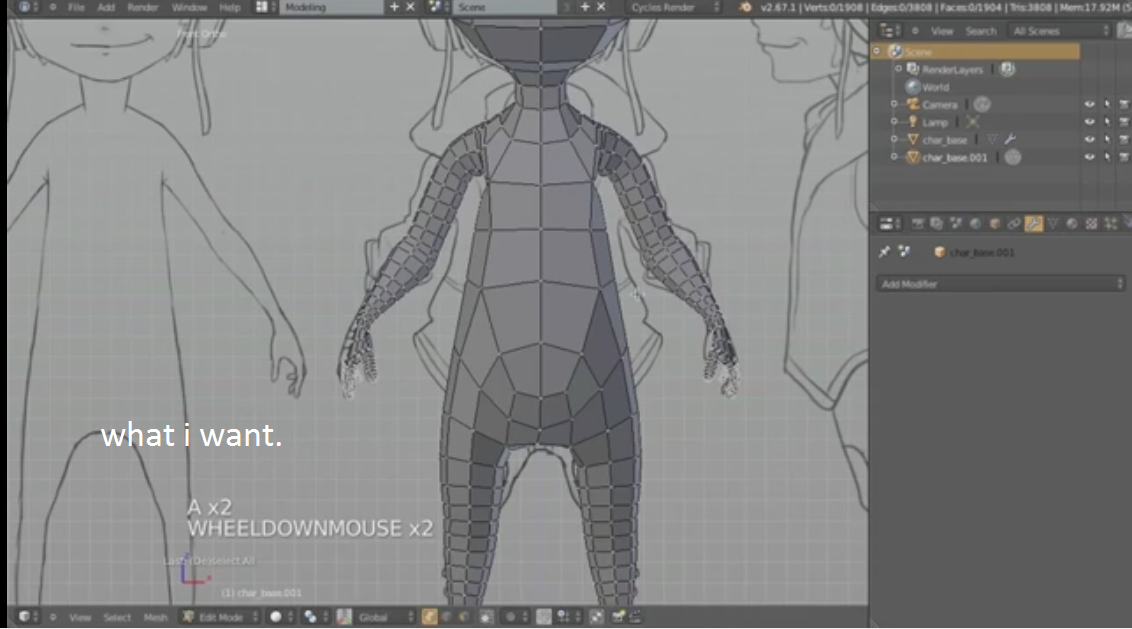
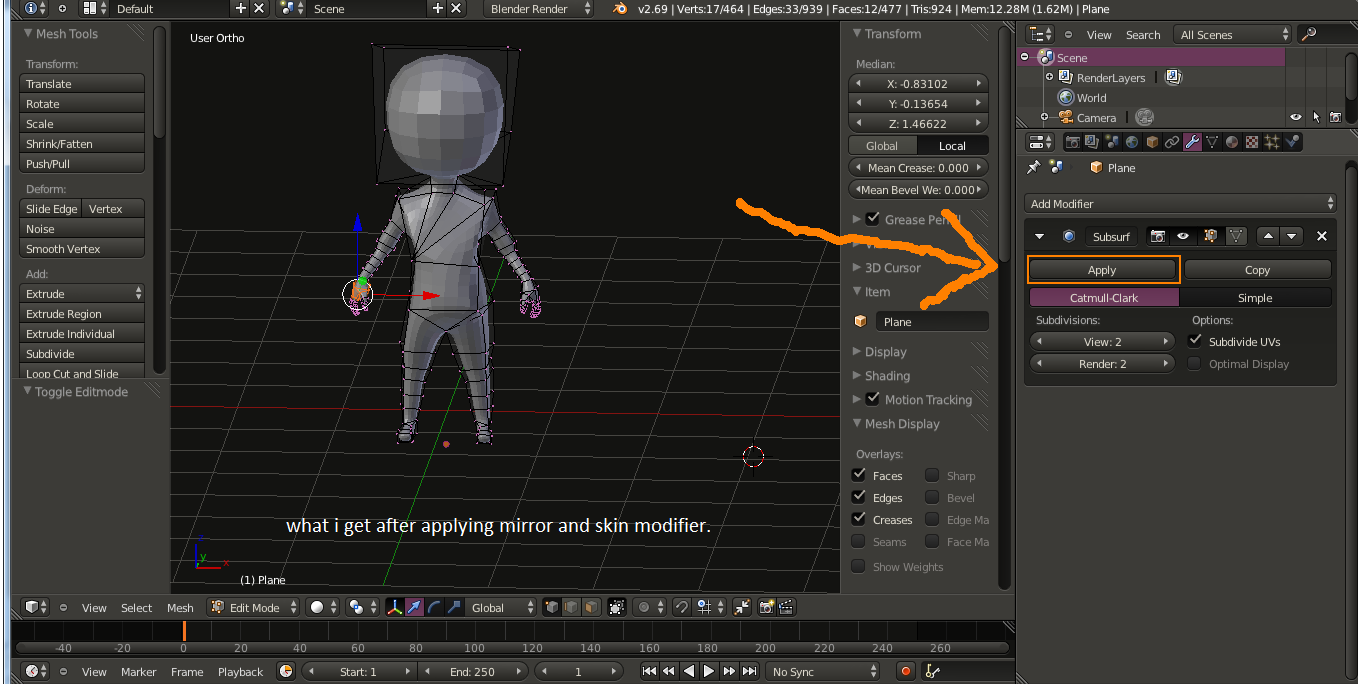
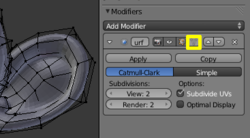
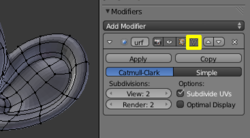
There was nothing wrong with the application of the Skin modifier, to get the result you want you need to apply the Subdivision surface modifier too:

Subdivision Surface (Subserf) is a Modifier, meaning that it operates on your base mesh without actually affecting it. From the wiki:
Modifiers are automatic operations that affect an object in a non-destructive way. With modifiers, you can perform many effects automatically that would otherwise be tedious to do manually (such as subdivision surfaces) and without affecting the base topology of your object. Modifiers work by changing how an object is displayed and rendered, but not the actual object geometry. You can add several modifiers to a single object to form a Modifier Stack and you can Apply a modifier if you wish to make its changes permanent.
Those "Bounding boxes" is your base mesh without any effects of the modifiers.
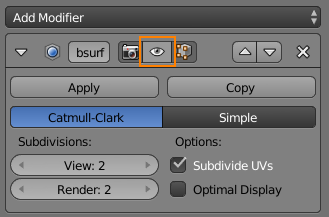
This can be demonstrated by either removing the subserf modifier or disabling it in the 3D view by toggling the eye icon:

Note that you can shrink the base mesh to the subserfed result with the Edit cage button for a better view of the topology while editing. See the wiki:
Edit Cage Mode
To view and edit the results of the subdivision (“isolines”) while you’re editing the mesh, you must enable the Editing Cage mode by
clicking in the inverted triangle button in the modifier panel header
(next to the arrows for moving the modifier up and down the stack).
This lets you grab the points as they lie in their new subdivided
locations, rather than on the original mesh.

(source: blender.org)

(source: blender.org)
Notice the comparison of screenshots to the right. With the edit cage off, some vertices are buried under the subsurfed mesh. With
dense vertex configurations, you might have to even click the "Eye"
icon so that you can see these vertices. The "edit cage on" version
does not suffer from this problem. It does, however, have its own
disadvantage---it can look too nice. Notice the three quads running in
the middle of Suzanne's ear. You can only tell how crooked they are in
the "edit cage off" version. When you are modeling, you will more
often want to see your mesh deformities in their full ugliness---so
you can apply your skills until it is sheer prettiness.

