1
$\begingroup$

Hello once again Stack Exchange; Today i'm facing the trouble of animation without the use of the timeline, and onto the usage of Dope Sheets and the Action Editor.

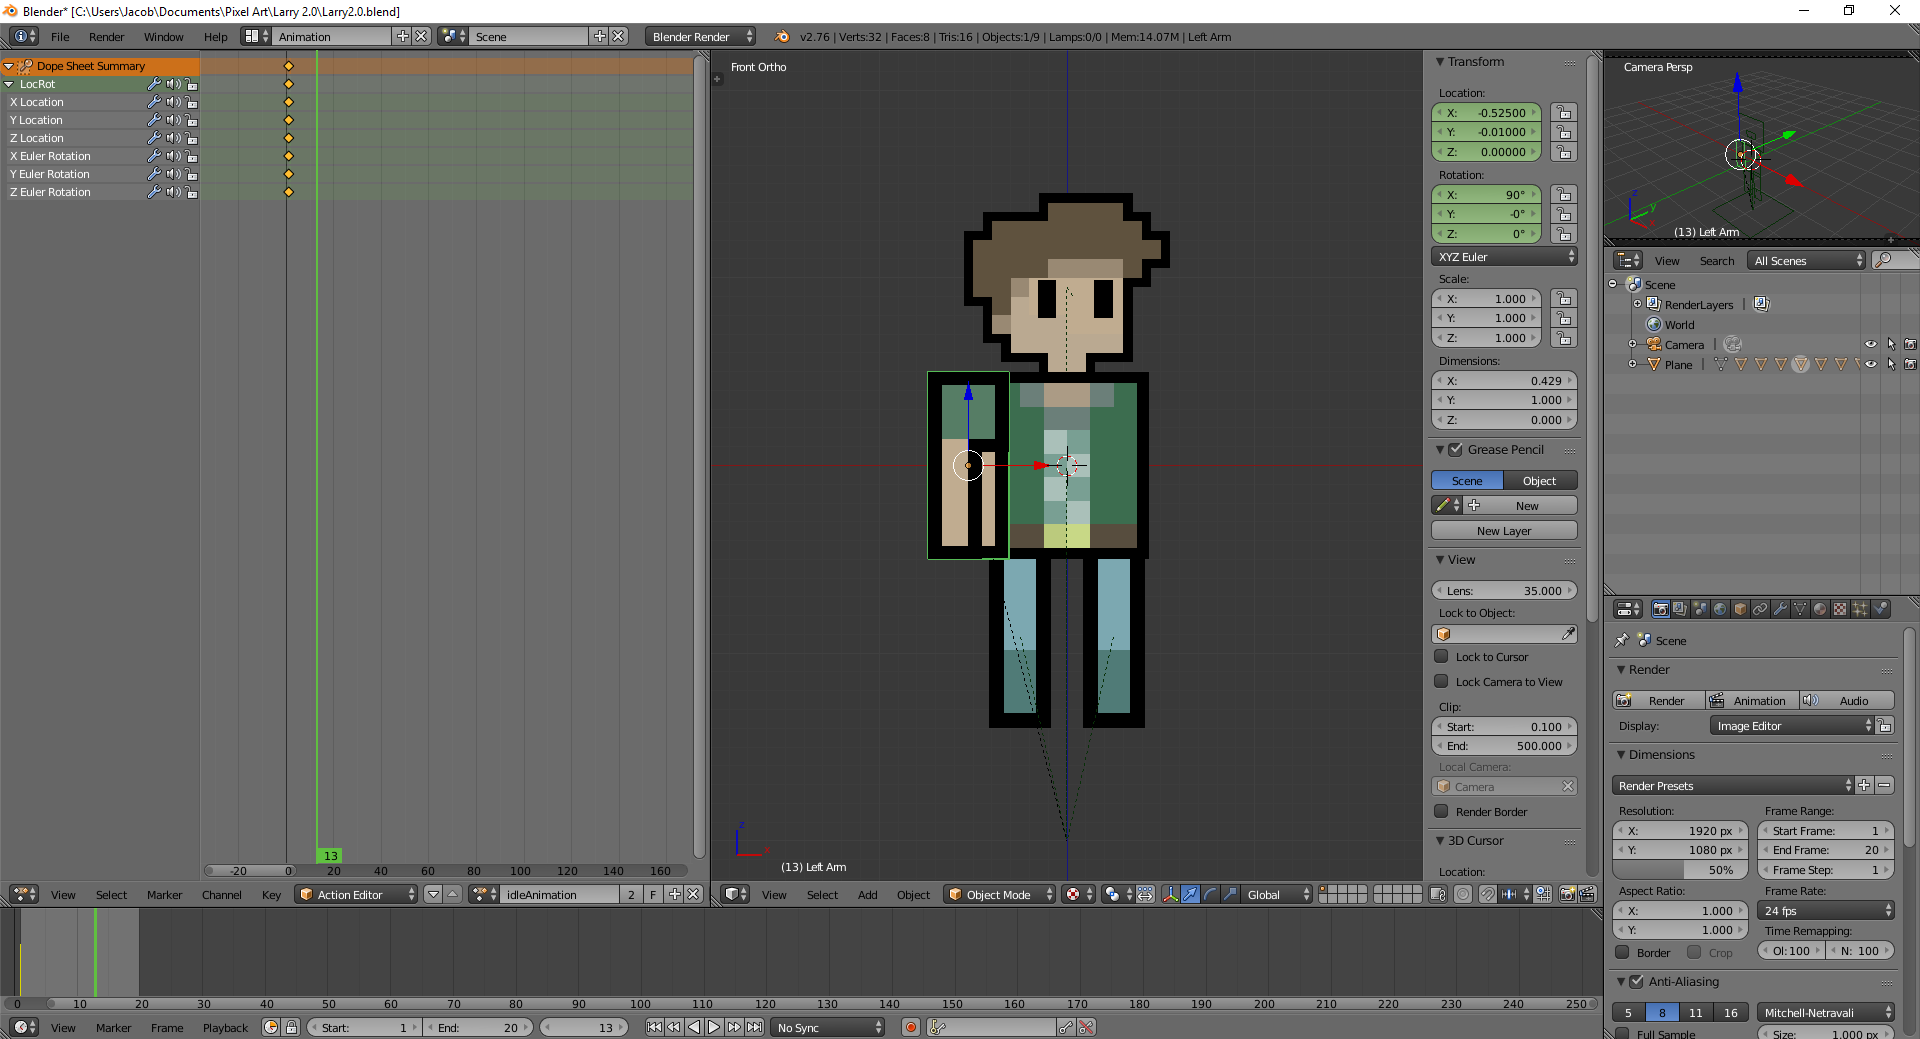
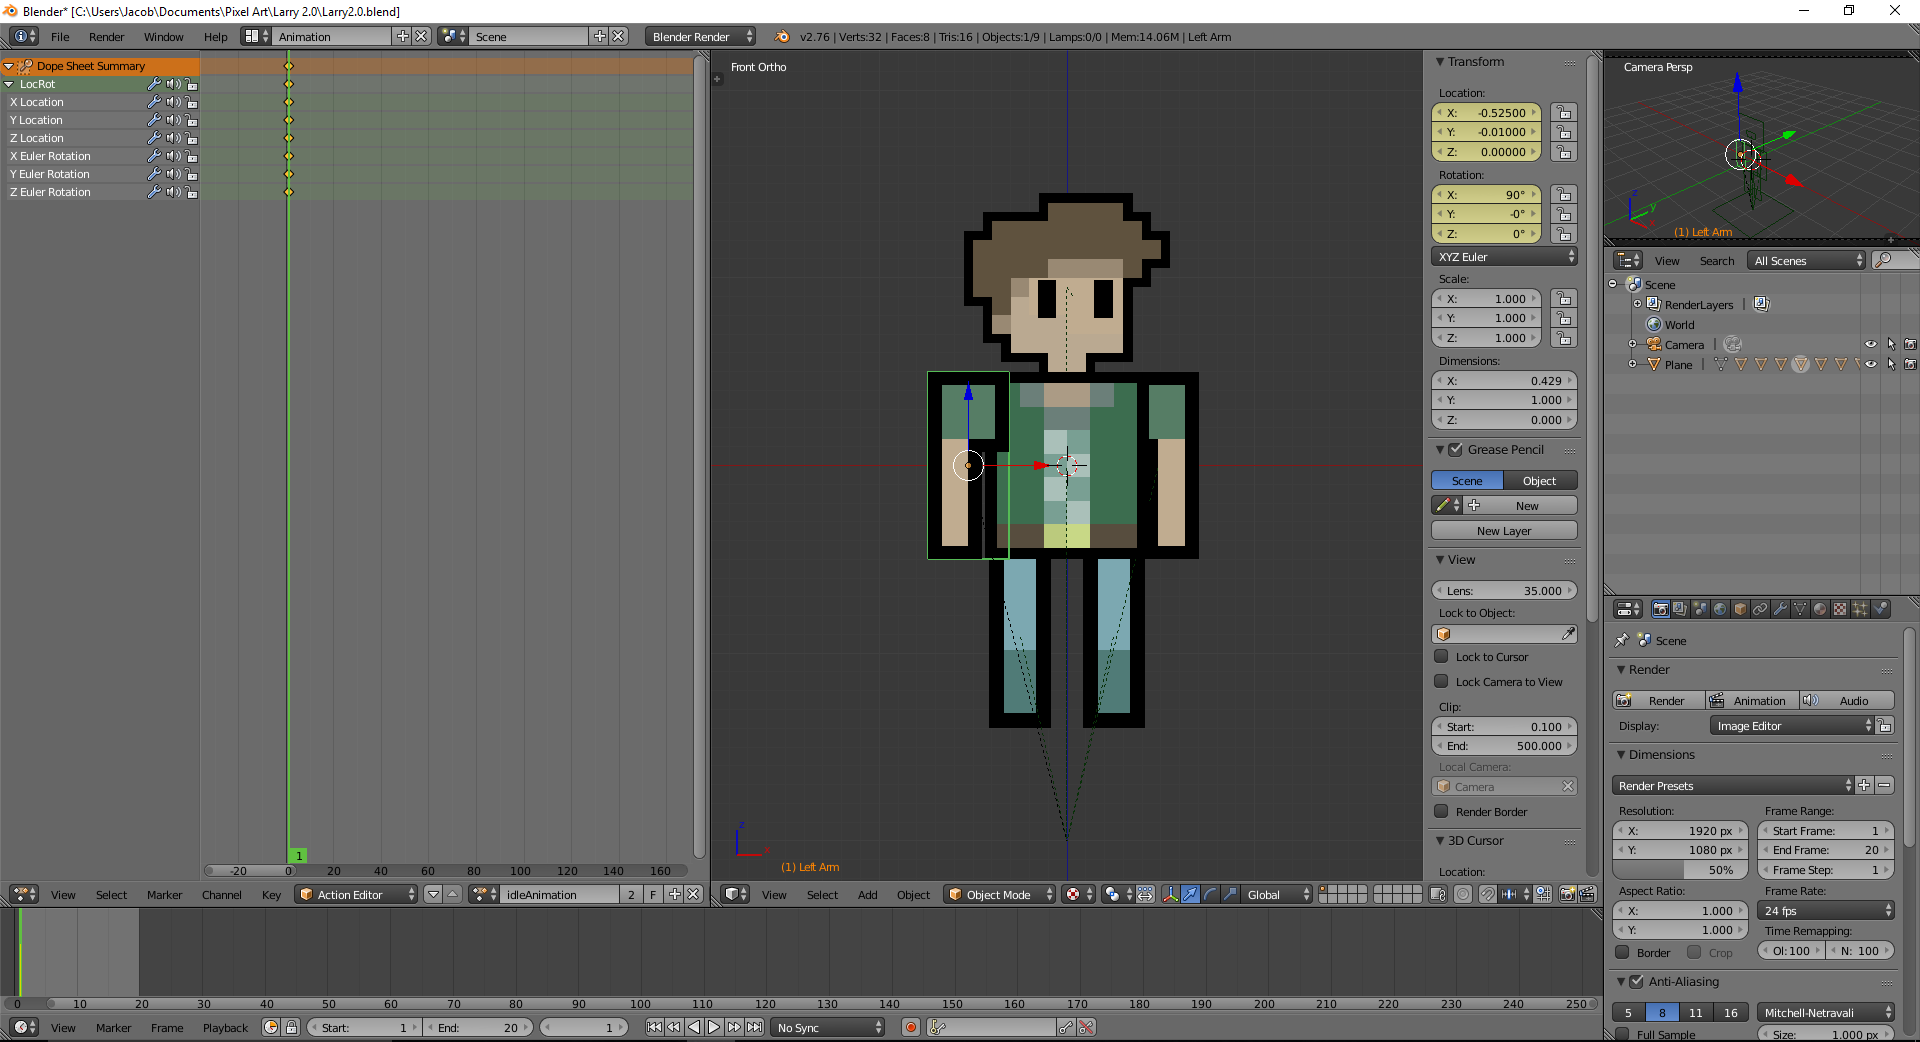
My Question is how do I individually animate single objects in one Action? Each time I try to insert a key frame for one object in the next frame, the other object within the action follows that exact location? I'm probably being a plank, but i'l get my head round it somehow...

Here's some image sources of what I mean:

In Frame 1 of Action: Source 1 - Frame action 1 Source 1 - Frame action 2

Hope I hear from you soon Stack Exchange users <3

$\endgroup$
1

2 Answers 2

0
$\begingroup$

Why don't you try to use bones? For what purpose should this animation / action be? For Blender Render / Blender Game / exported for other programs? As far as i know, the actions are bound to an armature object. You wwould eed to create bones through your player and animate them.

$\endgroup$
1
  • $\begingroup$ Using skeletal animation is quite a good idea indeed. Check out the Character Animation course on Blender Cloud for some good training! $\endgroup$
    – dr. Sybren
    Commented Mar 18, 2018 at 9:15
0
$\begingroup$

It is my second day using Blender so I am positive some of the following terminology is wrong.

I ran into this exact same issue. I don't quite understand why, but I think the caveat is that Blender does not let you have a single "Action" do different things to more than a single "Blender Object".

In the Action Editor, when you use Shift + RMB to select two meshes and key I to insert a keyframe, it links the two Blender Objects to that Action - which is a single transform. This moves the secondary Blender Object inside of the primary Blender Object since they now have the same transform.

What I believe Blender wants you to do is instead create this Blender Object called a "Pose?", which is a hierarchy tree of Armature Bones. Your bones get attached to the mesh through parenting and then moving the bones in Pose Mode will move the mesh.

The pose is now the thing that you move around to create the desired animation. You enter a special Pose Mode (Ctrl + Tab) to interact with the bones. Lastly there is a special Pose Tools section in this panel called the Toolshelf (w/ mouse in 3D Viewport, key T to toggle open/close). In the Pose Tools section, you will see Keyframes: Insert | Remove, and this time around the Action Editor will save and display all the different transforms for the armature.

You can find a few sample rigs online which showcase the relationship between the armatures and meshes. I will give the disclaimer that I know next to nothing about modeling, and I am sure I have botched some of this explanation.

$\endgroup$
1
  • $\begingroup$ The action contains information like "Set the location to (1, 2, 3)". Anything that you attach this action to will simply follow that information. $\endgroup$
    – dr. Sybren
    Commented Mar 18, 2018 at 9:11

You must log in to answer this question.

Not the answer you're looking for? Browse other questions tagged .