5
$\begingroup$

Hello Blender Stack Exchange, please be kind to an absolute newbie.

I've rigged a very basic character and managed to move him in pose mode and insert keyframes to make him walk along a scene, but I now want him to turn around. Rotating the armature deforms him horribly, making him really flat and wide. Switching into object mode and rotating him applies the rotation to every keyframe in the animation, grr.

How can I rotate my character around his own centre in pose mode or otherwise do a rotation in an animation?

EDIT:

Dropbox link to my .blend file - excuse the goofiness, it's a video I'm trying to make for my mate Haighstrom.

$\endgroup$
3
  • $\begingroup$ Hi Mr. Pie :). Welcome to the site. Can you upload the blend file so we can take a look at it to better assist you. From your description, there are several things that could be wrong here. $\endgroup$
    – iKlsR
    Commented Sep 8, 2013 at 14:53
  • $\begingroup$ Thanks, I can't work out how to post the blend file directly, so I'm editing in a dropbox link to it. I'm sure I've done all sorts of things wrong, it's my first ever mesh. $\endgroup$
    – Mr Pie
    Commented Sep 8, 2013 at 15:12
  • $\begingroup$ Your object centers are all over the place. It would be best to isolate the character into a separate file or layer, clear all relationships and settings, reset the object centers to normal and then rig it again. It seems you moved the character and its rig in both edit and pose mode several times before you animated it. I will try and see if it can be fixed while keeping the animation. $\endgroup$
    – iKlsR
    Commented Sep 8, 2013 at 15:39

1 Answer 1

5
$\begingroup$

The problem is that you have moved the center of the mesh and the rig several times (while in edit and pose mode). This is a big no no and would have brought about even more problems if you had continued on to do more complex transforms/animation etc.


TL;DR: Clear all your object's transforms, and update the origin points for the rig and the model.


To fix.

  1. Select the character and the rig and hit ShiftH to hide the rest of the scene so as to work without any distractions.
  2. Select the character HaighMan and clear all transforms, Rotation AltR, Location AltG and Scale AltS.
  3. Select the entire rig, which is currently in pose mode with A and repeat the previous steps for clearing all transforms.
  4. Still selecting the rig, use CtrlTab to go to object mode and repeat the steps again for clearing transforms.

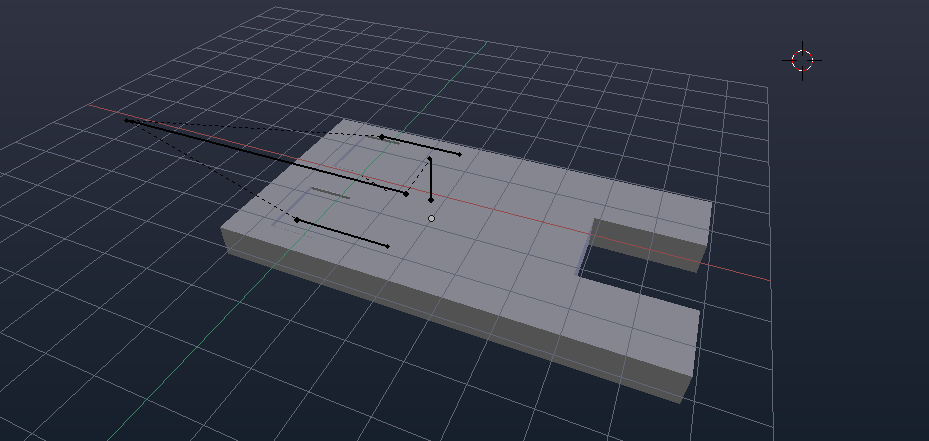
    Providing you followed the steps above, your scene should now look something like this.

    enter image description here

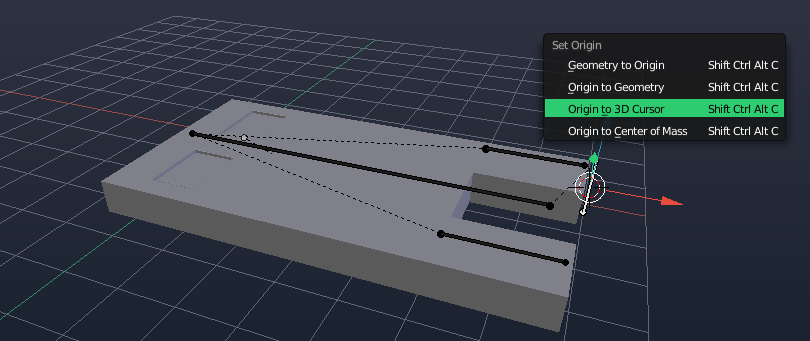
  5. Select the rig and Tab into edit mode and adjust it to fit the model, select the root bone and use ShiftS > Cursor to Selected and then use CtrlShiftAltC > Origin to 3D Cursor. You can then select the rig in object mode and rotate the character 90° on the Y axis to have it stand upright.

    enter image description here

  6. All should be well now, it is fixed but still broken as your previous animation keyframes are still on the armature. I would highly recommend clearing these and animating it again and also re-applying the model to the armature. If you now hit play, it will jump to the keyframed location and the character will start walking, you are now also able to rotate and scale each bone without any weird deformations.

More reading:

$\endgroup$

You must log in to answer this question.

Not the answer you're looking for? Browse other questions tagged .