6
$\begingroup$

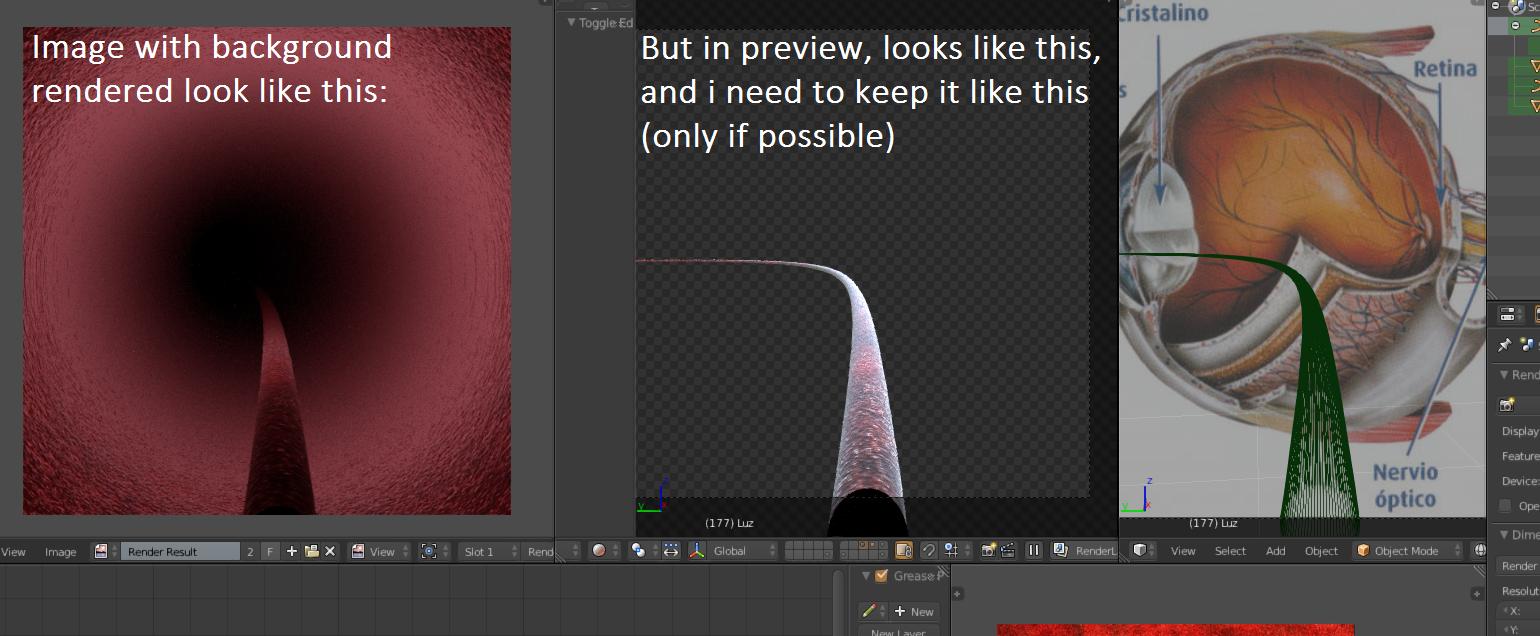
i'm doing a animation with two objects on Cycles, and when i look at the object alone (on its own layer) looks good, but when i mix it with the other object it looks bad, i should change the lighting, but it looks perfect for me with that kind of light on the preview, is it possible to render the object like that? The material obviously is affected by lighting, that's why i need to know if there's a possible way to keep the material like appears on the preview.

enter image description here

Thanks in regard.

$\endgroup$
4
  • 1
    $\begingroup$ Some example images please? I have no idea what you are talking about currently . . . $\endgroup$
    – J Sargent
    Commented Jan 23, 2015 at 20:48
  • $\begingroup$ I just uploaded a picture :) $\endgroup$
    – beavoru
    Commented Jan 23, 2015 at 20:57
  • $\begingroup$ I know that i can render the object alone and it will work, but what if i want to render it alongside the background? $\endgroup$
    – beavoru
    Commented Jan 23, 2015 at 20:57
  • 1
    $\begingroup$ Alright, I got it. Writing an answer right now :) $\endgroup$
    – J Sargent
    Commented Jan 23, 2015 at 20:57

1 Answer 1

10
$\begingroup$

What you want are Render Layers. A render layer is basically what layers are rendered to separate images, composited later in the compositor after the actual render takes place. It is possible to do this fairly easily actually.

First, make sure they are on different layers (I think you said they already are). Then go to Properties > Render Layers and set up the default Render Layer to only show your background object layer:
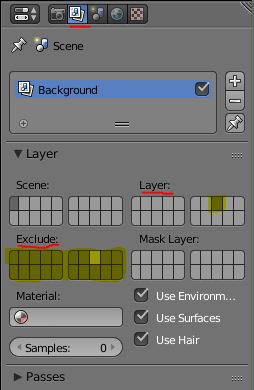
enter image description here

The Layer section is to show what layers to render, and the Exclude section is for what sections to exclude from the render (shadows, reflections, lamps, etc.). It is important you get these right.

Once you have that set up, you can add a Render Layer for the foreground object. Press the + beside the Render Layers display window, and name as desired:

enter image description here

Now set up the new layer using the same principles as the first, isolating the foreground element. You should get two images when you press F12 now:

enter image description here

Now we need to go into the Compositor to put the two images together.


Start by adding another Render Layer input:
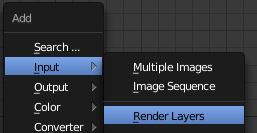
enter image description here

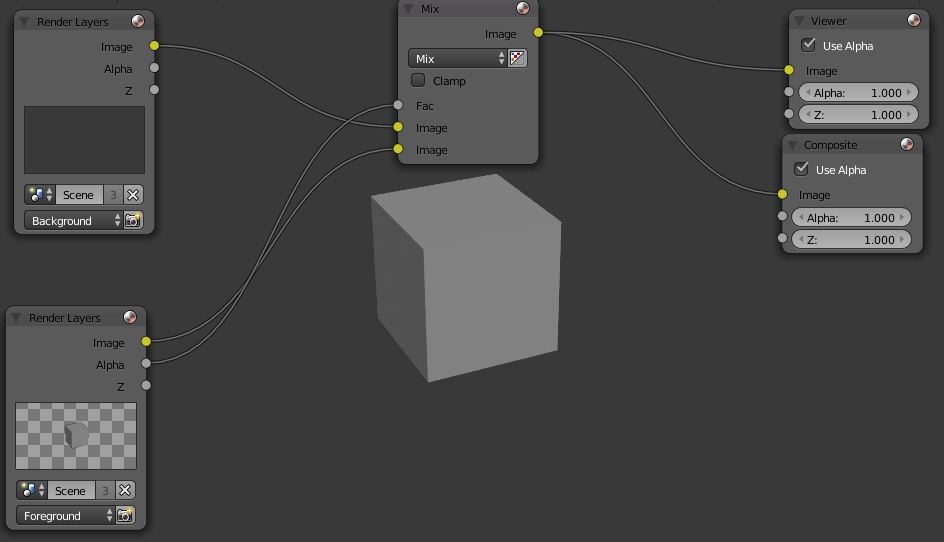
Now set up your nodes like this:

enter image description here

You can see that now it is combining the two different rendered images based on the Alpha value of the second. One more iportant thing you need to do: Make sure that there is an Alpha value to use. Go to Properties > Render > Film and tick the Transparent checkbox:
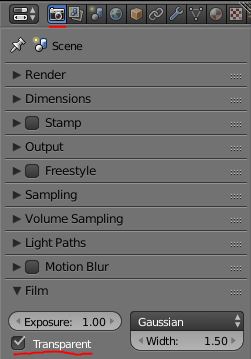
enter image description here

$\endgroup$
0

You must log in to answer this question.

Not the answer you're looking for? Browse other questions tagged .