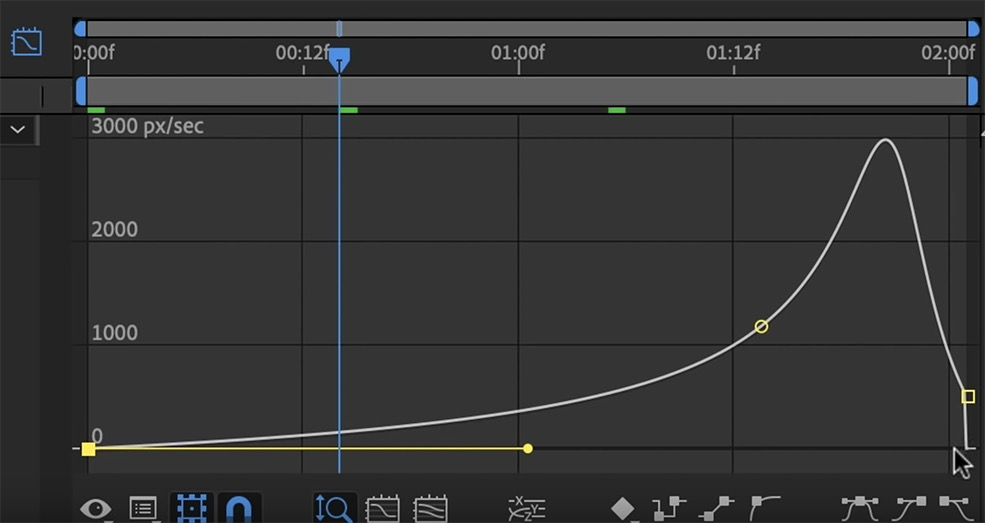
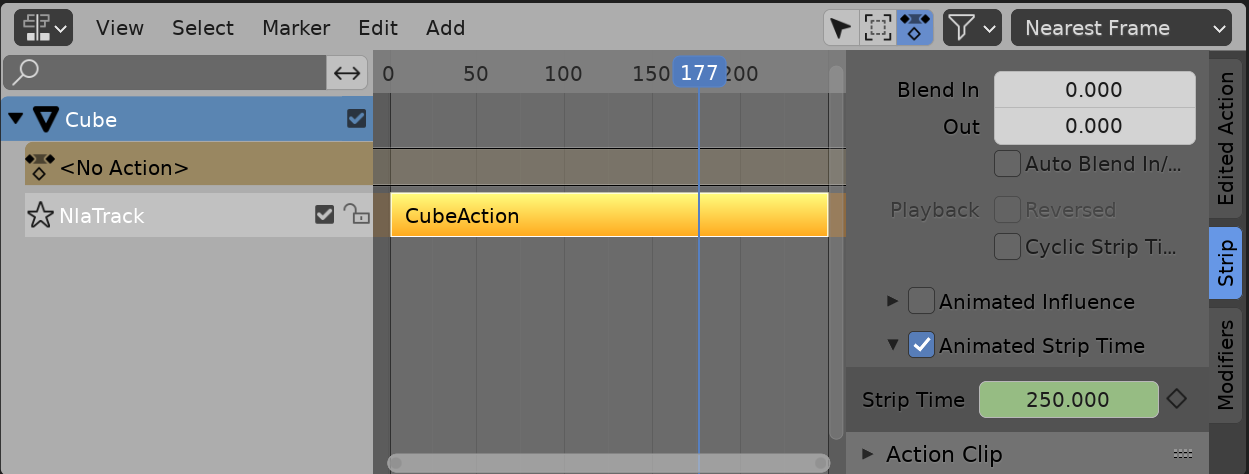
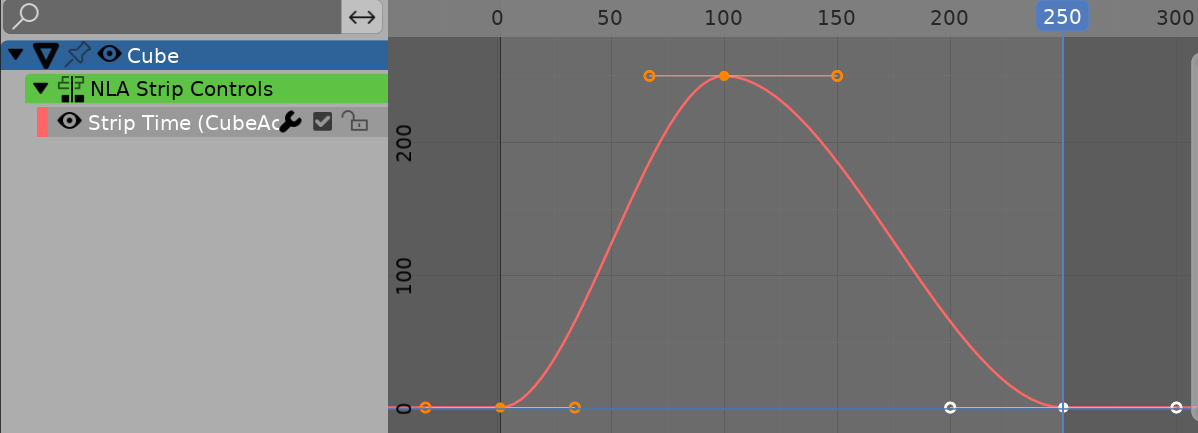
The overall speed between keyframes can be only changed in the dopesheet or graph editor moving them, there is no built-in function to use a curve to control the timing.
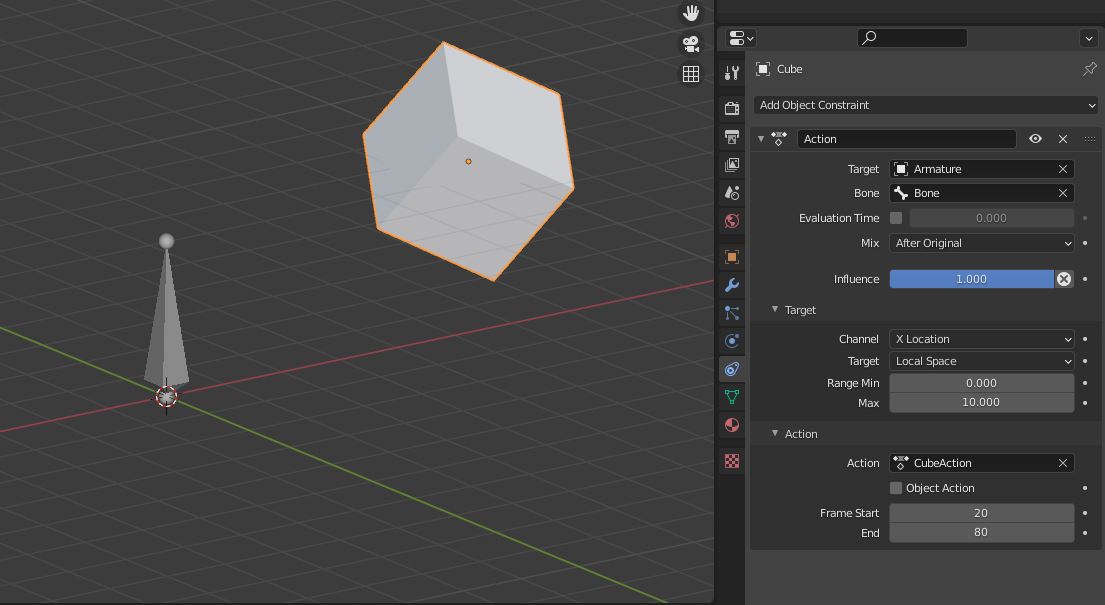
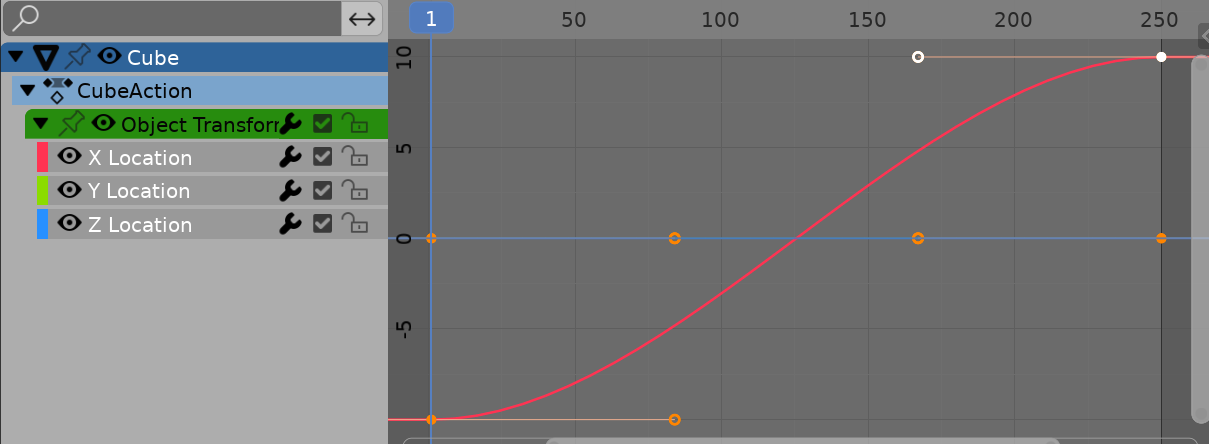
To get this behaviour, you can use the action constraint: a single channel of a "controller" (like X loc of an empty or a bone) can be used to trigger the action of one or more objects or bones (like moving X loc 10 units means perform the action from frame 20 to 80).
Once the constraint is created, it can be easily copied to others objects or bones involved in the action to be retimed (i.e. select all objects involved, shift select the constrained one - last selected is active - and use the "copy selected contraint" function.
If the action is based on bones, the constraint has to be copied to all involved bones.

Another method is to load a rendered image sequence and retime it using a curve to control.
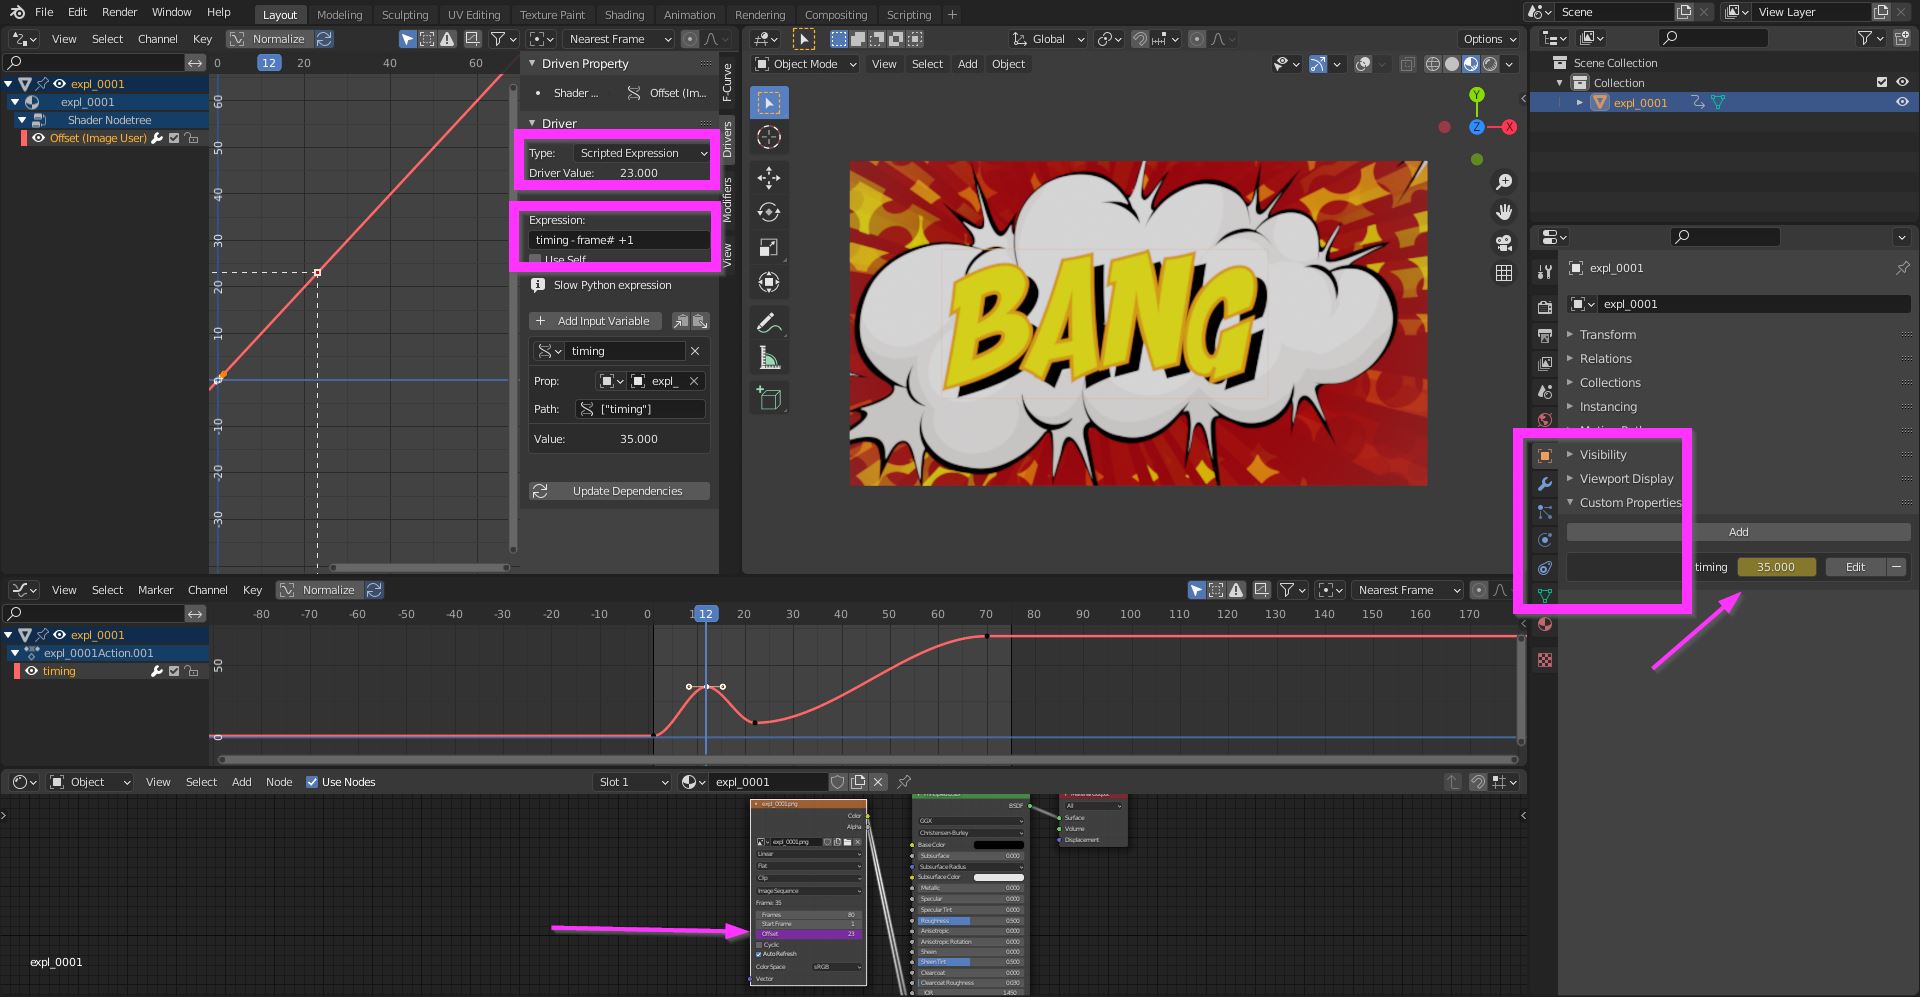
To do this, add an image sequence as plane, create a custom property, edit its name and its limits (in my example "timing", and 1 - 80, the number of images on the sequence).
Then hover over its value and right click "copy as new driver".
Paste the driver on the "offset" value of the image sequence node in the shader editor.
Then edit the driver changing its result form "Average value" to "Scripted expression", tyiping in "var - frame# + 1" (in my example, as the name of the custom property is set to "timing", the expression becomes "timing - frame# +1).
Now you can animate the custom property value and edit its curves in the graph editor.
