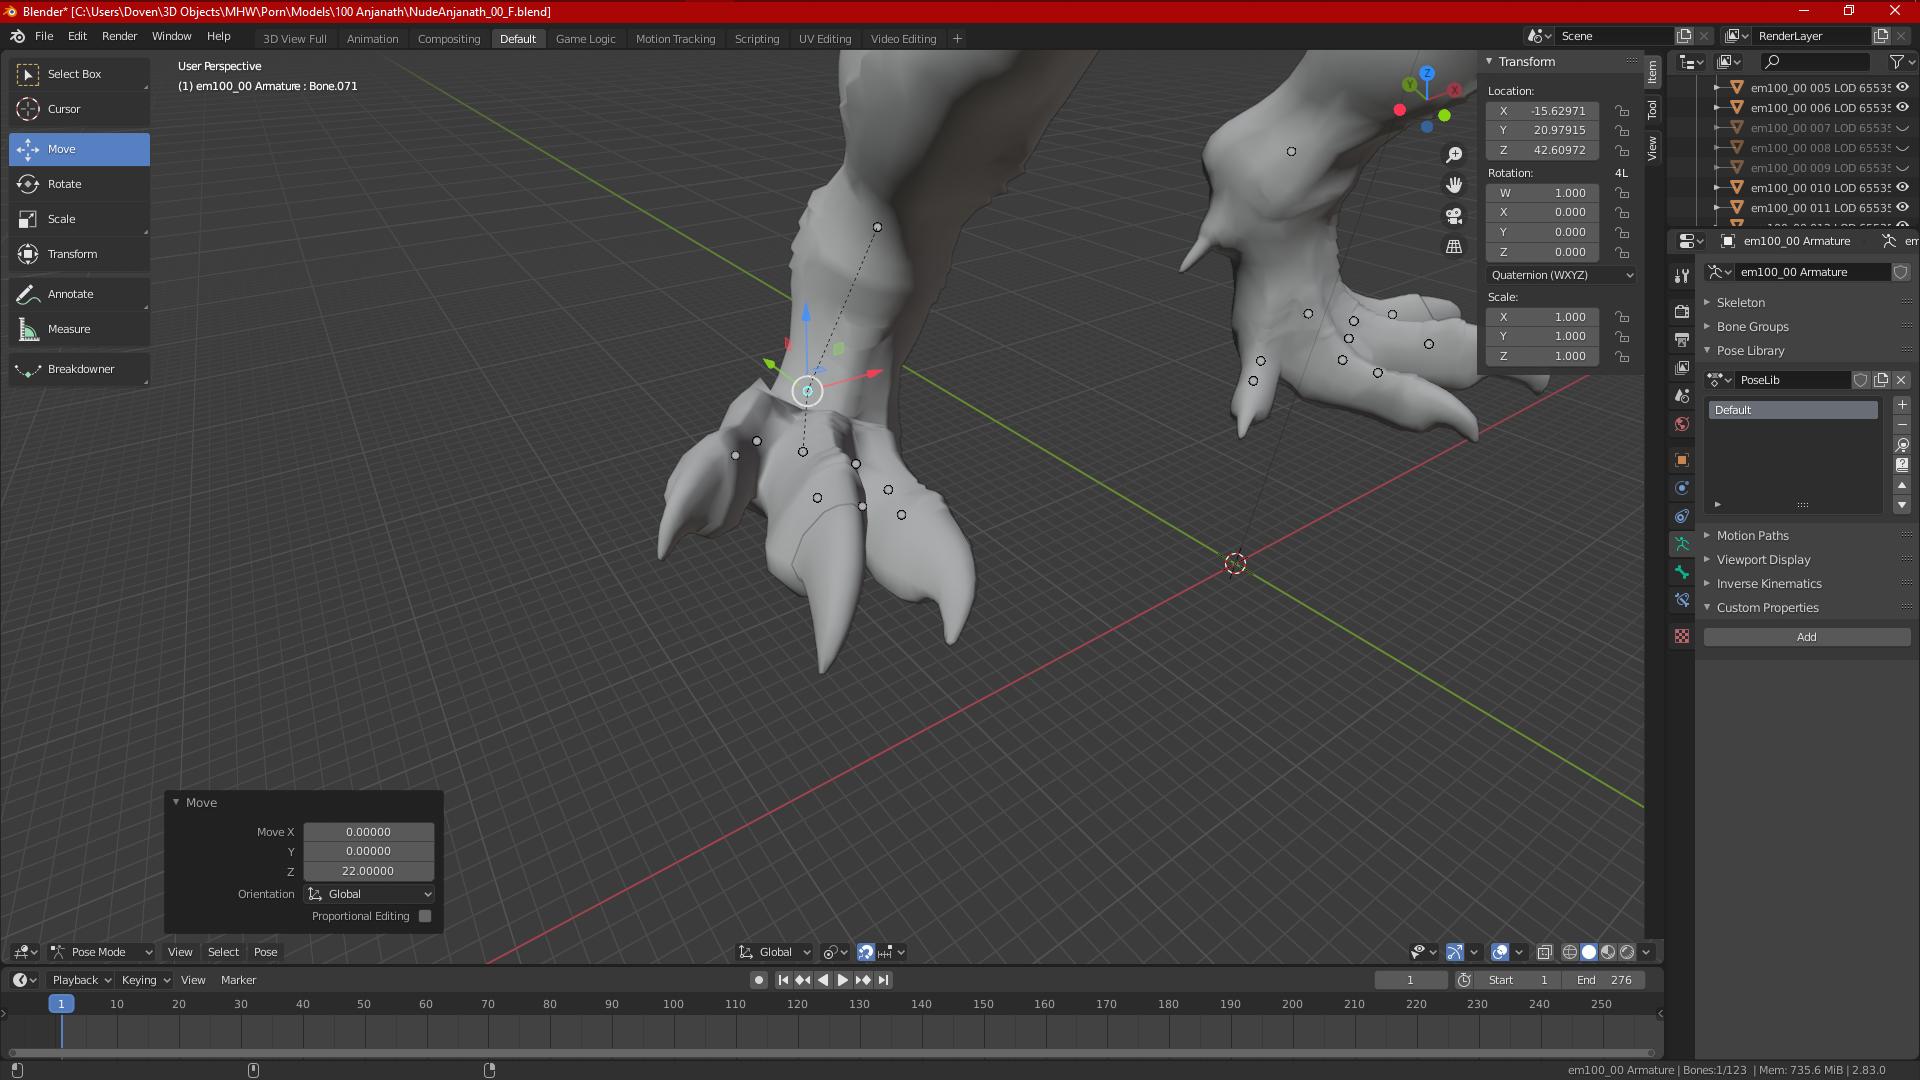
I have a model that has an armature but the bodies of the bones are missing and there are just these points in space where the tails and heads are supposed to be and these dotted lines between them. If I move the points the rig moves but only that point instead of moving the knee and ankle like other skeletons I made.
 Is there a way to create or replicate the bodies of the bones so that they interact with each other correctly and not scrunch up the model? Extruding from an existing bone has a body and works how I expect. I also am self-taught so any links to documentation will be very helpful.
-
$\begingroup$ I guess these blue dots are custom shapes given to these bones. Plus it looks like they don't act the way you want. So maybe delete them and recreate a more classical armature on this part of your character? $\endgroup$– moonbootsCommented Jun 18, 2020 at 5:55
1 Answer
This sometimes happens when importing rigs from other software.
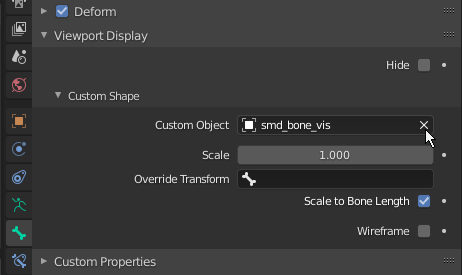
For the bone shapes, simply select all the bones in pose mode, go in Property Editor → Bone Tab → Viewport Display panel. Hold the ⎇ Alt key while pressing the cross icon to delete the custom object from the entire selection:
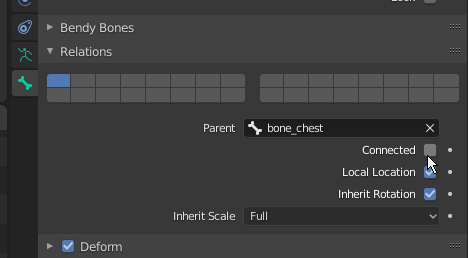
Then switch to edit mode, and open the Relations Panel. Still with every bone selected, hold the ⎇ Alt key and check the Connected option. Now all your bones having a parent is forced to stay connected with it. Which means you can't move a bone off his parent, and so the bones' heads are on their parent's tail.


