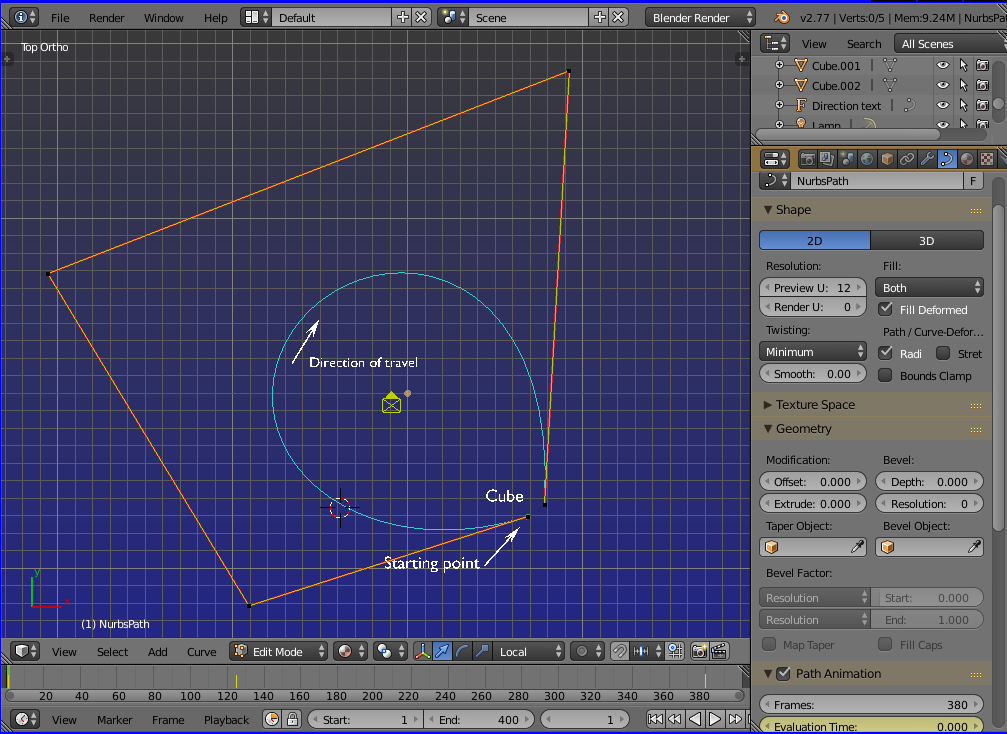
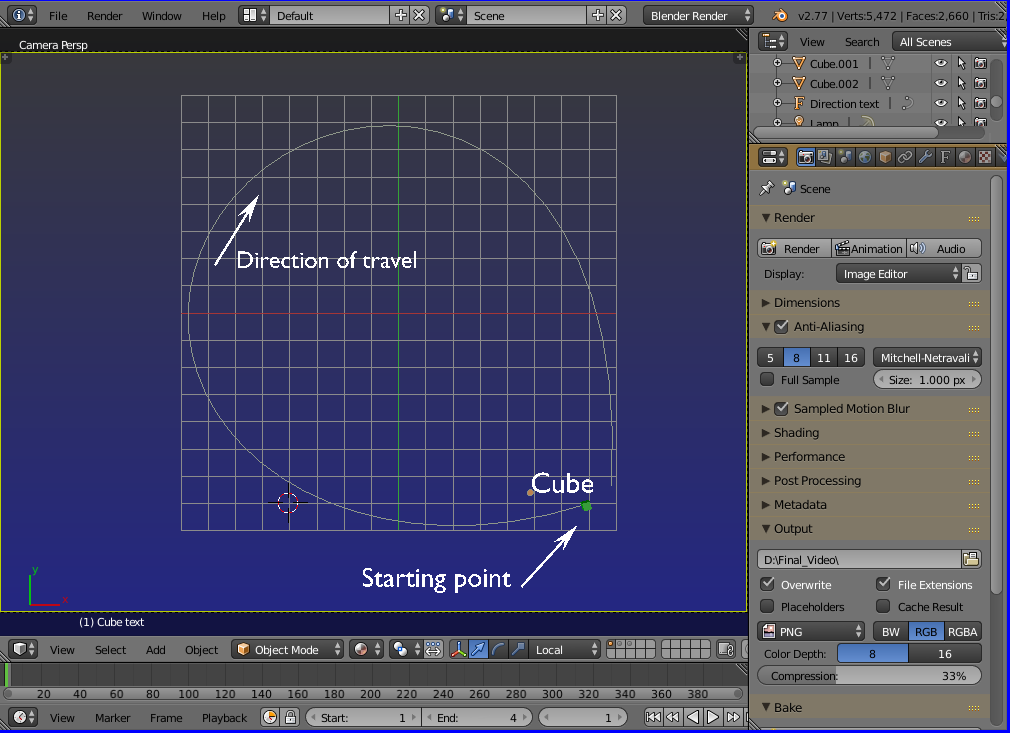
Making an object move along a path:
Blend file: 
First up place your 3D cursor where the center point of the path is to be.
Add a "Curve-->Path" at that point.
Select the curve and goto edit mode. The path's direction of travel will be indicated by the (feather) arrows. Go back to Object mode and rotate the path in the Z axis to it's desired direction of travel.
(Remember you're currently at the proposed route's mid point)
Return to Edit mode and at far right in the curve's properties panel, click on the Geometry icon. (a letter C drawn back to front)
Select the "2D" button. This will ensure there will be no variation in height from ground level to make the route a lot easier ro set up. Later it's height can be varied like a roller coaster if required.
Further down open the "Path Animation" tab, set the "Frames" slot to the maximum frames the object will be taking to travel the entire route. The higher the frame number, the slower it will travel.
Place this same frame figure into the "Evaluation Time" slot immediately below.
This is a good time to set your timeline's max frames as well. Give it more frames than the path's maximum unless there is a specific need not to.
With the path still highlited, get back into Edit mode. You'll see that there are 4 vertices. (waypoints) You can have as many of these as you wish, but for now we'll stick to just four.
Drag one of the end vertices to where the path is to end. If it distorts the curve too much, just move it to some convenient holding point. We can place it properly later. Just make sure it's been moved to somewhere so it will be travelling in the right direction.
Do the same with the other end vertice.
Now move each of the inner 2 vertices to intermediate points, then the end vertices again until you end up with a roughly circular shape.

With the route laid out, it's time to setup the 2 keyframes that will force an object to move along the path.
Make sure you're in Object Mode. Press SHIFT-C to center the 3D cursor to location 0,0,0 ((x,y,z)
Add a cube or whatever but don't place it on the path, leave it where it is for now.
It's important that the cube and curve both share the same Origin point, so with the cube selected, press T to get the "Tools" panel up at left. Open the "Tools" tab at top left and select "Origin-->to 3D cursor"
Now select the curve and do the same.
Select the cube again, and in it's properties at right, click on the Constraint icon. (looks like two links of a chain)
Select "Follw Path". (in rightmost list)
Click on the cube icon (Target) to see your curve listed there. Select that.
The cube in the 3D window should jump to the starting point of your curve.
Also tick the "Follow Curve" box when you want the object to be facing forward and always aligned to the path as it travels.
Select the path curve again and drag the timeline cursor to frame 1. Make sure the path's evaluation slot is showing 0. (Zero)
Place the Mouse cursor into the Evaluation slot and press letter I (i).
This will INSERT a keyframe in the path's strip in the Dope sheet.
Now move the timeline's cursor to the frame where the object is to reach the path's end point. (destination)
Check that both the Frames and Evaluation slots are both showing the same (end point) frame numbers.
With the mouse cursor still in the Evaluation slot, press letter I again to create the destination keyframe.
Your cube should have jumped to the curve's destination waypoint in the 3D window.
The path is now setup, your cube ready to take passengers and fares!
Drag the timeline cursor (or press CTL-A) to see the cube moving along the path.

If wanting to set a camera moving along the path, you might like to take a peek at this Camera "Jitter" When circling around object if the camera is a nervous passenger and gets the "jitters", literally!
Adjustments to the path's length, speed of travel, intermediate starting and stopping points are all possible. If needing help with these, new questions would be best. This post is already too large.


