0
$\begingroup$

I am new to the community and have hesitated before asking, but I really think that I cannot find an answer online.

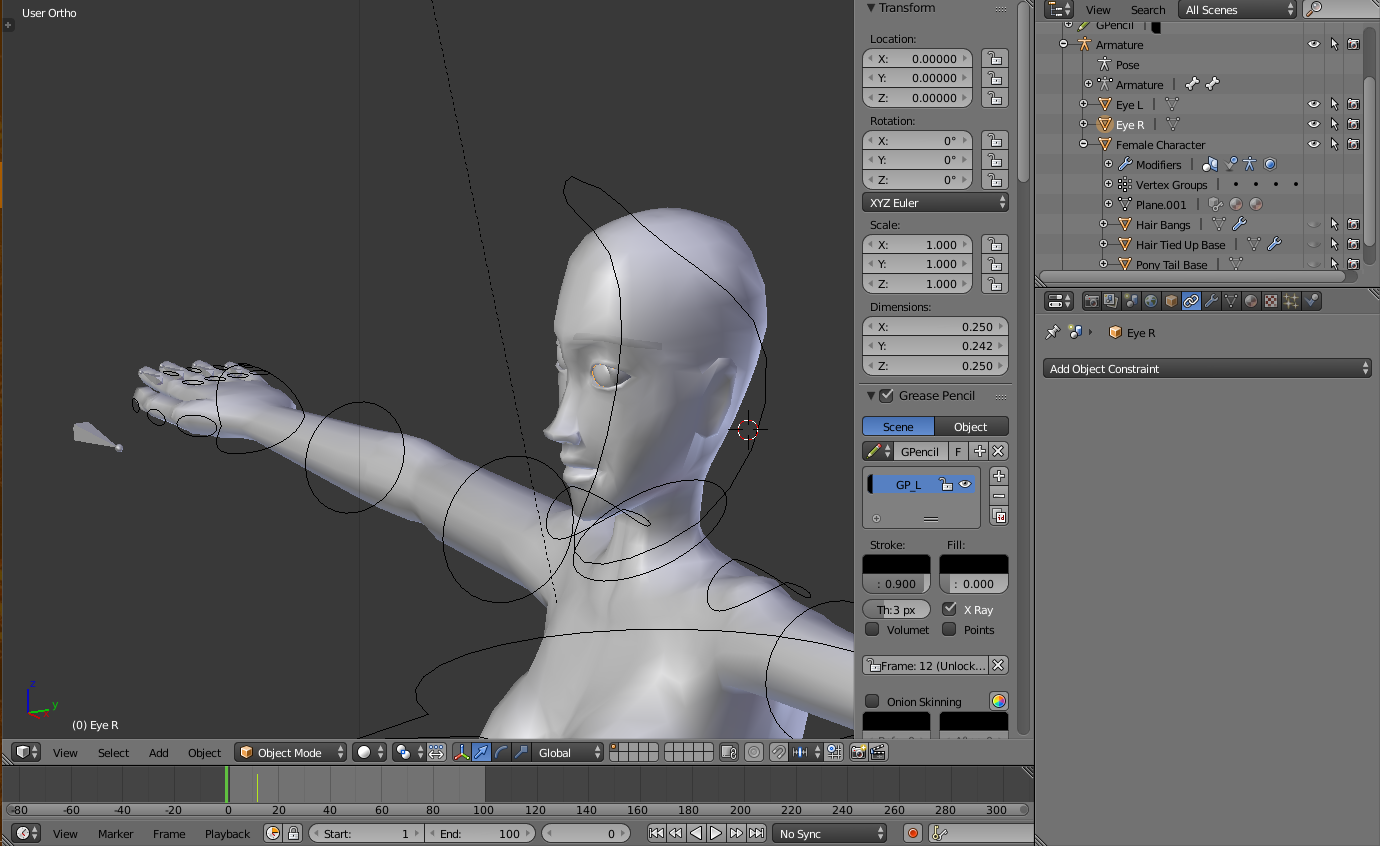
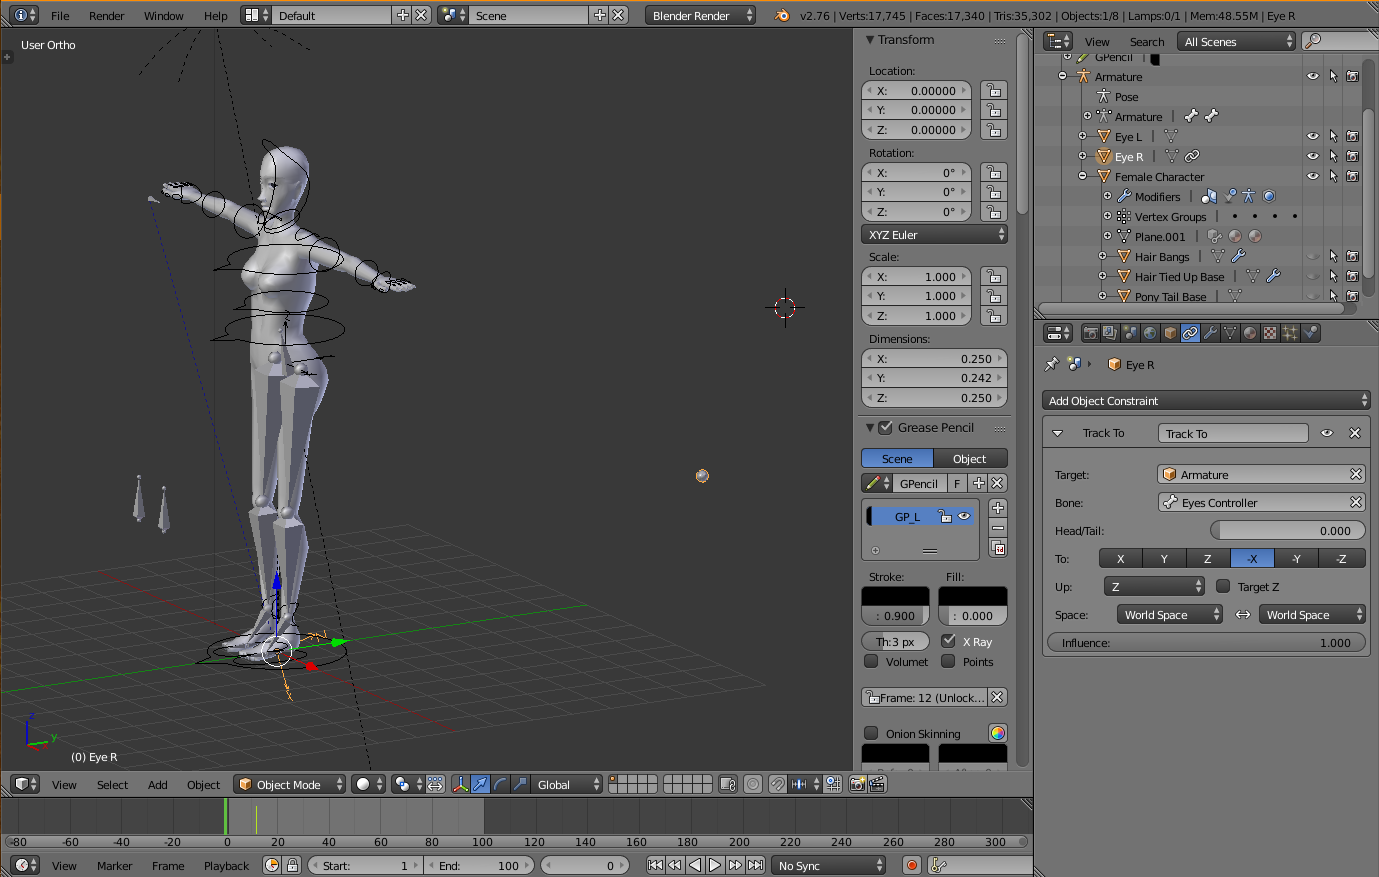
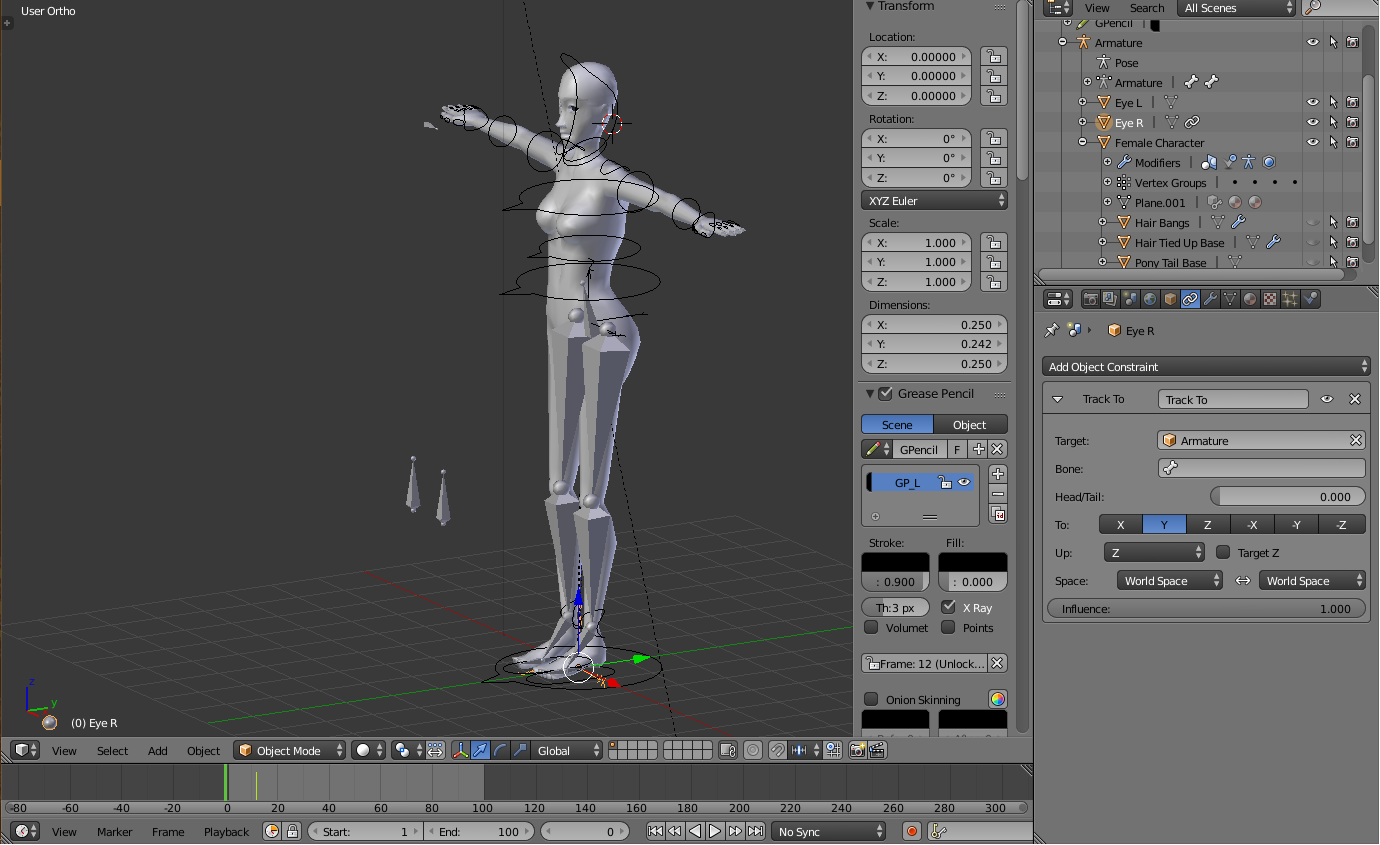
I am currently working on my first project and have a 3D Mesh of a female character with separate eyeballs. I have parented these to the head bone and have tried recently to make them follow a controller bone using the "Track to" Contraint. The Problem is, when I apply this constraint, the Eye teleports outside of the body. With the Z axis set as "Up", the location of the eye changes according to wich axis I pick as target, except when I check Z or -Z, it returns to normal... but it has no point anymore as the constraint is no longer active.

Here is my mesh how it is supposed to be with the eye mesh and the controller in place: Base Project Here is the mesh when I add the Constraint to the Eye, you can see where it ends up: Project with Track To Constraint Actually the "teleportation" starts even before I specify the Bone I want to Track. As soon as the constraint follows the armature, it teleports: Project with Track To Constraint Unspecified Bone
If you have any ideas on how to fix the issue, or what could be causing it, please let me know. Thank you.

$\endgroup$
2
  • 2
    $\begingroup$ it could be because the origin of the eyes is at the world's center , try ctrl+alt+shift+c in object mode and use origin to geometry . $\endgroup$
    – user2816
    Commented Jul 4, 2016 at 18:10
  • 1
    $\begingroup$ It actually solved the issue, thank you. I feel silly now ^^ $\endgroup$
    – Dalieday
    Commented Jul 4, 2016 at 18:24

1 Answer 1

3
$\begingroup$

It is hard to see the "how to" in the context you describe, but here is an approach for rigging the eyes.

  • Create an armature
  • Add bones for the eyes to this armature (keep a main bone, extrude and set it as not connected bone)
  • Place these bones to the center of the eyeball (place the 3D cursor in the center and place the bone at the 3D cursor, use Shift + S)
  • In object mode, select the eyes, then the armature and Ctrl + P and "with automatic weights"

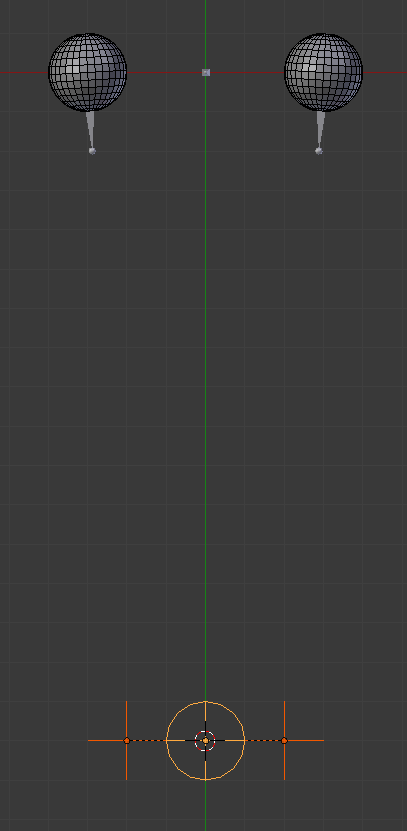
At this step we may have something like this :

enter image description here

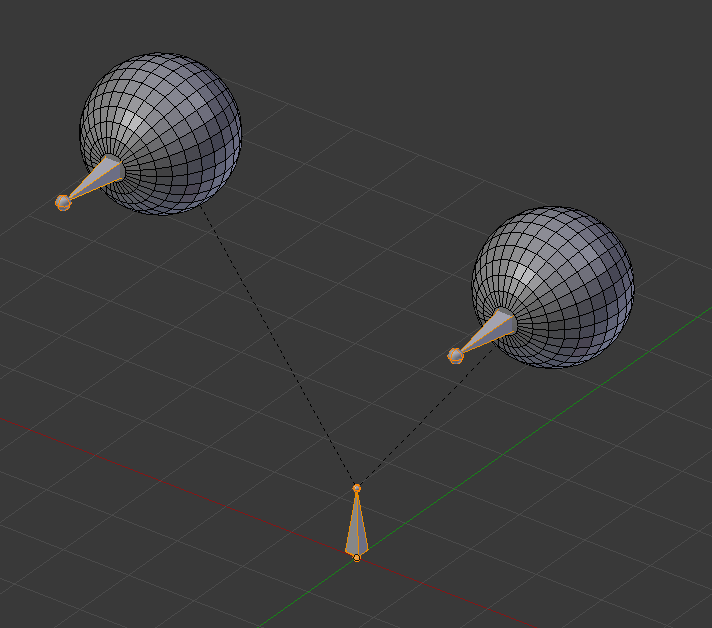
  • Create 3 empties (bottom of the image below)

2 empties for the eyes, with a little convergence. 1 empty to drive the 2 previous. Parent the two first with the last empty.

enter image description here

  • Back to the eyes armature

Go to pose mode (for a direct answer, this point 'pose mode' is probably the problem in your question).

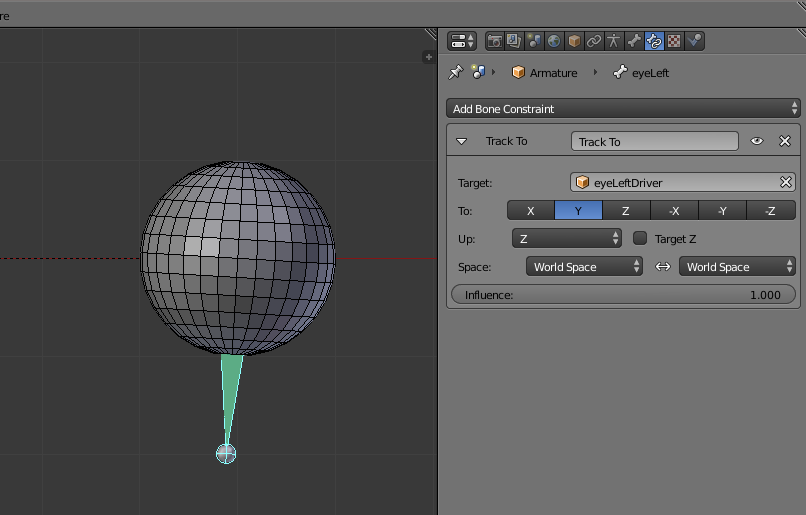
Select the left bone and add a "track to" constraint. Set the corresponding left empty as target. Then do the same for the right eye.

enter image description here

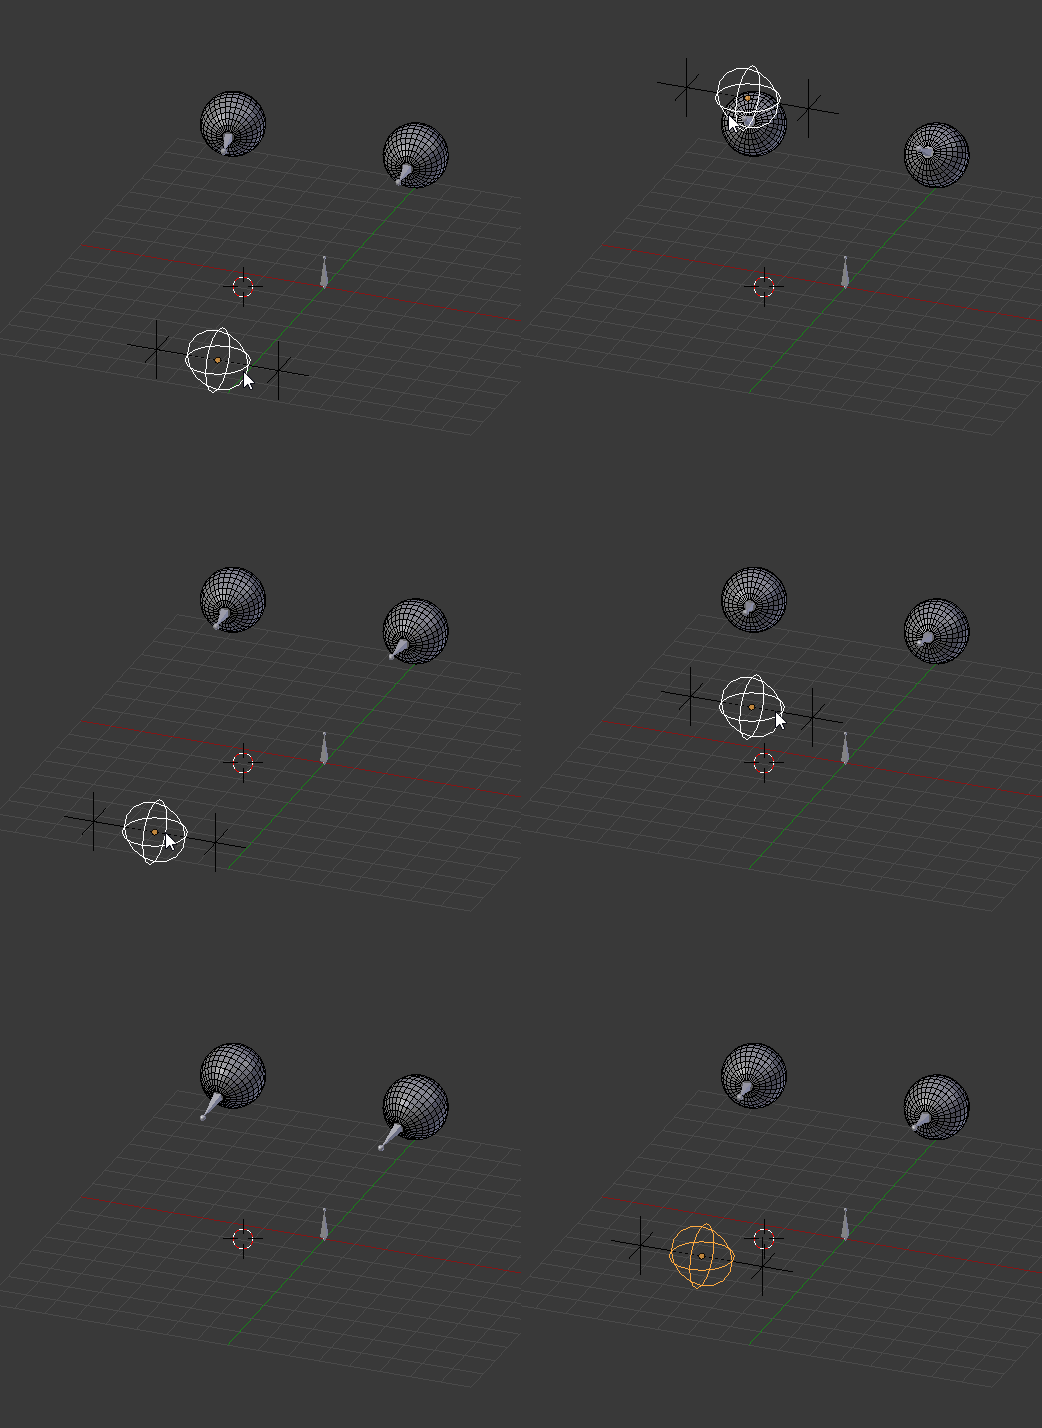
It is done :

enter image description here

Eventually, you can parent this armature to your current armature, but I think this is better to incorporate all in your armature.

$\endgroup$
2
  • $\begingroup$ Even though a comment told me where the problem was, I tried out what you wrote and it actually works better. Thank you very much! $\endgroup$
    – Dalieday
    Commented Jul 4, 2016 at 18:48
  • $\begingroup$ well yes... the comment of @root was "more efficient" but we did it at the same minute. Happy that this answer was useful. $\endgroup$
    – lemon
    Commented Jul 4, 2016 at 18:59

You must log in to answer this question.

Not the answer you're looking for? Browse other questions tagged .