0
$\begingroup$

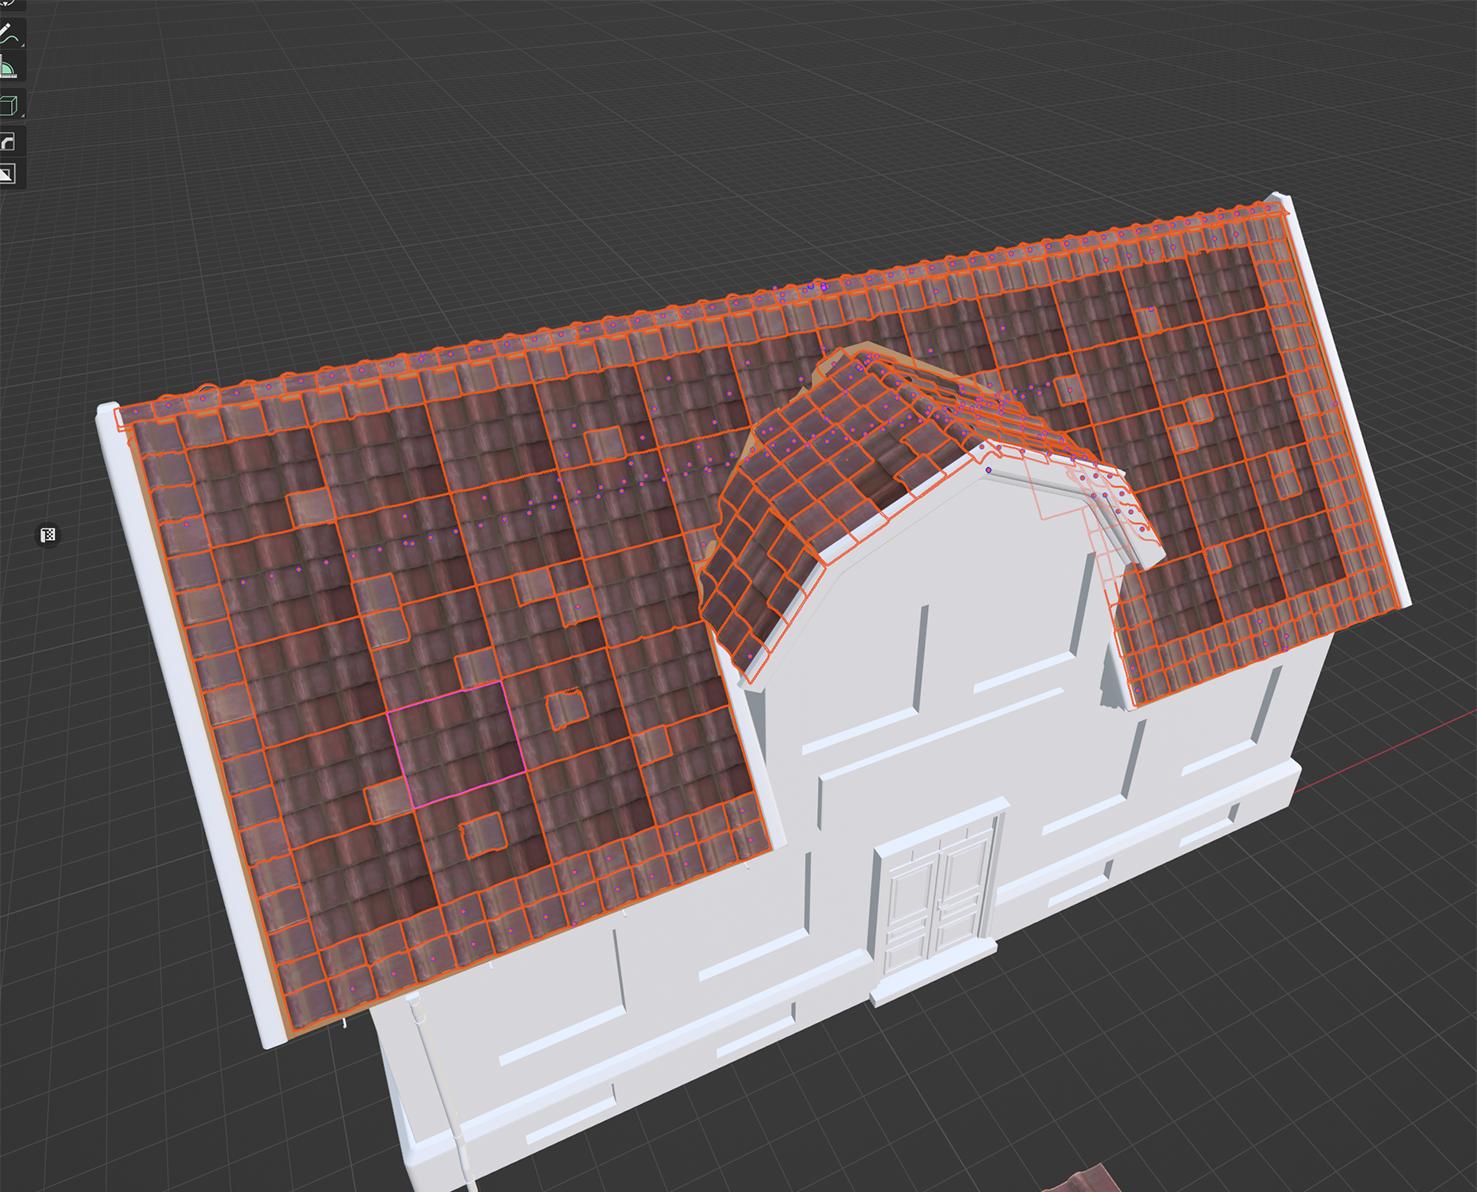
I have modeled a house and I'm working on the roof. The roof has tons of tiles (each of them is its own separate object) and now I've also added the grout.

enter image description here

I want all the elements selected in the image to share the same two UV channels or maps. For the first map, I intend to keep it unchanged to preserve my textures. The second UV map is meant for packing all these objects together. This way, I can use it in Painter to create a mask. Essentially, I need the second UV map to duplicate my objects for efficient packing, allowing me to use them in another program.

I couldn't find anything similar to this and I'm wondering ig it's possible in Blender. I saw someone do this in Maya, but not sure how to replicate their steps in Blender.

Thanks!

$\endgroup$
1
  • $\begingroup$ If anyone needs this: the solution I found is ZenUV addon. $\endgroup$ Commented Jan 18 at 13:33

2 Answers 2

0
$\begingroup$

I will assume all your tiles have the same mesh. You can link the Object Data in Object Mode by selecting all of your tiles then press CMD + L (I guess on Windows it's CTRL instead of CMD) -> Link Object Data. This will copy mesh data and therefore UV Maps from your active object to your selected objects. To edit the second UV Map and make it different for each object, select the second UV Map first (this will select it on each object, so you dont have to do it manually afterwards) and then make all your objects Single Users of their Object Data by pressing F3 (or whatever shortcut your quick search is assigned to) and search for Make Single User. Then, to edit the second UV Map (which is now selected on each object), select all your objects in Object Mode and press Tab to enter Multi Object Edit Mode in the UV Editing workspace. You can now use Blenders' UV packer to pack your islands.

$\endgroup$
0
$\begingroup$

Hello and thank you for replying!

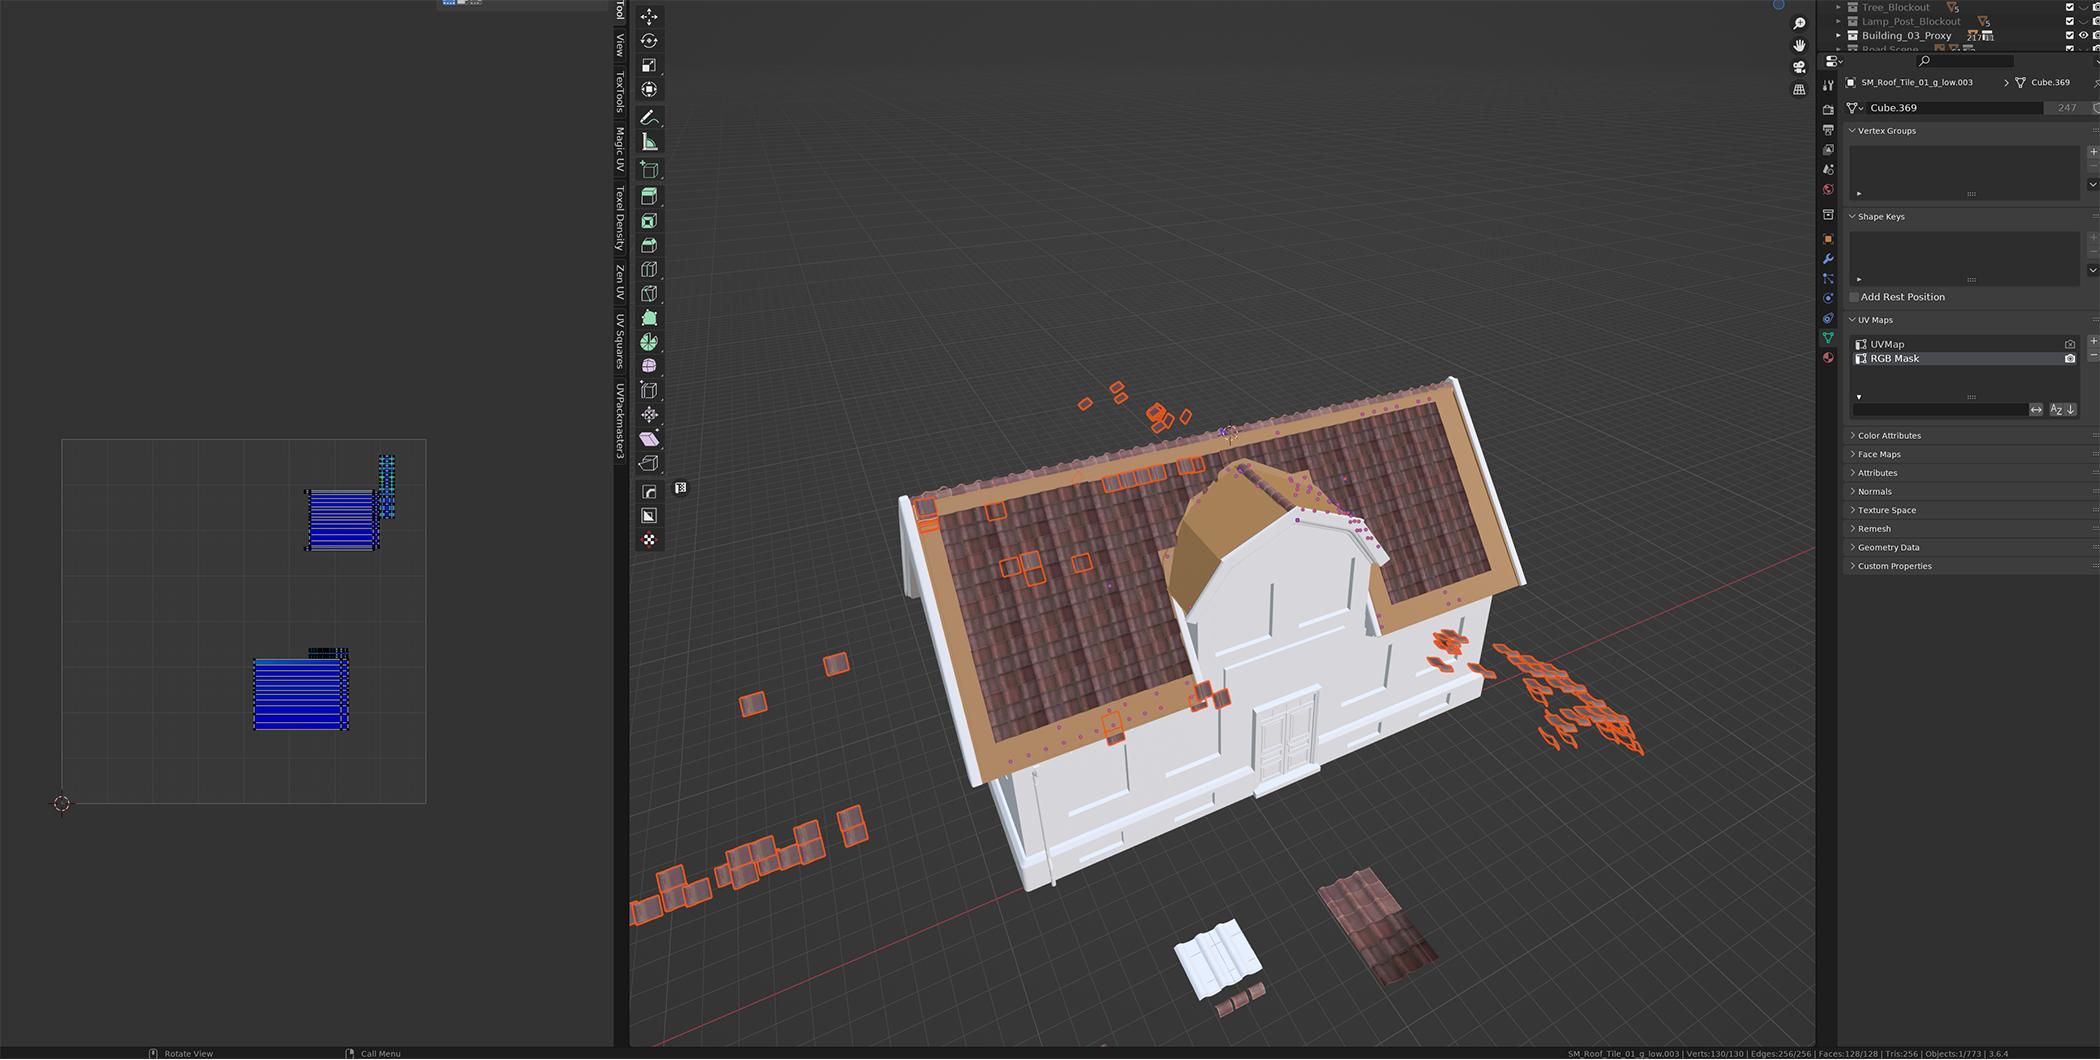
So, I followed your advice about Linking Object Data, but it seems like my objects got all scattered. I thought maybe it's because they don't share the same mesh, but even when I tried it with objects that definitely have the same mesh, the result was still chaos.

Just to give you an idea, my roof is made up of different things – there's the grout, tiles, top tiles, and a tessellated mesh with a tileable texture. Each of them has its own UV map. Your suggestion didn't quite do the trick, I guess because they don't share the same mesh.

So, another issue I ran into was that, after merging all the objects into a single user data, when I went to tweak the UVs, only one mesh popped up in the UV editor. I was hoping to see the UVs for each tile, but it looks like the move of making them a single user data might be the culprit here.

Here's the thing: I want all of them packed into their second UV map so I can later export this new version to Painter. The first UV map needs to stay untouched because, you know, if I mess that up, my textures will go crazy.

Or maybe there are other ways to do this?

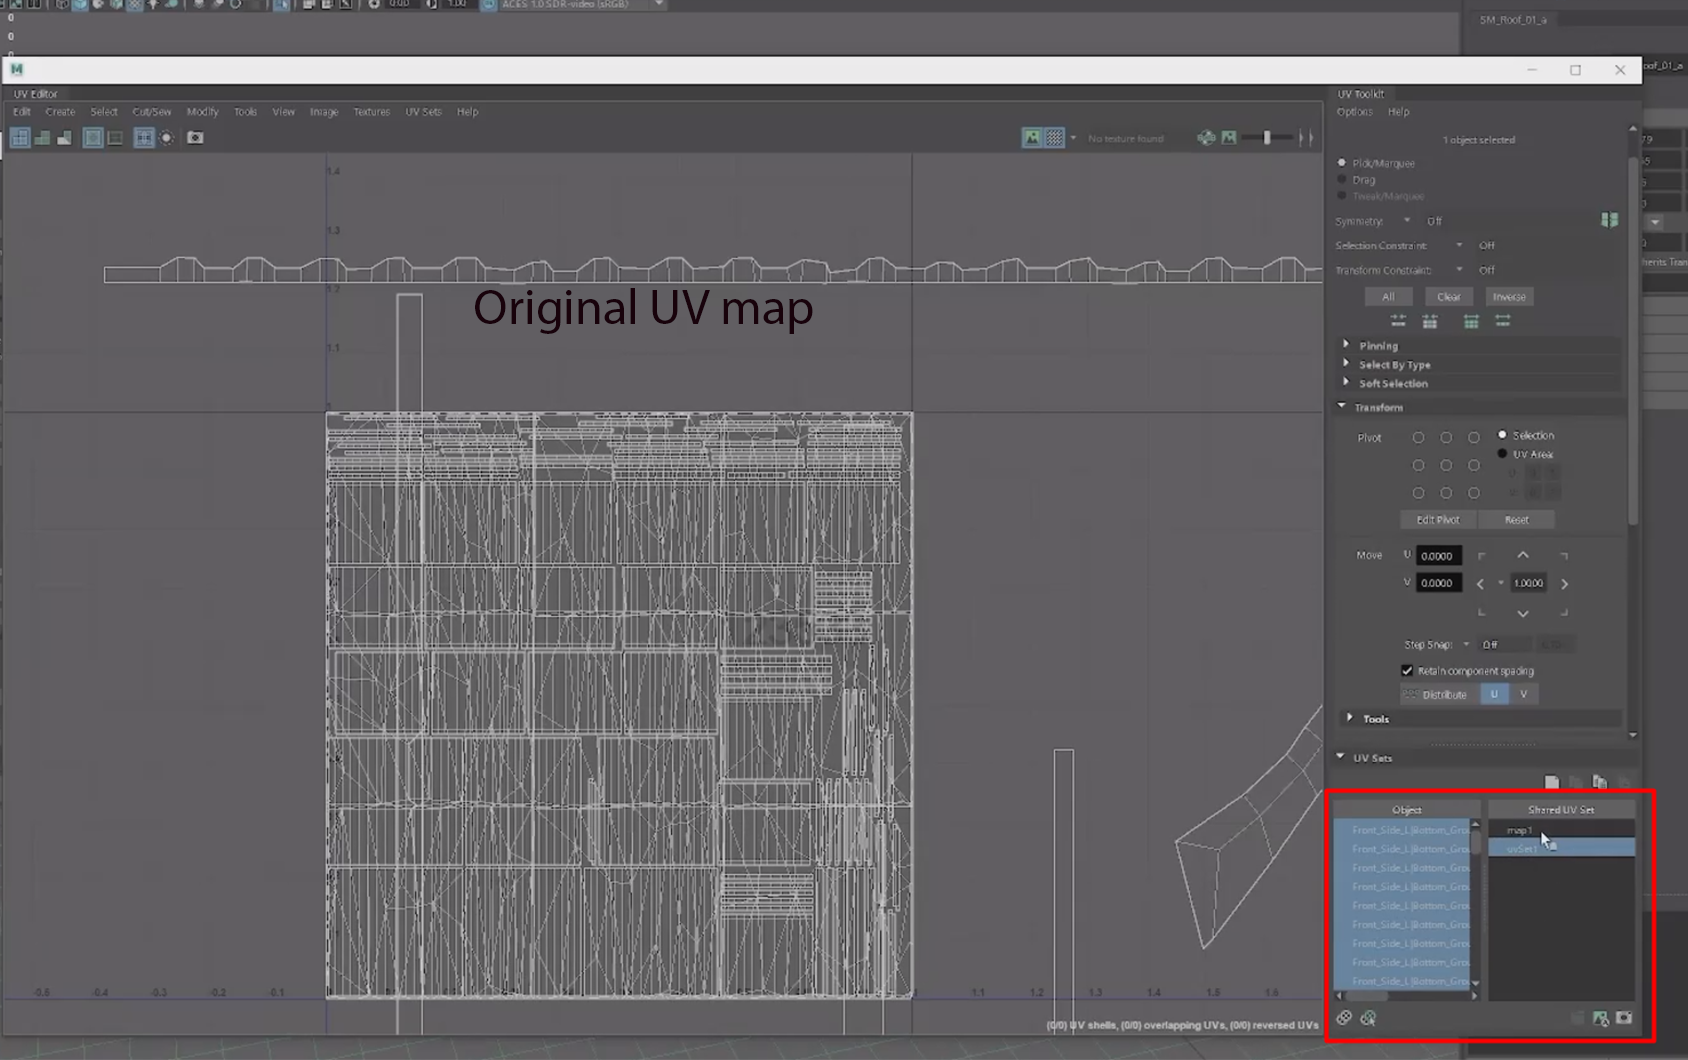
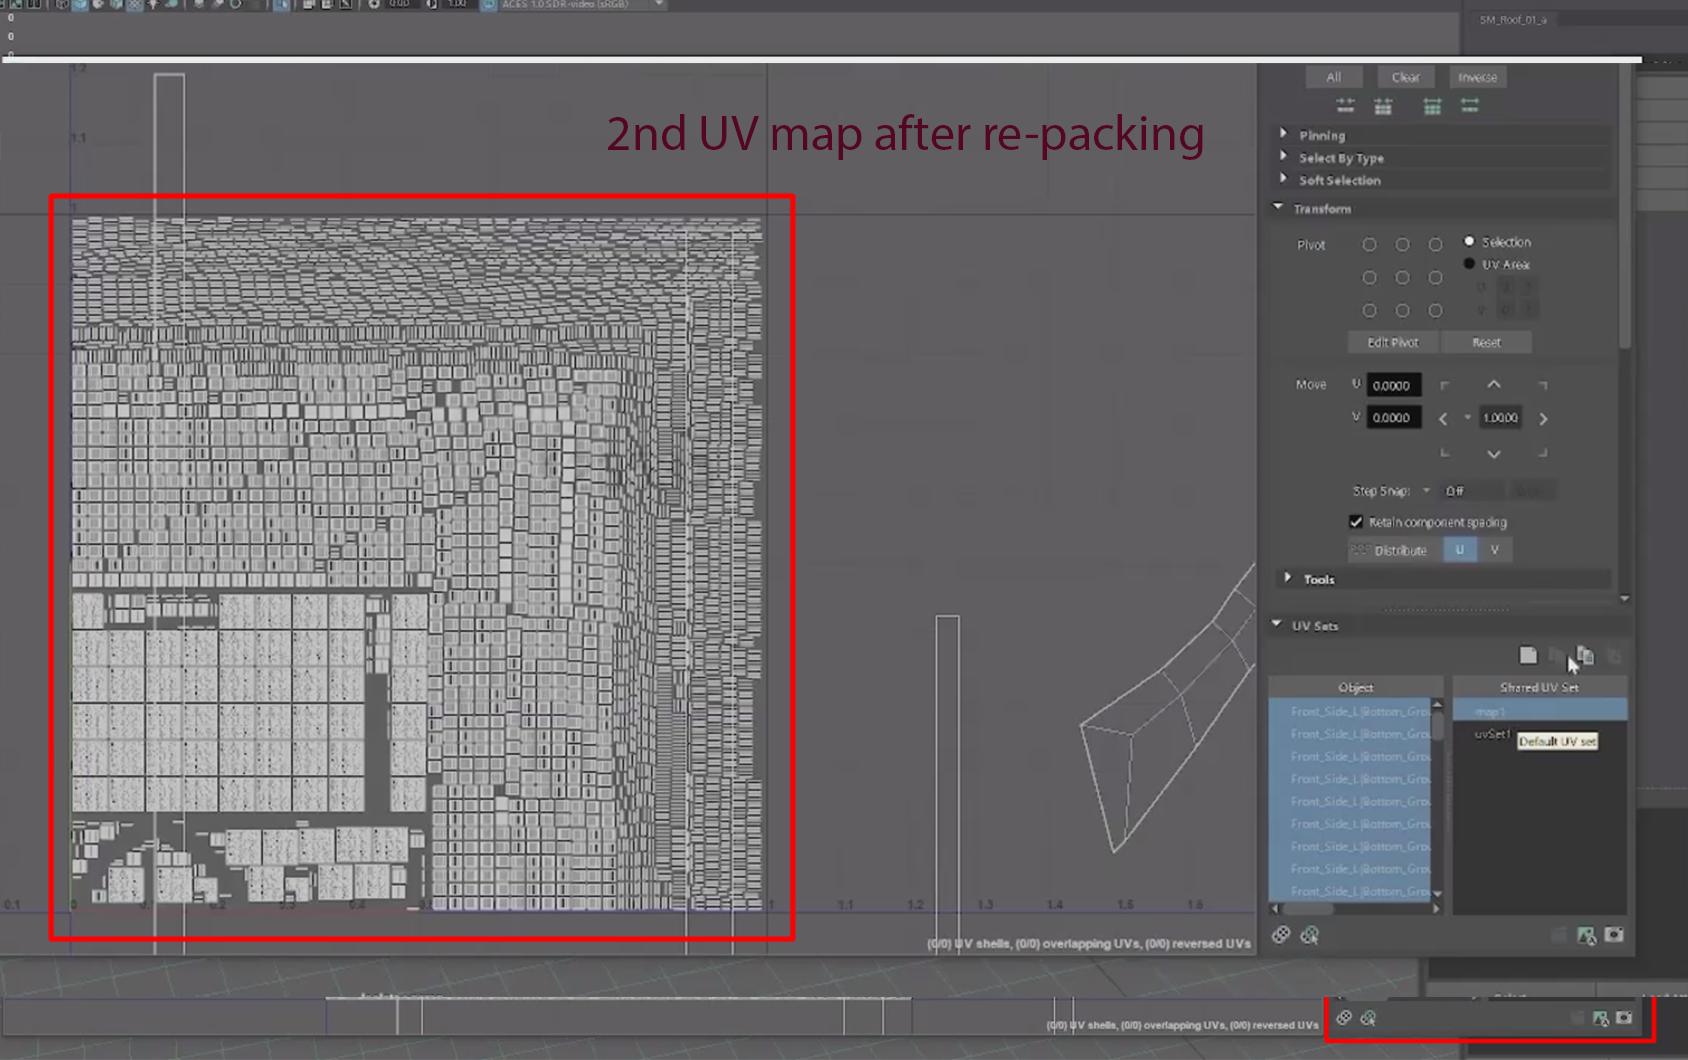
The first image is my result and the last 2 are what the guy did in Maya.(just for better visualization)

enter image description here

enter image description here

enter image description here

$\endgroup$

You must log in to answer this question.

Not the answer you're looking for? Browse other questions tagged .