2
$\begingroup$

I'm using the video sequence editor to try to edit a ~2 hour video into something much shorter. I want to have a high speed multiplier during uneventful parts of the video, slow down to real time during interesting parts, and then go back to a high multiplier again. Eventually I'm going to want to add text, but one step at a time. I'm having a really hard time understanding how Blender works for speed changes.

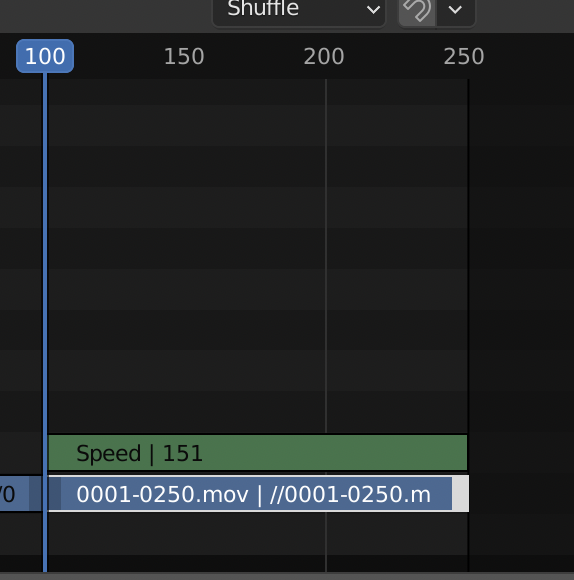
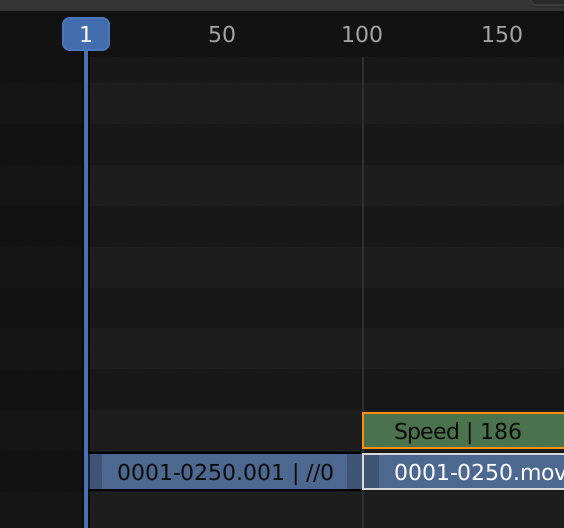
The start of my video I'm keeping real time, and then I split the strip at the point I want to change playback speed. In the new part, I add a speed control effect, and set the multiple to the value I like:

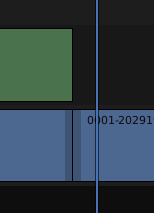
sequence editor showing a split video with no speed effect on the left, and with a speed effect on the right

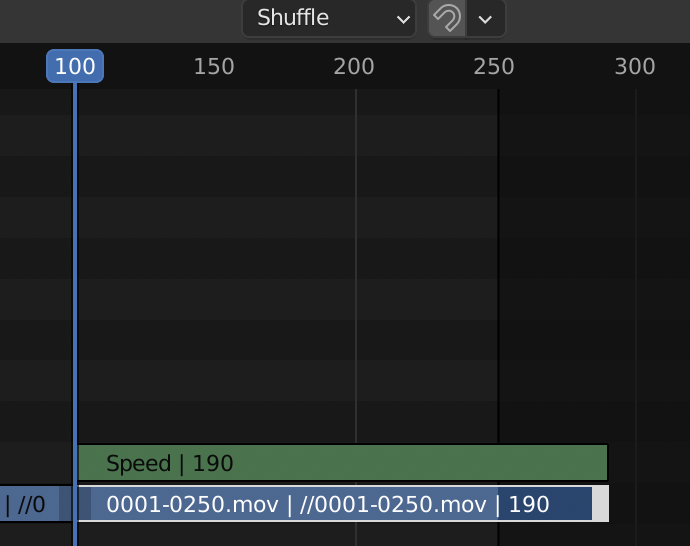
Then, I use the sequence editor to find the next place I want to change the playback speed, I split the strip again, and then delete the speed control on the new part of the video:

sequence editor showing a split video, with a speed control on the left and no speed control on the right

However, this 3rd strip goes back in time to where the video would have been if it was playing real-time throughout. It doesn't take into account that part of the video was being played at a speed multiple.

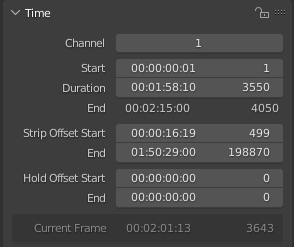
Even when I look at the video strip that has the attached speed control effect, I can't figure out what the frame number at the end of the strip is. The numbers are all correct only if there was no speed control effect:

enter image description here

Here we see the sped up video started at frame 500 (start offset 499 + start frame 1), and the duration is 3550 frames. However, it's at 8x speed, so while it's 2:15 of viewer/rendered time, it's much later in original source time.

Even if I do the math myself, and calculate the exact frame number, I haven't yet been able to figure out how to get the 3rd video strip, the one that goes back to real-time after the speed up ends, to start at my calculated frame number. I think I understand "start/stop" in the sequence editor, but I don't understand "strip offset start/end" and "hold offset start/end", or what values I should enter to have my video appear uncut, just the playback speed adjusted.

How can I edit my video so that I can change the playback speed multiple times, without having any 'cuts' in the original video?

EDIT: Extra information

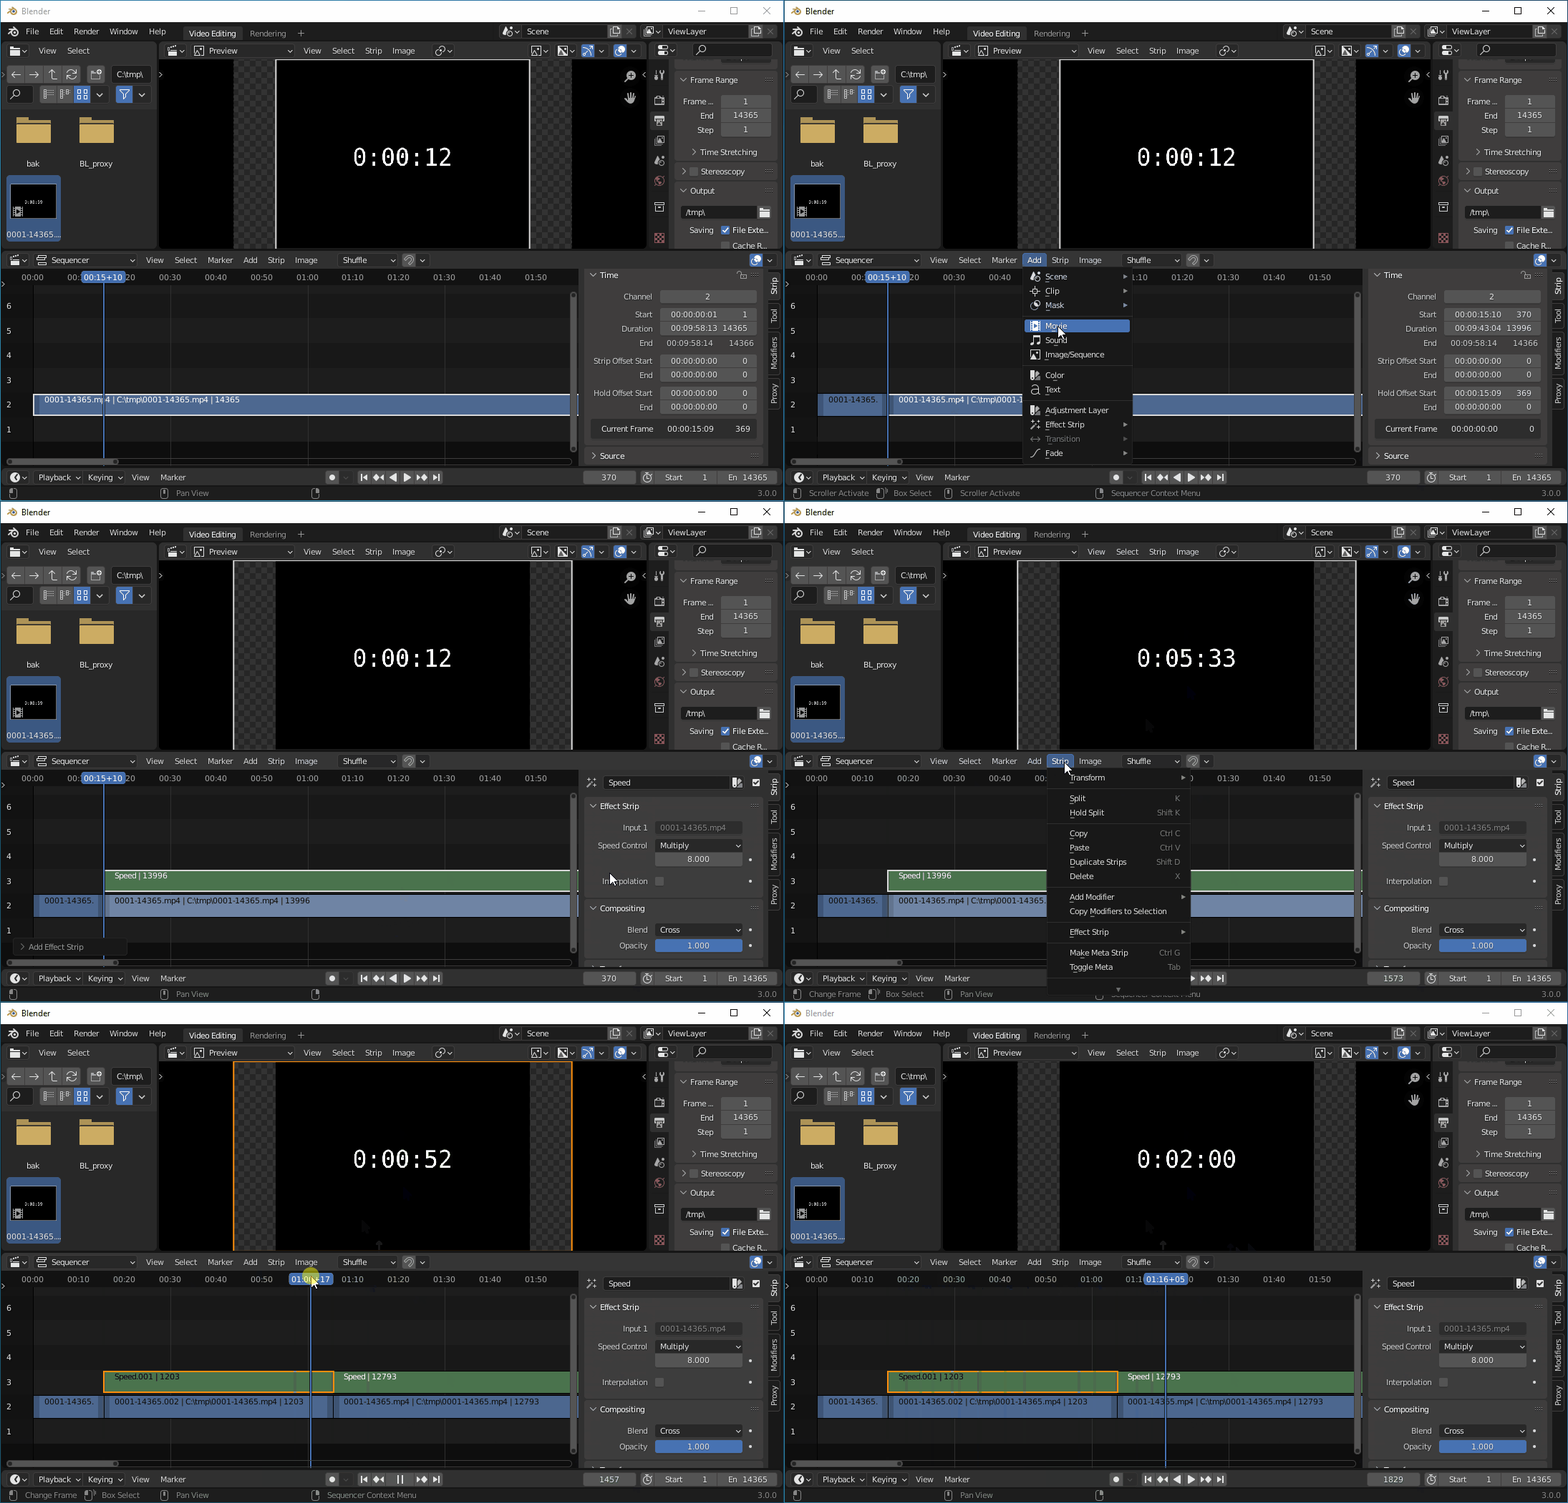
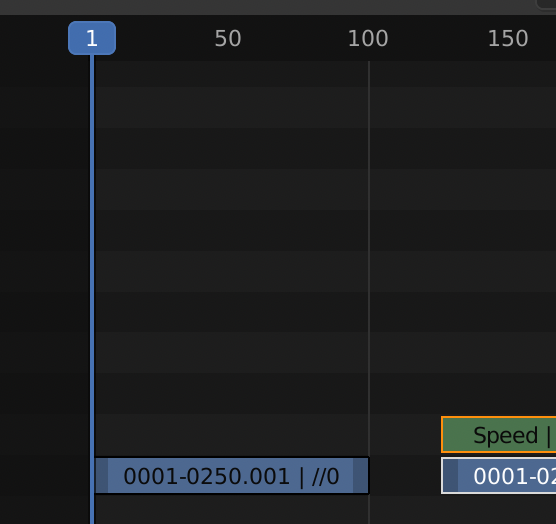
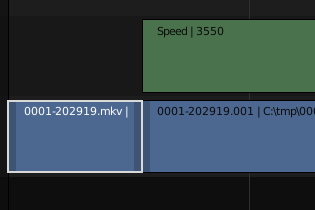
I'm brand new to Blender, and video editing, and I didn't know there was a difference between "hard cut" and "soft cut". Only the soft cut is available when I right click the clip in the sequence editor, but I see hold cut in the menu. Anyway, trying Chris' suggestion from his answer, I still have the same problem, but now the part of the video that is sped up doesn't work as I intended either.

enter image description here

See how before the split the video was at 5:33, but after the cut it was just at 0:52. Going back to the clip that has the speed control, now only the first 1/8th of the clip actually animates, the last 7/8ths holds the last frame for the full duration.

$\endgroup$
3
  • $\begingroup$ AFAIK you cannot have different speeds without cutting the strips (if you start with one strip) $\endgroup$
    – Chris
    Commented Dec 8, 2021 at 9:26
  • $\begingroup$ how can I do it with cutting the strips? What I meant in my question was that I don't want "gaps" in the end video. If I transition from 16x speed at say 1:23:45 in the source video, I want the first frame of the 1x speed following it to start at 1:23:46 in the source video. I want it to look like someone was playing with the speed control, but for it to otherwise be the original 2 hour video without any parts of the video removed/skipped. $\endgroup$
    – zivkan
    Commented Dec 8, 2021 at 12:44
  • 1
    $\begingroup$ For only editing video, I think there are more specialized packages than Blender.. Shotcut is open source software I use for video. shotcut.org $\endgroup$ Commented Dec 8, 2021 at 15:40

2 Answers 2

3
$\begingroup$

Here is how can do it:

first place the cursor at that frame where you want to change the speed.

enter image description here

Press Shift+K

enter image description here

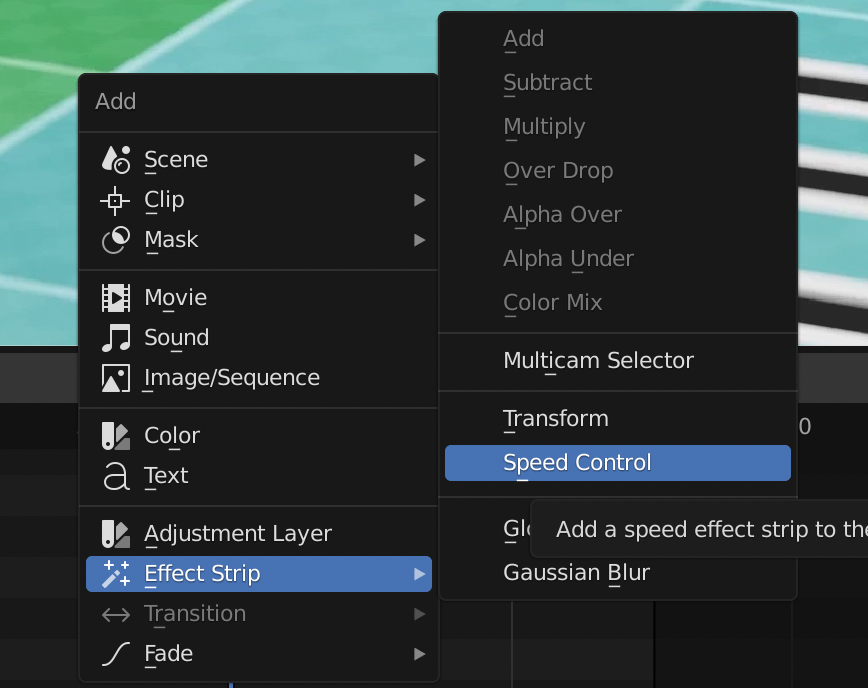
now press Shift+A -> Add -> Effect Strip -> Speed Control

enter image description here

now you can drag the right slider where you want to

enter image description here

enter image description here

if you have gaps somewhere, place the cursor on frame 1

enter image description here

and press Backspace

result:

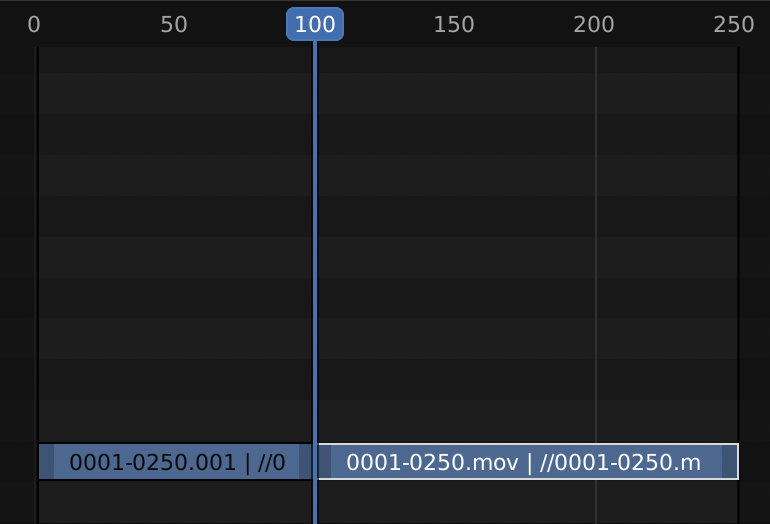
enter image description here

if you have more gaps, press backspace again and again.

$\endgroup$
6
  • $\begingroup$ As I stated in my question, I know how to add a speed control to a strip. I even have screenshots where I've done that. What I want to know is how to have a 3rd, 4th, 5th change in speed and have the clip start at the correct location (starting exactly where the previous clip finished) $\endgroup$
    – zivkan
    Commented Dec 8, 2021 at 14:13
  • $\begingroup$ @zivkan If you close the gaps between the strips, the following strip always starts where the previous strip finishes...? Strangely remove gaps with backspace doesn't work in my testfile, but you can always move the following strip towards the previous and manually place it on the next frame to it or hold Ctrl to snap it to the previous strip. Then place the cursor somewhere else, add more splits with Shift+K, select another strip you want to speed up, add Speed Control, size the strip down, close the gap... and so on. $\endgroup$ Commented Dec 8, 2021 at 14:27
  • $\begingroup$ @zivkan Okay, reading your question again I have to ask two things: 1. How do you split the video, with K or like Chris said in his answer, Shift+K? 2. How do you close the gap between the strips, do you move it with G (or use Backspace like Chris), or do you drag the left side of the next strip to the previous one? $\endgroup$ Commented Dec 8, 2021 at 15:10
  • $\begingroup$ I used K, not shift-K (this is my first time using Blender, or attempting to do any video editing in any app. Don't asuume I have any minimum knowledge :) ). I didn't have any gaps in my video. Pressing K would split the strip at the current time and there wasn't any gap. I'm trying to create a screen gif to demo, but I have to step out now, possibly for a few hours. $\endgroup$
    – zivkan
    Commented Dec 8, 2021 at 15:14
  • 1
    $\begingroup$ You will have gaps if you use the default Speed Control. The default setting is "Stretch to Input Strip Length". Using Shift+K, it's a hard cut instead of the soft cut with K. This means, expanding the strip will not "bring back" what was there before the hard cut. If you now shorten the clip with the Speed Control from let's say 500 frames to 100 frames, it will automatically play 5x faster. Now there is a gap to the right. If you now move the following clip (the complete clip, not the left border) to the left, the gap is closed. Read the answer thoroughly before complaining you did that ;) $\endgroup$ Commented Dec 8, 2021 at 15:26
0
$\begingroup$

EDIT 11th Dec 2021 - Improvements rewrite...

There are a few rules to follow here -

Importing variable bitrate mp4's can make maintaining sound sync somewhat more challenging , so a conversion to lossless .AVI and using that in the VSE can be a good idea.

It would probably help to set all imported strips to --> "Replace" <--- in the properties at top right. (press N)

---> NEVER EVER <--- move a video strip without it's accompanying sound. Once separated it can be - goodbye synch.

Don't forget to switch on the AV synch in the VSE's window header.

-===============-

Procedure -

Import the movie strip into the lowest strip channel. It may help to set it to "Replace" in it's properties at right. (at the top)

At the frame where Fast Forward (FF) is to commence, do a SH-K to cut BOTH strips. (sound and video)

Move forward to the point where speed is to return to normal. Do another SH-K there. (both strips)

Select both Sound and Video (separated at right) and drag them both to a higher channel and well to the right and out of the way, with G. (no mouse button required

Go back to the section that's to be sped-up and delete it's sound strip.

Select the (video) strip that's to be sped up and add an Effects Strip --> 'Speed Control' to that.
Press N to see it's properties at right and type in the speed required. (for lengthy FF, a setting of 8.0 is a good one to try)

Untick the "Stretch to Input Length" box and check the "Use as Speed" box is ticked.

Set the "Speed Factor" to 1.0 .

When played it will Fast-Fwd and eventually resume normal speed again or freeze.

(You can check the cut away section (moved out of the way previously) to see what's there at it's start. It will probably be at the same point as the FF strip's return to normal speed)

Move the timeline cursor to where the sped-up video strip resumes normal speed or freezes.

Select that video strip and drag it's right-hand end-handle, (small triangle) and drag that back to where the timeline cursor is.

Play it again to check it's doing what it's supposed to.

If desired, a 'Whiz-by' sound effect can be added to accompany the Fast Forward strip. Do a SH-K (hard cut) on that to match the speed control's strip-length.
Move the separated trailing section to the right and well out of the way.

Select all 3 sped-up strips - Video, Speed Control, & sound effect and press CTL-G to condense them into a single Meta-strip. (play it again to check?) (Use ALT-G to restore)

Select the previously moved original video & audio 'strips and drag them back to join up with the end of the sped-up meta strip.

That completes the process. Repeat the above for further Fast-Forwarding...

-=================-

IMPORTANT -

The VSE has a habit of acting up when changes are made, so before rendering and possibly earlier, save the project, exit, and reload a few seconds later. (give the computer's delayed disc-updating, time to catch up)

Play the entire sequence through before rendering. (a precautionary step which may not be necessary)

-=================-

Speeding up the sound for Whiz-by SE -

Fire up a new instance of Blender.

In the VSE...

Import an audio or video file. Go to the 3D viewport and in the rendering panel's 'Dimensions' tab, set the output frame rate to 1 fps, dimensions to 600 x 400 (?)

Change the frame range to 25. (?)

In the render panel, set the output's audio to mp3 (?)

...

Back in the VSE, select the audio strip and set it's volume to 3. (?)

Set the pitch to 4 or higher.

Switch on 'AV-Sync'. (?)

Render it out.

(the sound can be separated from video in various external Video and Sound Editors)

$\endgroup$

You must log in to answer this question.

Not the answer you're looking for? Browse other questions tagged .