1
$\begingroup$

I have a sphere with mapped imaged of the earth. I want to show a tiny sphere following the path along from one point to another like and airplane. I did this already representing a ship on a flat map. I used a sphere on a bezier curve with an array modifier.

I used front view to ensure that the curve and the sphere were above the level of the plane/map. However, with the sphere/globe, I cannot get the curve to the top. It goes through the middle or behind the sphere. I tried everything I could think of (I am very new to this so everything is not much) and I searched to see if someone else asked the same question but was unable to find what I needed.

Can anyone help straighten me out? Thank you so much.

This is the file that I created using the map and bezier curve with modifiers

This is the globe that I want to add a similar path to

$\endgroup$
6

3 Answers 3

1
$\begingroup$

You can try doing this:

  • Add the curve
  • Switch to edit mode and subdivide the curve 4-5 times (press w to subdivide)
  • Add shrinkwrap modifier to the curve. Accept the default setting and as target set the sphere. Apply the modifier.
  • Now add the small sphere, with the array modifier and then the curve modifier with the settings you want (as done in the other blend file).

I am attaching the example blend.

$\endgroup$
1
$\begingroup$

The Great Circle.

The shortest path between two points on a sphere is on an arc of the great circle

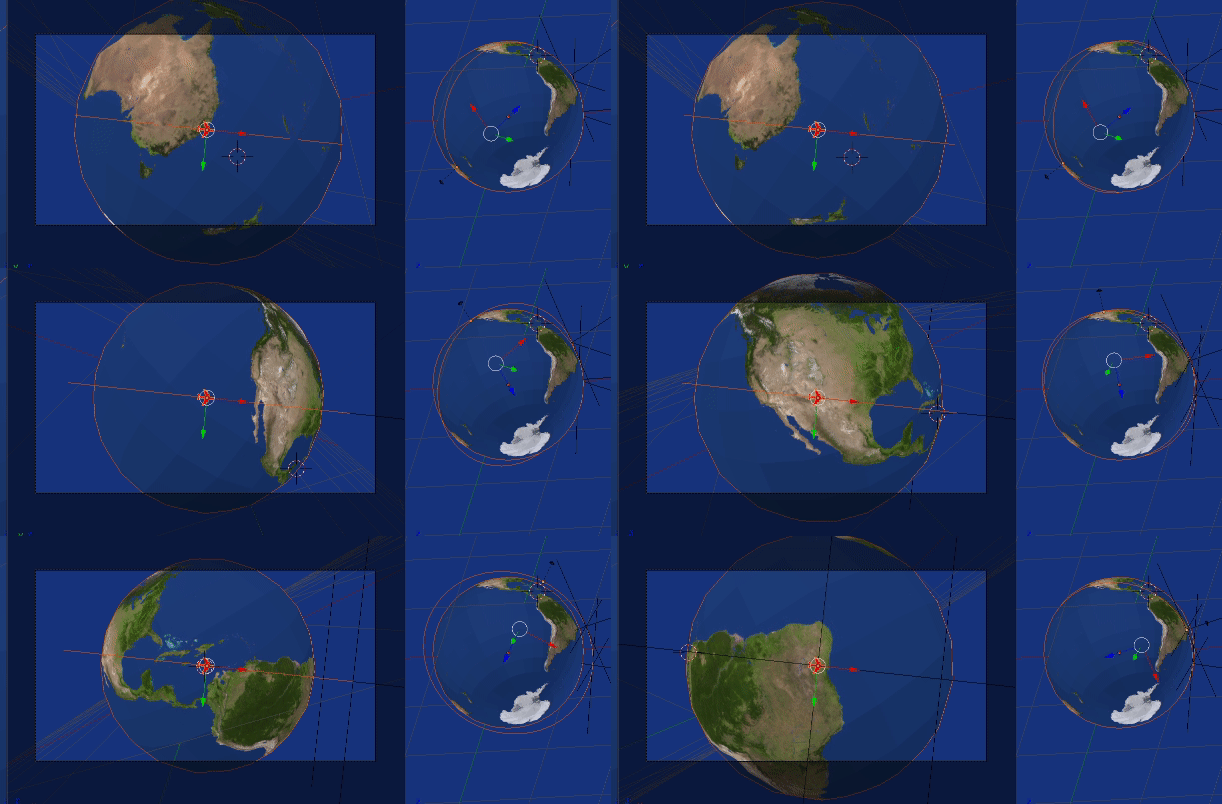
enter image description here Test result using method below. Fly from Oz to US change bearing, off to Brazil. Have also scaled up the path while in flight

To emulate this in blender, for example sake, add a default sphere, and a default bezier circle. The circle sits like the equator on the surface. This will be our flight-path. Can scale it up to make it above surface.

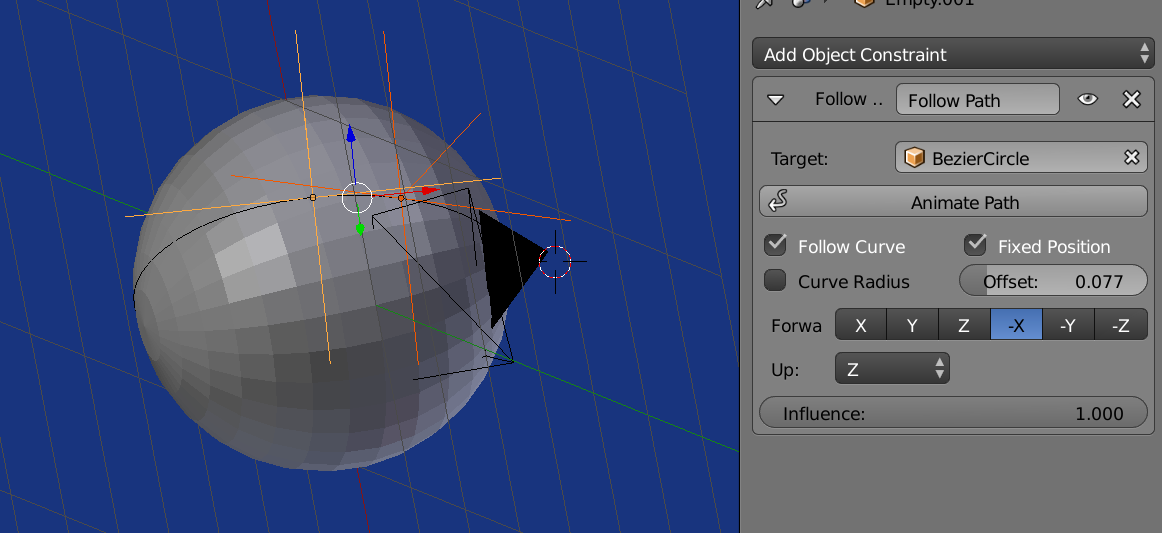
Add two empties to Scene. Give each a follow path constraint, using the circle as target, and set to type Fixed Position and Follow Curve. I've chosen -X as forward, and Z as up.

Please note, all objects have the default location (0, 0, 0)

enter image description here Unselected empty at offset 0. Next empty with some offset.

Positioning.

Adjust the rotation values of the bezier circle until it crosses source position (Will mirror lat long to some extent.) Move one empty to this point by adjusting offset. With the empty selected, align view to it using ⇧ Shift NUMPAD 1 (since -X is forward) The view is now aligned such that the empty lies directly above the origin.

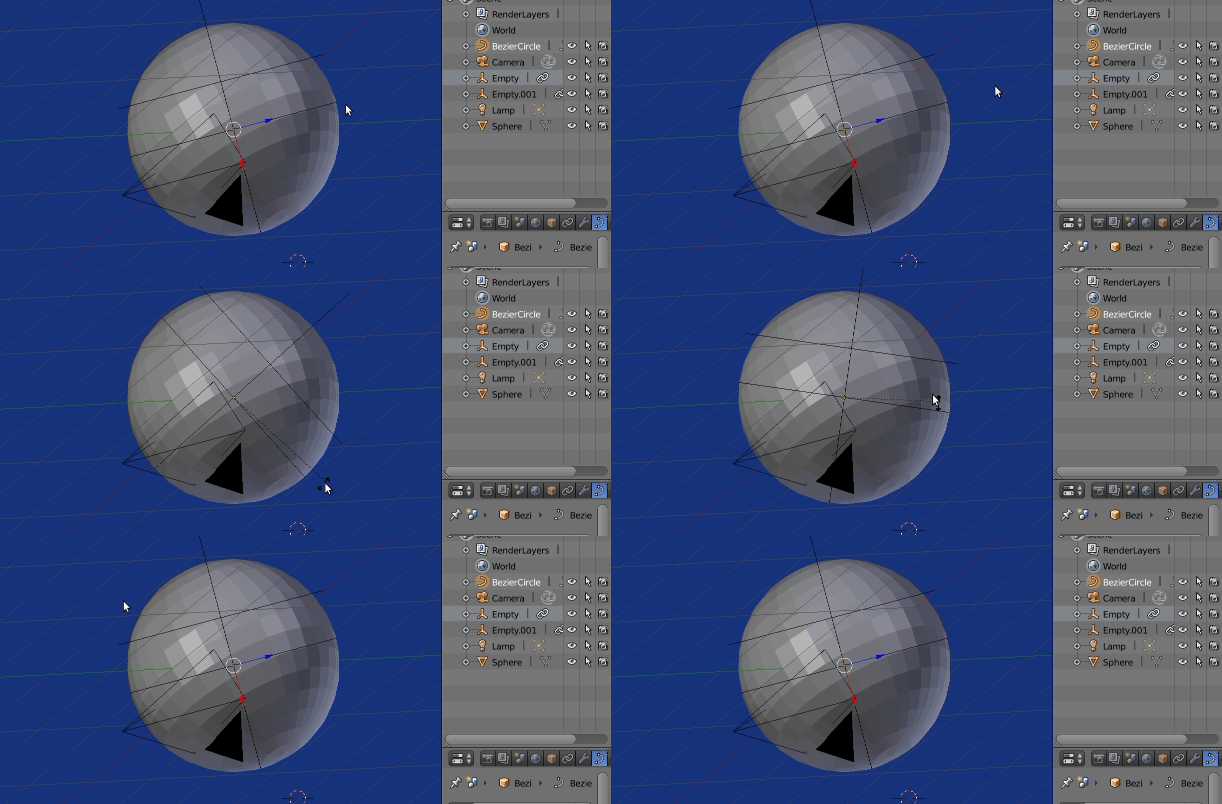
Select the circle, rotate using R in the ui until it crosses your destination point. Finally adjust the offset of empty 2 until it is above desired point.

Spin the ring _Rotating the circle in view aligned to destination empty.

Can now fly our plane from source to destination (empty one to empty two), by using a follow path constraint and animating its offset from that of empty one to offset of empty two.

$\endgroup$
0
$\begingroup$

It's hard to keep a Bezier curve aligned with an arbitrary surface because its control handles won't play fair, so, despite having to take a destructive step, perhaps it's easier to start off with a mesh.

  1. Set Snap to ON / Face / Active, with Align Rotation switched on
  2. Create a single vertex. An easy way to do this is to create a plane, snap it to the surface of your sphere, and with 'Automatically Merge Vertices' switched on, Alt M merge its vertices at center.
  3. Assign a Srinkwrap modifier to the vertex, with an offset to keep it above the surface of the sphere, and 'Keep Above Surface' checked. (Make sure the modifier is visible in Edit Mode)
  4. Above the Srinkwrap, assign a Subdivision Surface modifier, with level, say, 3.

Now, by E extruding the vertex, you can draw a smooth curve around the sphere, much as you would if you were retopologising it.

When happy, you can duplicate the mesh curve for safety, and, in Object Mode, Apply the Subdiv., and AltC convert it into a true curve.

If you need to, there are still lots of things you can do to the curve after the conversion: for example, in the Tool shelf, you can convert the Spline Type to Bezier, to get your handles back, or NURBS, to keep all the control points on the surface, and reassign a Shrinkwrap... but editing the curve will put you into a similar position as you were in when you asked the question, (at least starting with an aligned curve, though).

For this job, though, you could probably use the curve as it is.

$\endgroup$
1
  • $\begingroup$ Thank you very much for the suggestions. Looks like this task was above my "pay grade" to begin with but I am always up for a challenge and new learning. Naturally I will try what looks like the easiest one first and failing that, go on to the next. I will let you know how I make out. Won't be for a day or two. $\endgroup$ Commented Sep 10, 2018 at 11:46

You must log in to answer this question.

Not the answer you're looking for? Browse other questions tagged .