2
$\begingroup$

I'm very, very new to Blender (I'm not yet using plugins). I've been tasked to learn 3D animation to show the riveting process of the blind inserts for the company I work for.

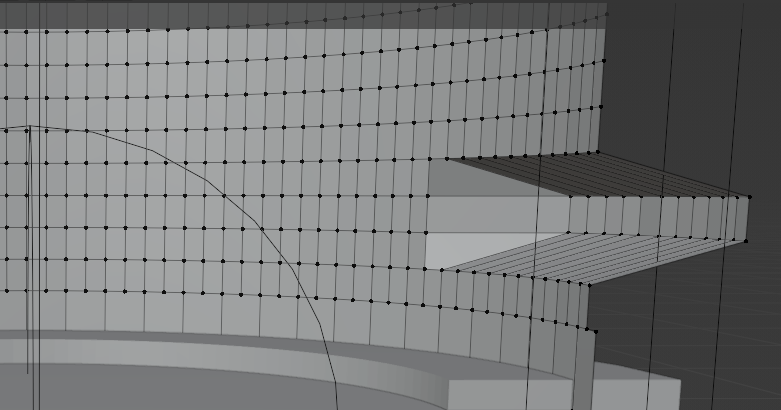
To achieve this, I'm trying to deform a cylinder that I shaped with a bunch of boolean objects. I then added a lot of geometry to the lower (threadless) part that I'm trying to deform.

image of blind insert object

I tried deforming this part of the object with curves and lattice (both straight and bent with simple deform), however I never get a satisfying result. In an ideal world the material should fold over itself like it does in the real world and be taken from the top, so that the tread moves closer to the base part of the insert.

geometry of blind insert model with modeformation with magically added material

It's very important to control the exact deformation of the rivet, as that is one of the major selling points of our blind inserts.

Our competition does it like this: https://www.youtube.com/watch?v=RM-9JbRbKqE, which would be ideal to recreate. The scene I'm focusing on right now is in seconds 21-24.

I'd be very thankful for any help or suggestions on personal blender lessons!

$\endgroup$
3
  • 1
    $\begingroup$ i would try it with shapekeys and proportional editing in edit mode $\endgroup$
    – Chris
    Commented Aug 22, 2023 at 10:29
  • 1
    $\begingroup$ so with 2 mins effort you could get this: [1]: i.sstatic.net/C5wuE.gif -> just a cylinder with a lot of subdivisions and then shape keys deformed with proportional editing. For demo i just added a boolean modifier to the cylinder so that it is cut in the middle. $\endgroup$
    – Chris
    Commented Aug 22, 2023 at 10:35
  • 1
    $\begingroup$ Thank you so much Chris! Shape keys seems to be what I was looking for! How did you get the cylinder to compress outward instead of onto itself? Did you move every single geo point or is there some way to make Blender move all of the walls outward when compressed? $\endgroup$
    – jbutz
    Commented Aug 25, 2023 at 8:48

1 Answer 1

0
$\begingroup$

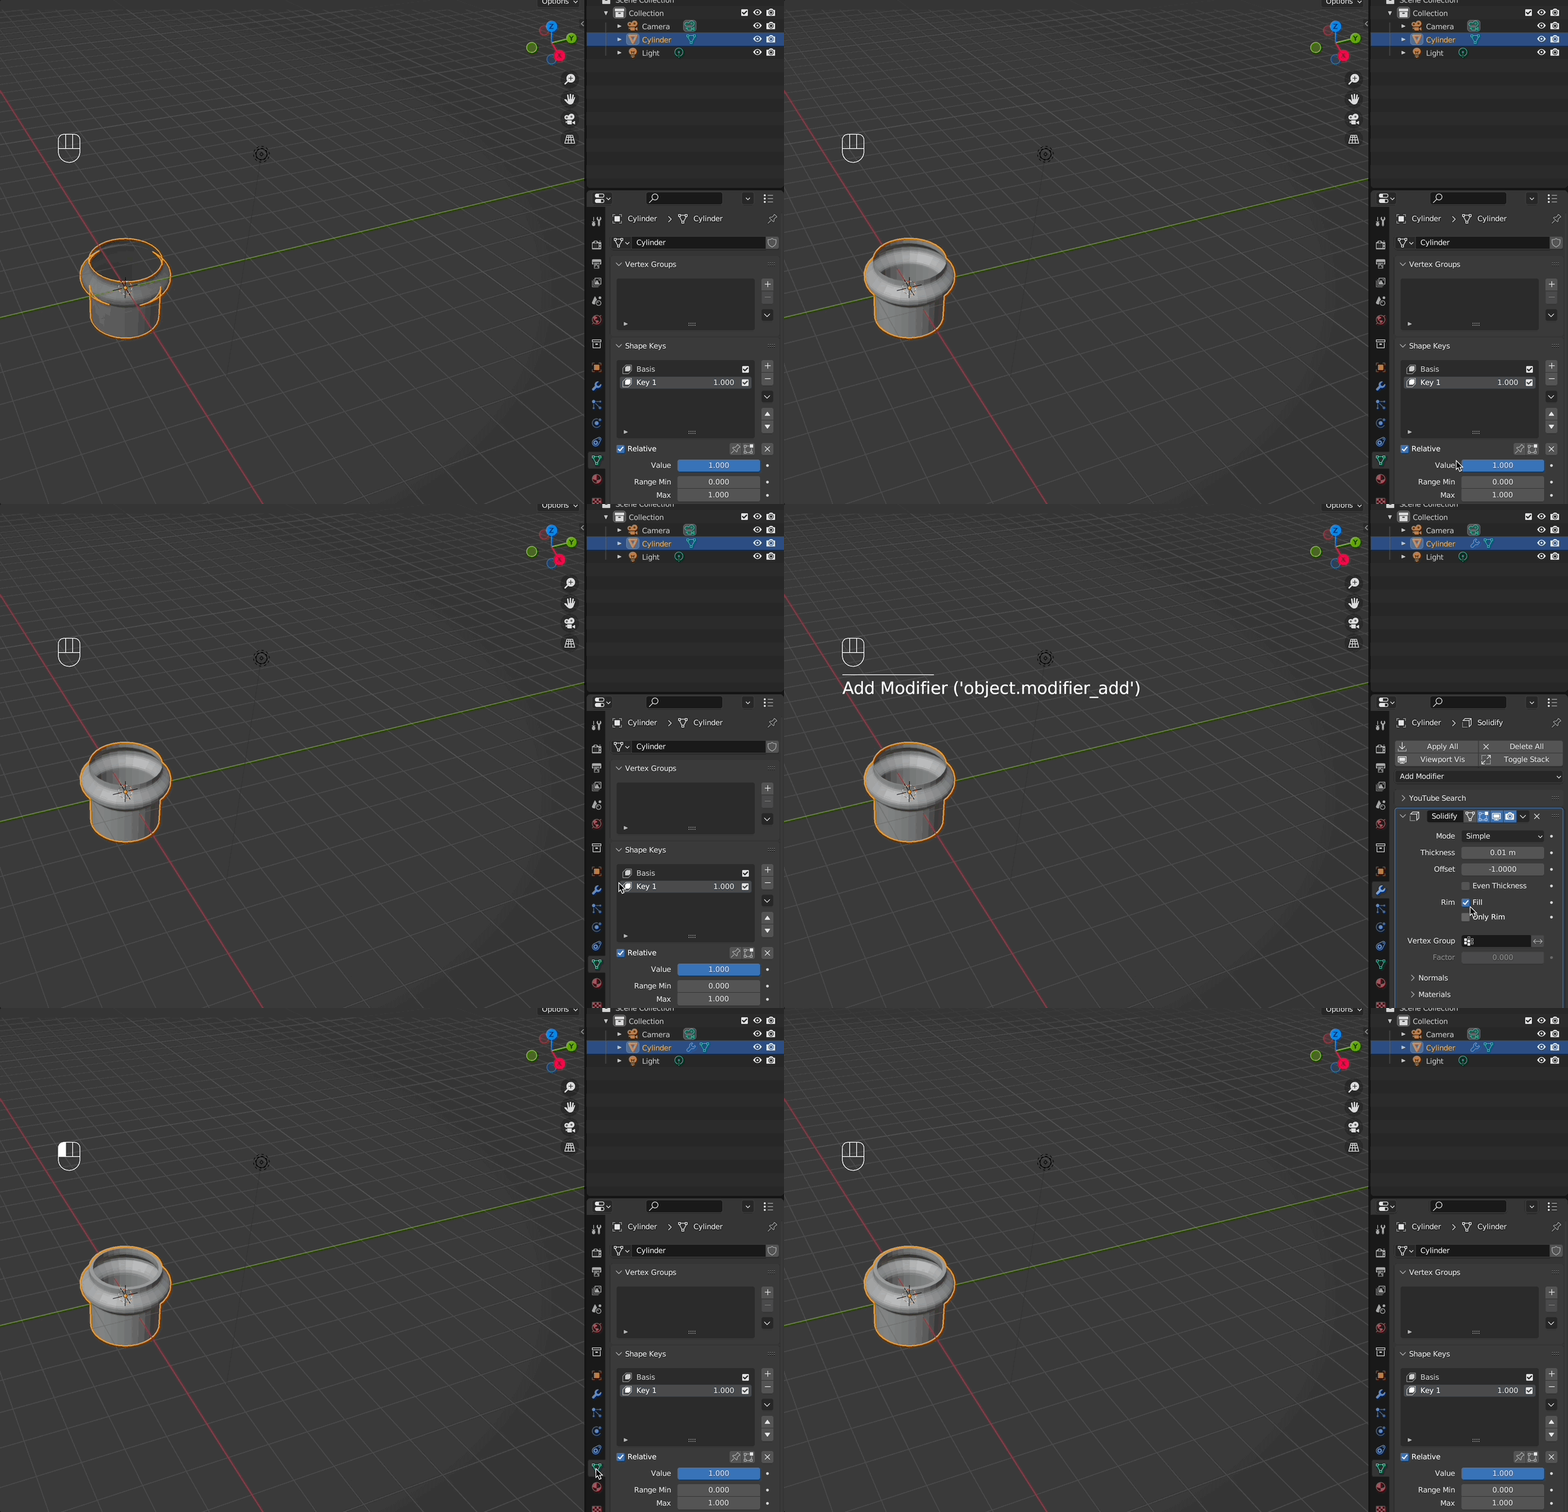
after subdividing your cylinder, add shape keys, go to edit mode and toggle x ray, in front view select your vertices, toggle proportional editing and move as you like it. Add solidify modifier.

enter image description here

enter image description here

after that i moved all vertices above and under the bulge a bit down and up so that it looks like it would shorten in z direction. (this isn't shown in the gifs)

$\endgroup$
2
  • 1
    $\begingroup$ Chris, thank you so much! I've understood now and it's the right idea. $\endgroup$
    – jbutz
    Commented Aug 31, 2023 at 10:34
  • $\begingroup$ i am glad it helped you. pls click on the checkmark left of my answer, if my answer helped, thx! $\endgroup$
    – Chris
    Commented Aug 31, 2023 at 12:08

You must log in to answer this question.

Not the answer you're looking for? Browse other questions tagged .