Musician mask -
I gather you're not familiar with masking so I've elaborated below, perhaps excessively so you won't get caught with traps for new players.
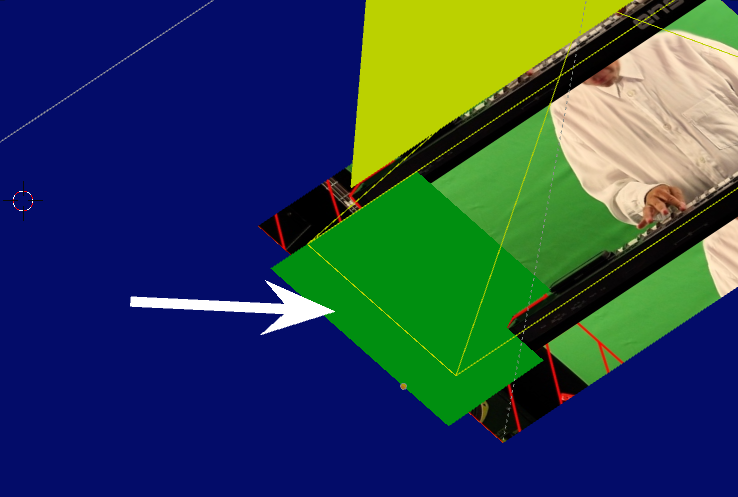
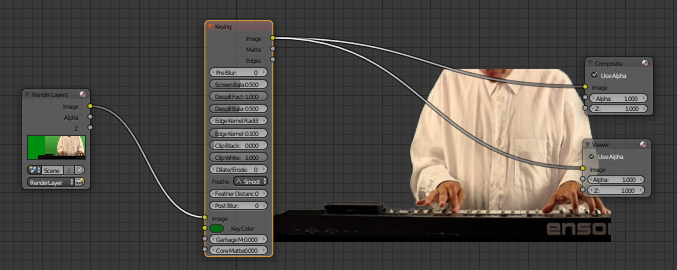
The principle is super simple. Blender's Compositor and Keying node takes out the green background. At the same time, a shaped mask coloured much the same as the green screen overlays the image at the left. The Keying node therefore takes that out as well.

Be mindful this was performed on a still image.
If the camera or video are moving, even slightly, the mask may well need to be either manually 'rotoscoped' to match those movements frame by frame, or using Blender's video tracking feature to do it for you.
-=====================-
The Fine Detail -
Blender does have a UV editor masking feature that works fine for loose masks, but it uses shapekeys and should any of it's control points/vertices need o be moved later, as is usually the case for fine work, all those added after that one, will probably need re-adjusting as well.
For that reason I choose to do it all in the 3D viewport and use a 3D mask (plane) that can be reshaped without upsetting it's other vertices.
 .
.
First up, make sure the output rendering dimensions are the same as the original video.
Reset the camera so it's pointing straight down. (all rotation values at frame 1 set to zero)
EDIT 1 - 19th Augh 2022
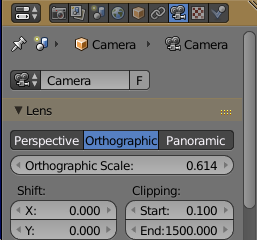
Go into the camera's properties and set it's mode to "Orthographic". That will eliminate parallax problems. You can zoom with the "Orthographic Scale" slider. (just below).

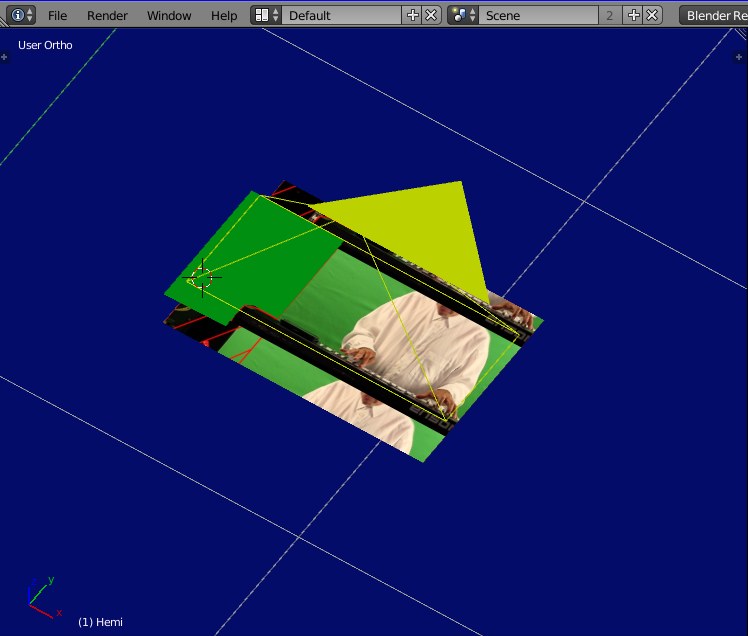
Add a plane a small distance beneath the camera and whilst viewing through the camera, scale the plane so it's boundaries match that of the camera's frame.
I find it easier to set the plane's OP to it's lower left vertice and move it so that corner is a whisker outside the bottom-left of the frame. Scaling then will only move the upper and right hand edges.
Give the plane a material slot and set the colour to white and at maximum.
Zero out the specular slider.
In the 'Shading' tab set that to 'Shadeless'.
Down below, remove all shadowing. (Untick them all)
Delete the sun from the viewport too if it exists.
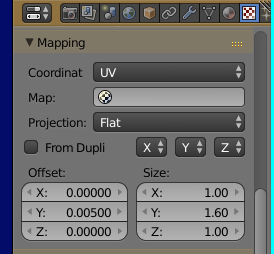
Give the plane a texture slot and set the LOWER 'Mapping' tab to either "Generated', Or 'UV'.
("UV Smart" was used here)
In the image tab, select the video and tick the 'Cycling' box. (so it will play as a video)
.
When played (in Material mode) you should see the video performing on the plane.

You may have to make small adjustments to the mapping scale and offset. That's done in the lowest mapping tab.

The compositor is next. Add a keying node and connect as shown here -

NOTE - the tiny colour key window (Just under the image tag) is set to a dull green, not bright. That's to ensure it's not too fussy about the brightness level.
If you get fringing, try winding back the 'Dilate' slider to a small minus value.
In the Output properties, set the Shading to 'Transparent'.
Set the output folder and format to PNG. Zero the compression if you don't want it lossy.
Ensure the RGBA button is highlited.
When rendered there will be a file for each and every frame so make sure to send them to a special folder.
In the Output's 'Post Processing' tab, tick the 'compositor box'. Untick the VSE box.
.
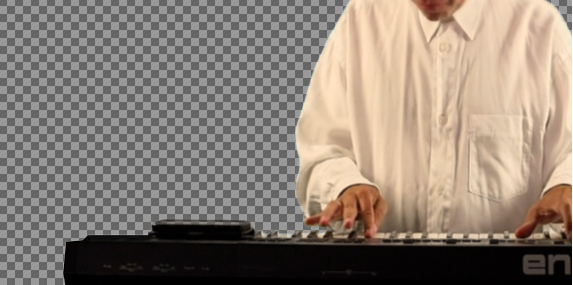
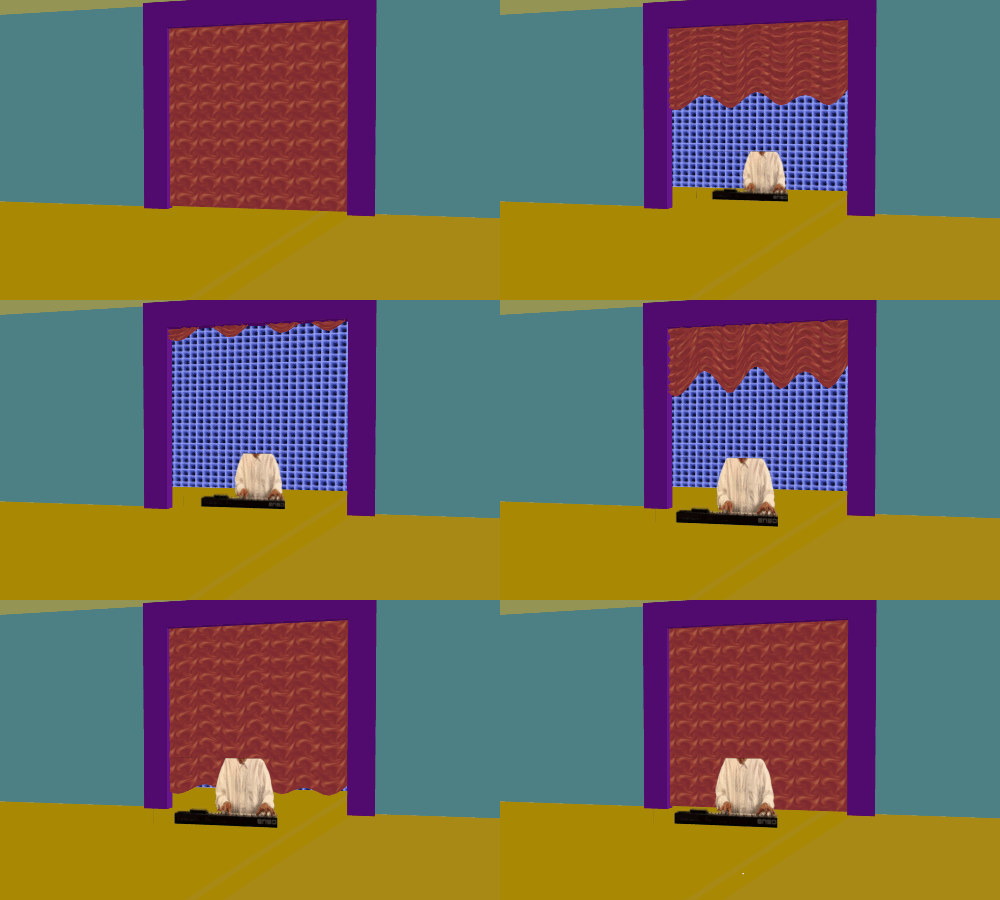
When rendered with the compositor active, or press F12 the green background will become transparent.
Logic dictates therefore that if you place a green coloured plane a little above (in front of) that image plane the compositor will take that out as well, Whats more - it does!
.
Blender version 2.77 was used here and rendered using the internal Blender render to keep it basic.
Later versions may want to do things differently, but if you can get the keying node to erase the green screen, the overlay idea in the 3D viewport should also work.
Hope this gets you there...
EDIT 2 - 19th Aug 2022
In answer to your other query, the output needs to be rendered with an alpha layer and that .png image sequence, (RGBA) used to texture a plane or object in the new Blend file. It can be in front or behind other objects, moved about etc.

EDIT 3 - 19th Aug 2022
To texture a 2D plane with the image sequence, add a plane in the new Blend file, give it a material slot and untick all shadow properties at the bottom. Up higher, tick the transparency box, set it's Aplha & Specular values to zero.
In the shading tab, tick the "Shadeless" box.
Zero out the Specular slider.
Set the Diffuse colour to white and slide it's brightness to max.
(leave the intensity slider at 0.8)
With the plane still selected open up a new texture slot and down at the bottom, tick & open the "Influence" slider, set the "Alpha" slider to to 1.0
In the lowest mapping tab, I change that from UV to Generated. (simpler for you) The Scale & Offset sliders might need tweaking to keep the repeat images out of the frame.
The image sequence is loaded by opening the 'Image" tab and clicking on the folder icon in the slot. Explore the computer to get to where the sequence is stored. I zip image sequences up for archiving. (Blender won't use a zip file) Tick the "Auto Refresh" box.
With the video sequence loaded the image should appear on the plane and with transparency behind the musician.
If you see an outline form around the image, open the plane's Transform properties. Down a fair way there's a "Display" tab. Try ticking the "Transparent" box. That usually gets rid of the outline. You can also press F12 to see what effect it has when rendered in Blender render. (I use Open_GL hardware rendering most times)
That should get you to the finish line...

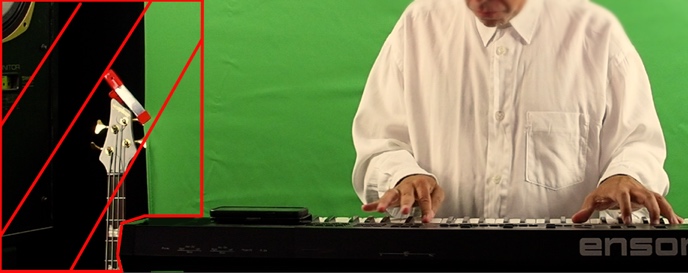 This is just one example but a typical one. I would like to cut out the area that is highlighted in red.
