I've modeled this example manually by extruding to show you what I mean, but its obviously neither a fast nor a perfectly accurate way. So how would you do it?

I've modeled this example manually by extruding to show you what I mean, but its obviously neither a fast nor a perfectly accurate way. So how would you do it?

One way to do this is with a curves addon.
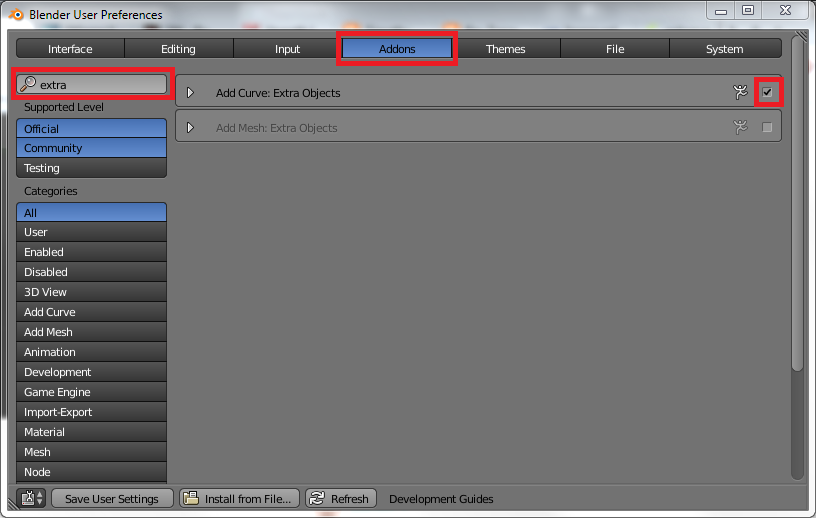
Go to the user preferences by pressing CtrlAltU. Under Addons type "extra" into the search field. Enable the checkbox of "Add Curve: Extra Objects".
This will give you some additional options to create curves.
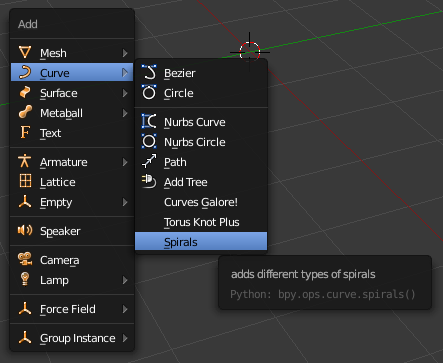
Now go back to the 3D view and press ShiftA to add a new object and select Curve->Spirals.
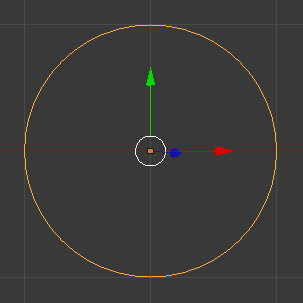
In the Tools shelf (the menu on the left of the 3D view that is toggled by pressing T) settings for the spiral will appear. Play around with them until you are satisfied with the shape of the spiral. You probably want a spiral of type 1 or 2 and a "Curve Type" of 1 (for smoothness).

To give the spiral some thickness you will have to add a taper object to the curve. Go to a new layer and add a Bezier Curve. The distance of the curve from its object origin will represent the thickness of you spiral along its length. For a linarly increasing thickness edit the curve to look something like this:

The shape around the spiral is determied by a bevel object. Just add a "Circle" curve. It does not matter if it is a Bezier Circle (just called Circle in the menu) or a Nurbs Circle.
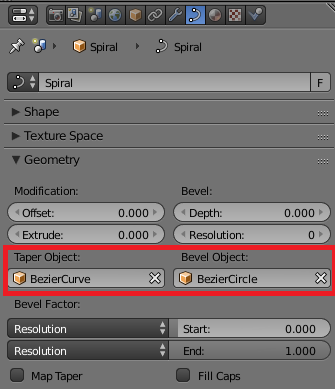
Go back to the layer with the spiral and select the spiral. Go to the curve settings and select the bezier curve from the other layer as "Taper Object" and the circle as "Bevel Object".
The result should look like this:

You can play around with the shape of the taper and bevel object to achieve diffent effects. To close the end of the spiral you can also enable "Fill Caps".
This could be easily done, using a circle (or any shape) and the Screw modifier.
Add a circle. Do not fill it with faces.
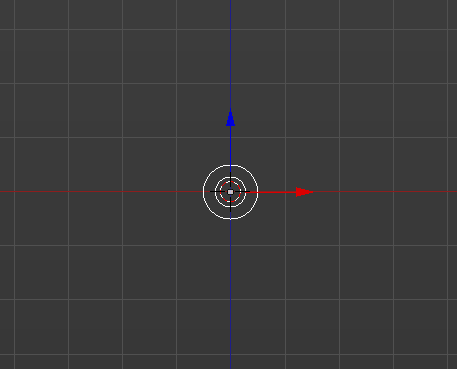
Tab into Edit mode and move the circle a little, to offset it from its origin. The radius of the circle will be the radius of the tube, and the offset from its origin will be the radius of the spiral.

Tab back to Object mode and add a screw modifier. Changle the Screw and Iterations to your liking. Depending on how the circle is rotated to begin with, you may also need to change the axis. To get a smoother tube, you can change the steps, but I usually leave it at the default and add a Subdivision surface modifier later.
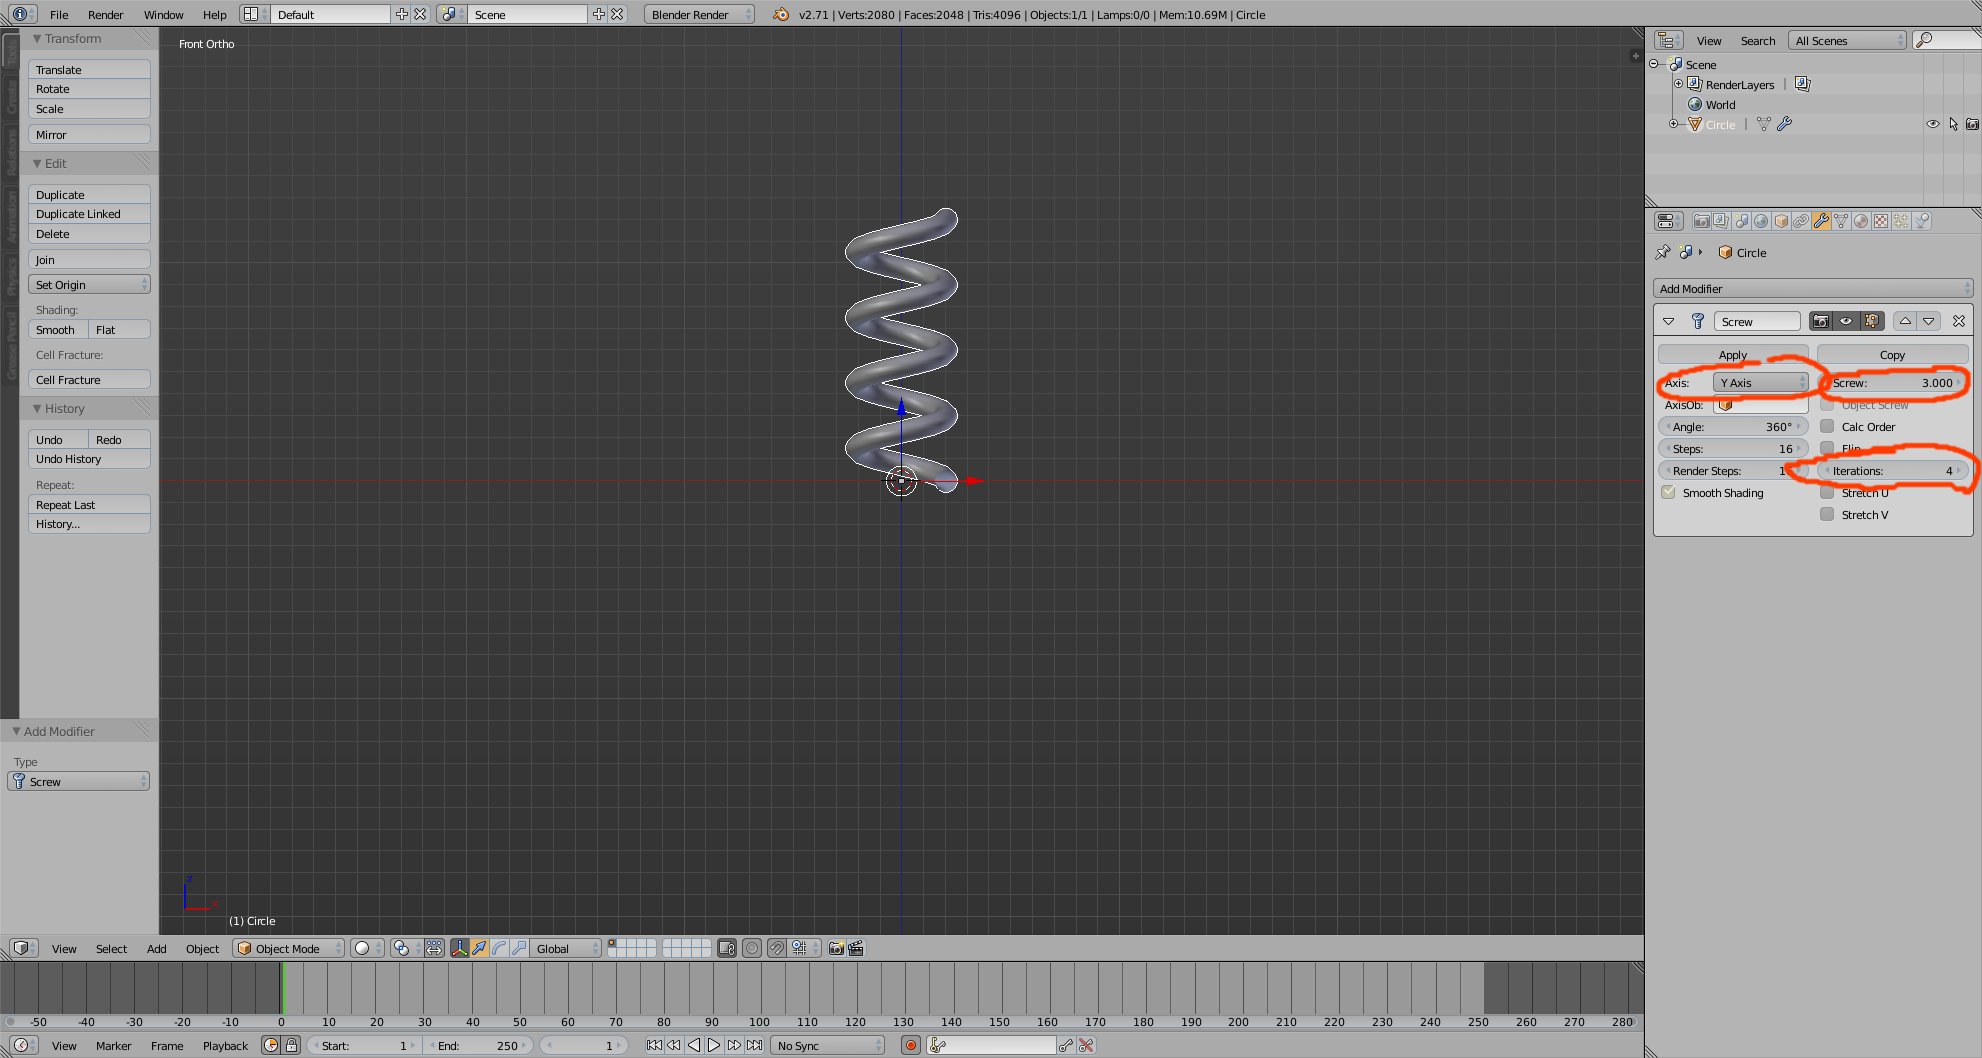
Apply the modifier. Then, optionally, tab into Edit mode and create faces at the ends (select the vertices at the end and press F). And, optionally, bevel the faces at the end (with the face selected, press CTrl+B). Adjust the width of the bevel and the number of cuts to your liking.
