I have an object with multiple identical meshes that I would like to use the same texture space for. When I unwrap the object, however, it maps each of them to a separate space. Is there a way to tell Blender to map them on top of each other, instead of having to manually move each one to the same space?
3 Answers
If the vertex orders aren't screwy, you can
- In Edit Mode, P separate the identical components into their own objects
- UV unwrap one of them
- Back in Object Mode, with all component-objects selected and the unwrapped one active, CtrlL > 'Transfer UV Maps'
- CtrlJ rejoin the components into one object.
-
$\begingroup$ That sounds like nearly as much work as just grabbing the meshes and moving them in the UV... I can't just group them together to unfold as one? $\endgroup$ Commented Jul 2, 2019 at 23:29
-
$\begingroup$ @APersonWhoDislikesWindows you could have a look at the various features of the shipped add-on Magic UV.. Perhaps you could post up an example challenge at Blend Exchange? $\endgroup$– Robin Betts ♦Commented Jul 3, 2019 at 7:05
If you hit U for unwrap and then R for reset it creates identical squares on top of each other. Its not exactly what you wanted but it works ok as long as you have an identical rectangle. I use this quite often.
Using magic UV and with simple identical meshes where each mesh is a single island, I use this workflow:
First of all enable UV-magic from Blender preferences>addons.
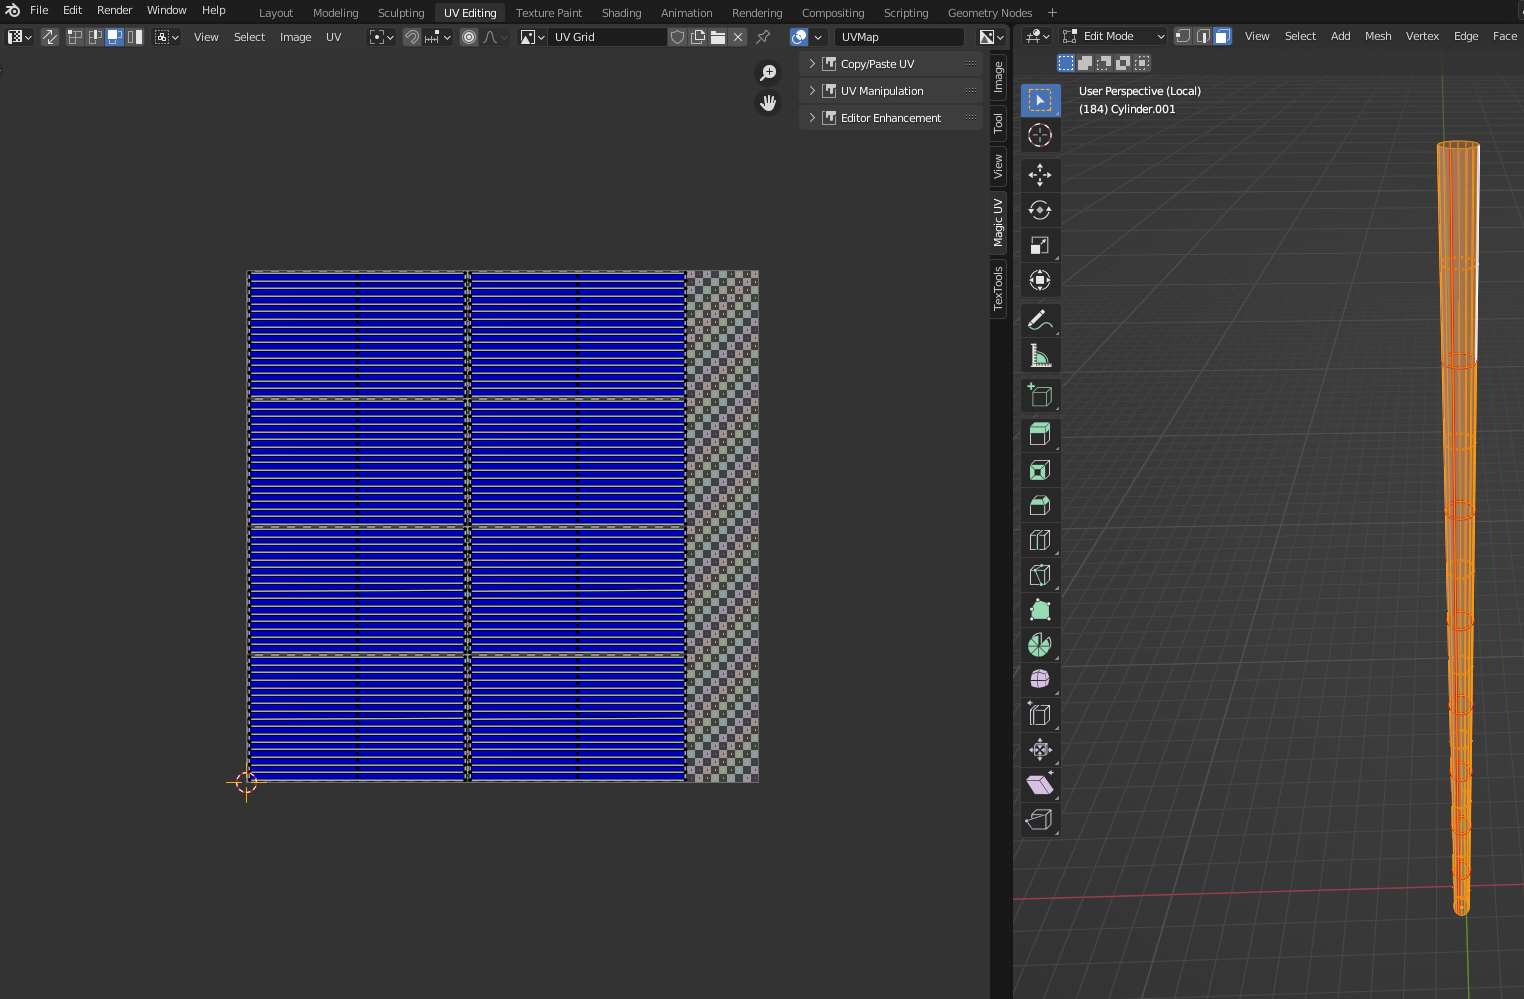
In the example, I start with a cylinder cut into 8 equal pieces. I also add a seams so that it can be properly unwrapped by blender into 8 equal rectangles. Note that the seam goes around each ring. In edit mode press A to select all and U 2 times to unwrap:
(I enabled display stretch overlay to make the UVs more visible in the screenshot)
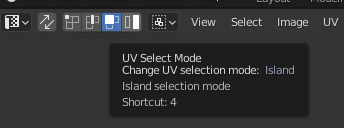
Make sure island selection is activated, you might need to disable UV sync selection for this (the leftmost button):
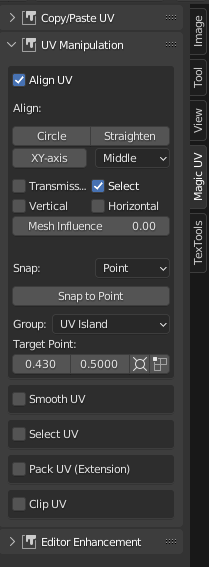
Select all the islands you want to lay on top of each other and in Magic UV tab go to UV Maniuplation > Snap: Set:
- Snap: point
- Group: UV Island
- Target Point: you can leave this standard, user your 3D cursor to set the point where the UVs will group or set the point to the average of vectors. It doesn't really matter that much since you'll be able to move them around anyway.
Click snap to point
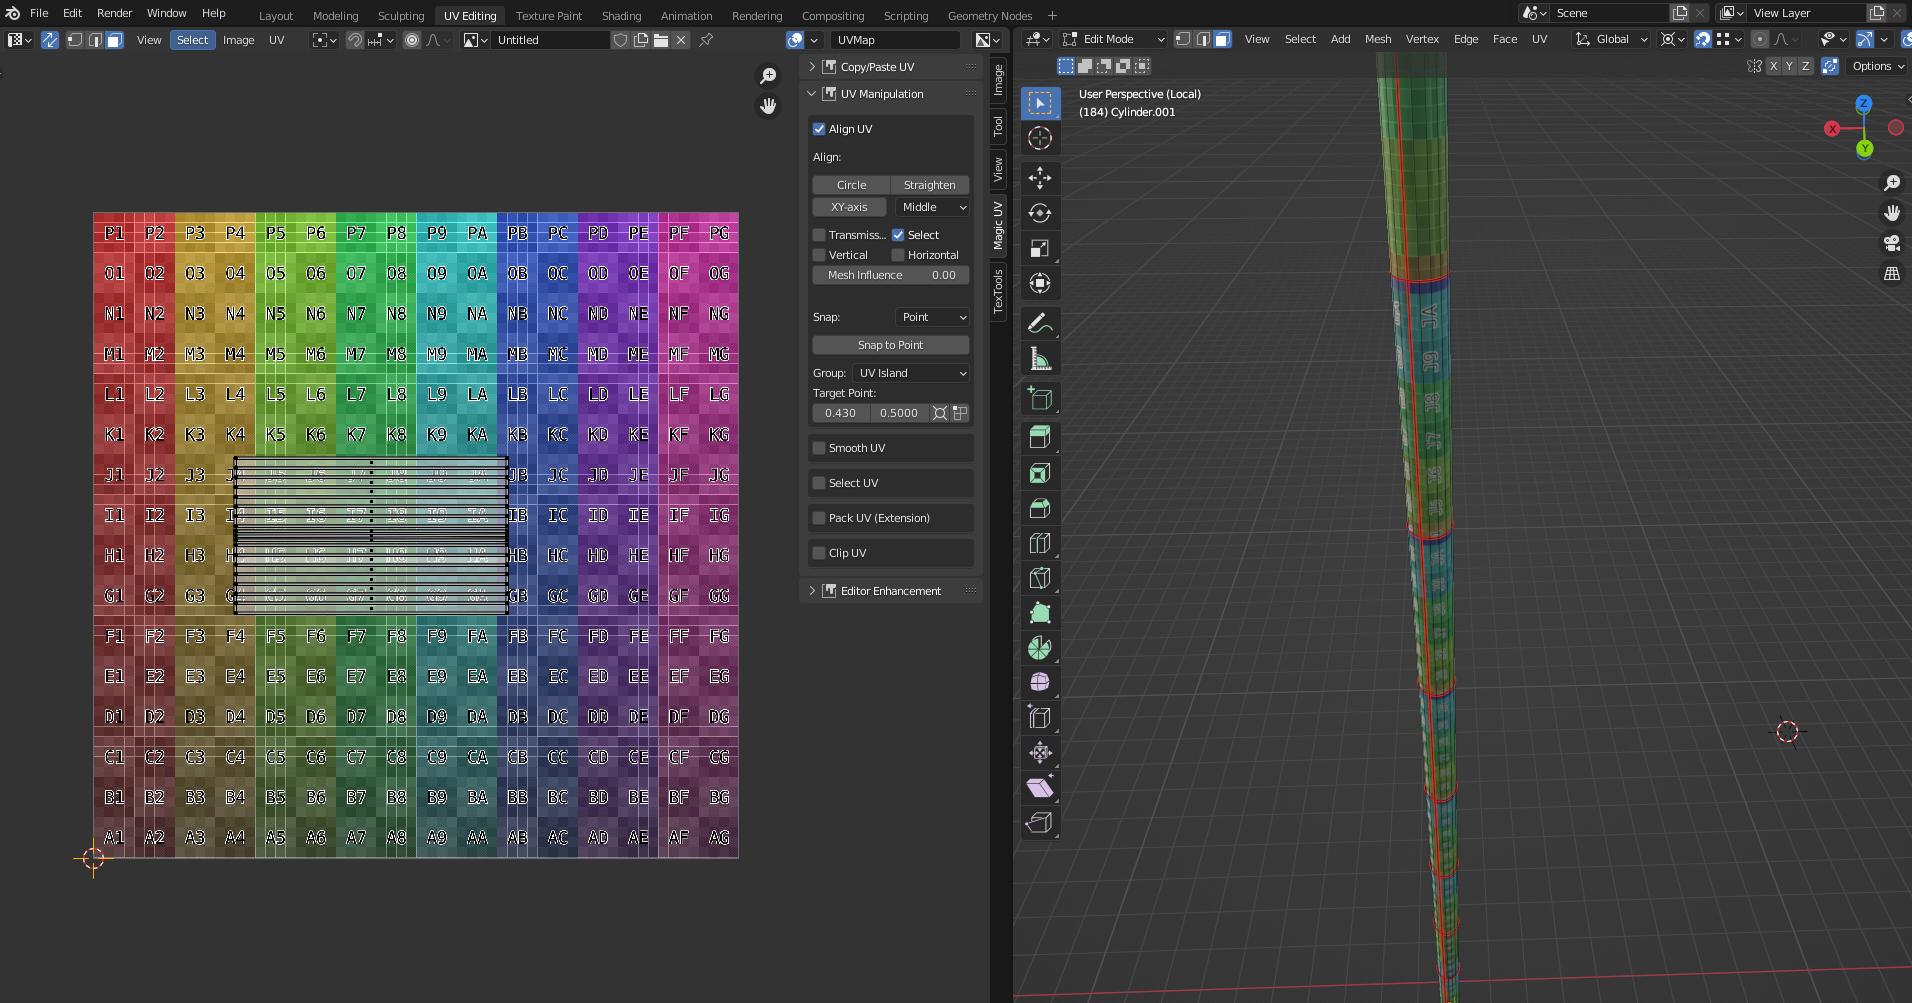
As you can see in the screenshot below, the meshes are now properly on top of each other and repeat 7 times:
I suppose for meshes with multiple islands, you would have to repeat this process for each island.


