I want that particles would appear from one corner, and like a wave would go through all the plane using vertex density. Basically just to animate the weight-painting. Is it possible do it, or maybe there is some other ways to make similar effect?

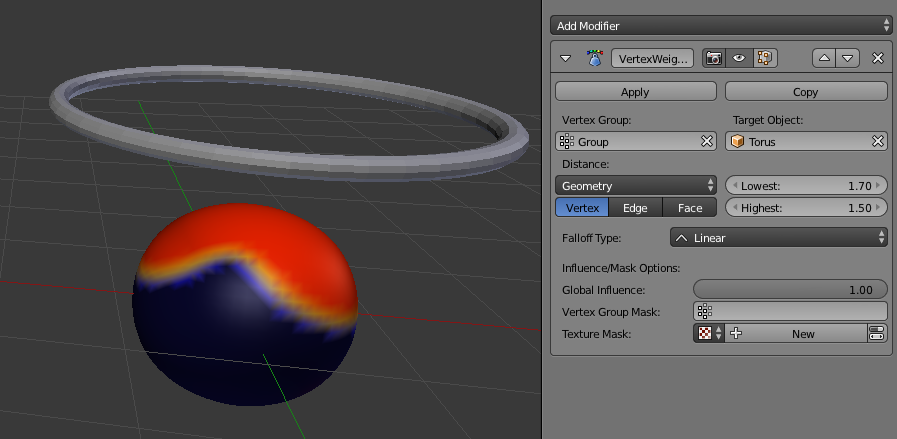
I think you're looking for the Vertex Weight Proximity modifier. It lets you assign vertex weights based on, for example, the distance to the target object's geometry, which you can animate per usual.

Using Dynamic Paint you can get something close to what you are looking for.
This is a example blend showing Dynamic Paint controlling the length of a hair Particle system.
Currently there is no way to animate weight paint directly (unless you do so via some Python script).
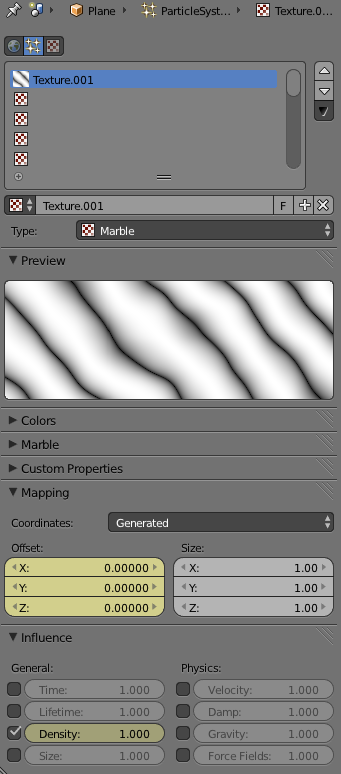
Instead, you can use a texture to control particles with a texture, if the animation is simple. You can use offset to control the moment of the texture. The values that are of interest are highlighted in yellow.

Dynamic paint is the way to go.
The thing is that you can´t go with only one brush for both length and density weight groups at the same time. It looks like the particle generator, no matter if it is emitter or hair, doesn't update very well, in fact it "can't" generate particles if the canvas has the fade option on for this surface layer (the one used for density) and moving brush objects are involved. Yes, the particles will appear for some frames to inconsistenly dissapear.
You have to use two surface layers in the canvas menu: one for the density and one more for the length. For this case/example you can use the same brush/mesh
The density layer should have no fade at all. It means it will paint all in brush area and along his path. For this part you can also manually prepaint the area via weights where the particles should appear. Well, you can also use a map or a texture to control the particles density and secure the area of emission.
the length layer should have the Fade option activated in order to make the particles appear/dissapear by the area defined by the brush. This layer wil make the magic.
Things can change if more interaction is involved, like let's say...drivers, curve modifiers,modifiers in general,...for the modifiers case remember to activate the Use modifier stack in the emission pannel in the particle emitter menu. If something doenst updates well try to disconnect/reconnect the weight maps/vertex groups in the influence panel of the particles, inverting/reverting the values in the same menu works fine: (<-> icon)
thats all