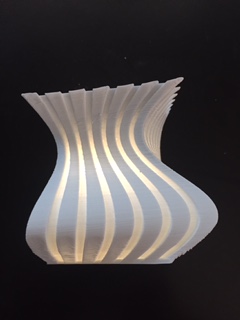
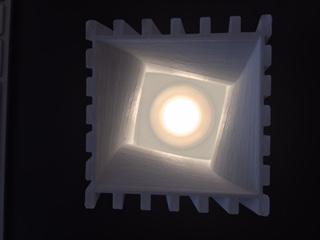
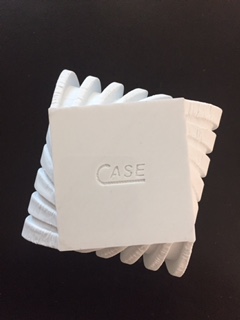
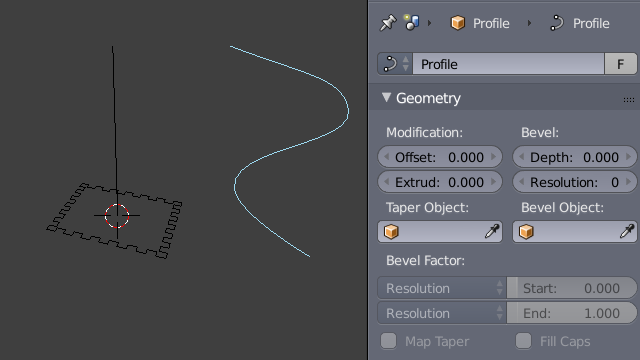
I am newbie to Blender and totally loving it. My focus to date has been on modeling and 3D printing. I was using Autodesk Fusion 360 but have moved all my projects to Blender except one. I created the attached Tea Light in Fusion using a Sweep with a Path and Guiderail on a Curve. Trying to find the equivalent inside Blender. I got close using a combination of modifiers both with and without Bezier Curves but can't quite seem to lock it in. Wondering if anyone might have a suggestion.
1 Answer
You can actually do all this directly from a bezier curve object, mostly without any modifiers or destructive workflows.
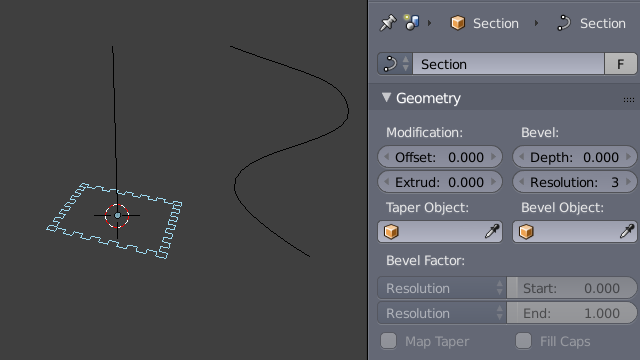
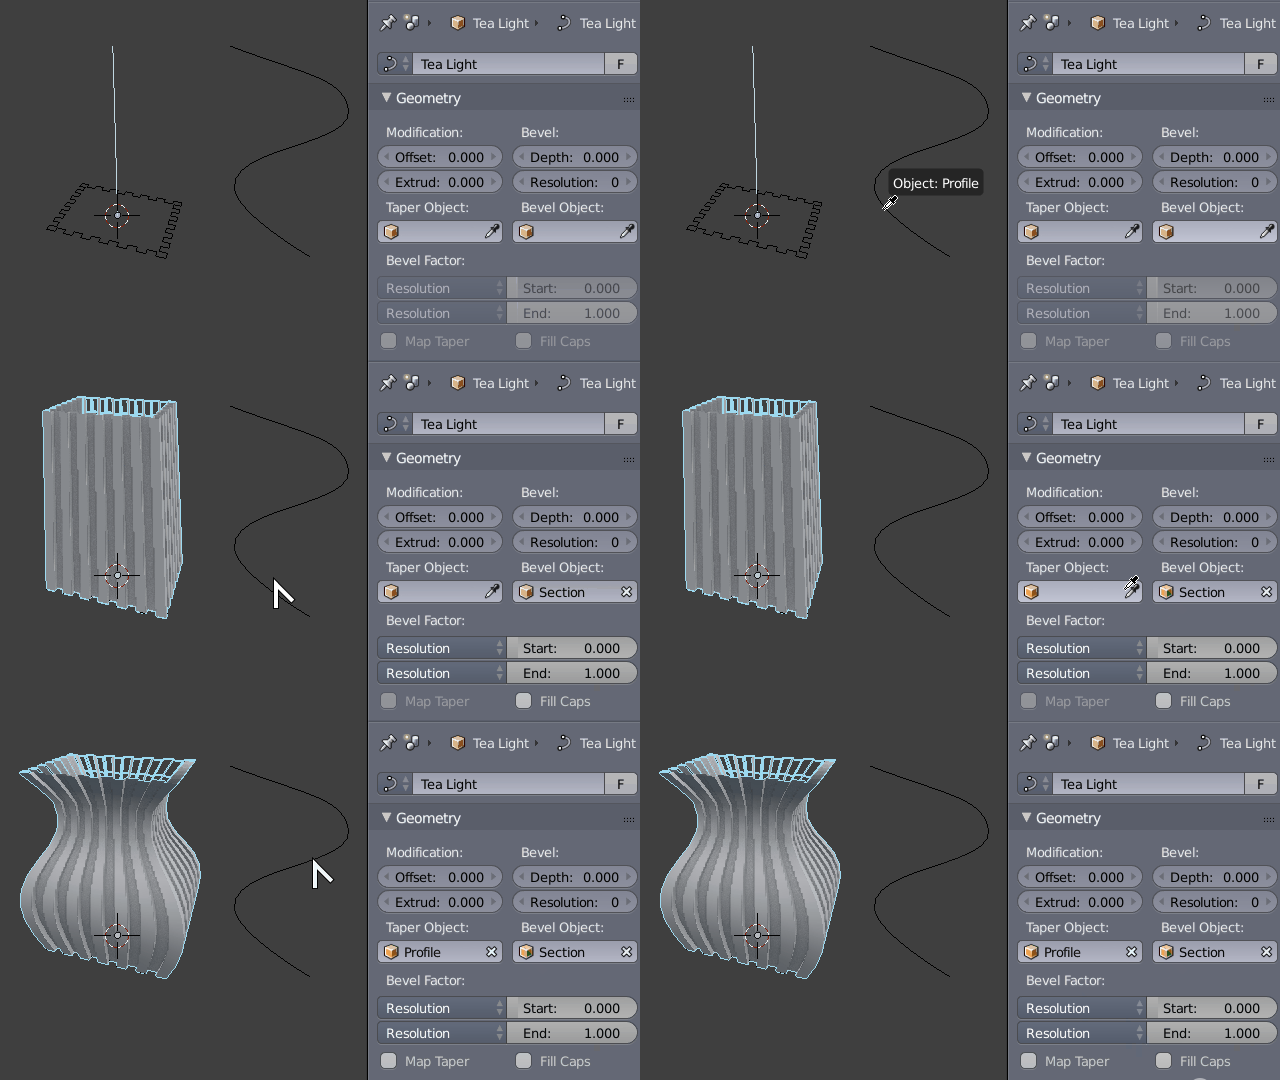
You need the classic three-bezier curve objects system:
- One for the actual $Body$ of the Tea Light
- One defining its $Section$,
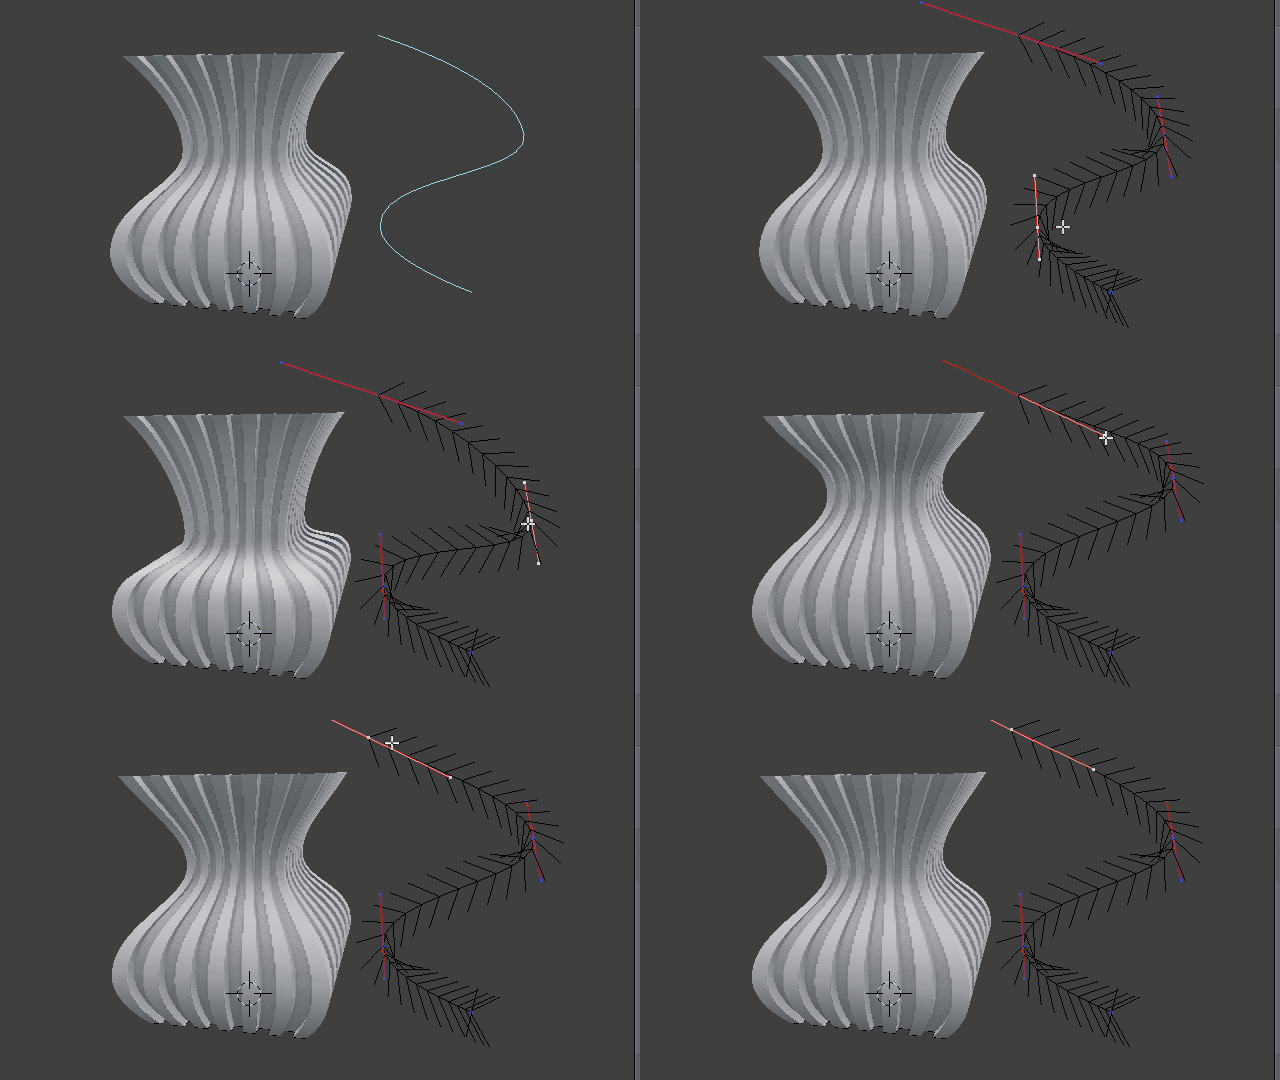
- And one has a Taper Object to adjust the radius expansion interactively.
Assign them all to the correct slot of your body object, then play around with the taper shape to control the profile of the light.
For the Taper Object $Y$ coordinates of the points control the scaling ratio. At $Y=1$ there is no deformation, bellow that it reduces radius, and above it increases.
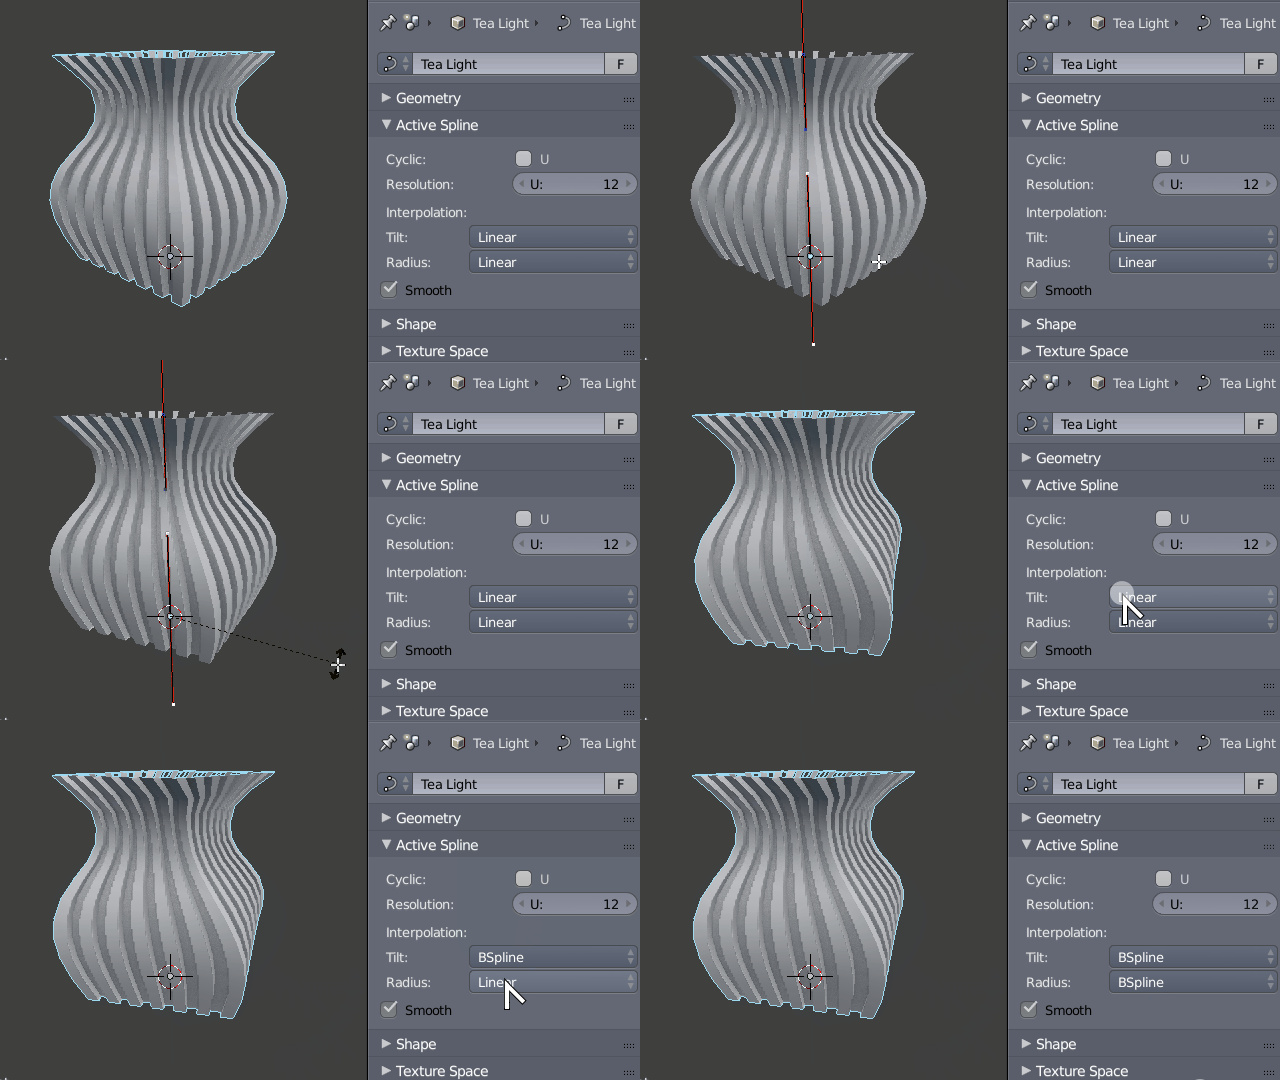
You can use Tilt to rotate the base. Adjust interpolation settings to improve smoothness.
This may require a conversion to mesh to take care of the closed cap at the base. Alternatively if you prefer avoiding the destructive last step, use a mesh object with an Array Modifier and Curve Modifier, deformed along the same "Body" curve, then use an End cap representing the base.
-
$\begingroup$ Duarte, That's exactly what I was looking for and much simpler than what I was attempting to do. You could not have explained it better. Thank You So Much!!!! $\endgroup$ Commented Oct 9, 2018 at 23:25

