So I have two solutions now:
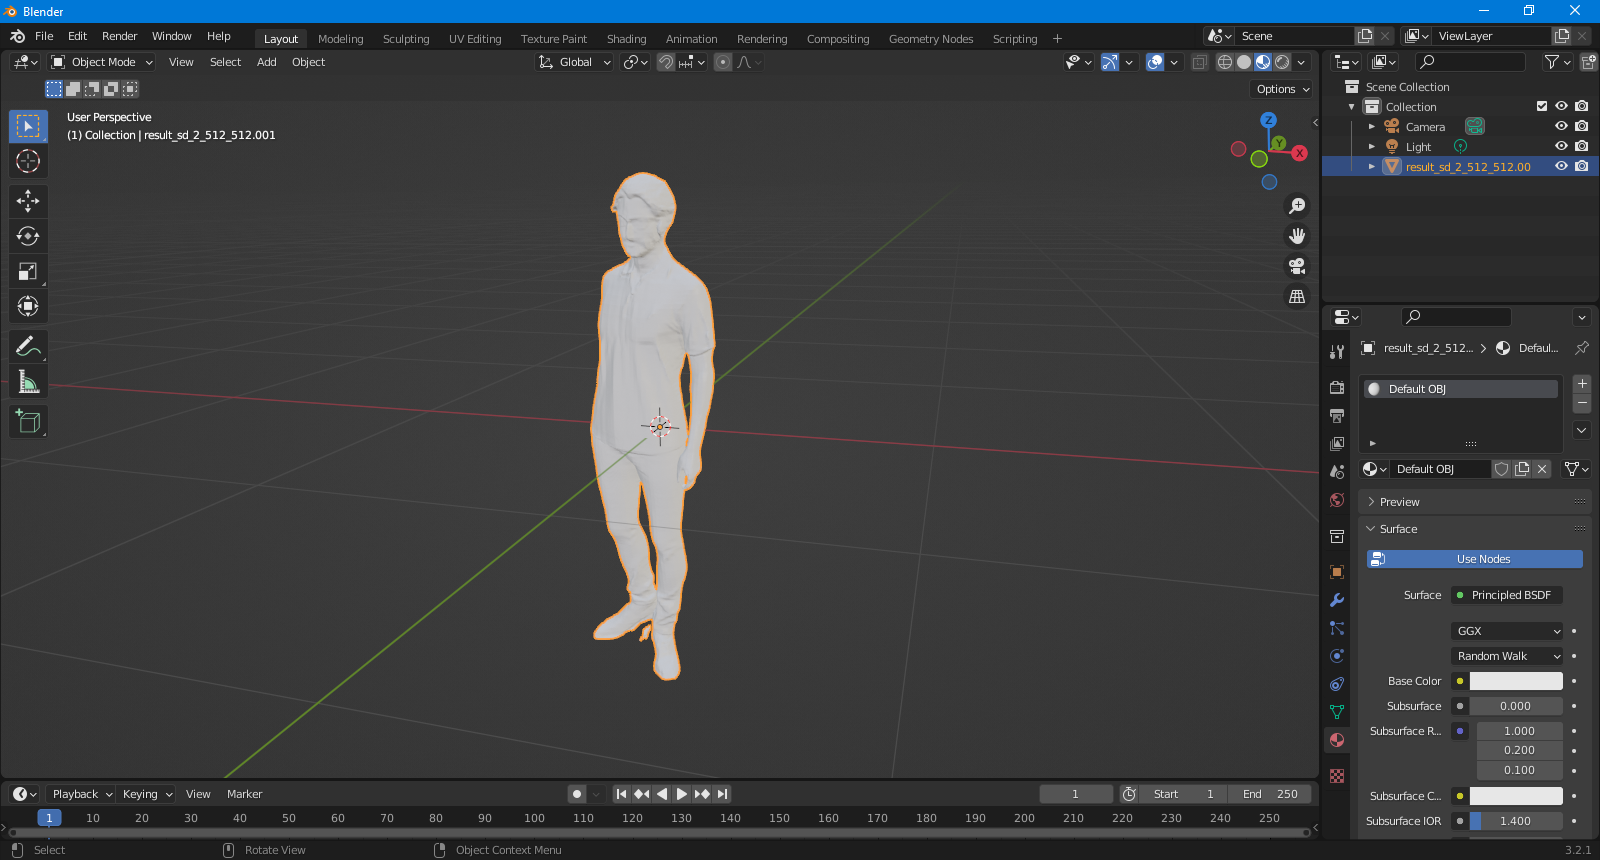
The first was the comment @scurest gave - upgrade to 3.3, and use the new .obj importer. In the Object Data Properties, under Attributes, you'll see "Color Vertex > Color" if it worked. Then go to Material Properties, create a new material, click the yellow dot next to "Base Color", and in the far left column choose "Color Attribute".
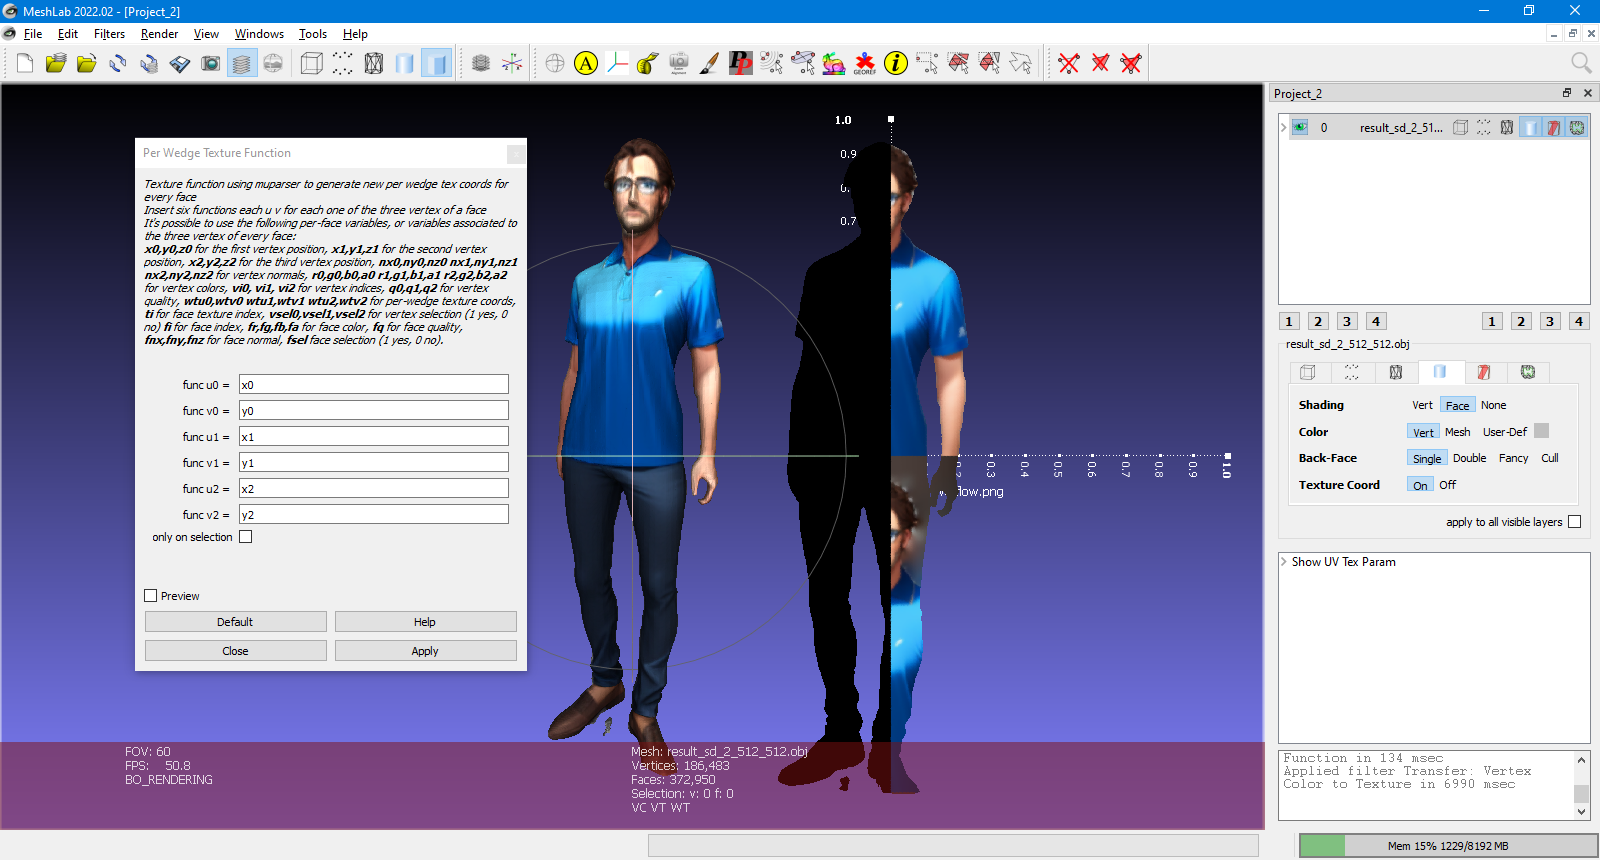
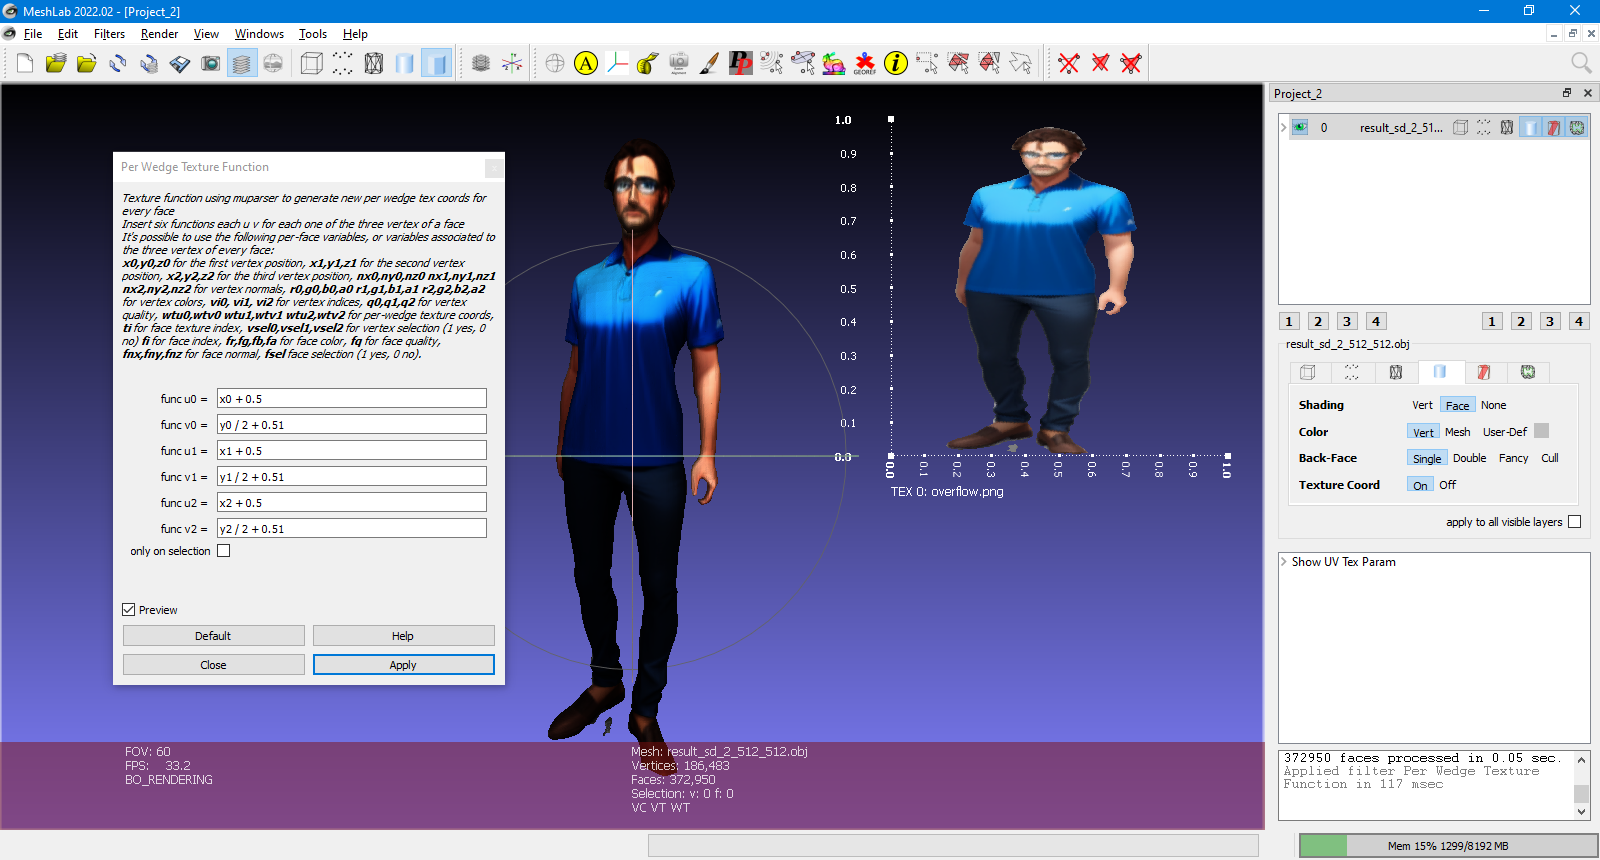
The second way I found was using MeshLab. Go to File > Import Mesh, then go to Render and check the Show UV Tex Param option. Nothing will show up yet, but it's vital to understand the next step. Filters > Texture > Per Wedge Texture Function. Click "Apply" with the defaults (we'll come back and change this later), which will make the UV Tex Param grid show up. Then go to Filters > Texture > Transfer: Vertex Color to Texture, and give it whatever name you want (this will be generate a .png file with the same name). Now the UV Tex Param actually has a texture. In my case that texture was too big and not lined up correctly. To fix this, we have to go back to Filters > Texture > Per Wedge Texture Function. Each function is how you want to move the x or y coordinates of the vertexes. For simplicity, I applied the same formula to all my X and Y values. Check the preview button before you move anything.
So here's my before:

And here's my after:

If you hit apply too early and get a messed up texture, don't worry about it, just focus on getting the silhouette inside the grid (the Per Wedge Texture Function box resets to it's default values each time you open it). After it's positioned correctly you can redo the Filters > Texture > Transfer: Vertex Color to Texture step to get the correct colors in the correct position.
From here, File > Export Mesh As and double check that the extension in the filename and the Save as Type match (I don't know if it matters much, but it kept trying to change it on me).
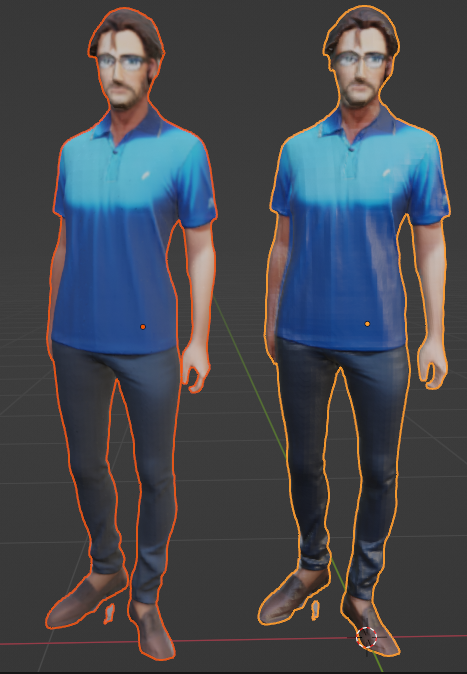
Here's the two meshes side-by-side in Blender. The Left is Meshlab, the Right is using Blender's Nodes:

Right off, I notice that the edges and faces on the Blender version are more noticeable due to the reflective nature of the material it created, while the MeshLab version had some slightly miss colored spots. I'm sure editing the Blender texture would take care of the glossy look, and I think MeshLab's issue came from not applying the same scaling to both X and Y, but it could be an issue with my texture itself that's only because the glossy shine isn't there. If it is a texture issue, Blender's Texture Paint can help fix it with the Mesh Lab approach, but won't be able to with the Vector Color.


