2
$\begingroup$

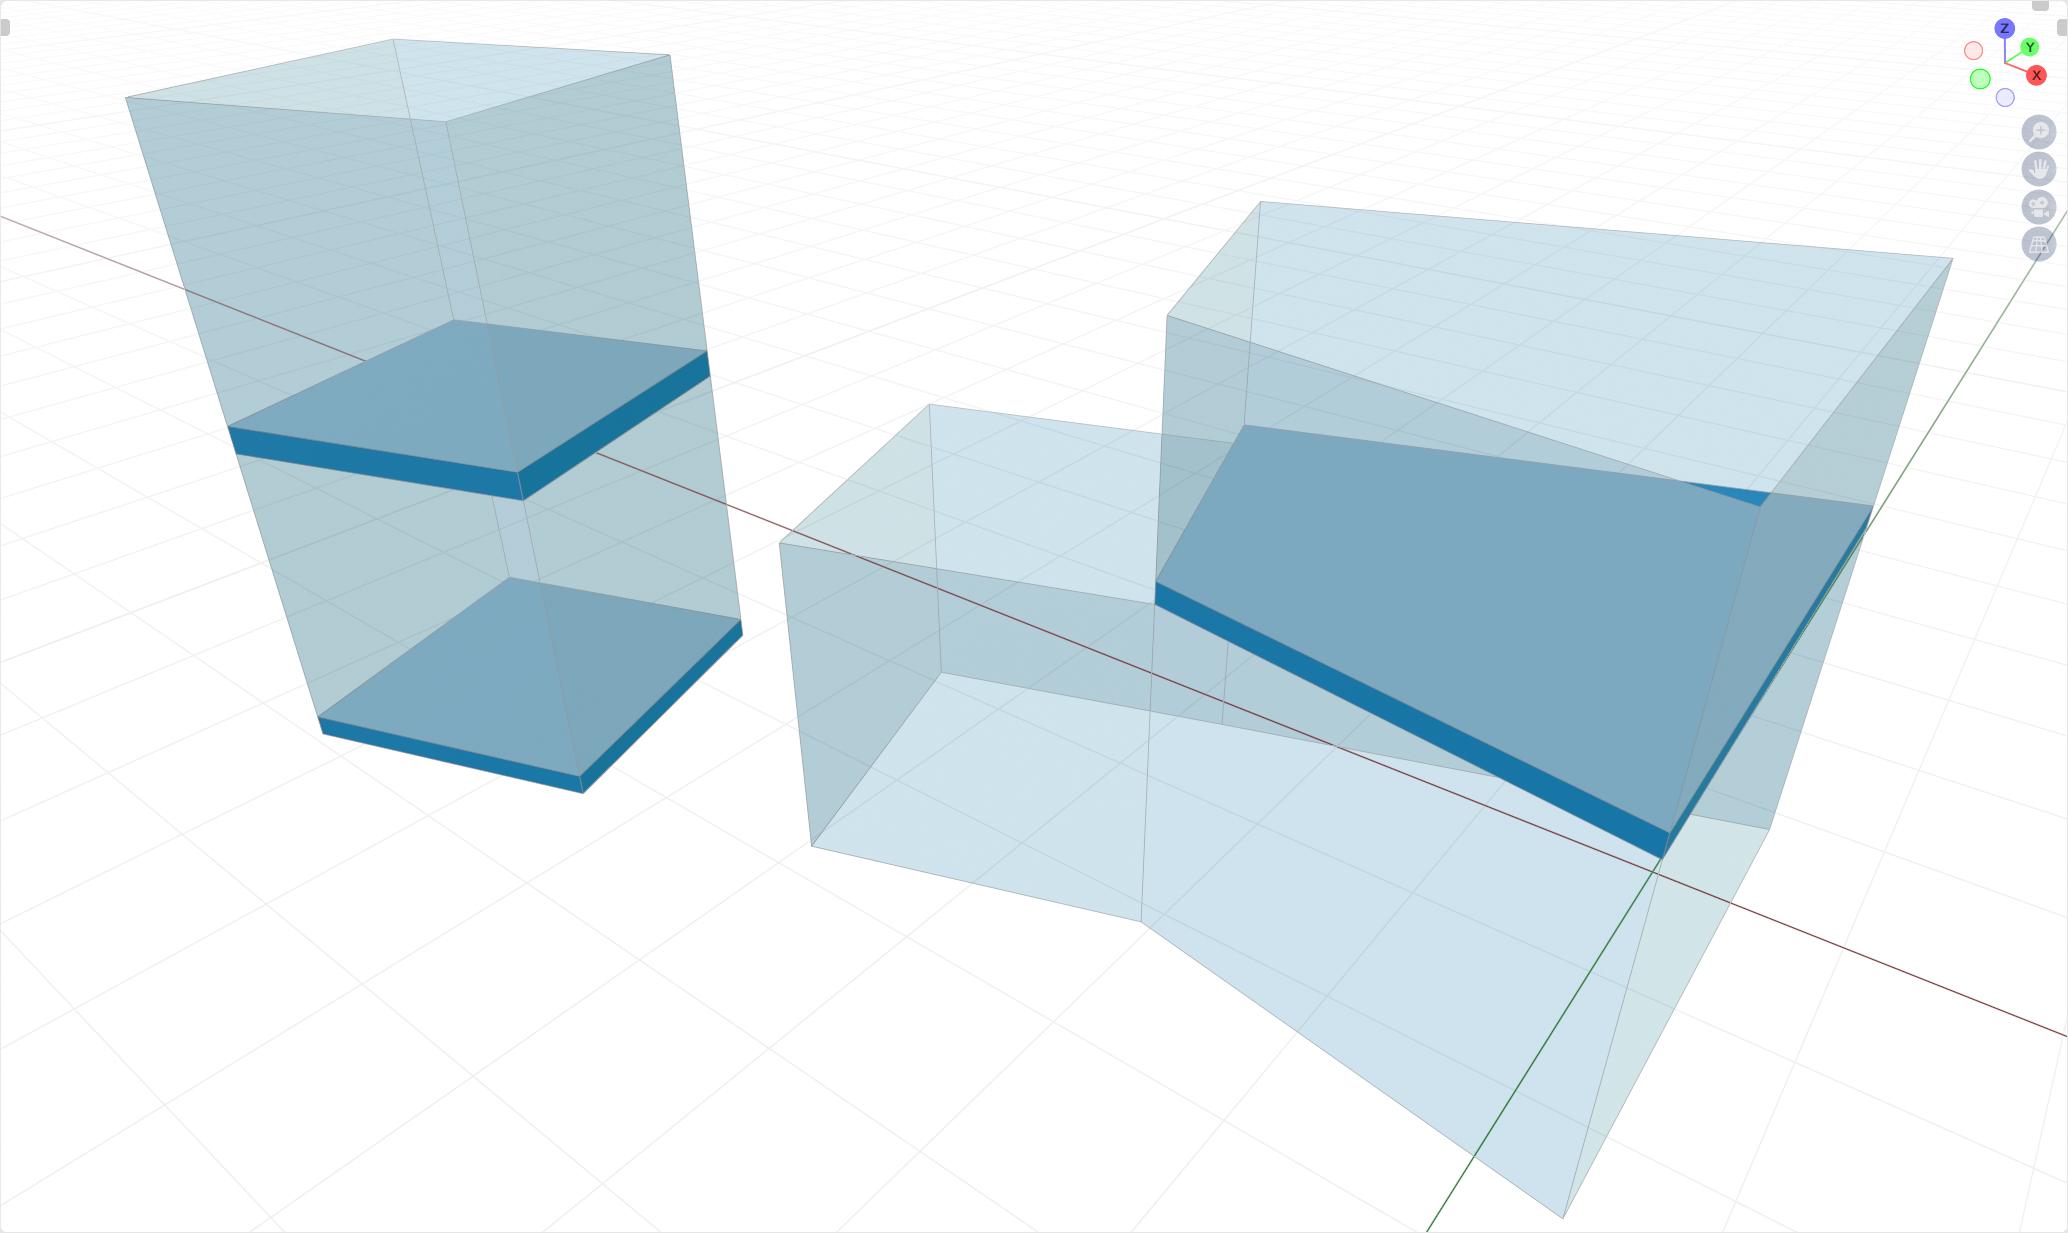
I'm still working on a way to create modular houses with geometry nodes. This is the result I have and the input geometry I use.

enter image description here

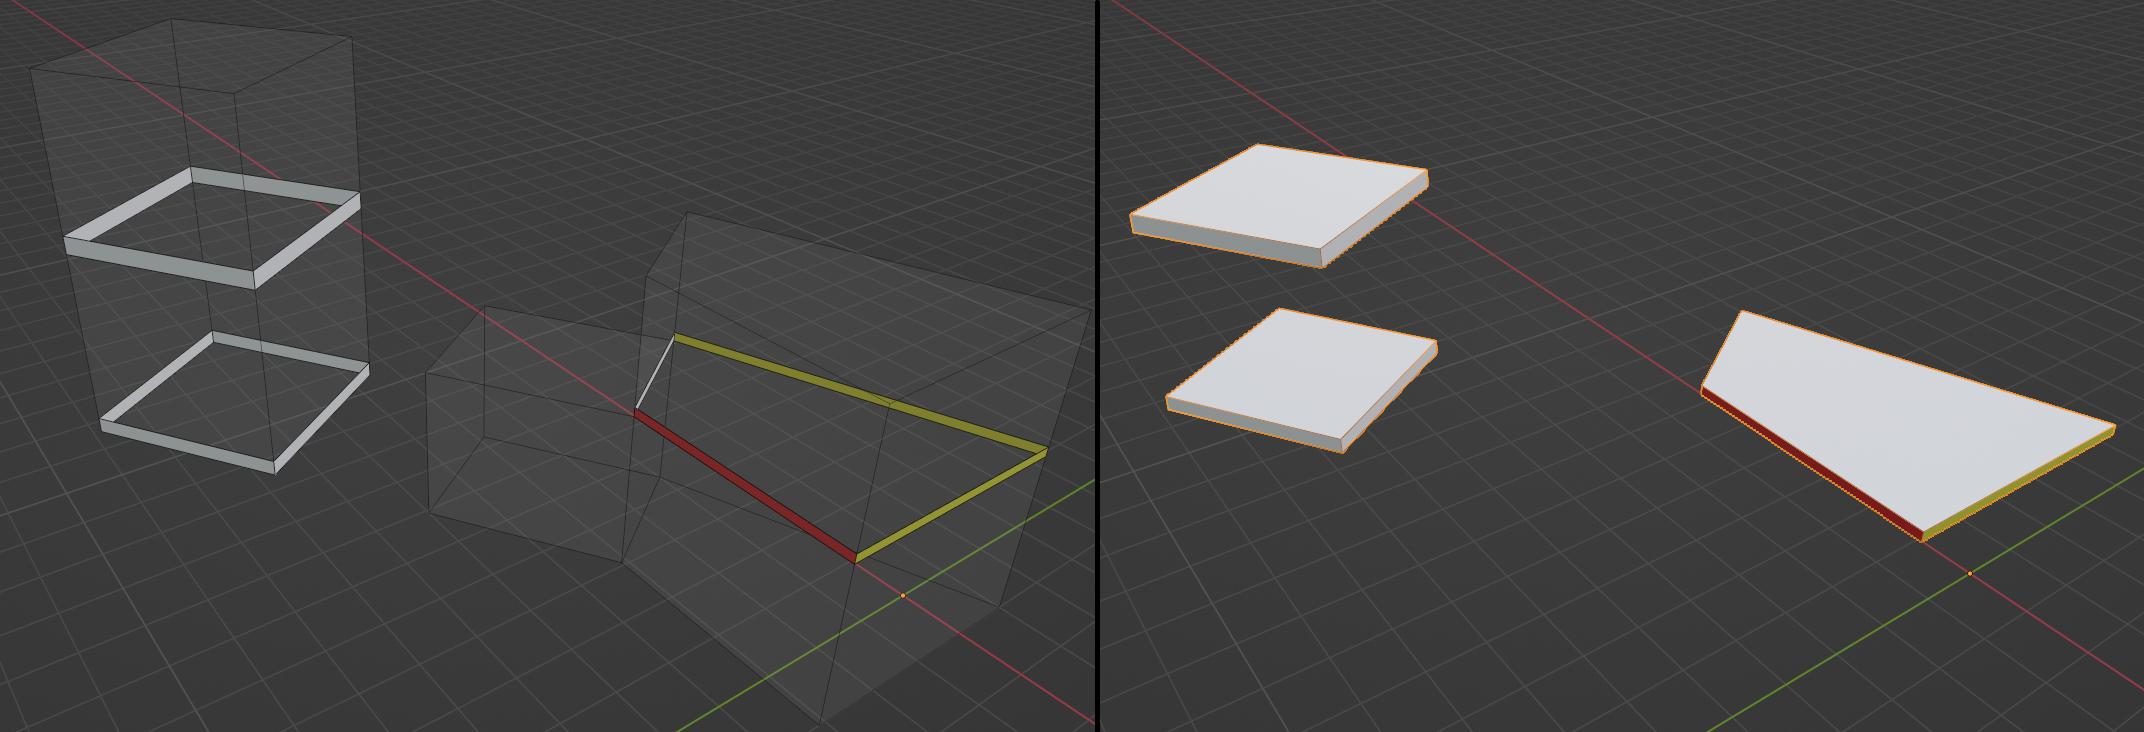
I'm currently getting stuck at creating floors. Here is the geometry I manage to isolate (left image), which is the outside visible part of my floor. I am simply trying to add top and bottom faces to this geometry (on the right image, done manually as an example). I tried to Z-scale faces to zero and create curves from this to fill curve, but didn't manage to get it working...

enter image description here

If anyone has an idea that could be explored, I would be greatful !! Thanks

$\endgroup$
2
  • $\begingroup$ How exactly do you create the input geometry? $\endgroup$
    – quellenform
    Commented Jun 25, 2022 at 9:00
  • $\begingroup$ Hello again ! You mean the right part of first image? I do it manually : I create the base edges to shape the house I want, and then extrude the height of my first level. Finally, I extrude again the height of my floor, and so on. $\endgroup$ Commented Jun 25, 2022 at 12:01

1 Answer 1

3
$\begingroup$

This all looks like a fairly simple task, but it's actually quite tricky.

There are two basic hurdles here:

  • The node Fill Curve only produces usable results if the individual curves are flat and not overlapping. As soon as they lie on top of each other on different planes, you get unusable meshes.
  • The normals of the faces must be correctly aligned, and in this specific situation these cannot be derived by a logical analysis of the indexes.

All in all, you need a lot of nodes to do all this, even if the task is relatively easy to solve:

enter image description here

So I suggest the following solution:

enter image description here

  1. Separate the parts that are crucial for this project from each other (You seem to have solved this part of the problem as well):

    • Separate the roof and the ground from your mesh.
    • Separate the walls from your floors. I do this here using the edge length (Adjust this according to your needs).
  2. Then separate the vertical from the horizontal edges of your floors.

  3. To be able to align the orientation of the faces correctly afterwards, I save the position of the lower point of the vertically running edges in each case.

  4. Now comes the real part: First I convert the horizontal edges into curves.

  5. So that I get closed meshes with the node Fill Curve which can be used further, I move these curves first temporarily to far away positions.

  6. Then I apply Fill Curve and move the points of the meshes back to their intended positions.

  7. Now that I have these layers neatly separated at the correct positions, I only need to correct their orientation, and I do that by comparing them with the previously saved position of the lower point of the vertical edges.

  8. Finally, the points are just joined into a closed mesh, and your floors are done.

$\endgroup$
1
  • 1
    $\begingroup$ Well, I am once again astonished by your answer. Thanks a lot, I was indeed blocked by the fact that "Fill Curve" was giving me only one face whereas I expected multiple for stacked floors. Very smart to offset them temporarly, that's what I missed. Many thanks again !! $\endgroup$ Commented Jun 25, 2022 at 17:03

You must log in to answer this question.

Not the answer you're looking for? Browse other questions tagged .