1
$\begingroup$

I'm trying to have one main blend file which the mesh and armature resides in. Then have separate blend files for different animations. (For instance, a main blend file named "MyHuman.blend", and separate blend files named "Walk.blend", "Jump.blend", etc.).

I'd also like the animation blend files to automatically (or semi-automatically) update the mesh and armature whenever changes occur.

Here's a screenshot example of a simple tentacle rigged with rigify enter image description here
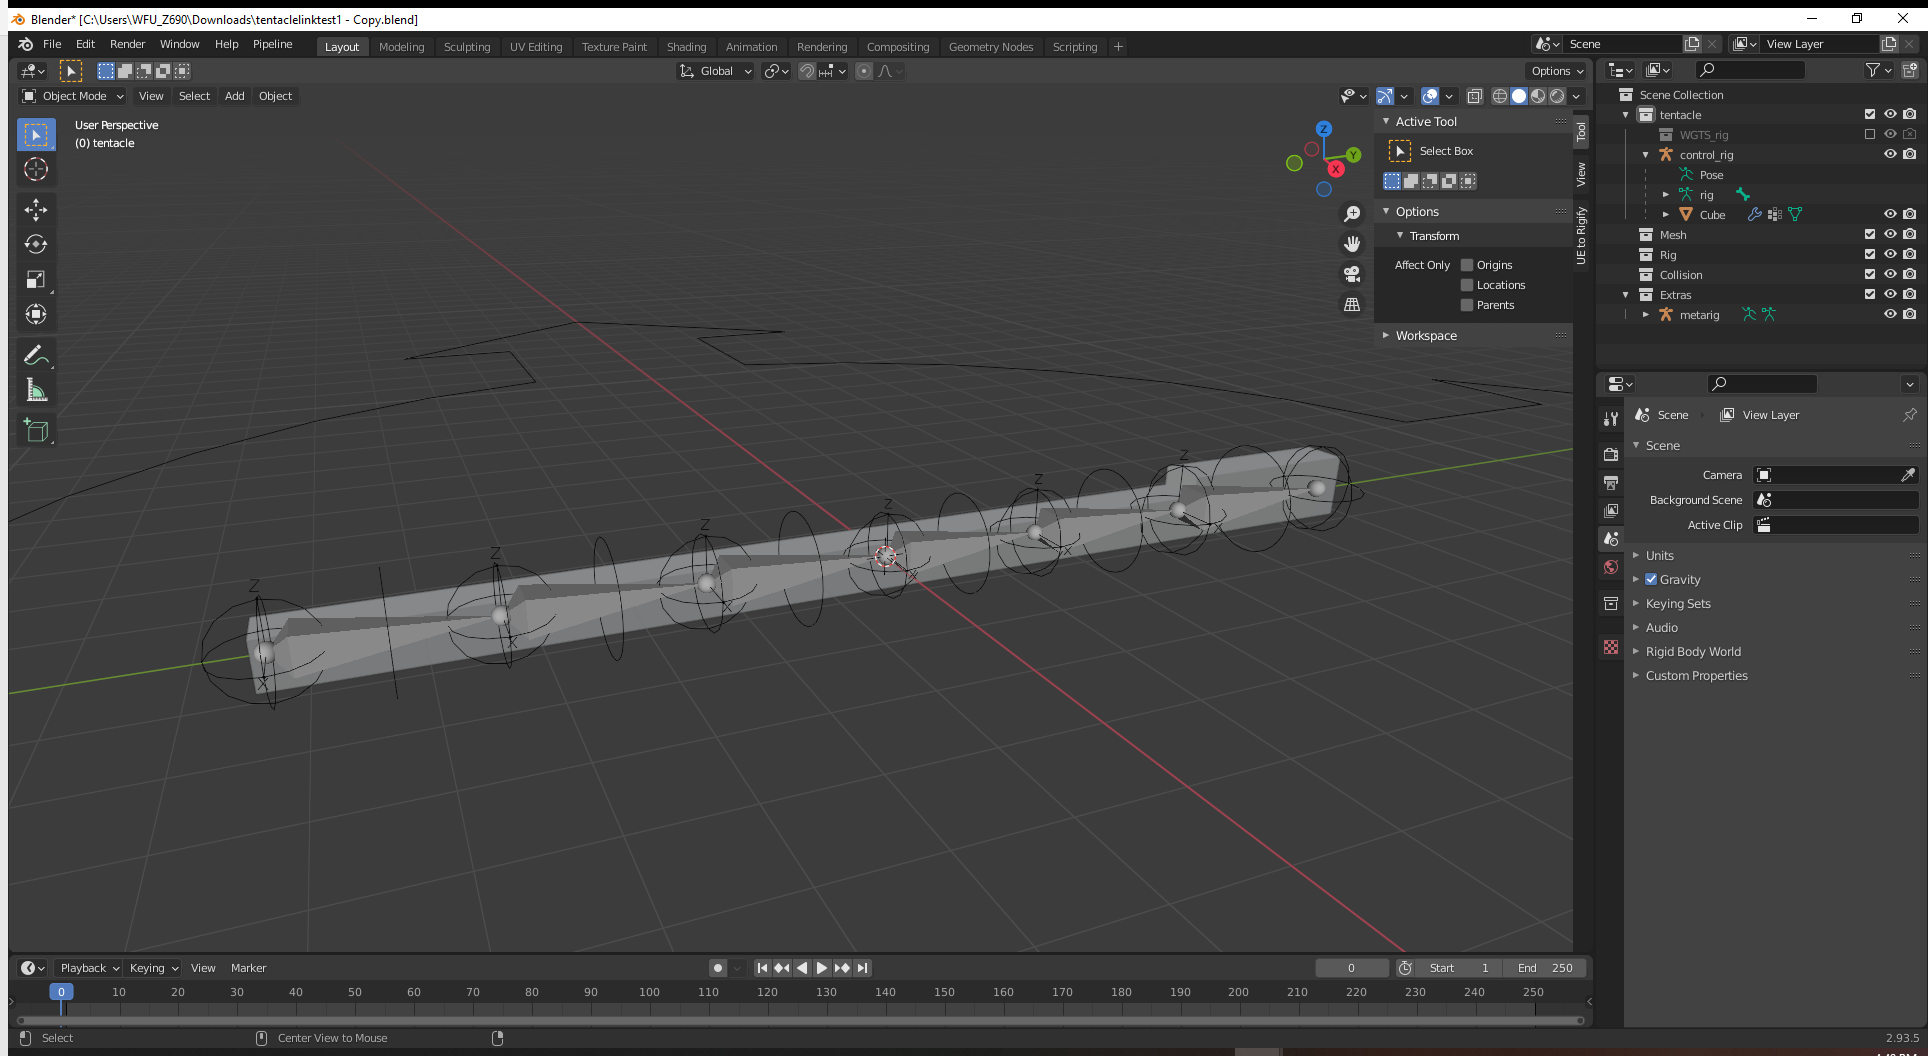
For the animation, I thought I figured it out by making a new empty blend file, linking to the main blend file. Then creating proxies to the rigifiy control rig. However when changes are done in the main blend file, it seems new vertex groups are not updated.

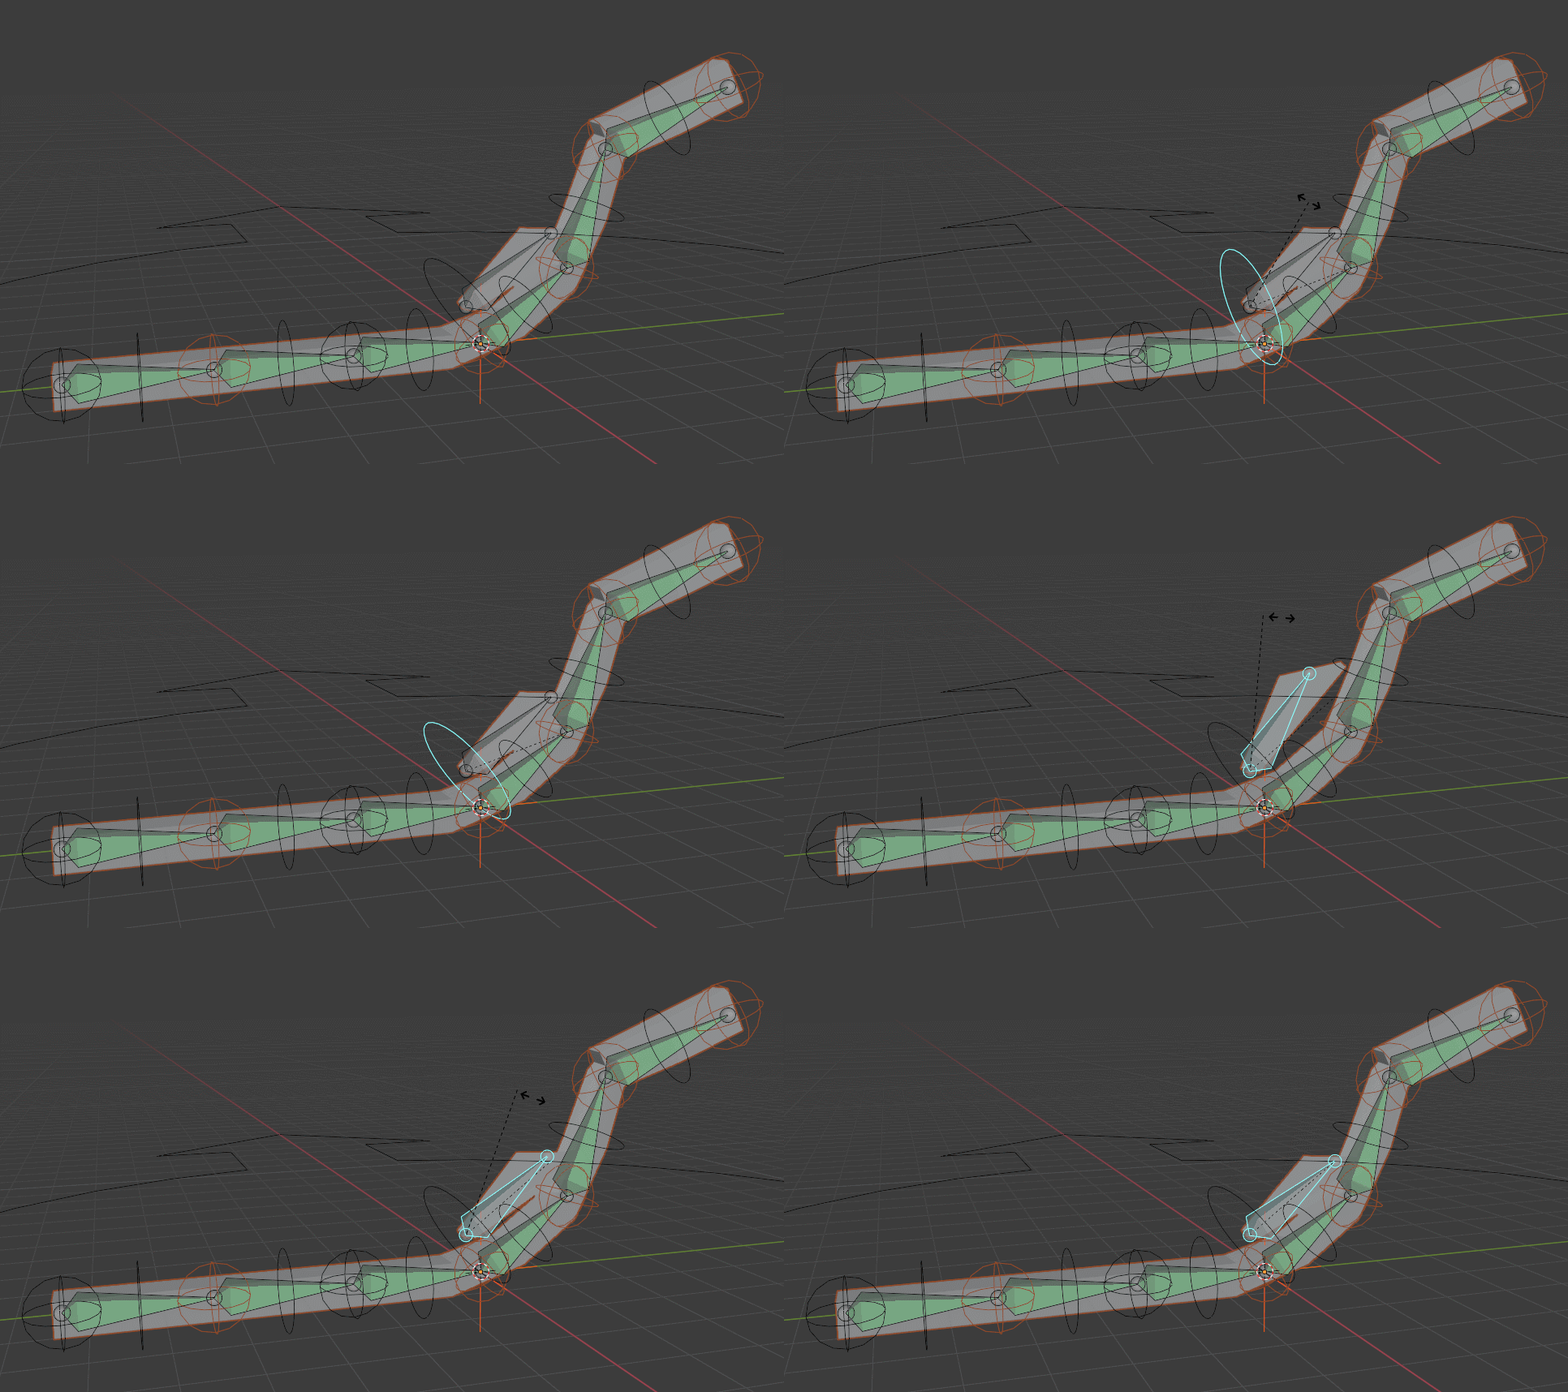
In the tentacle example, I made a quick pose in the linked proxy file. Went back to the main blend file, added a wing mesh, added a wing bone to the metarig, regenerated the rigify rig, and reparented the mesh with automatic weights. Upon reopening the linked proxy file. Everything seems to update properly (new mesh is visible, new wing controller on the rig is visible), but the new wing controller doesn't work.

Here's the main blend file, and how the wing controller should react: enter image description here
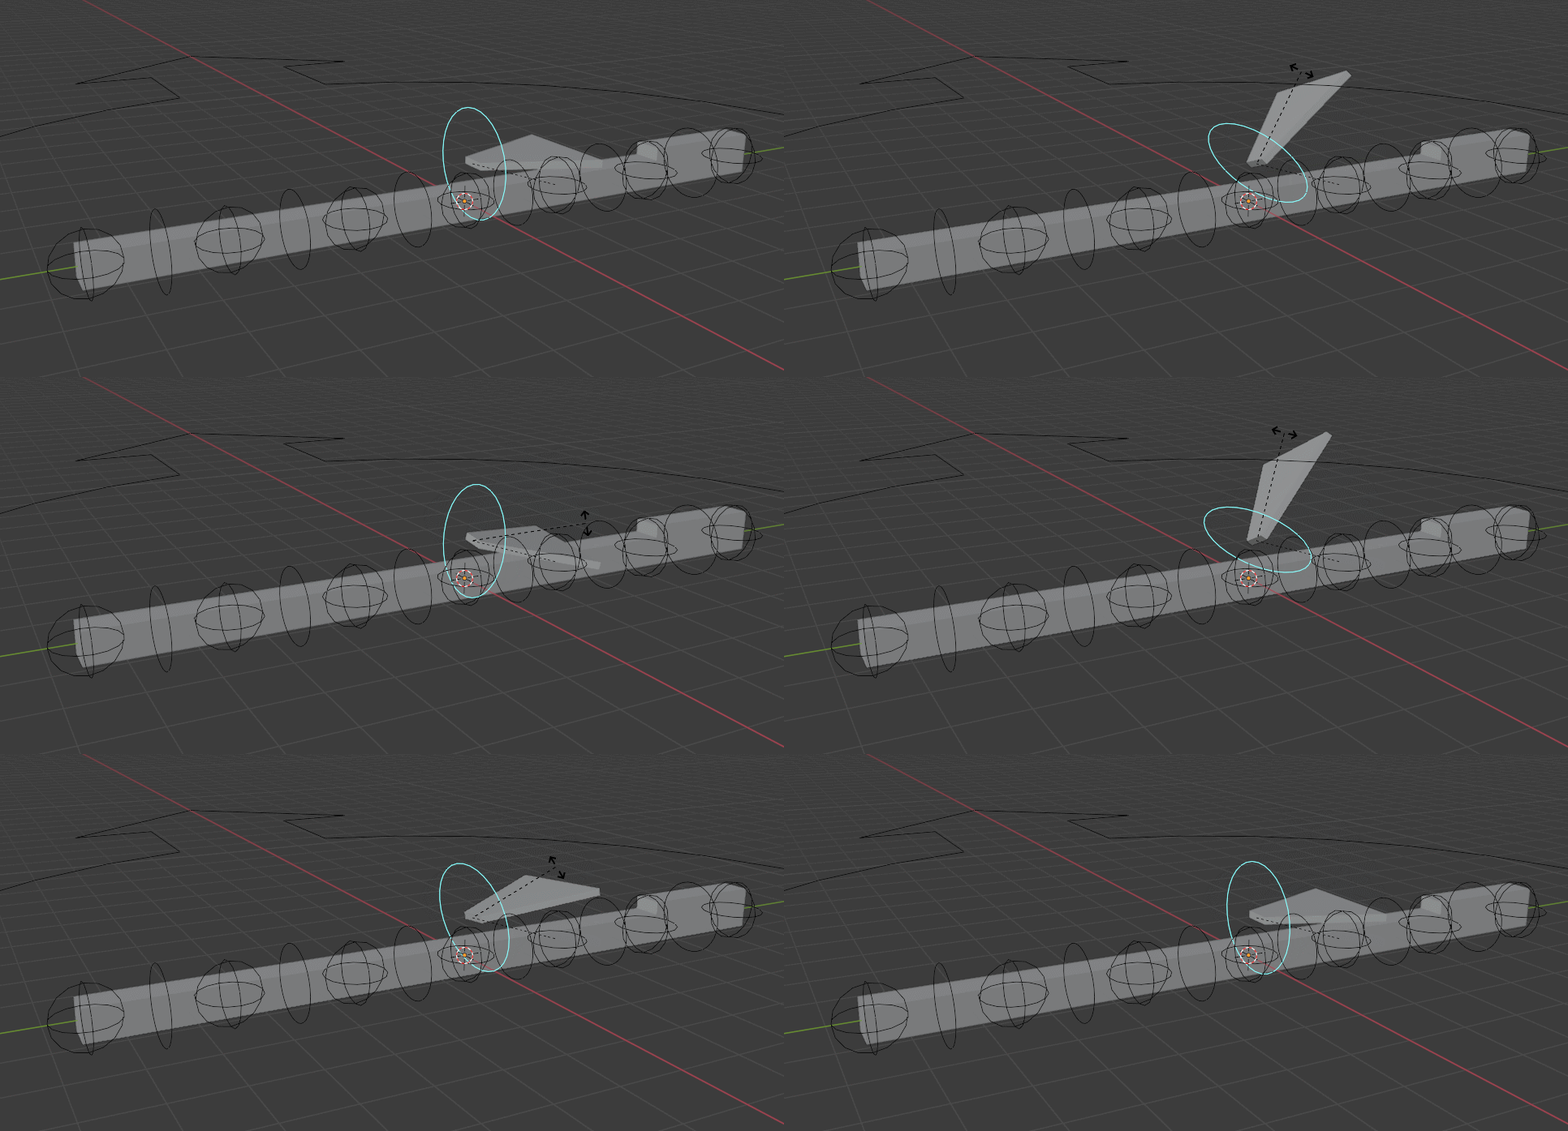
Here's the blend file with a link and proxy control: enter image description here
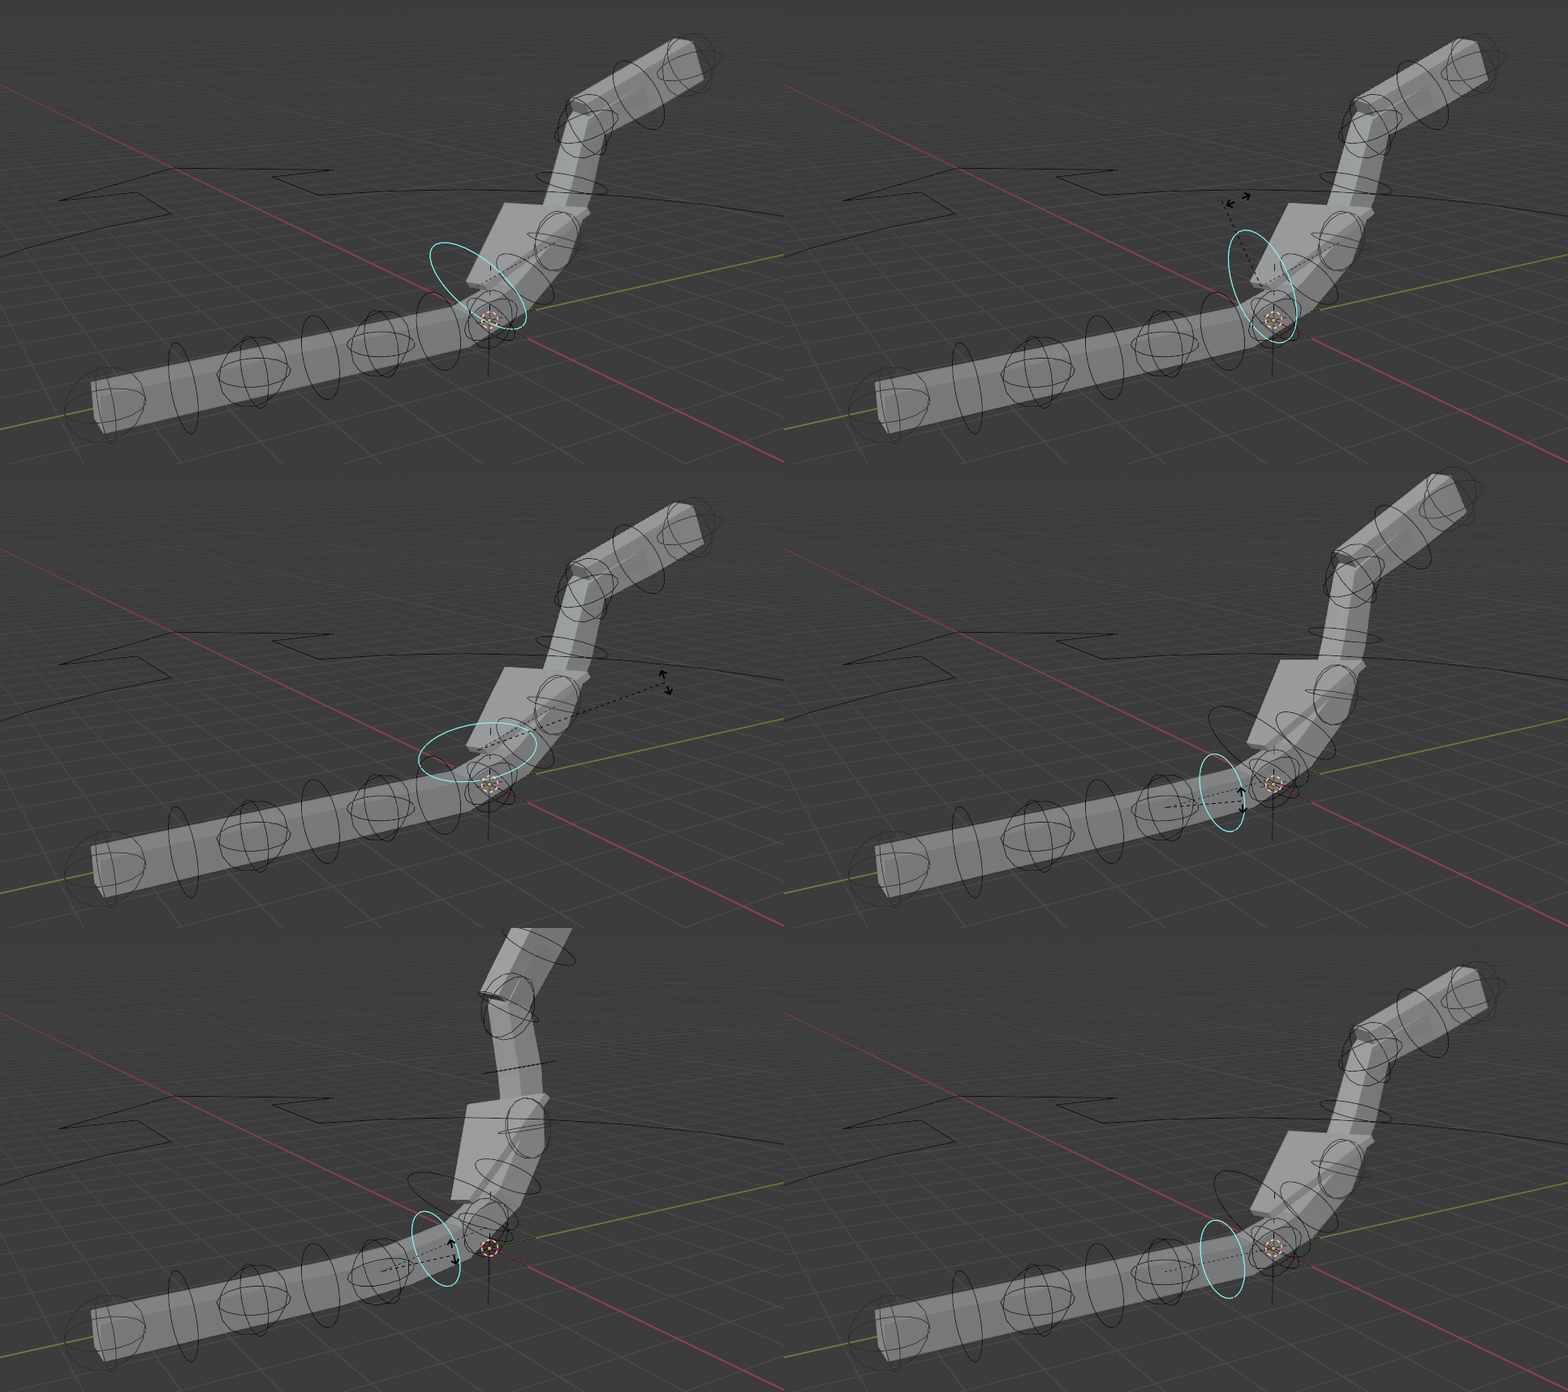
Any idea how to fix this? Or suggestions for workflow in general? I'd like to avoid all animations in one single blend file as I'd like multiple people working on animations simultaneously. I don't think multiple people can access the same one blend file at once.

EDIT 1:

It looks like the mesh widget object of the rigify rig isn't updating properly. It seems the mesh and bone structure is indeed updating correctly.

enter image description here

I've uploaded the two blend files to mediafire if you guys want to take a look:

Main blend file

Linked proxy file

$\endgroup$

2 Answers 2

2
$\begingroup$

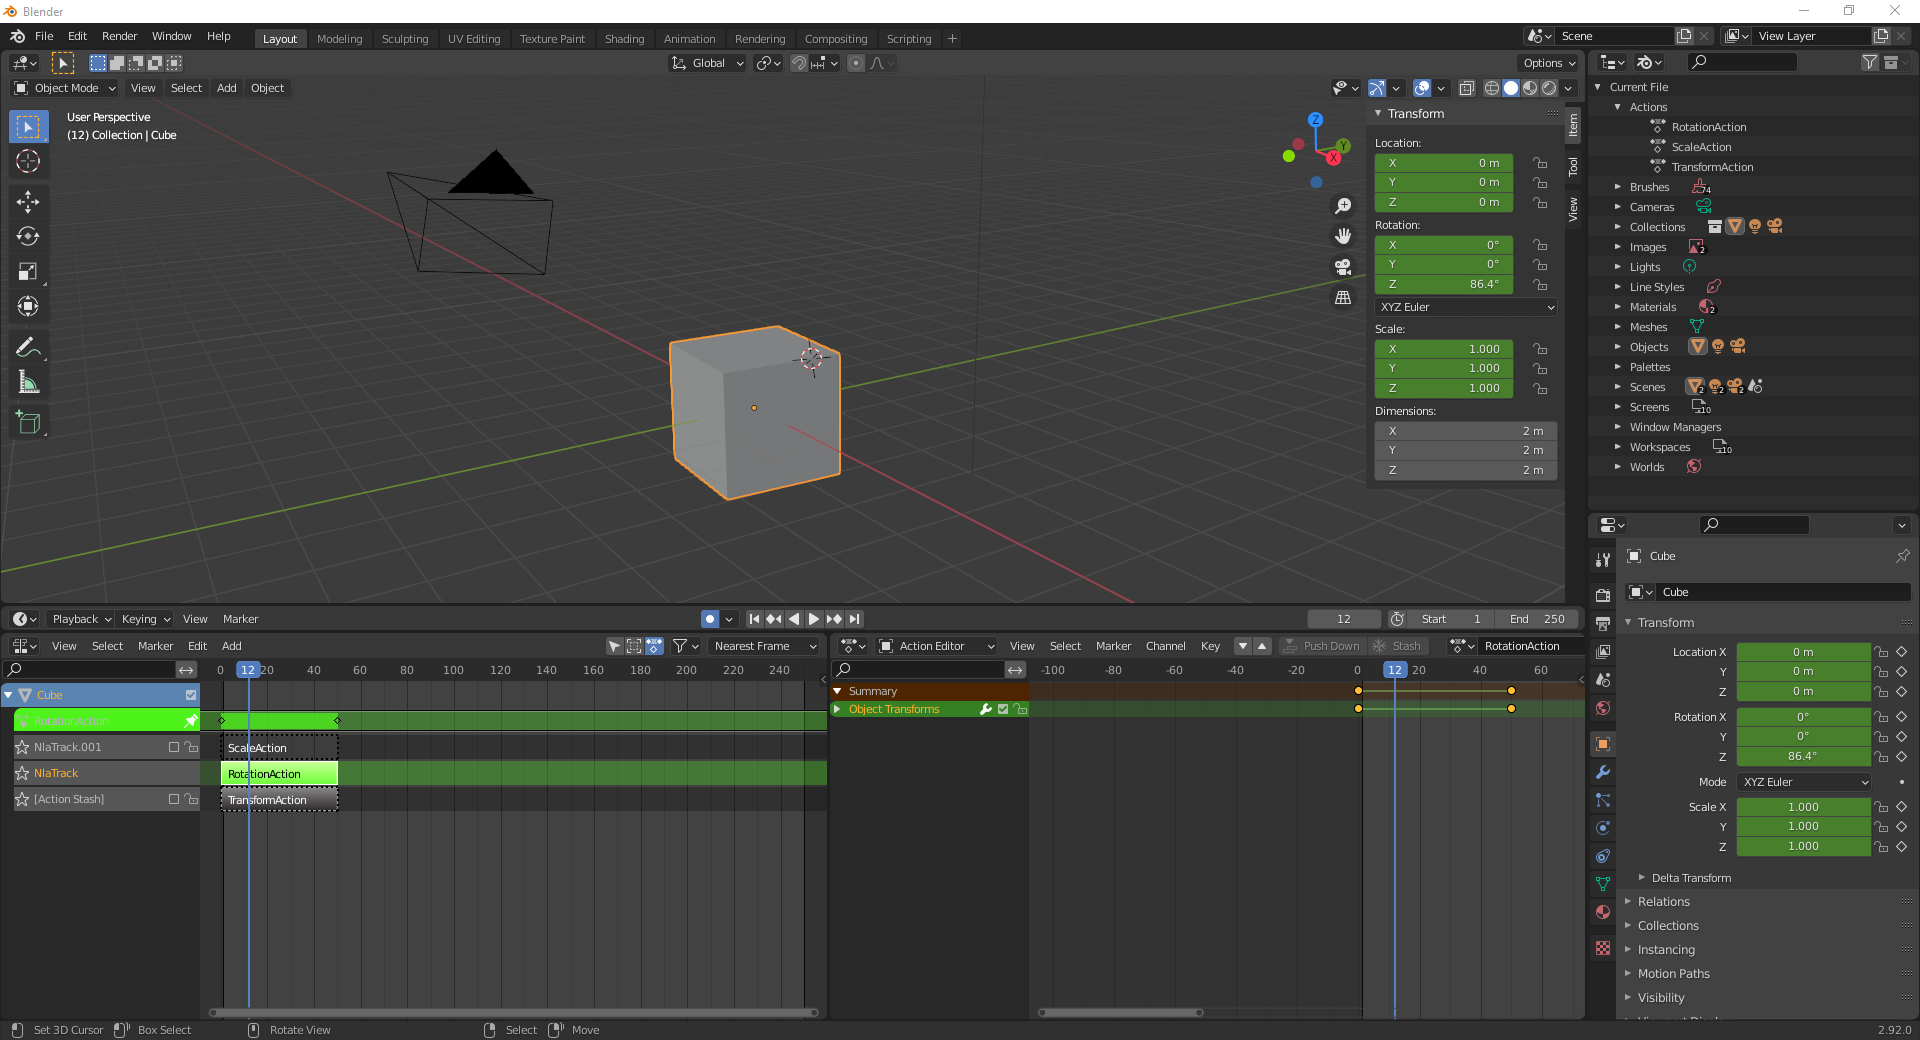
In terms of Animation i can recommend the NLA-Editor. Together with the Action-Editor (accessed through the Dope-Sheet-Tab) you can setup a Library of multiple Animations, so you wouldn't have to make separate blendfiles for each Action and link them.

enter image description here

This tutorial helped me to understand the purpose of the NLA-Editor:

https://www.youtube.com/watch?v=mfdufhaiKtI

$\endgroup$
5
  • $\begingroup$ Does this method support multiple people working with the same armature? Say there's a human character. Person 1 works on a walk animation, person 2 work on a jump animation, person 3 work on run animation. All at the same time. $\endgroup$ Commented Dec 22, 2021 at 11:27
  • $\begingroup$ Yes, you can link those Actions to your scene, if you like, and put them strips in the NLA-Editor. $\endgroup$
    – Atti
    Commented Dec 22, 2021 at 11:29
  • $\begingroup$ Don't quite get it. I watched the YT video, it seem NLA is used to composite sequences of animations. How does that allow multiple people to work with one armature? My use case currently is making animations to import into UE4. I'll be providing the main armature for animators to animate on their own computers. With the added flexibility that if I modify the mesh and bones (say I add a tail to the human character), previously done animations can be opened up, updated, add tail animations, and reimport into UE4. $\endgroup$ Commented Dec 22, 2021 at 11:44
  • $\begingroup$ The action editor allows people to work on different actions at one time. One animator can be working on a Walk action while another is working on a Run for example. The NLA is then used to compose sequences of actions into larger pieces. $\endgroup$ Commented Dec 22, 2021 at 16:34
  • $\begingroup$ I'm looking around, you're talking about Mixer or Multi-User Add on? If all else fails, I'll have to use this I suppose. One other reason I want to avoid all animations stacked in the same blend file is that I'm using GIT for version control. I'd prefer not to back up a giant blend file every time 1 of the 20 animations is modified. $\endgroup$ Commented Dec 23, 2021 at 4:08
1
$\begingroup$

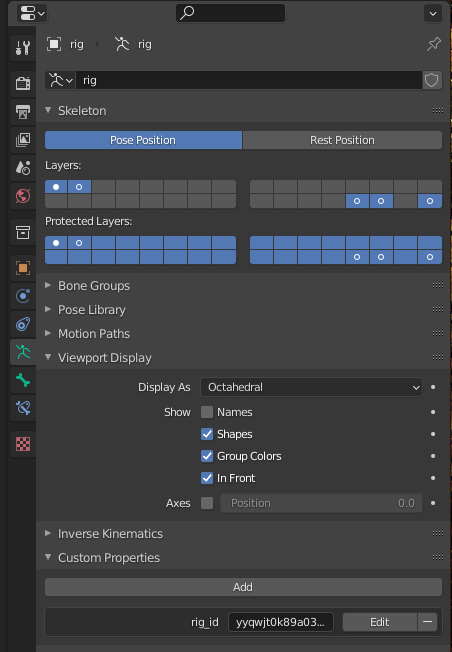
Figured it out! The problem was the bone constraints were not being updated. The solution was to go to the original blender file and mark all layers as protected. Now updates to bone constraints carries over. This will reset the pose on the linked file, so be sure to save any undone animations so they can be reapplied later.

enter image description here

$\endgroup$

You must log in to answer this question.

Not the answer you're looking for? Browse other questions tagged .