Make a rig of sorts
Started this answer, came back the question was answered... it has become a little TL;DR. Since you are just beginning might find some tips useful
Given the remit of the question,
I have a basic scene with a camera and some light sources present.
For example sake let's use the default scene. The focus object is the default cube at (0, 0, 0). The camera focus does not go thru this point. The blender devs spent days getting the default camera position just right.
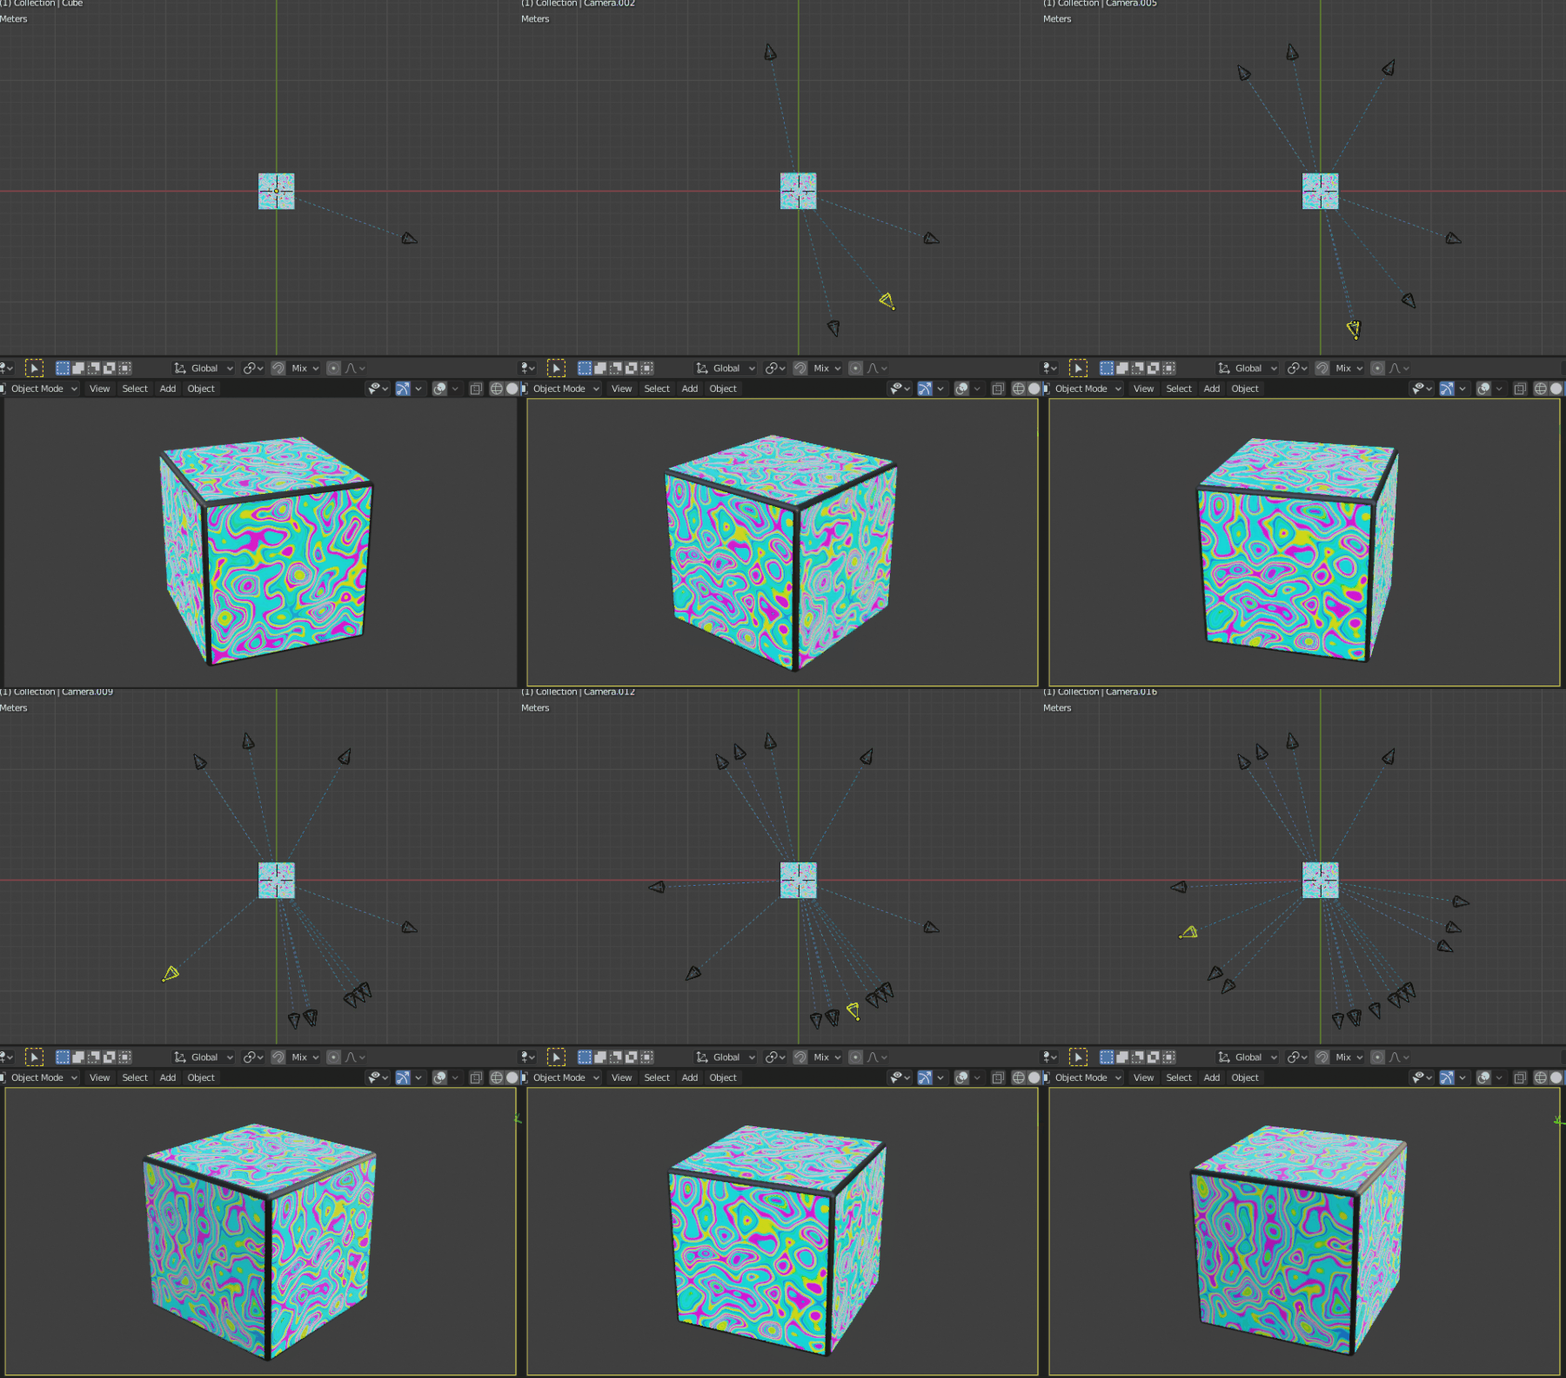
add a second camera that is located at a random position in the same
Z-plane as the first camera and is looking at the same XYZ-point
Imagine you're the cube, and the cam is on a fixed length "selfie stick". As you rotate the cam orbits. The location of the cam on its orbit is dependent only on one variable, how far you have rotated. Can reduce down to one variable.
Keep the same camera focus and data
Can as shown in accepted answer use a track to constraint on camera to subject, to get a serial killer like focus on target. Notice though that to default camera isn't focusing on the cube origin. This answer will keep the camera perspective as is, and make copies, radials or orbits around the global (0, 0, 0)
Using Object.copy() gives us another, in this case camera with the same data settings as original.
Use the animation system
I would like to do this through Python, since I am generating
multiple renders from this scene in a loop.
Even so recommend using the animation system. Instead of scripting change frame, change settings, render still, script animation data and render animation.
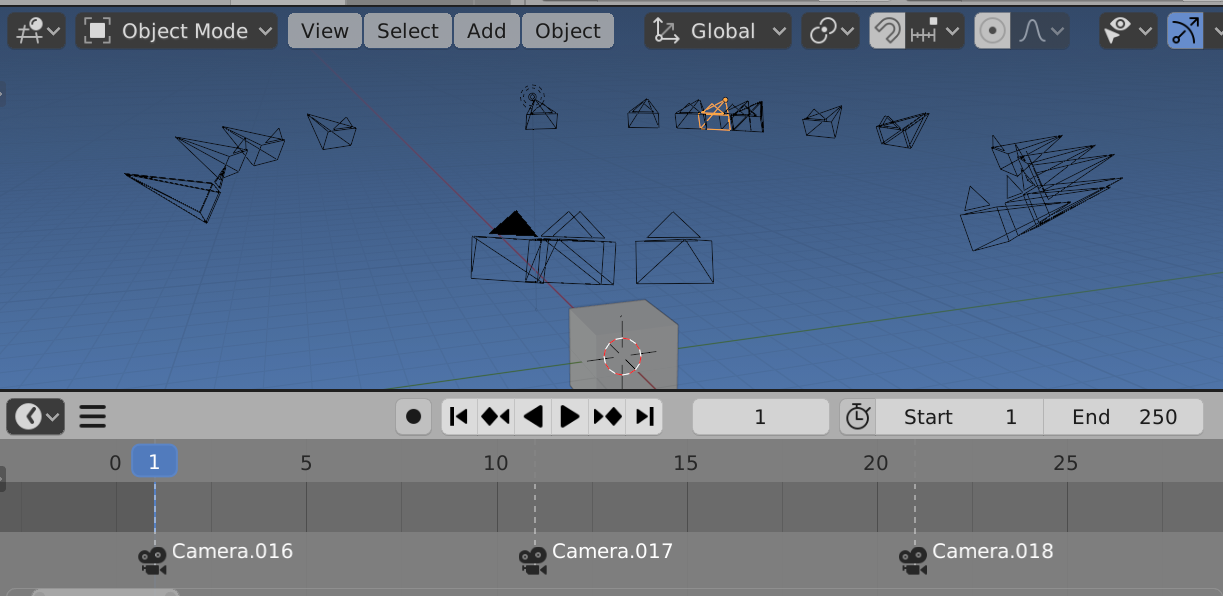
Add a camera copy bind to a timeline marker
Add a new copy of the camera object. Use the same camera data as original. Use same focus target as orginal. To rotate to another position on the orbit a rotation matrix about global z axis, at (0, 0, 0). Add a timeline marker at frame you wish to switch to each added camera.
Use matrices
In as much as can use trig methods for circles, recommend getting the hang of using linear algebra as soon as possible. Let multiplying the camera object world matrix by the global z axis matrix calculate all the transforms for us.
How can I make a camera the active one?
bind camera to marker via python

import bpy
from mathutils import Matrix
from random import random
from math import pi

context = bpy.context
scene = context.scene
coll = bpy.data.collections.new("RandCams")
scene.collection.children.link(coll)

for f in range(1, 258, 10):
    cam2 = scene.camera.copy()
    R = Matrix.Rotation(2 * pi * random(), 4, 'Z')
    cam2.matrix_world = R @ cam2.matrix_world
    coll.objects.link(cam2)
    m = scene.timeline_markers.new(name=f"R{f}", frame=f)
    m.select = True
    m.camera = cam2
Pros: Can easily shuffle the markers around. Cons lots of extra objects (if saving set up). Hard to tweak a camera location.
The joys of parenting
Multiplying by the rotation matrix above is exactly the same as parenting to an object with that matrix. This gives us the advantage of being able to adjust the single rotation property.
For an answer to
Script to render one object from different angles suggested making a dolly.
Quite simply, duplicate camera, add empty at desired location, parent camera to empty. Now rotating the empty on its local z axis makes the camera scribe a circular path.
The only property to set is the z rotation of the empty.
import bpy

context = bpy.context
scene = context.scene
cam = scene.camera

if cam:
    bpy.ops.object.empty_add(location=(0, 0, 0))
    mt = context.object
    mt.empty_display_type = 'SPHERE'
    mt.empty_display_size = 4
    cam2 = cam.copy()
    cam2.parent = mt
    context.collection.objects.link(cam2)
Note since am using the global origin as pivot point, adding a LOCAL to LOCAL copy transform constraint on copy to original, will adjust radius automatically based on originals location.
Instead of adding a new camera for each random location am going to move the camera by rotating the empty. Possibly worth noting that to see for example a turntable rotation, without reference points like grid and directional lighting could have stationary camera and spin the cube, or spin the whole scene (sans cam), spin the camera as shown, or orbit a circle path... result would appear same
Drivers

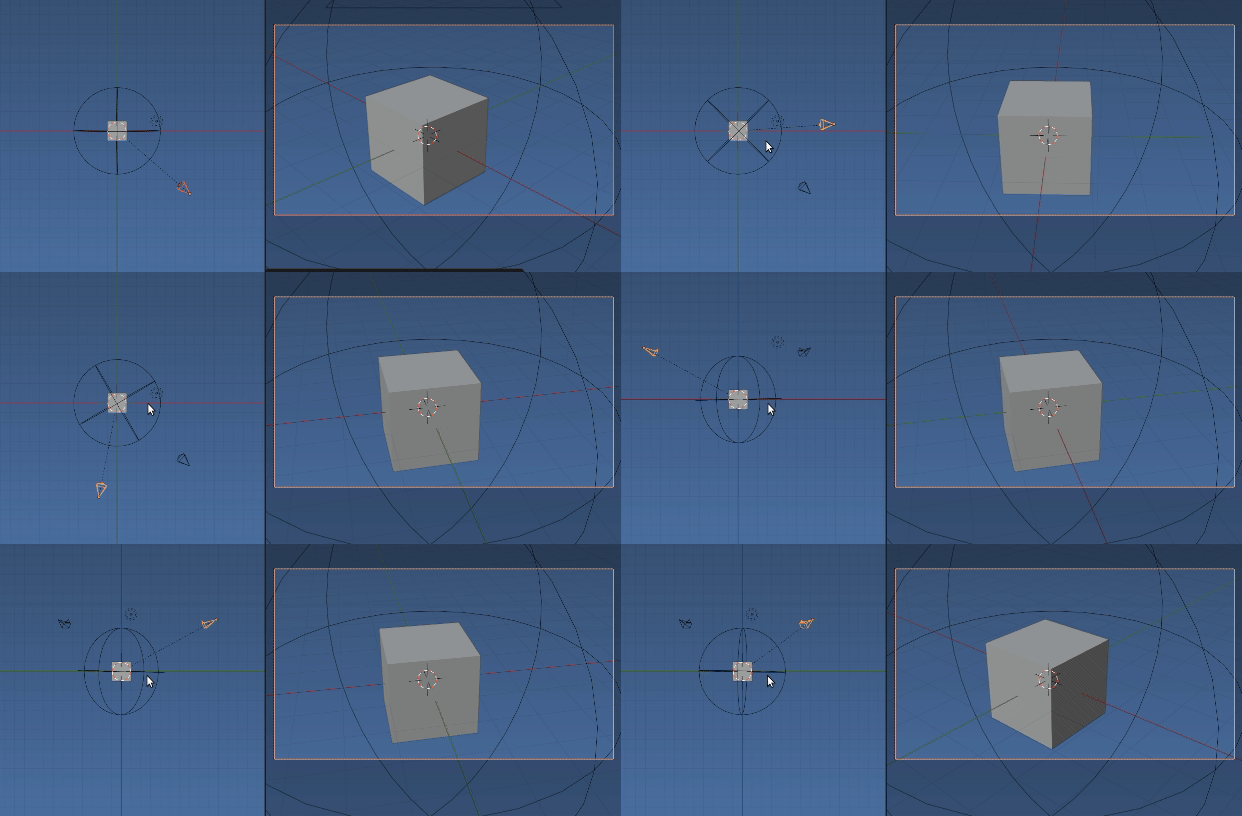
To animate with drivers. Add a driver to the z rotation euler property of the empty
driver = mt.driver_add("rotation_euler", 2).driver
Set the expression. For examples below No driver variables are needed as frame is "known" (a member of the driver namespace) to be current frame, as is the noise module
Spin 1 rev per 24 frames. Zero at frame 1.
driver.expression = "2 * pi * (frame - 1) / 24"
Random location on ring
driver.expression = "2 * pi * noise.random()"
IMO particularly handy for a "turntable" animation. The image above switches scene camera to active object. The first half is driver 1, the second driver 2.
Keyframes
Adds a random location at every 10th frame starting from 1, sorted by order of angle.
frames = range(1, 250, 10)
angles = sorted(random() for f in frames)
for f, a in zip(frames, angles):
    mt.keyframe_insert("rotation_euler", index=2, frame=f)
Make an orbit
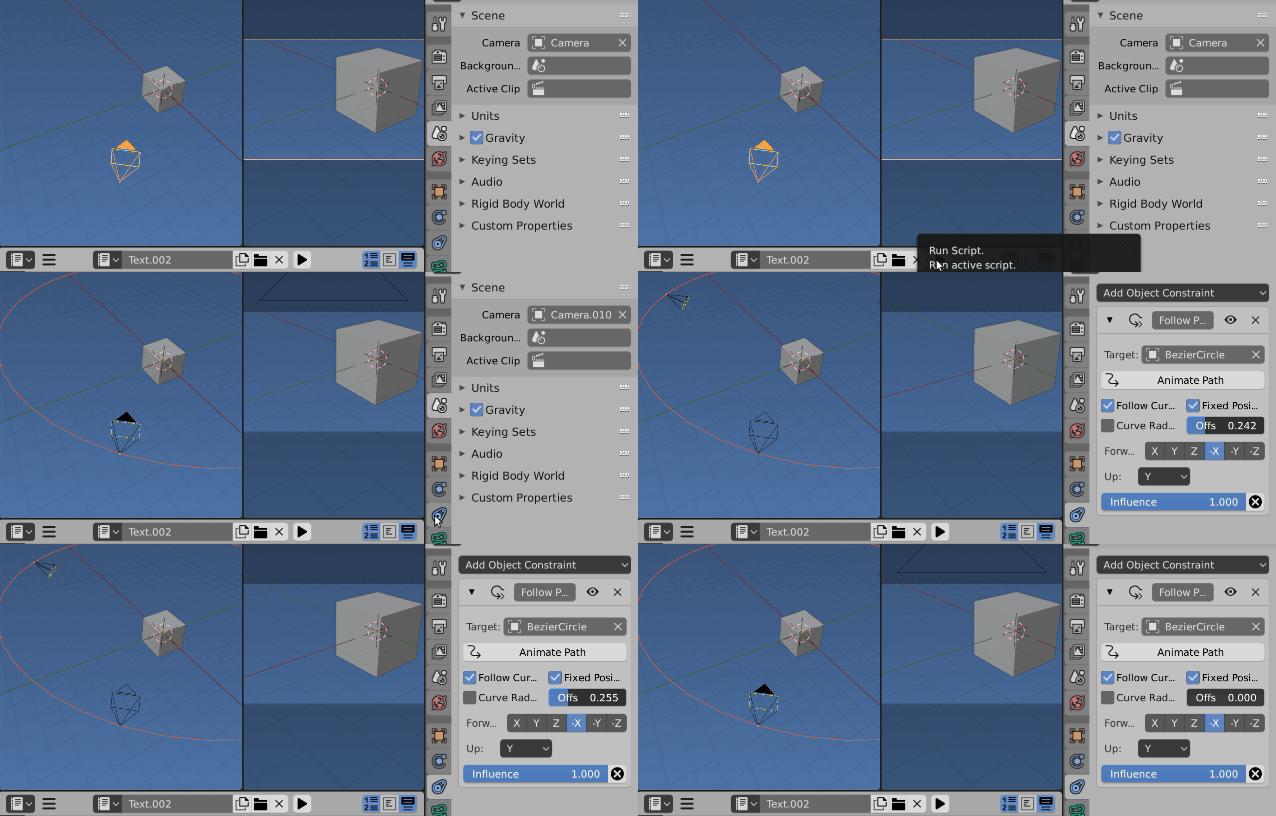
Here we make a circular orbit. A camera with a follow path constraint with follow curve, tracking -X axis with Y up focuses camera with no transform on the path center.
Here is a script to add orbit, set up a new camera copy, put it on orbit.
 Once again notice that the camera is not focused on (0, 0, 0) and orbiting gives the impression of cube rotating on (0, 0, 0)
Now only the offset of the follow path constraint need be animated. 0 is same position as orginal. 1 is same position (one full orbit) At 0 and 1 the added camera match the orginal scene camera.
import bpy
from mathutils import Vector, Matrix
context = bpy.context
scene = context.scene

while scene.collection.objects:
    bpy.data.objects.remove(scene.collection.objects[0])

cam = scene.camera
mw = cam.matrix_world
r = mw.translation.xy
r3d = Vector((r.x, r.y, 0))

h = mw.translation.z
from math import degrees
R = Matrix.Rotation(
        r.angle_signed(Vector((0, -1))),
        4,
        'Z',
        )


T = Matrix.Translation((0, 0, h))

bpy.ops.curve.primitive_bezier_circle_add(
        location=(0, 0, 0),
        radius=r.length)
path = context.object
cu = path.data
cu.transform(R @ T)

cam2 = cam.copy()
cam2.matrix_world = Matrix()
fp = cam2.constraints.new('FOLLOW_PATH')
fp.target = path
fp.use_curve_follow = True
fp.use_fixed_location = True
fp.forward_axis = 'TRACK_NEGATIVE_X'
fp.up_axis = 'UP_Y'

context.collection.objects.link(cam2)
context.view_layer.update()

cam2.matrix_basis = cam2.matrix_world.inverted() @ mw
scene.camera = cam2
context.view_layer.objects.active = cam2
Pros. Can see the orbit, can edit to be non circular.


