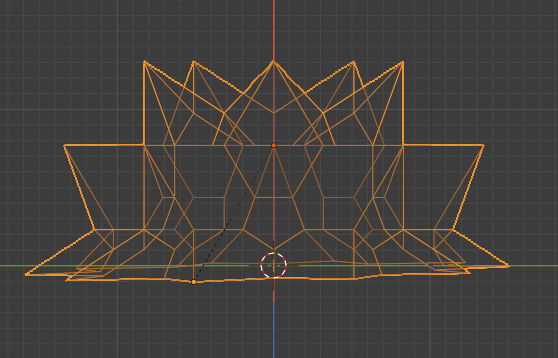
Ok, here's a step-by-step method:
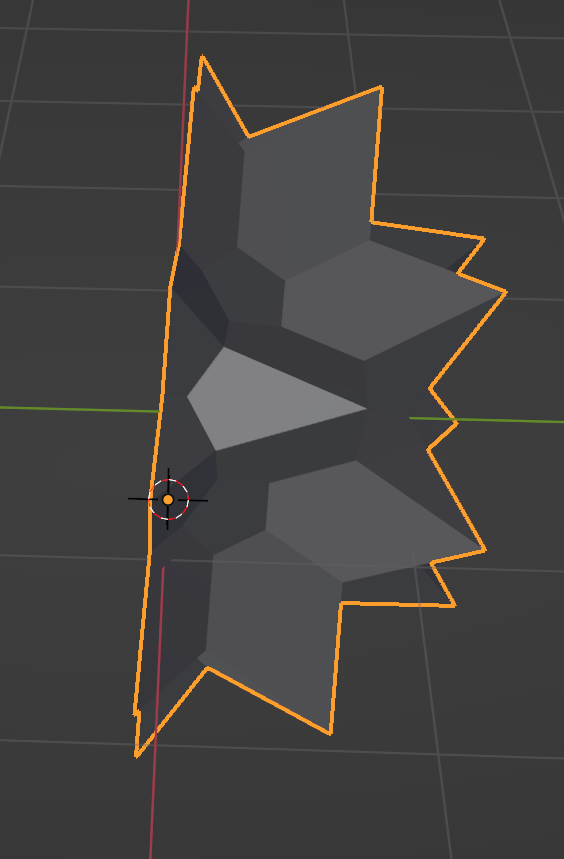
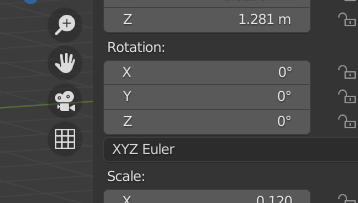
- Select the object and zero out the rotations, first:

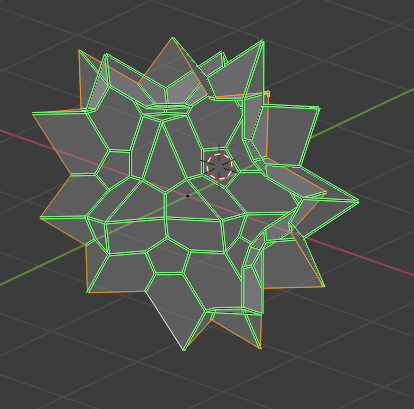
- Go to Edit mode and select the bottom edges:

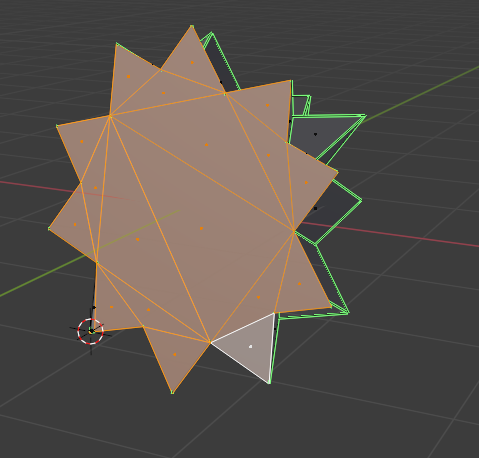
- Fill in the bottom with faces using Alt-F (and Beauty fill):

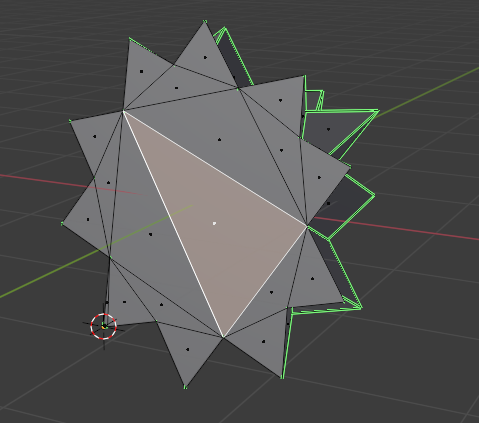
- Select the middle triangular face:

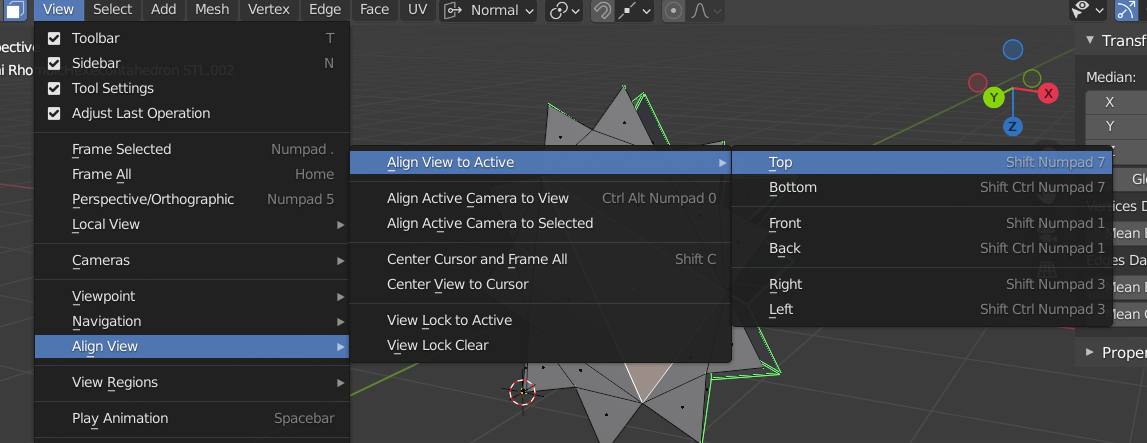
- Go to Align View -> Align View to Active -> Top:

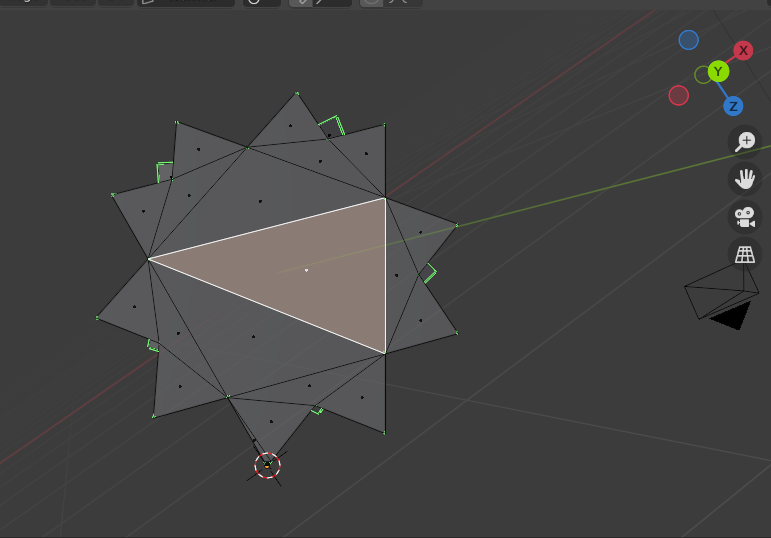
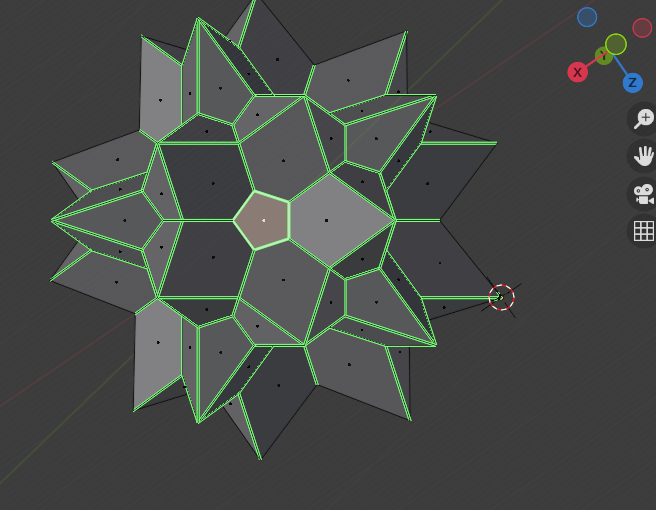
- Now the view is aligned to that face:

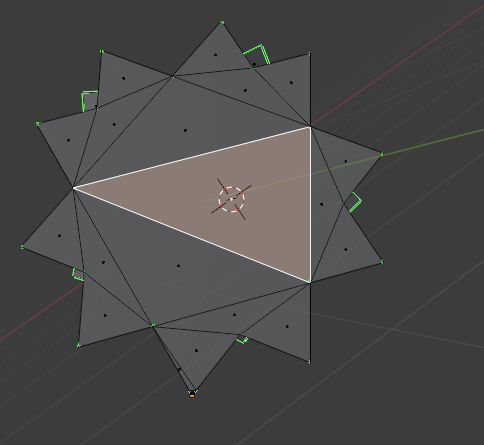
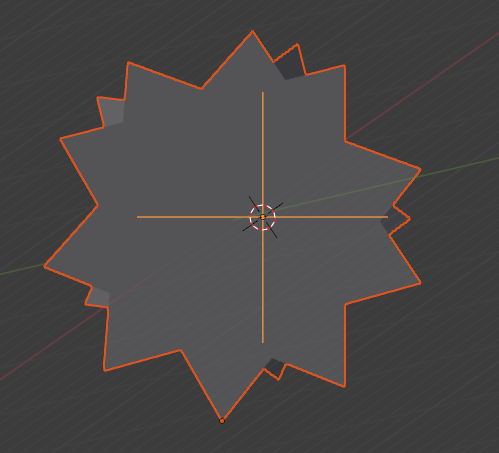
- Snap the 3d cursor to the face:

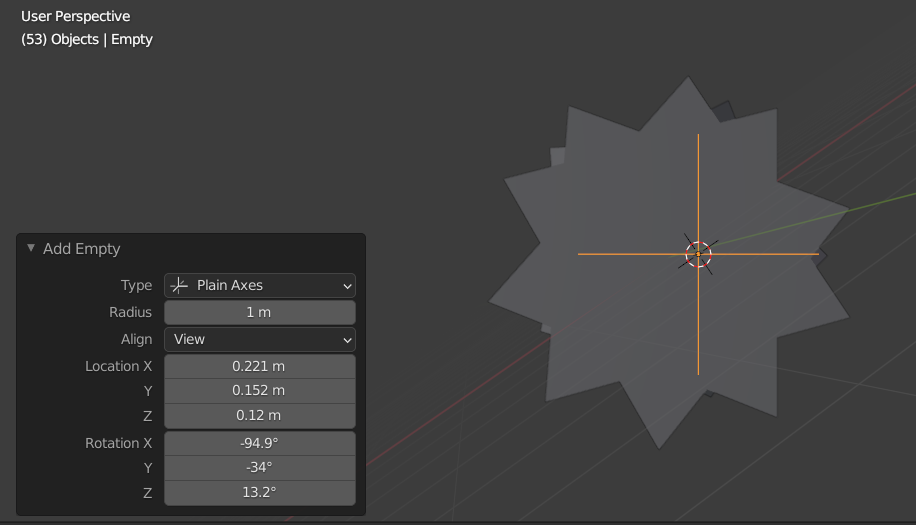
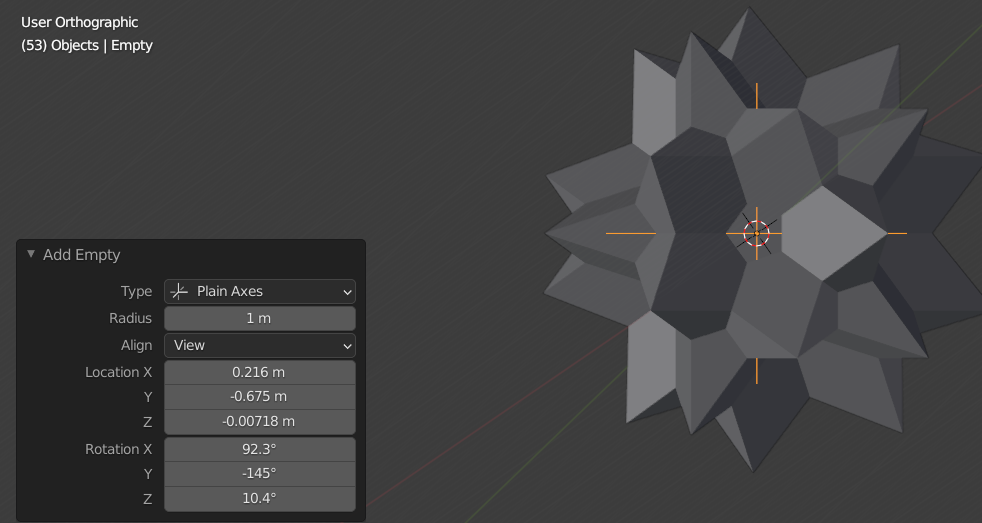
- Go back to Object mode and Create and Empty, with the Align set to View:

- Select the shape first, and THEN the Empty. Then Parent using Ctrl-P and just use the "Object" option:

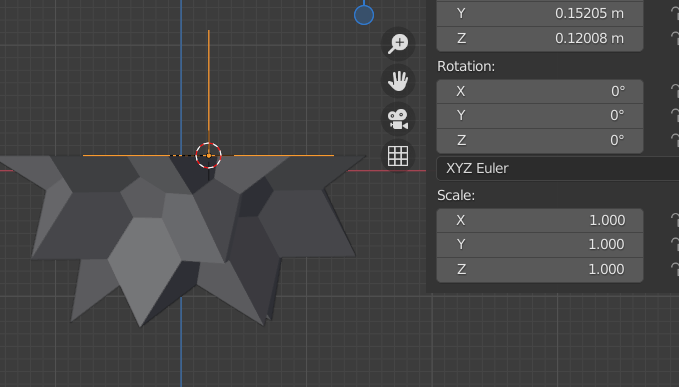
- Now select the Empty and zero out the rotation:

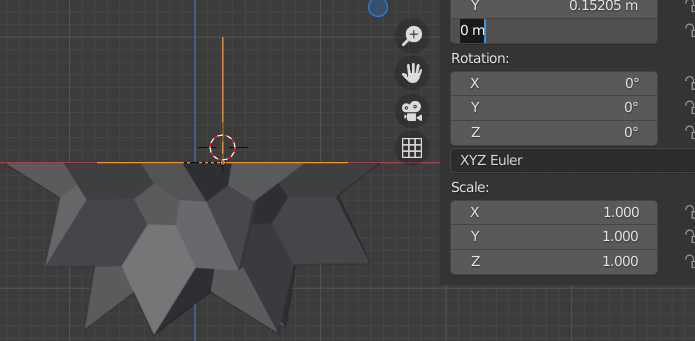
- Move the Z value of the Empty to 0:

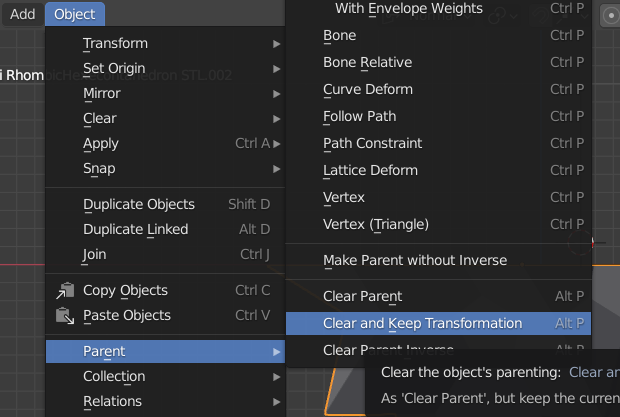
- Select the shape and choose Parent -> Clear and Keep Transformation:

Now your shape is aligned (as well as can be hoped as it's slighly uneven) with the Z-axis and can be mirrored - with some merging it should be ok. Delete the extra bottom faces we added in step 3 and you probably want to Apply the Rotations to make them zero.
HOWEVER: this shape is pretty "askew" as you said - so this lines up that bottom edge but the shape is still tilted overall. If you would rather align the shape itself rather than the bottom edge of it, you can do it by using one of the faces:
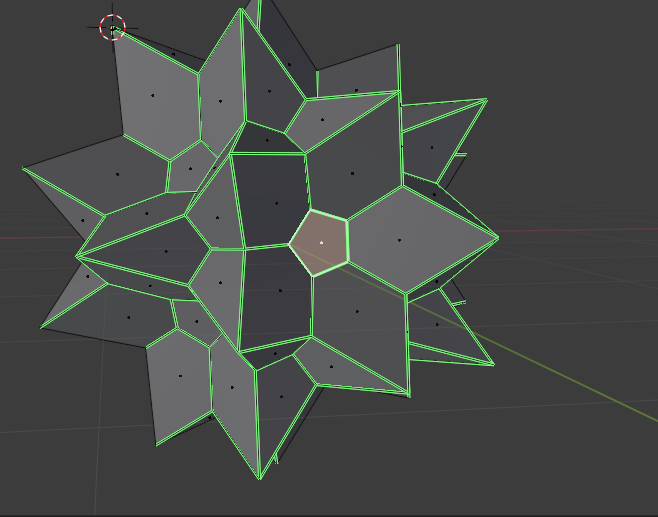
- Select this face instead as step 1:

- Align the view to that face like we did above:

- Snap the cursor to the face, add the Empty as before:

- Follow the steps to align the camera, parent the empty, and rotate to zero. Now the object's parallel edges are aligned to the axes, but the bottom edge isn't:

You should be able to select the bottom vertices and just rotate slightly in X and Y in the orthographic views to get it straight enough.
Hope these steps are more clear than my comment above! It seems like a lot of steps but once you understand, it only takes a few minutes to do it.

