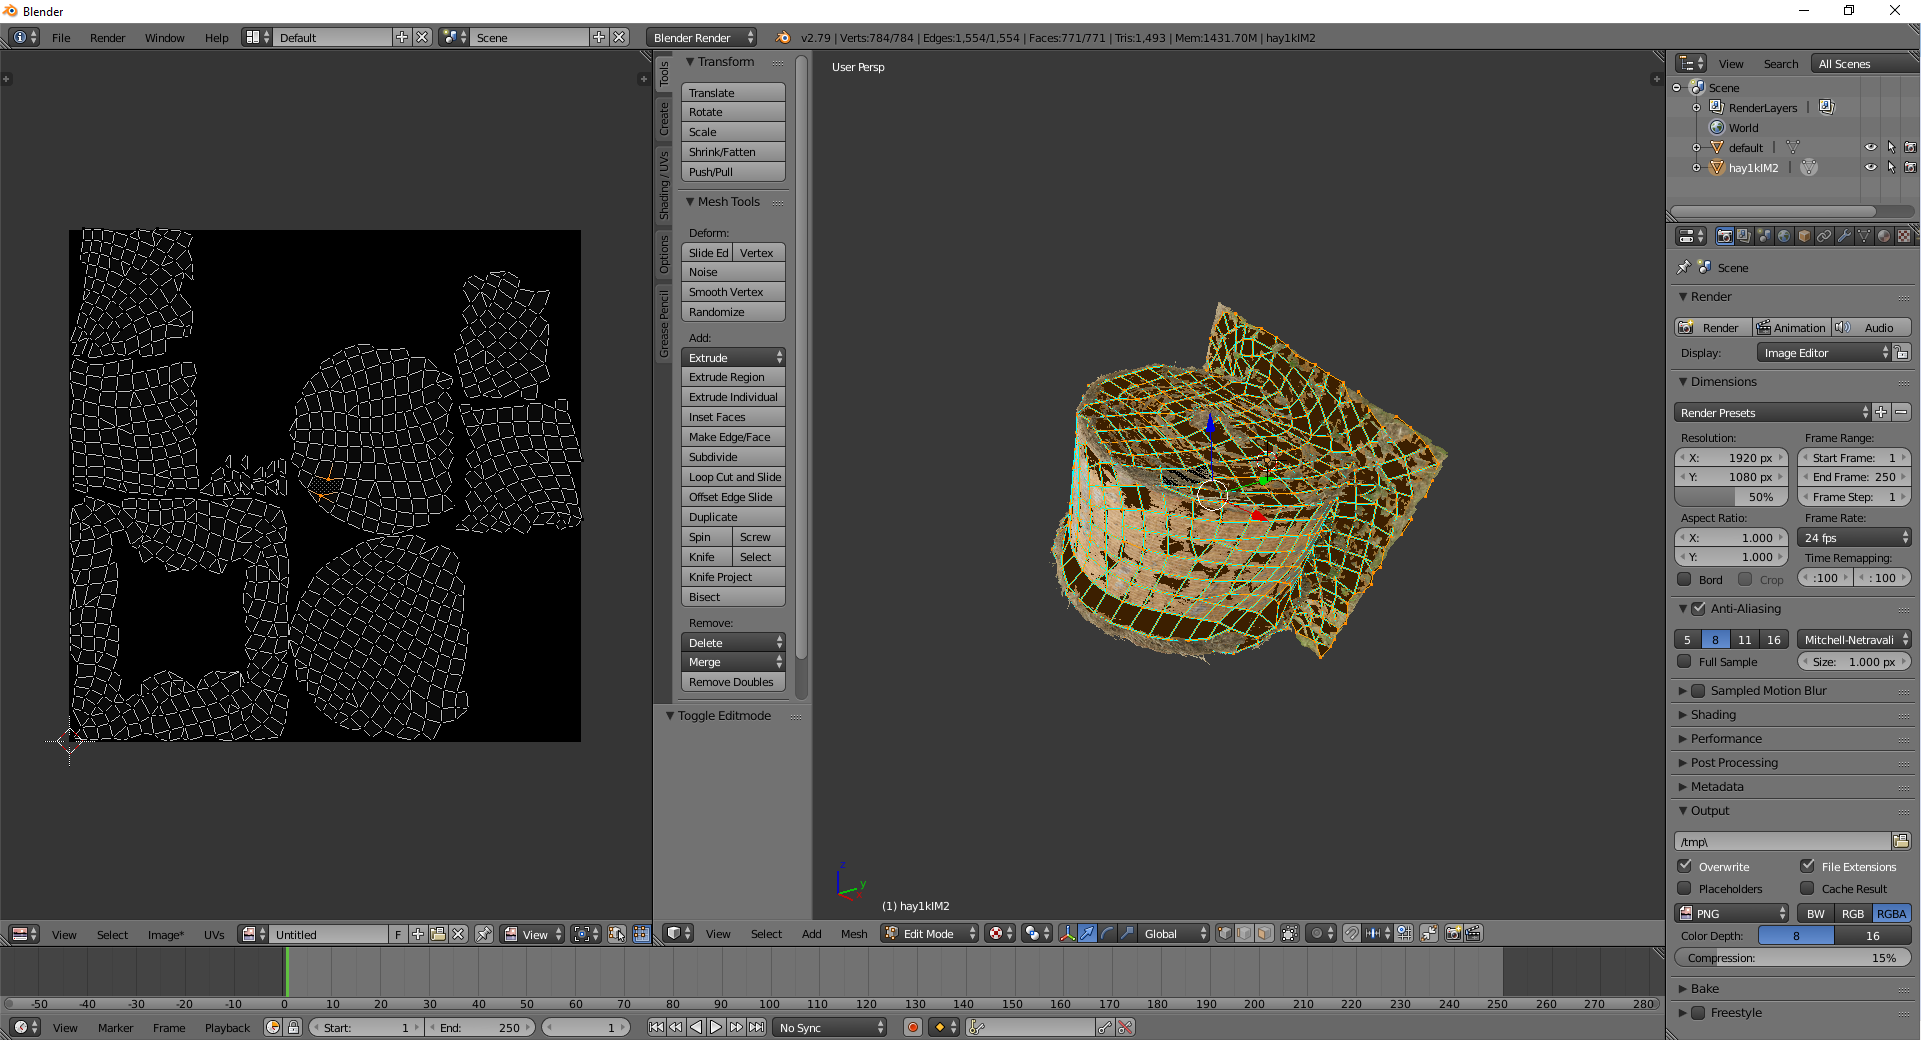
There are a few possibilities, so here's a checklist to go through:
--Selections. I know it seems obvious, but it's actually pretty easy to accidentally deselect something, and it's not always obvious when it happens. Make sure your image texture, the one you want to bake to, is selected, and the only thing selected, in your node editor. In the viewport, check to see if you selected your high-poly object first, then your low-poly object second (click the first, shift-click the second). You can't do this with box-select, it won't have a proper active object. If you're having trouble doing this in the viewport, you can do it via the outliner window (the little one that lists all your objects in the top right).
--UVs The reason it's usually done with the same object is because Blender tries to follow the UV layouts when baking. While it doesn't have to be the same object, the UVs of the low-poly should be laid out in roughly the same way as the high-poly, so it'll show up on the right places in the texture. For example, if it were a character, the face of the low-poly character should be unwrapped to the same location as where the face of the high-poly character is unwrapped.
--Images Make sure you've named and saved your target image to your computer before baking. If you don't do this, Blender doesn't know where you want that information to ultimately go, because you don't have a physical file selected. This makes sense when you realize baking works by essentially overwriting existing information, rather than creating entirely new information from scratch. At that point, it'll only be a big black square, but Blender will overwrite it with the map you're after as you bake. Just make sure to save a second time after, too! Blender won't remember your changes for you, when it comes to external files. In addition, make sure the textures of your high-poly have been appropriately uploaded, as well. It can be easy to confuse object color, which can be baked into a file, with what the actual texture looks like.
I hope this helps! Happy Blending.

