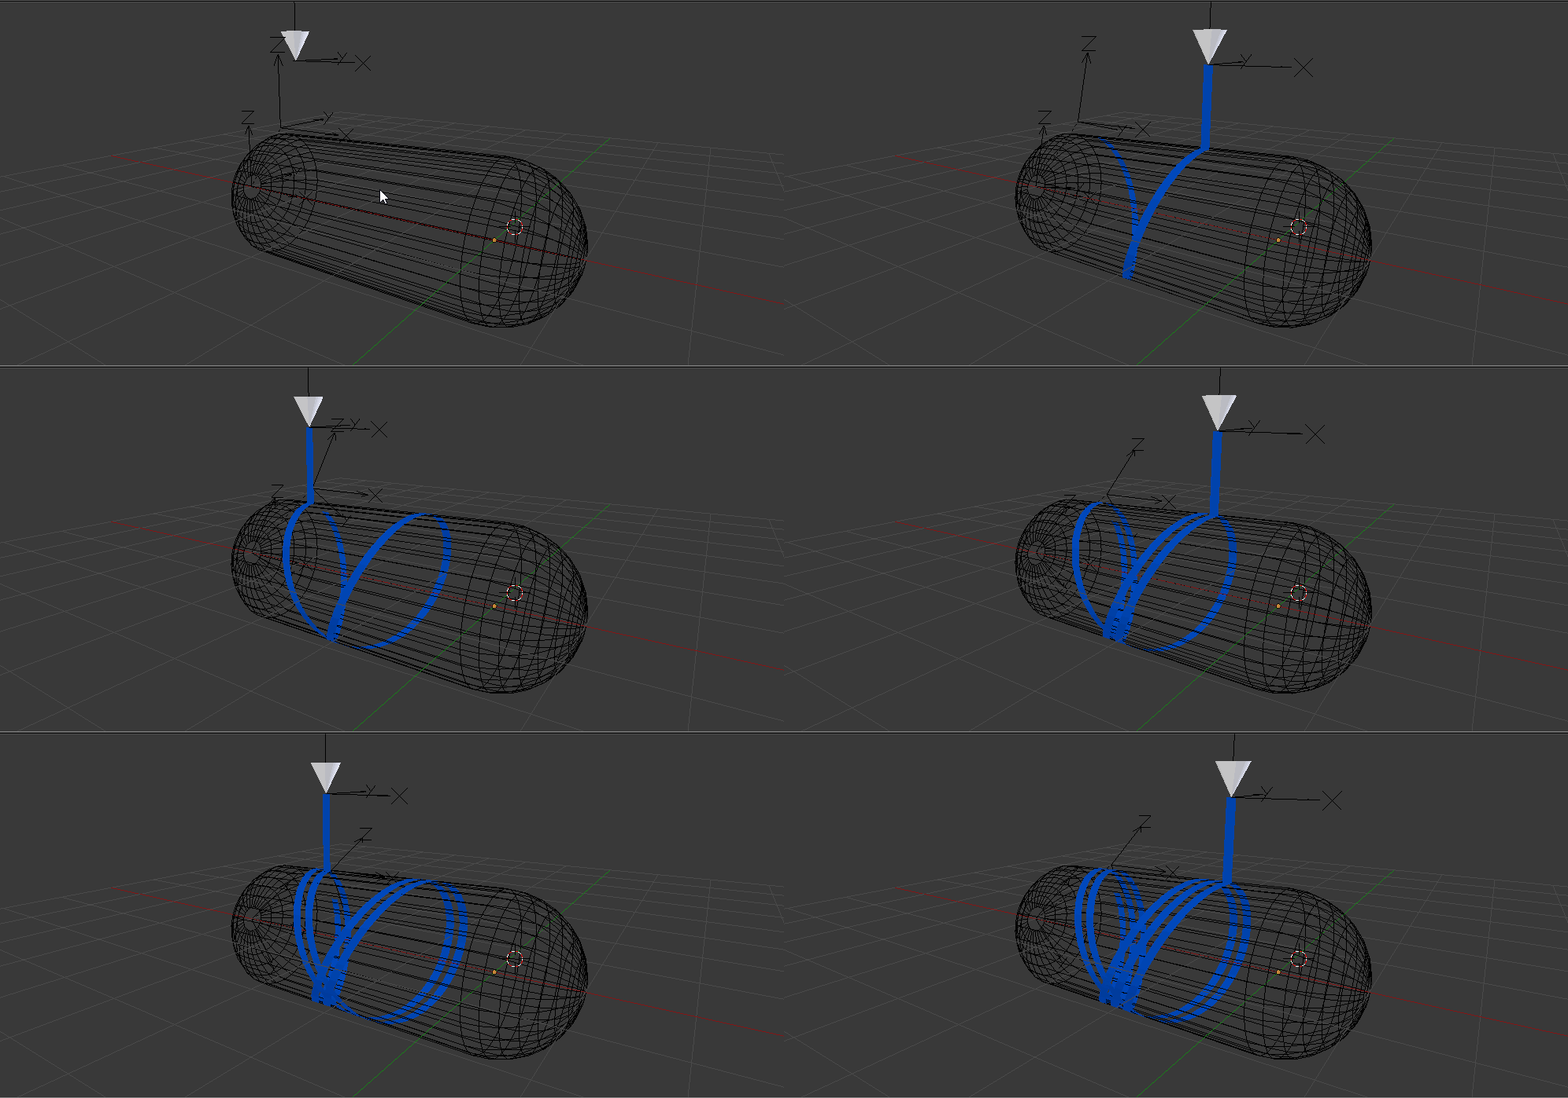
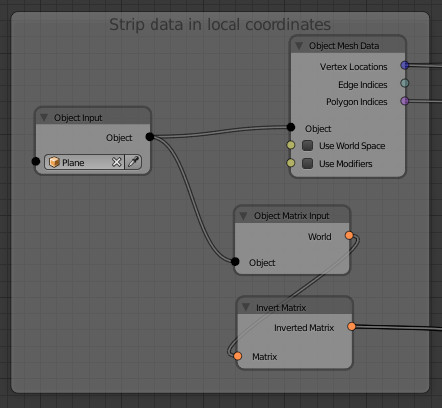
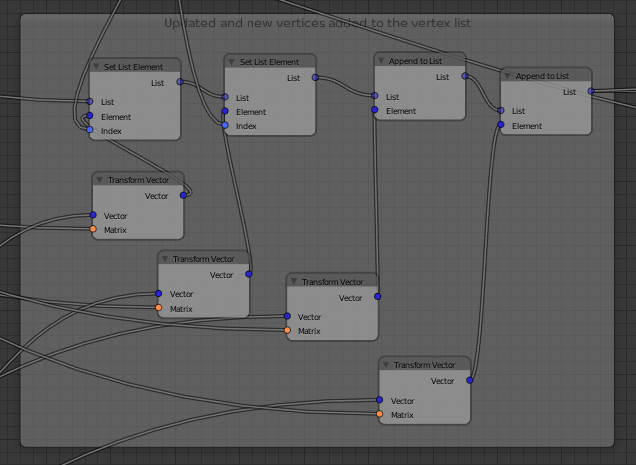
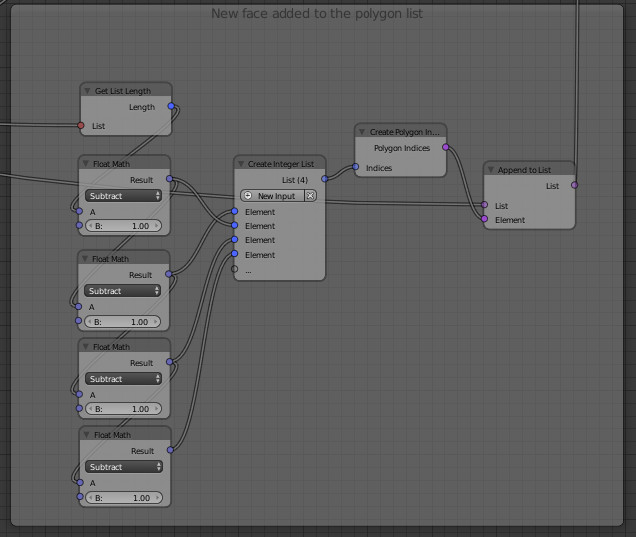
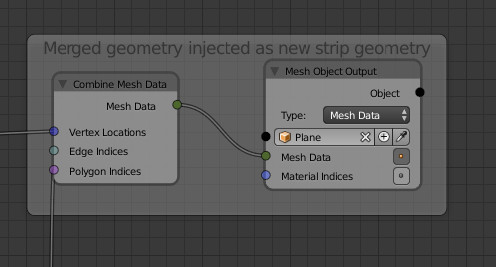
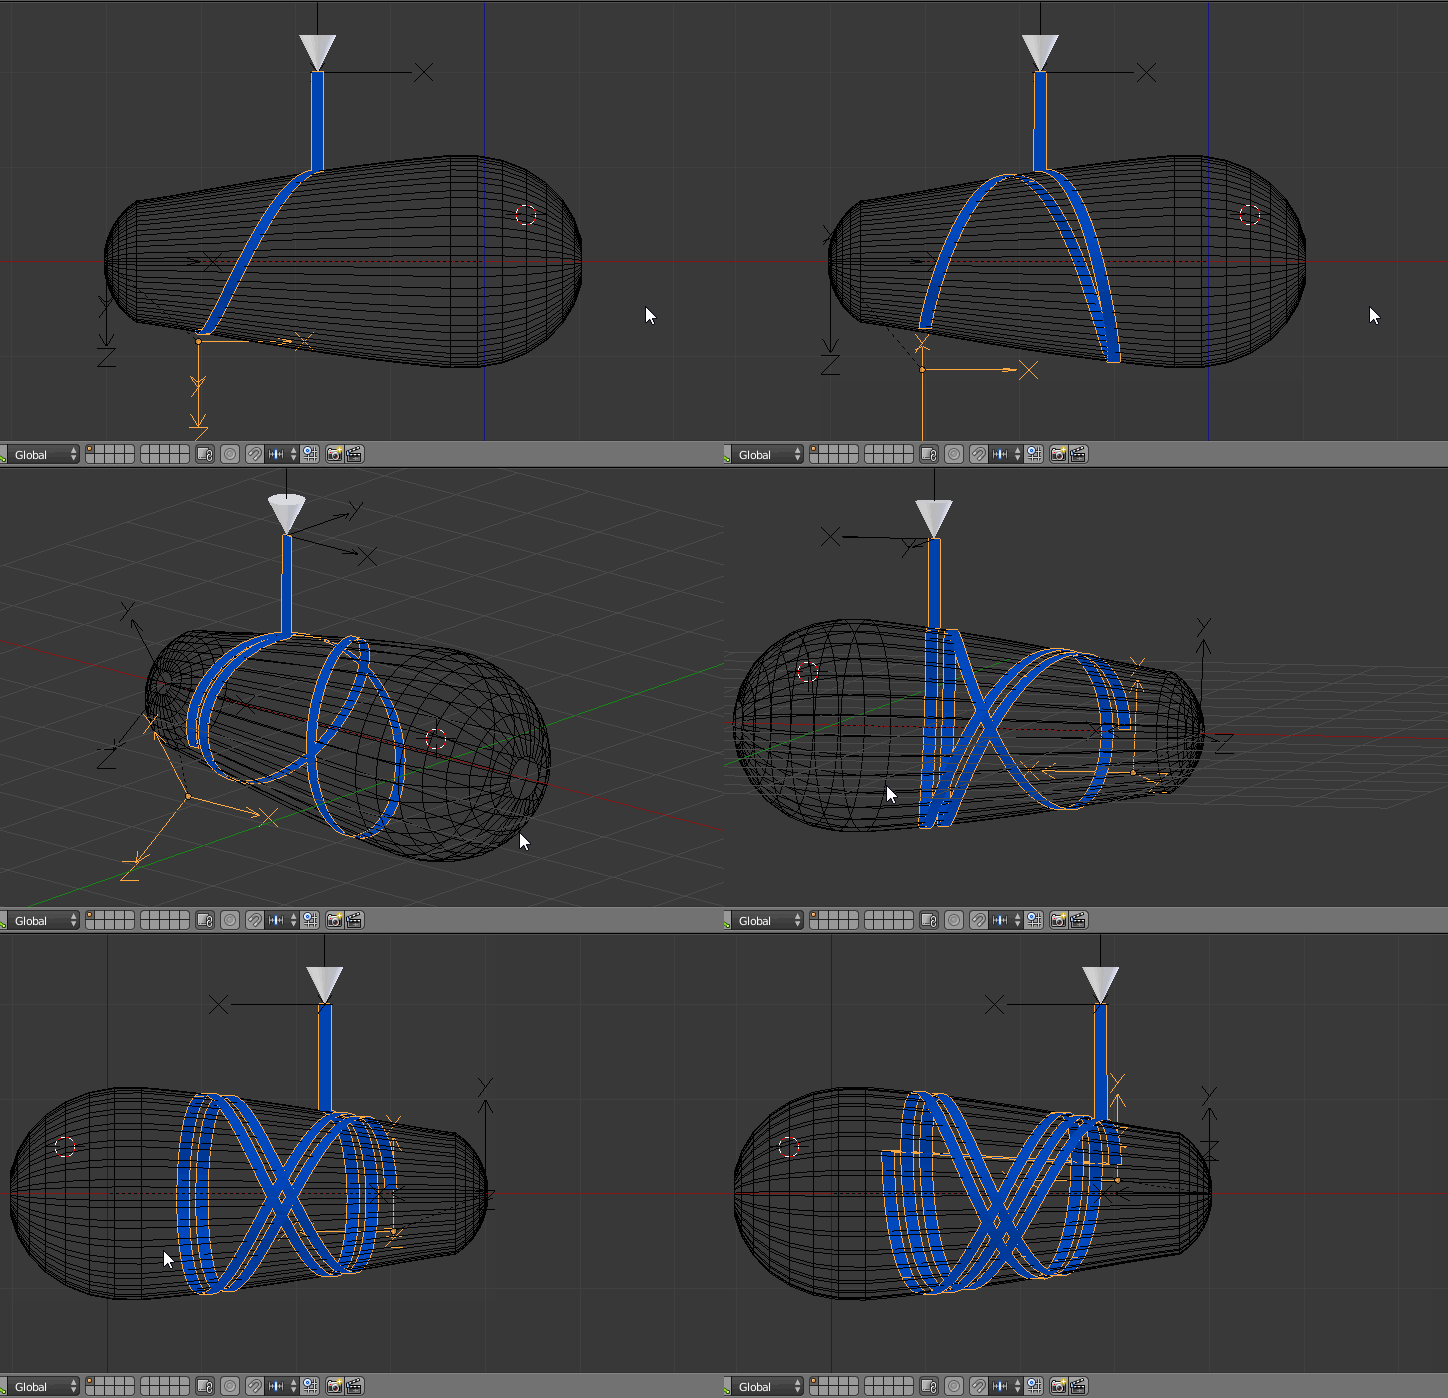
The strip follows the cone using this principle:
- The cylinder turns due its parent, an empty which rotates
- The strip object turns too, with the same empty as parent
- The cone orientation (-Z axis) and location are used to ray cast on the cylinder: this gives a new position on the cylinder to complete the strip
All that is done using Animation Nodes.
More detailed steps:
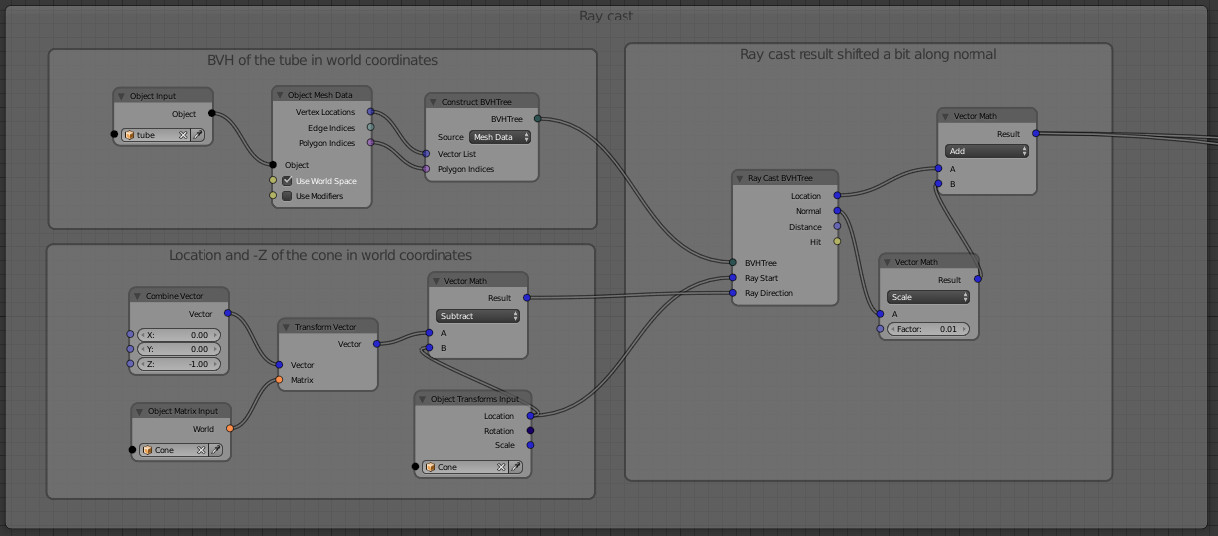
- Calculate the cone location and -Z orientation in world coordinates
- Raycast on the cylinder from these previous parameters
- This raycast gives a position on the cylinder and the normal of the hit face
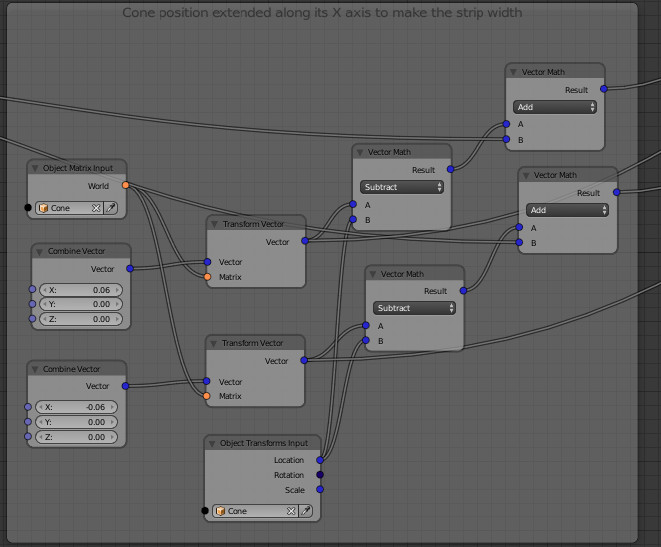
- Calculate the new strip part position from this previous data, extending it along the cone X axis and shifting it a bit along the face normal
- This calculation replaces the last two strip vertices
- Add new two vertices to the strip and place them at the cone position
- Make a new face for these last 4 vertices
- Input back all these vertices and polygons in the strip geometry
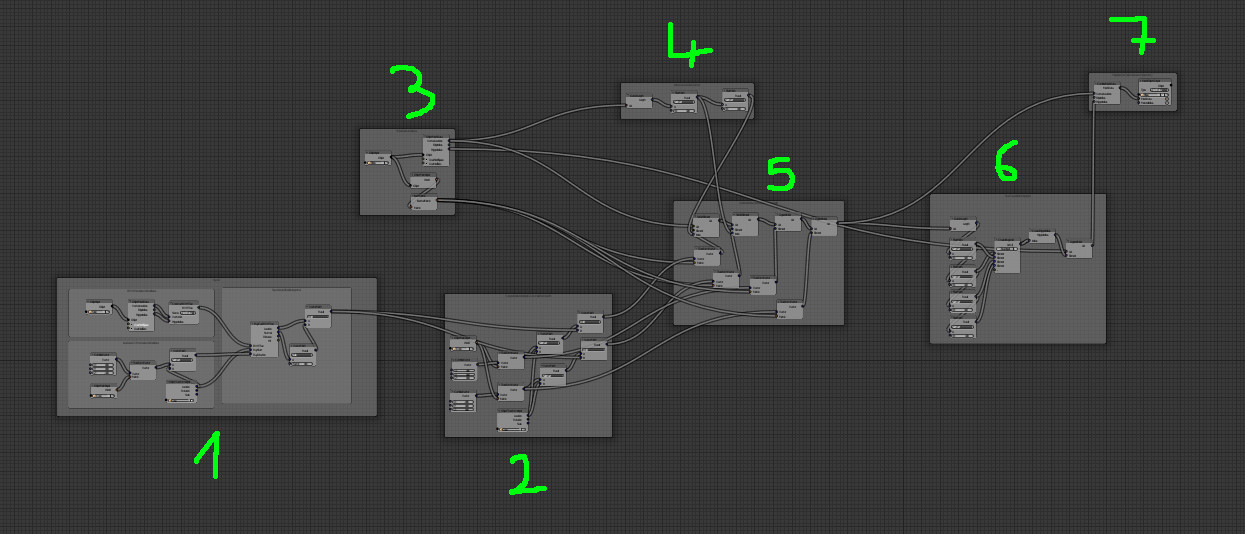
The overall cartography:
1/ Calculate the ray cast and new strip part's position
2/ Give a width to the strip
3/ Extract strip's current geometry
4/ Calculate last 2 previous vertices index
5/ Injects updated and new vertices in the strip data
6/ Make a new face from the last 4 vertices
7/ Put all back to the strip data
Note:
To make it work, the strip have to include at least an edge at the beginning of the animation.
This node setup is "constructive", at each frame it creates new vertices, and this is not rolled back at the end of the animation. So, to replay it, edit the strip and delete all its vertices except the two first ones.
To do list:
Constraint the cone -Z axis to always point to the cylinder, as if not the raycast will fail
Raycast on the strip itself too so that it superimposes on both the cylinder and on itself

