How about something like this?
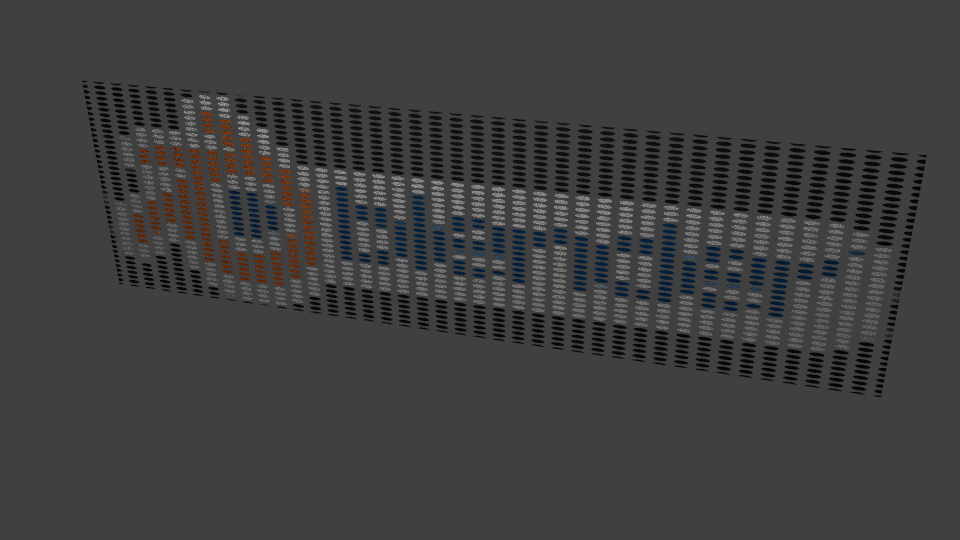
Or, even more fun:
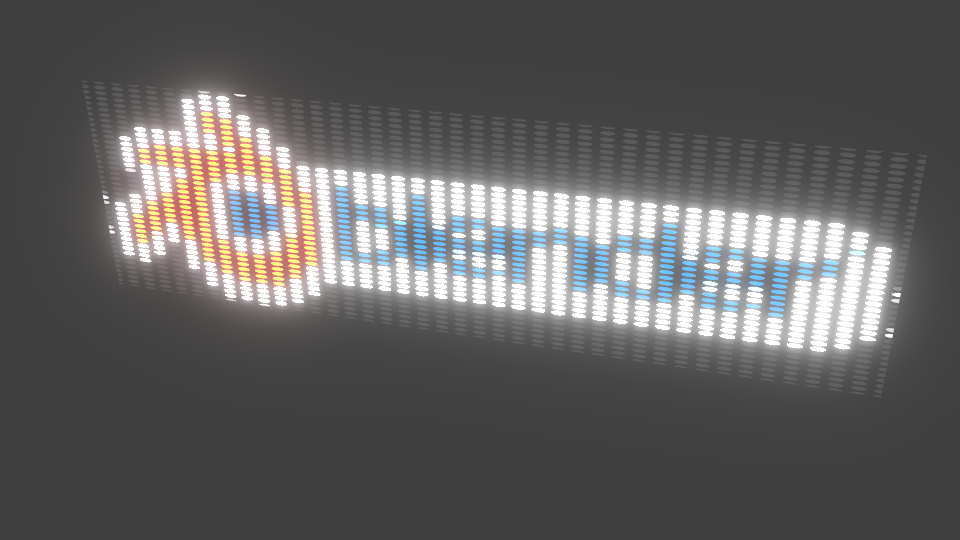
Or a ball:
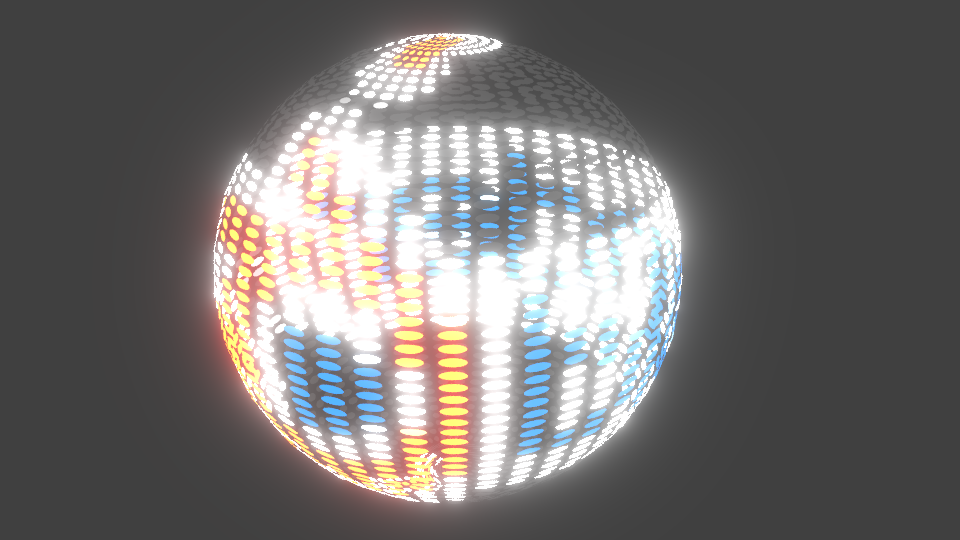
Or a tribute to the question author:
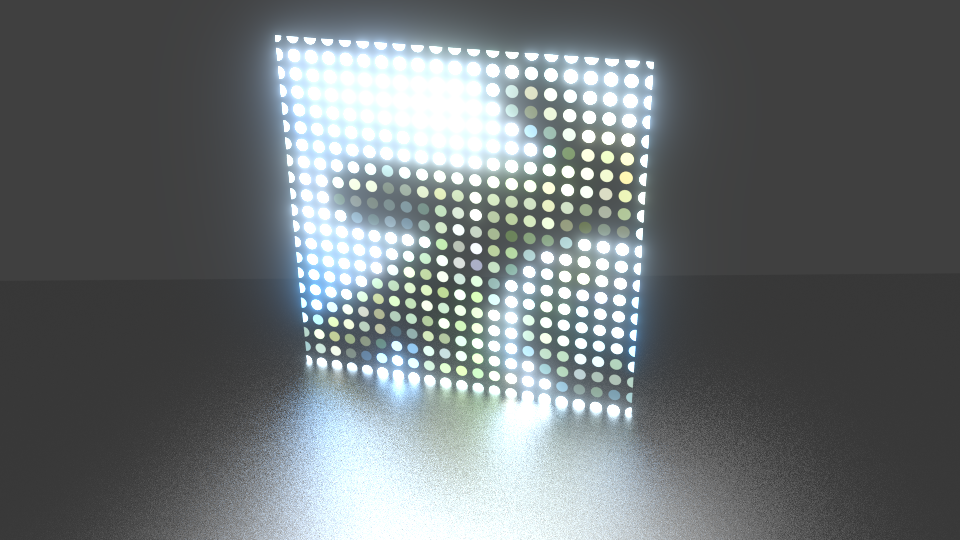
(I am having way too much fun with this)
The dot aspect ratio depends on your UV unwrap, so you can customize it as you want. I have gotten them to be square on a non-square image, but having a square image makes it a lot easier. Workflow:
- Identify the nearest hole.
- Find the distance to the hole.
- If the distance is greater than the radius, use transparent. Otherwise, use the central color of the center of the hole.
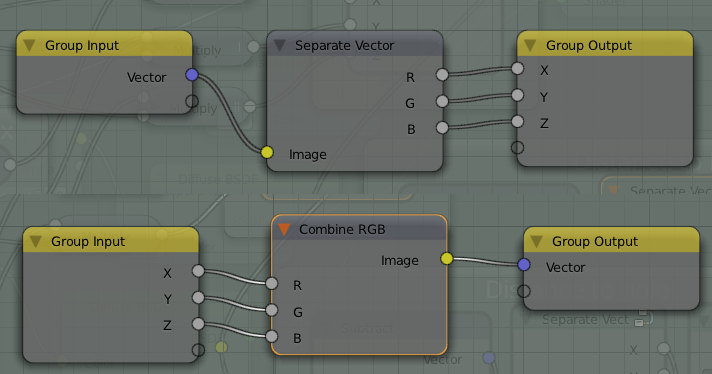
EDIT: GitHub user @JayFoxRox has kindly suggested some helpful simplifications to the below node setup. Instead of computing distance by taking the square root of the sum of the squares of components, simply compute squared distance by taking the dot product of the two inputs via the Vector Math node. (Then, of course, compare this to the squared radius instead of the raw radius.) And the “Combine Vector” and “Separate Vector” node groups now exist as first-class “Combine XYZ” and “Separate XYZ”, anyway. Thanks!
Blendfile: Dropbox, Blend-Exchange.
Usage:
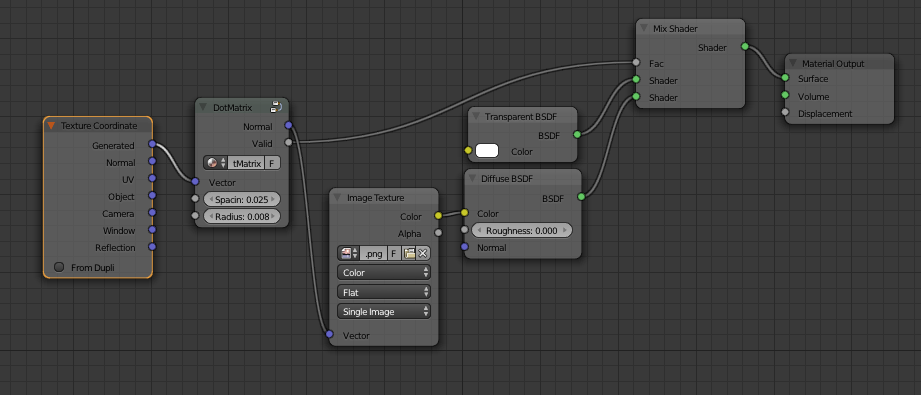
Main node setup (right-click → Open Image in New Tab to see larger):

Separation (top) and combination (bottom): (would be nicer if it were built-in)
Distance: (Pythagorean theorem/Euclidean norm)

