To be honest, I'm now a little stunned myself at how complicated the answer seemed at first, and how simple the solution is in the end.
Here we go:
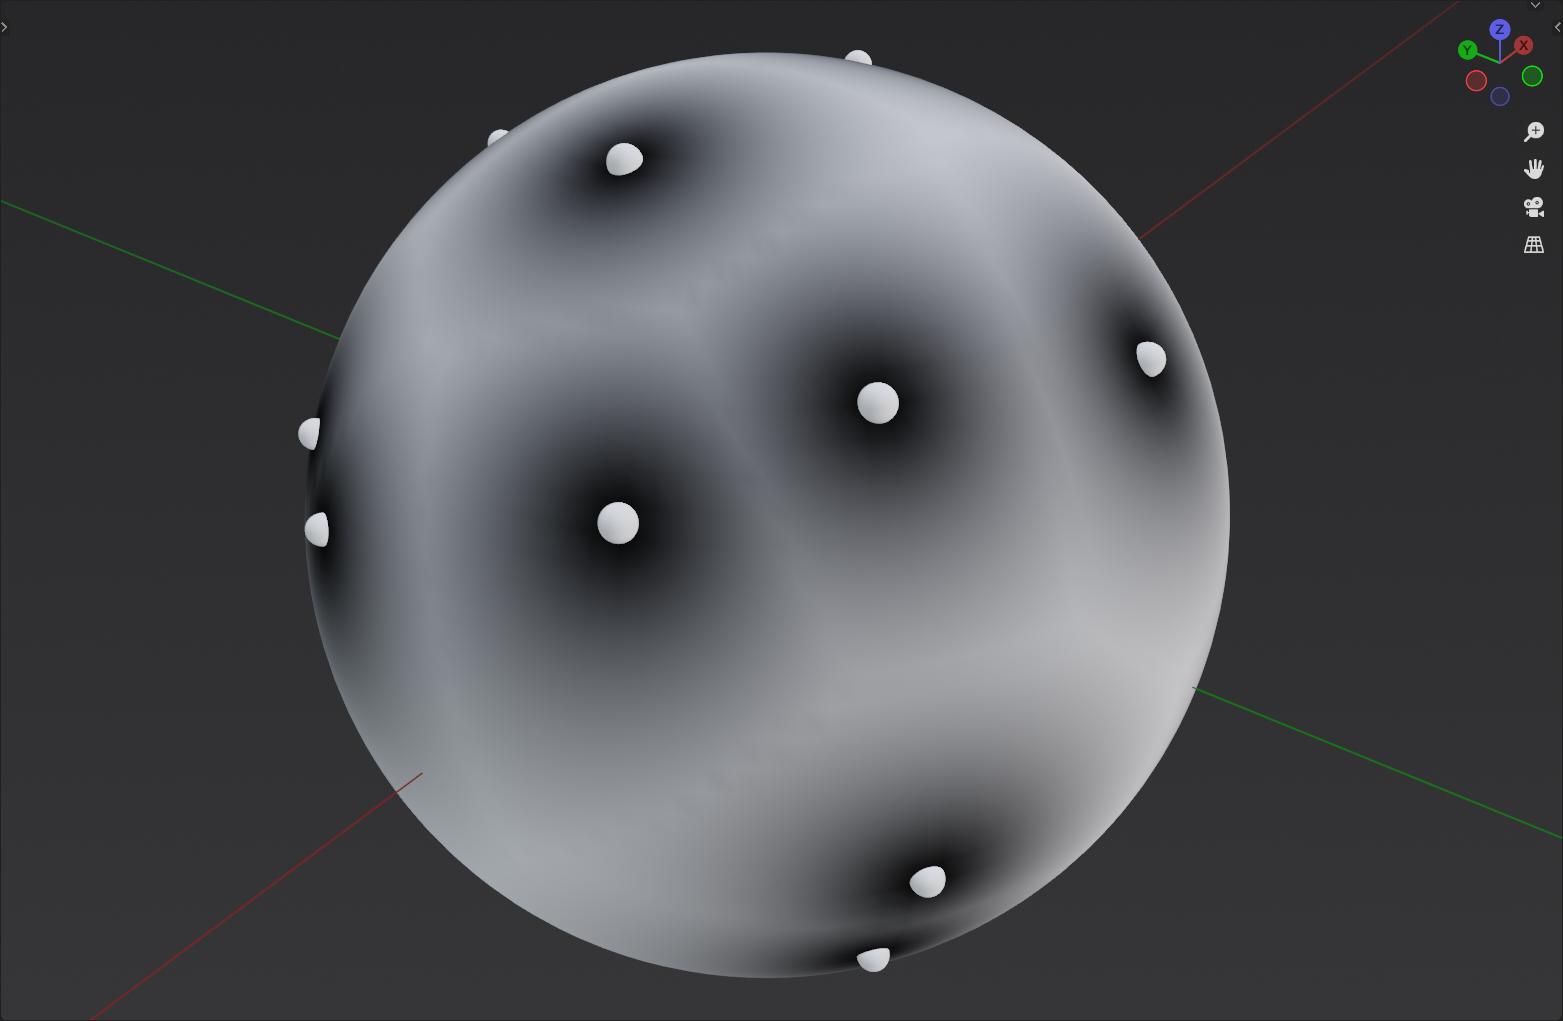
First create your points with
Distribute Points on Faces.Then use the node
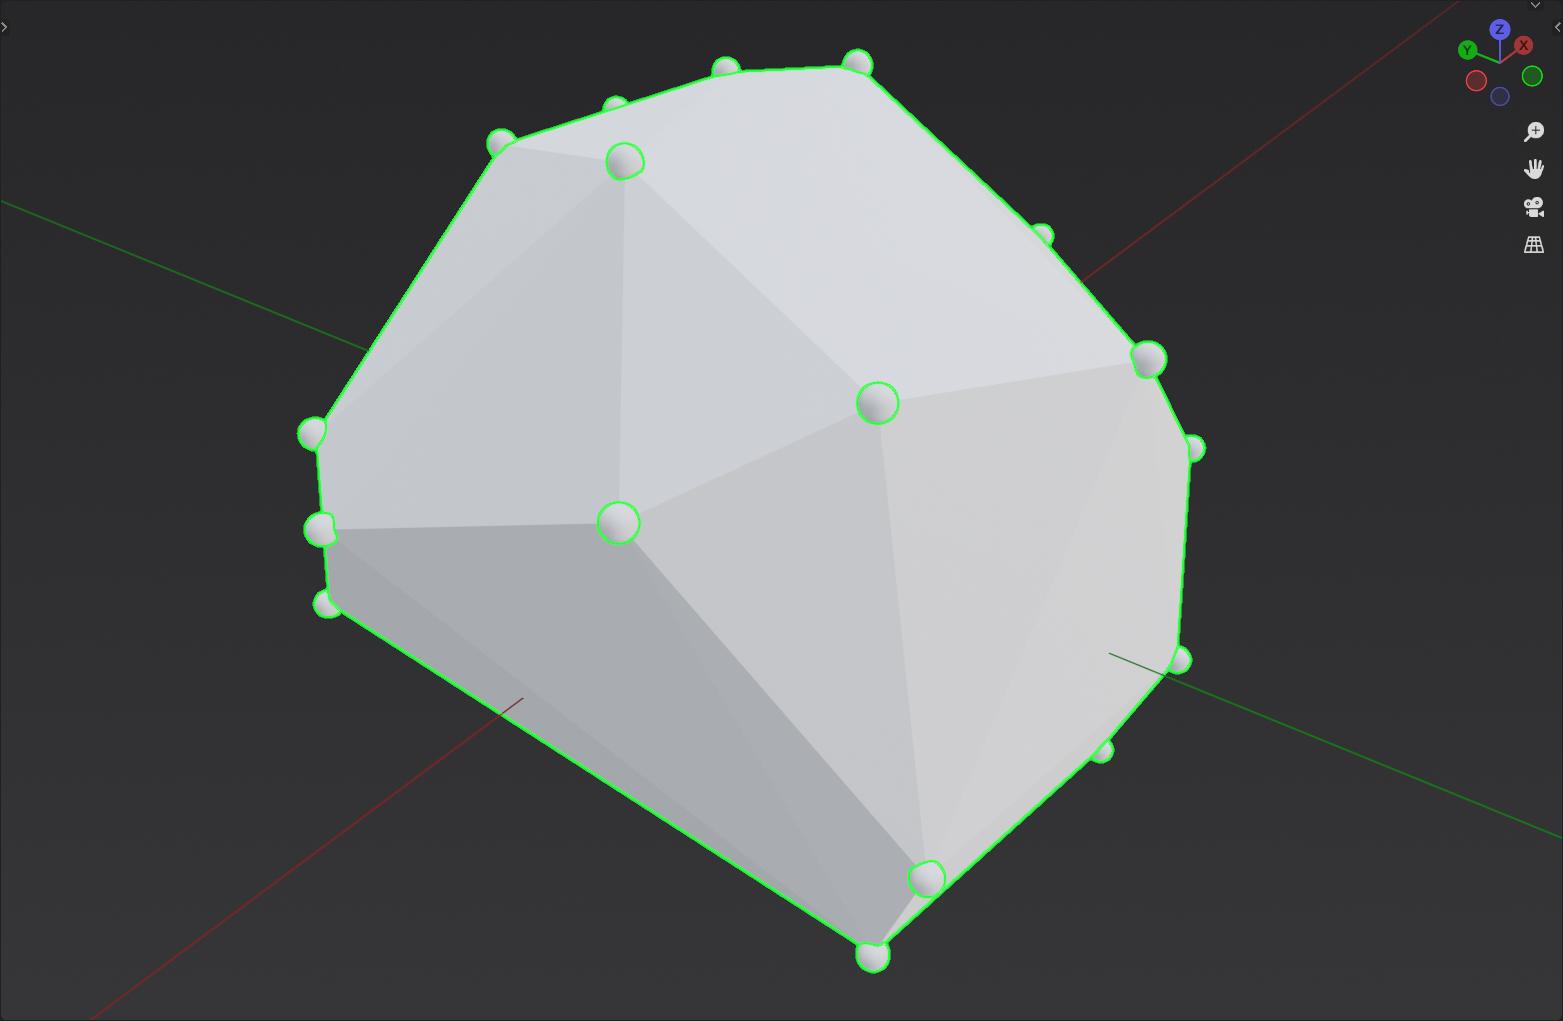
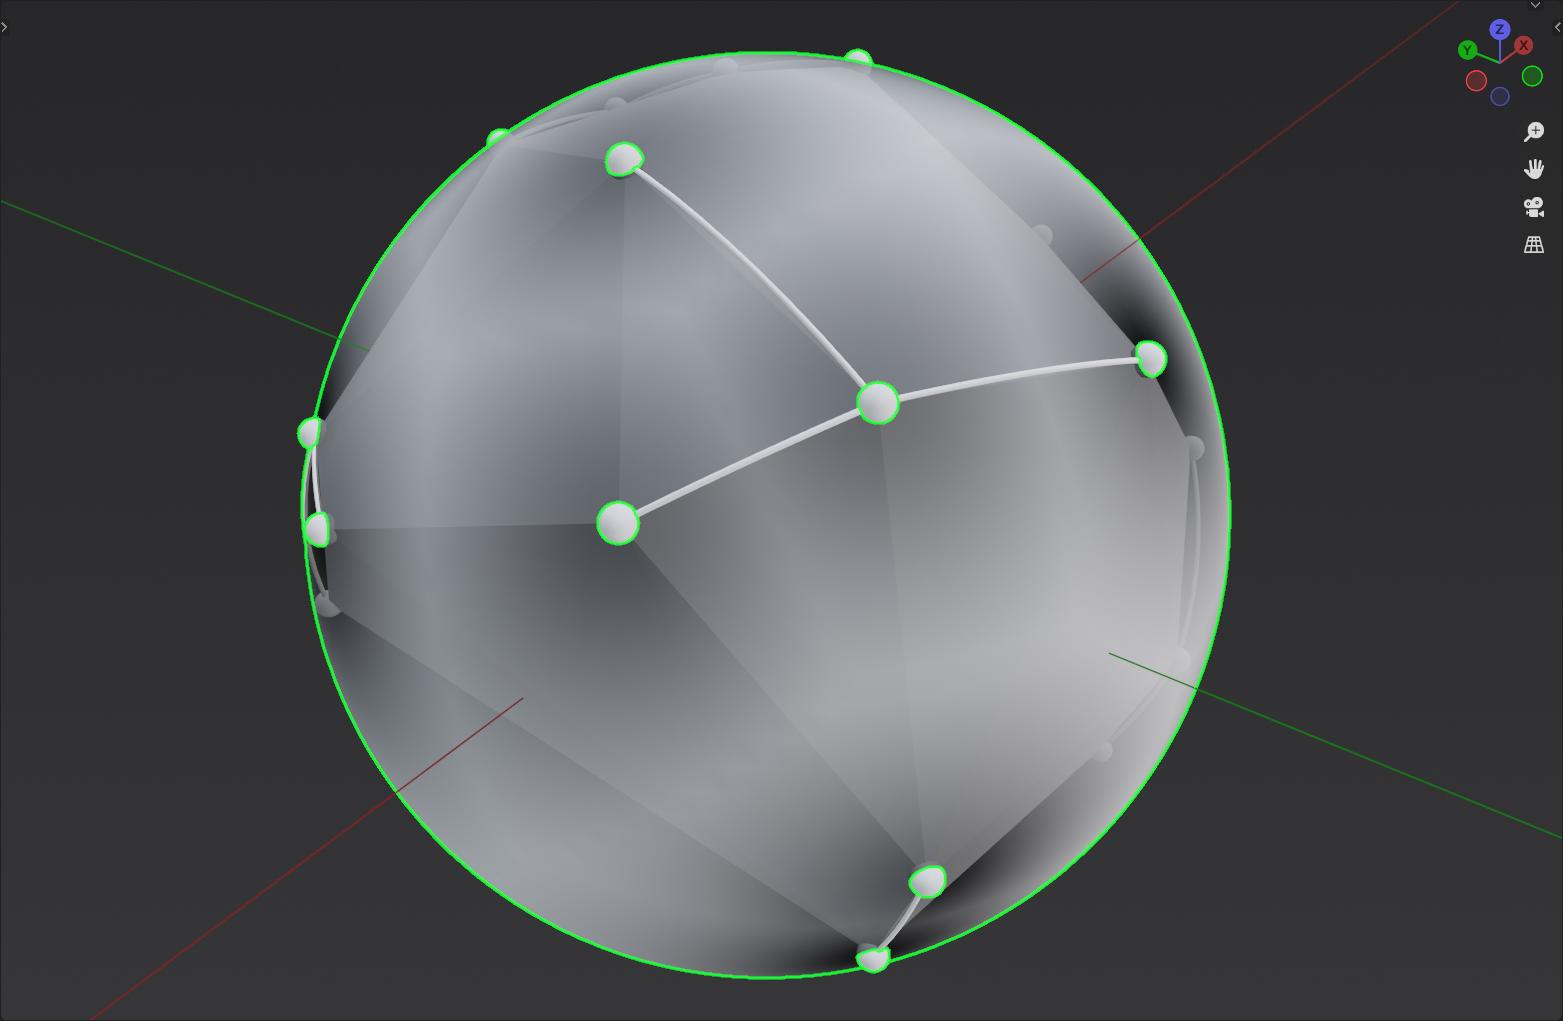
Convex Hullto connect the points with a hull. This step is helpful because it gives us a triangulated mesh to work with further.Using the nodes
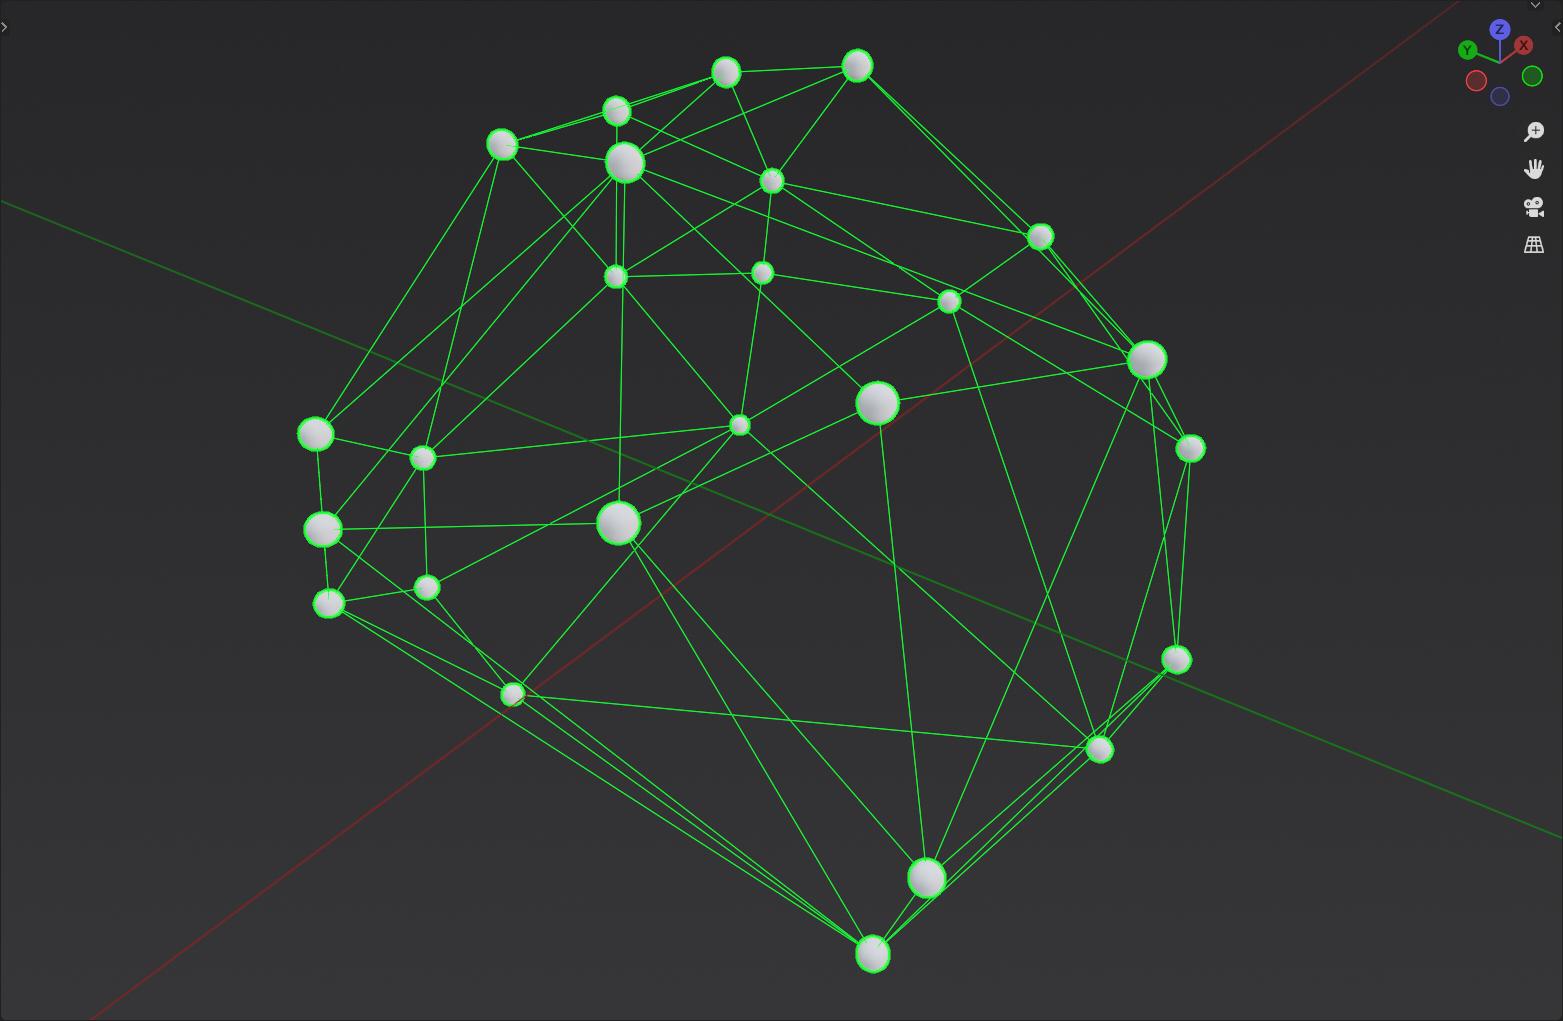
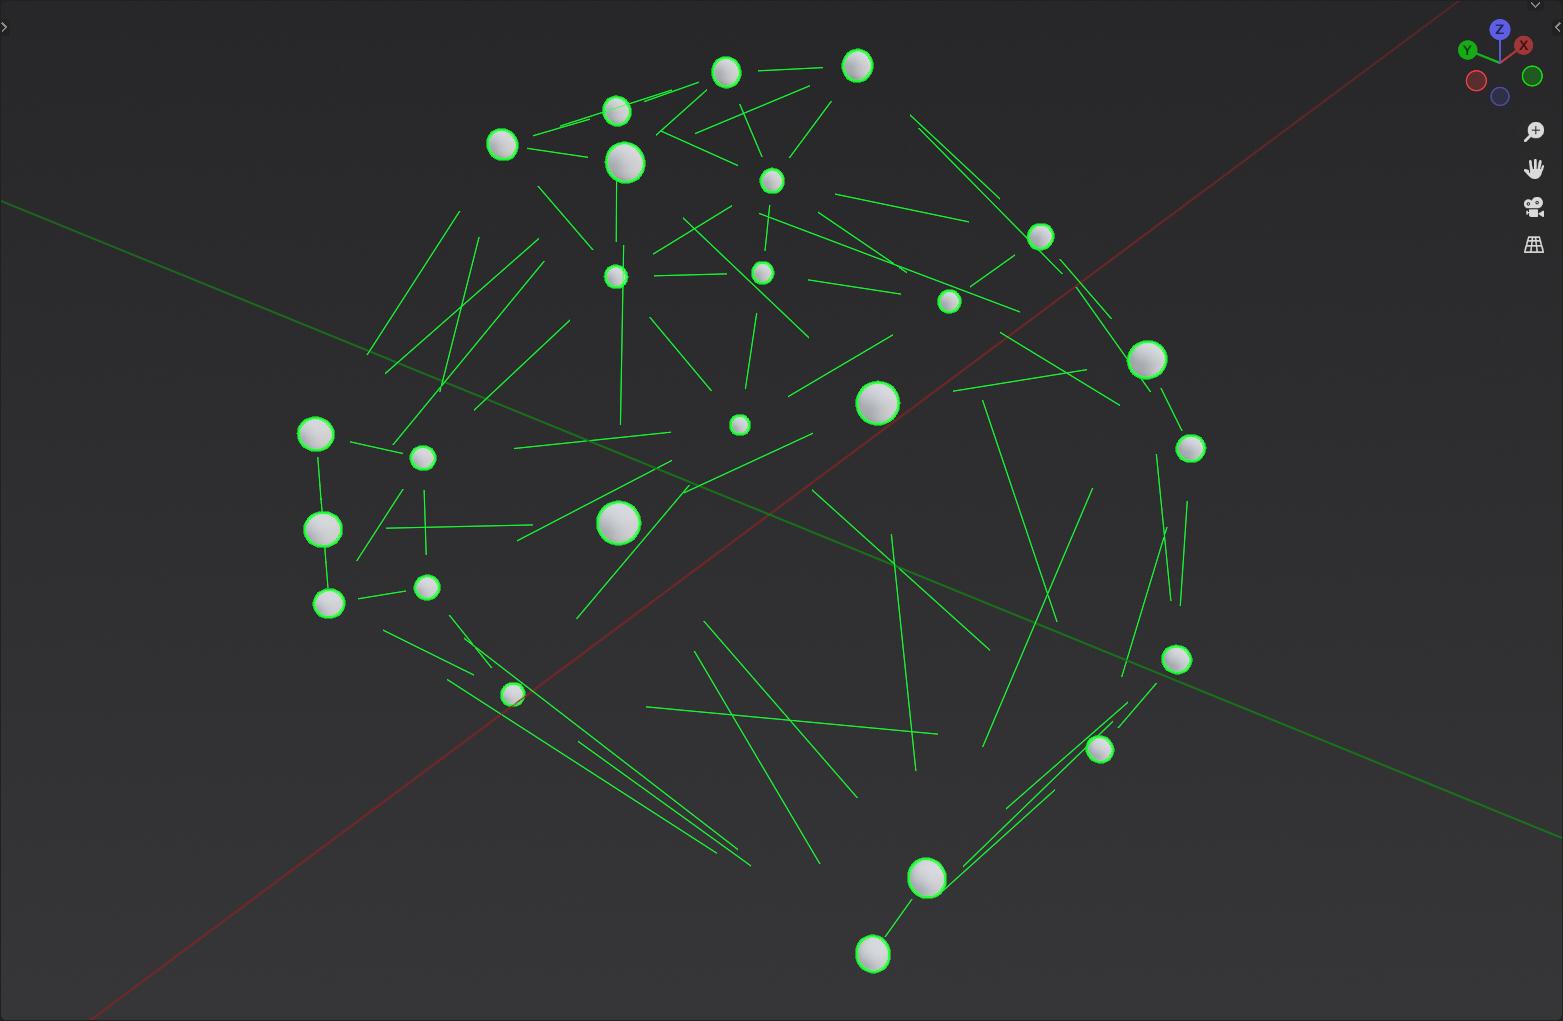
Extrude Mesh,Split EdgesandSeparate Geometryyou get the isolated edges of this mesh.Then reduce the scale of each edge by half.
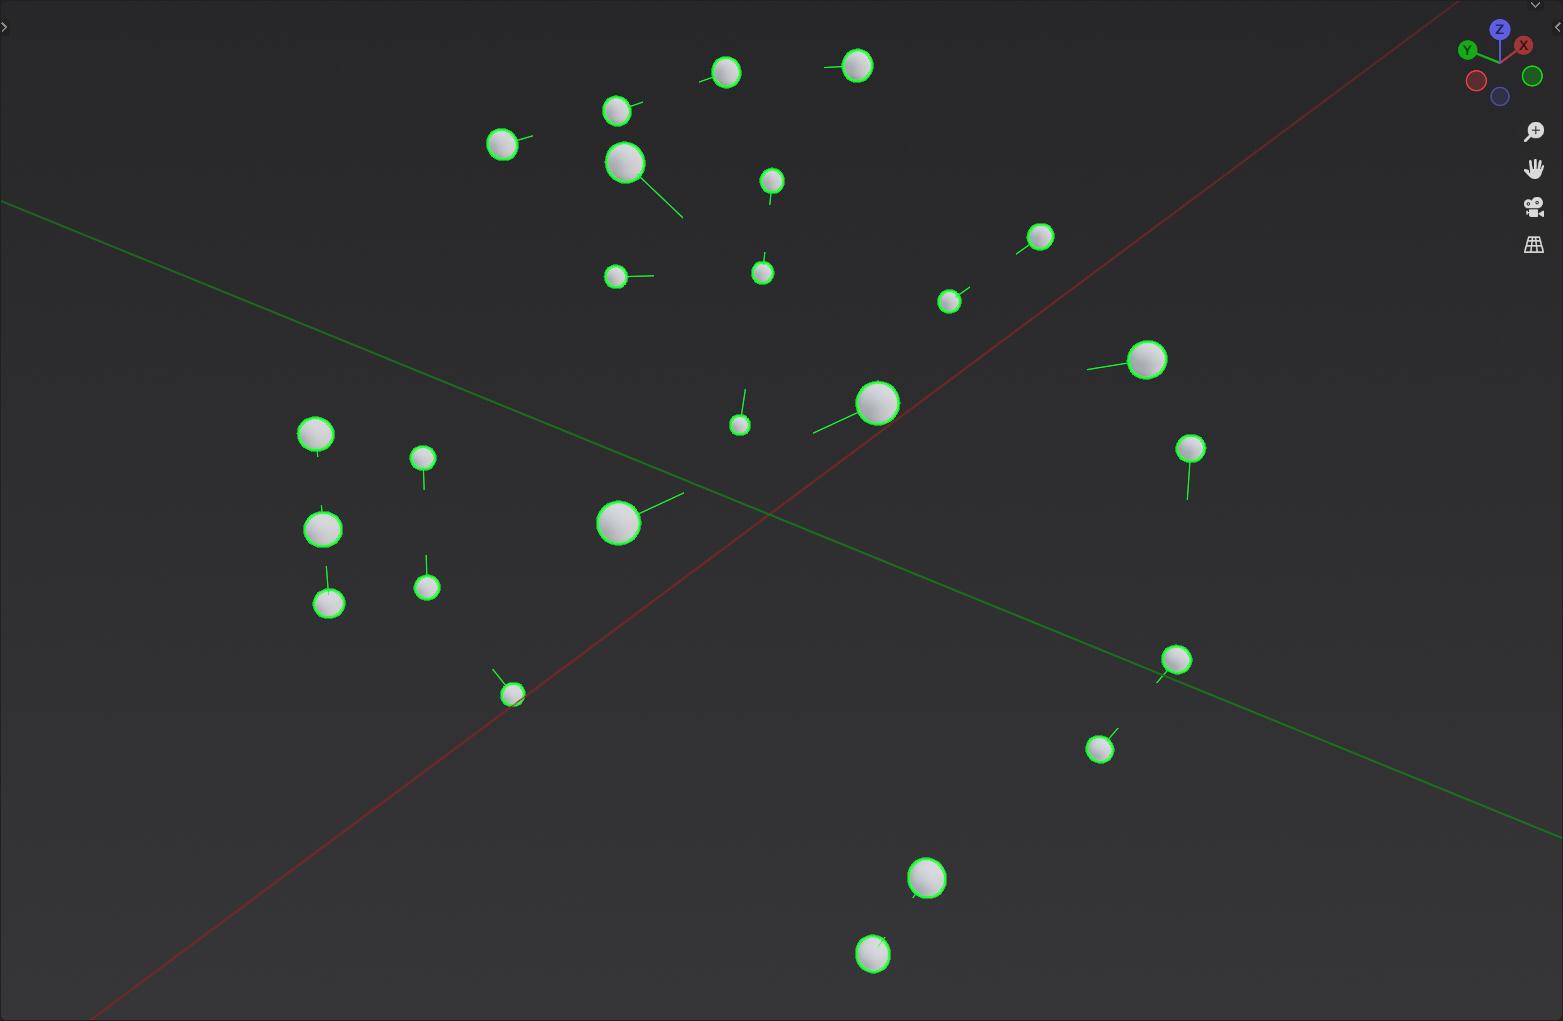
Now that the edges are reduced in proportion to their length, you can reliably find the nearest point with the node
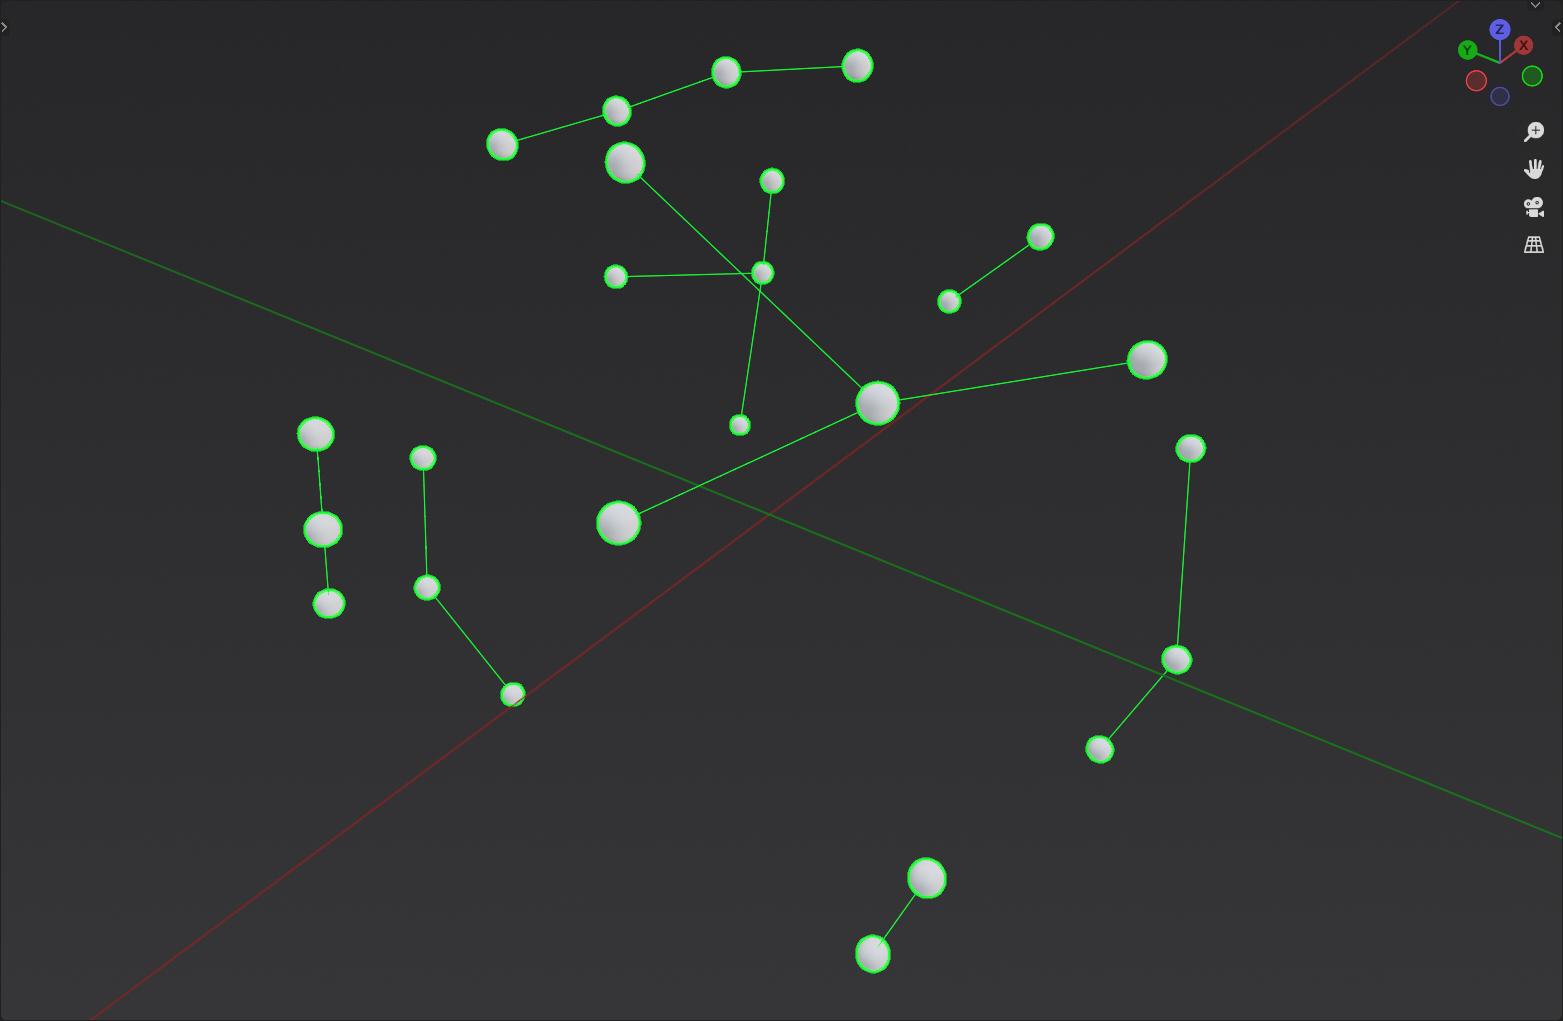
Geometry Proximity. If you then calculate the direction vector between your originally created points and the position results ofGeometry Proximity, you will know in which direction the shortest vector points.In the last step you only have to correct the length. Since you have shortened the edges by 50% before, you simply scale the direction vector by $4$, which is exactly the point you were looking for (Apart from a few minor rounding errors).
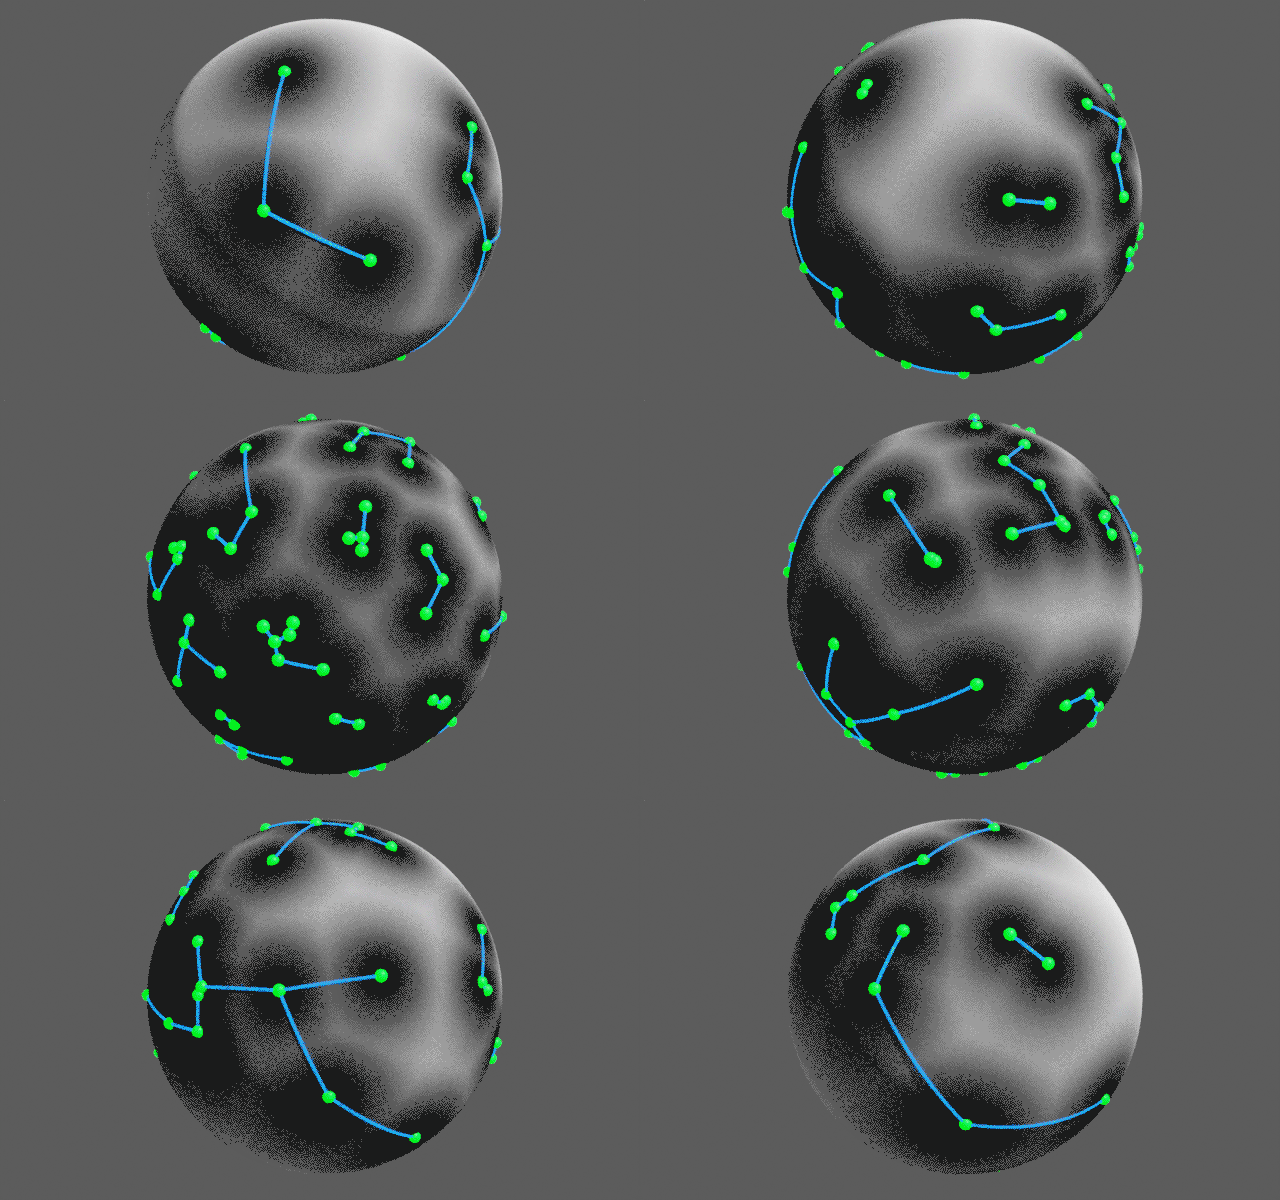
The final result is this (Each previously created point is here connected to the nearest point):
...and with animated Seed/Density it looks like this:
Here is an overview of the node group:
Here is the blend file (I have included an additional view for debugging):

