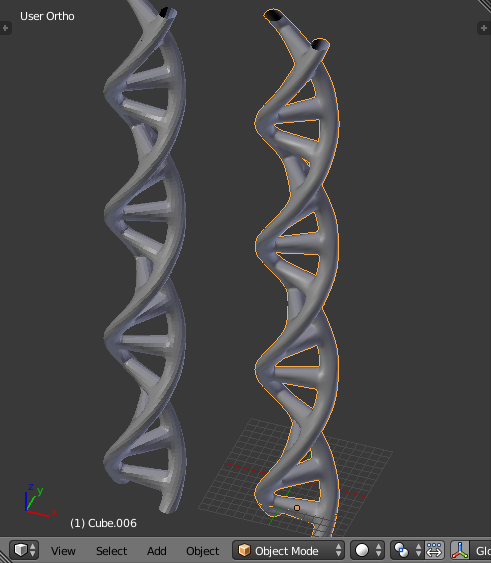
If you're not sure whether Edit Mode is the right thing, then you need to read about fundamentals like mesh editing, extrusion, selections etc. and build yourself a firm foundation. Learning by doing is hard with the airplane cockpit that is Blender and leads to many road blocks which can be avoided by learning before doing.
And I'd suggest to do some modeling before doing deformation animation. The rig for a helix can become quite complex, depending on the amount of realism.
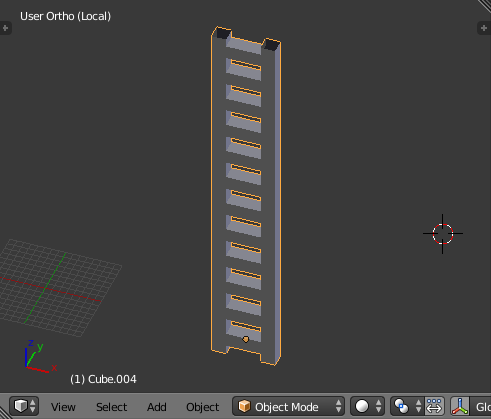
You wouldn't untwirl your helix actually. You would probably model it straight like a ladder and then rig it. After that, you would pre-twirl it and, in the animation, undo the twirling.
Since I don't know the style you're after, proposing the right solution is hard to do. Ideally you wouldn't want the rungs to distort while twirling. Keeping the two helixes, the rung and the connections between them separate objects might be the easiest way. You might even avoid Edit Mode that way.
Anyway...
I blindly assume you mean a DNA helix and try to keep it simple. So there we go:
Here's the relatively easy way to do it:
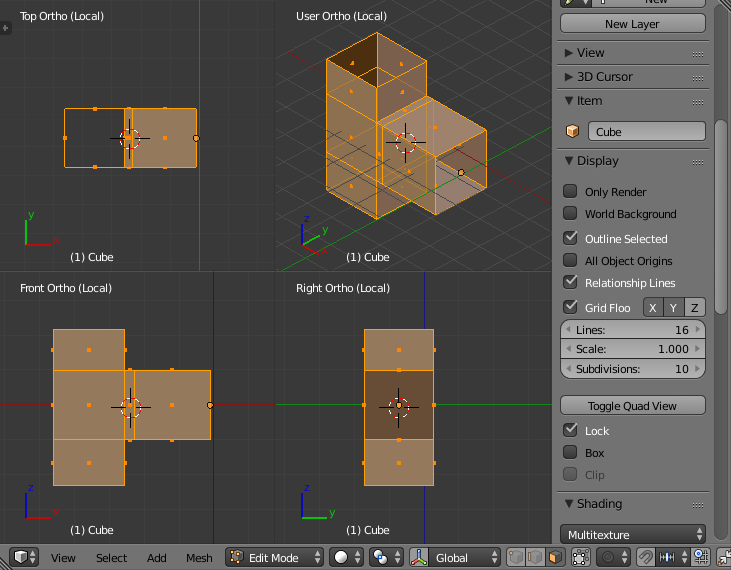
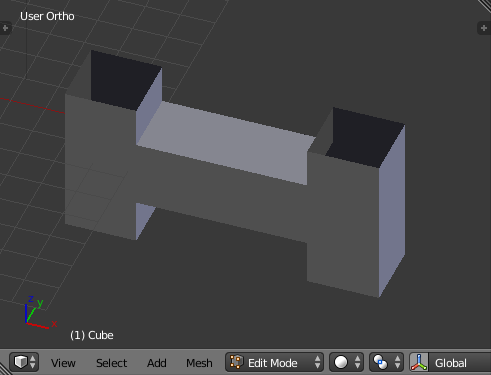
- Model this shape. Edit Mode needed. It is a simple T-shape done with extrusion. It has its object center (orange ball with black outline) smack in the middle of the right opening, that's crucial. I did it by scaling the default cube to zero on the x axis, removing doubles, then extruded from there. Last step is to delete the three end faces.
The edge ring near the vertical part will help the rung to keep its shape.
The 3 ends are open, they don't have a face. After that, I selected everything and recalculated the normals.
That's it, modeling done.
- Give it a Mirror Modifier
- Give it an Array Modifier
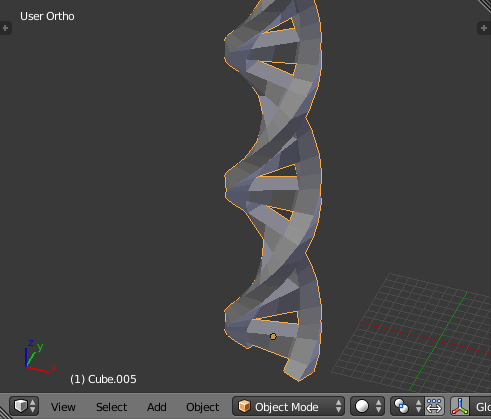
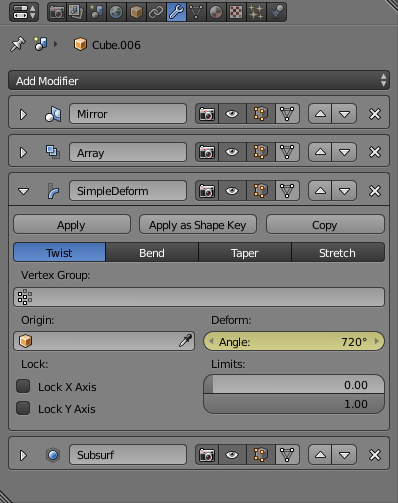
- Give it a Simple Deform Modifier
- Give it a Subsurf Modifier and set the object to shade smooth in the left tools area.
Here are the settings for the modifiers:
After all that, it's time to animate. Go to frame 1, hover over the Angle value (720°) in the Simple Deform Modifier and hit I. Blender will remember that value at frame 1.
Go to frame 100, then enter 0° into the angle field, hover over it and hit I again. Animation finished.

