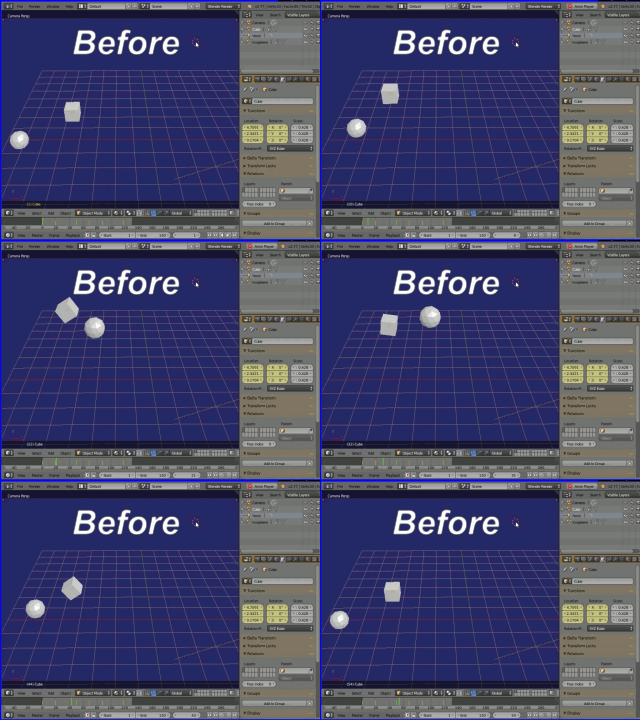
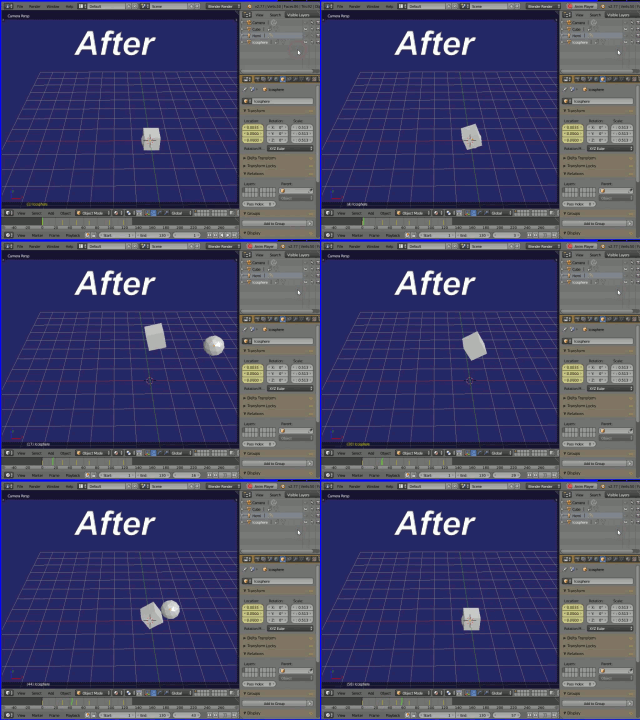
To shift/move an animated object's origin point to any world location -
Blend file included which is set up ready to play with.
-*****- Blend file here (Watch this space - have to get to another computer)
There are two ways to move the object. The first (for Newbies) won't adjust it's origin point but will allow you to move the object around and keep it's animations.
Make sure the timeline cursor is at frame 1. ( CTL-SH-Down arrow)
Set the object's origin point to geometry or center of mass. (press T)
Set the cursor to that. (SH-S--> cursor to selected)
Add an Empty. It should appear at the same point in your object.
Parent the object to the Empty.
Drag the object around by that empty. (use it as a handle) It will animate from that new location.
-==================-
The 2nd method which does adjust the Location slots independantly of the keyframes -
This is done one axis at a time, X, Y, or Z.
Select the object.
Get into the Graph editor and organise a 3D window, e.g. at top right. You'll need this to see what you're doing.
In the header strips at extreme left only your object should be seen. Either way make sure to lock out (padlock) all other objects or active sections that are showing. Leave the one to adjust unlocked.
It's also a good idea to only have your desired section/object highlited in the headers at left. There are also 'eye' switches in the headers which will rid yourself of unwanted clutter.
Lock out (padlock) all but the axis you're about to adjust. Note it's colour in the header. This will also be the colour of it's graph line in the editor in the center window.
Press A to select all. (only that object and axis keyframes will be highlited)
Press GY to grab the graph line and move it with the mouse (no buttons) to slide the line up/down. You'll see the object also moving in the 3D view. Take it to the center in that axis only. Zooming up close both in the 3D view and graph editor will make it easier for fine adjustments.
When positioned, press a mouse button or keyboard key. Watch it - there's a lot of hotkeys!
Do the same for the remaining axis (plural) that are involved with the animations.
The model will be sitting at your desired world location with animations intact and now orientated from that location. (0,0,0?)
Whether this works for export to external applications is a matter of experimentation. I'm unable to investigate this but at least the export should have it's location set at 0,0,0 or close to it.


