Time for a new answer...
Starting with blender version 2.79 there is an option to DenoiseDenoise the image as is being rendered.
Quoting from the manual
Denoising filters the resulting image using information (known as feature passes) gathered during rendering to get rid of noise while preserving visual detail as well as possible.
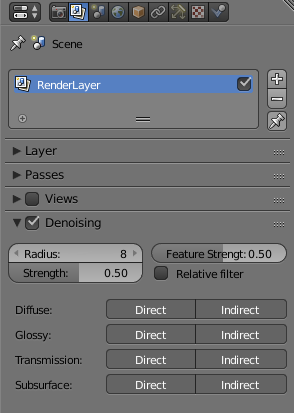
The denoiser is at the bottom of the render layers tab in the properties window
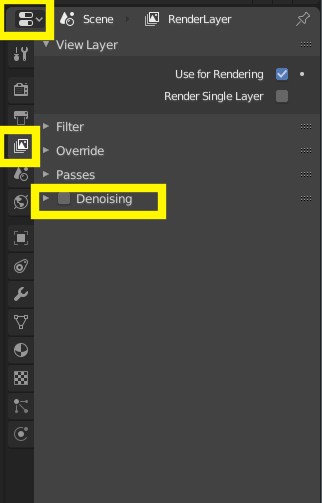
in 2.8
For more info Read: How do I use the cycles Denoiser?
Here's an example.
Using 250 samples with no denoise, the image has a lot of noise, as expected.
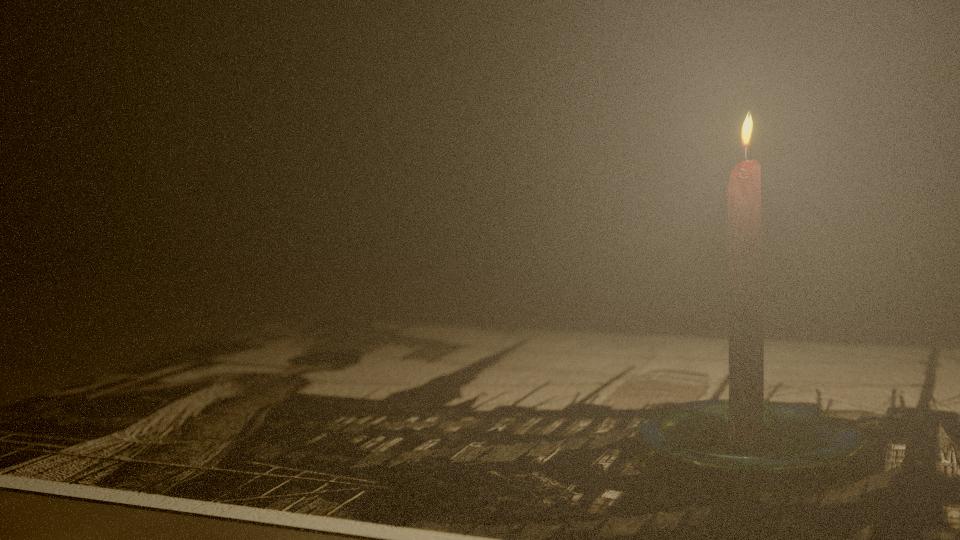 (click on the images to enlarge)
Bringing up the samples to 2000 (with no denoising) yields a cleaner image, but it takes 600% longer to render.
Same image at 250 samples with denoising enablend, using the default settings:
Denoised at 500 samples:
Note that denoising is not a magical button. It is not a substitute for the information and tricks outlined in the other answers on this page, but it should be thought as an additional tool. In other words: a high number of samples will yield a cleaner picture, but denosing might help to get acceptable results with a reasonable number of samples and with shorter render times.
Problems and artifacts when using denoise.
Denoising will introduce new artifacts: some segments of the image might look strangely blurrier or blotchy.
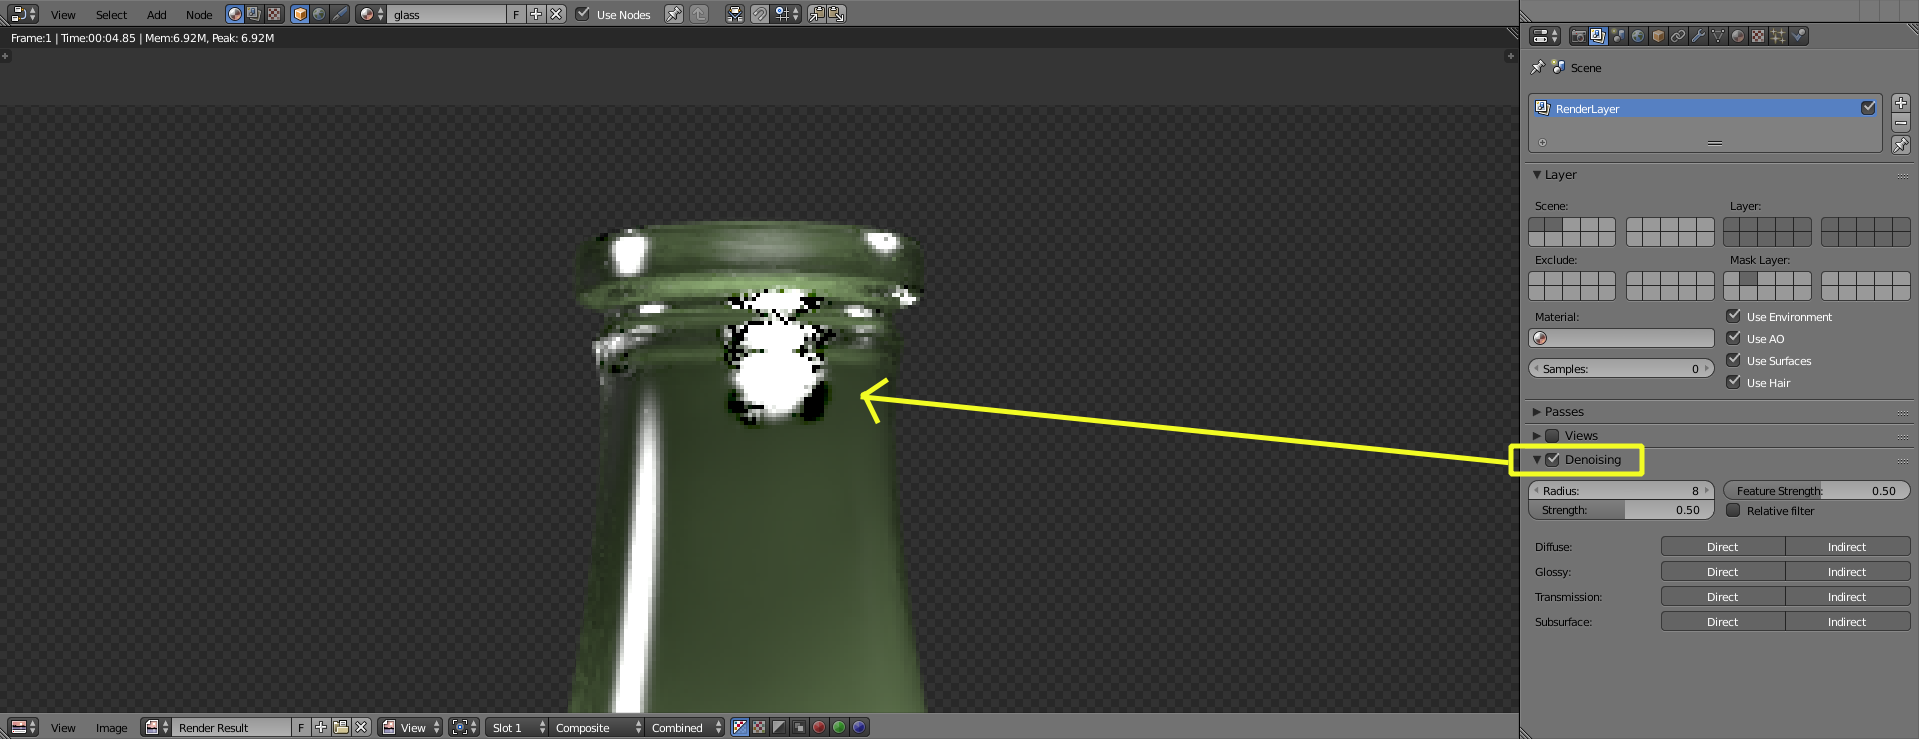
On sections where there are small bright areas (like fireflies) surrounded by darker pixels you might find or some dark "donuts"
So conservative when playing with the denoise settings. Usually using a smaller denoising radius or a lower strength will make things better.
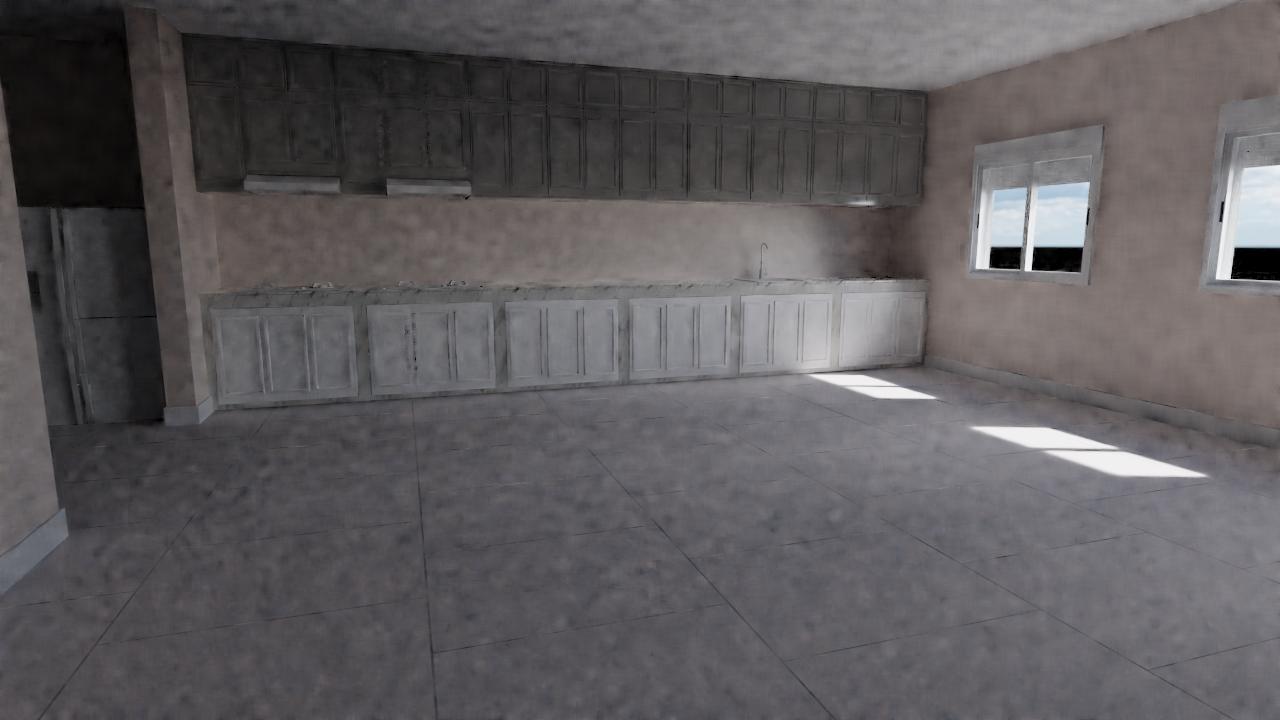
Examples: Blotchy or smeared:
Unexpected black pixels around bright areas:
More examples on this link: How to properly denoise renderings?
Memory Usage.
Denoising demands a lot more resources from your computer and might even yield "out of memory errors" or make your computer hang or crash. Denoising needs the information of all of the adjacent rendered tiles to work, meaning that for every tile being rendered blender will keep in RAM the information of all the surrounding tiles and will only release that ram once a tile has been denoised.
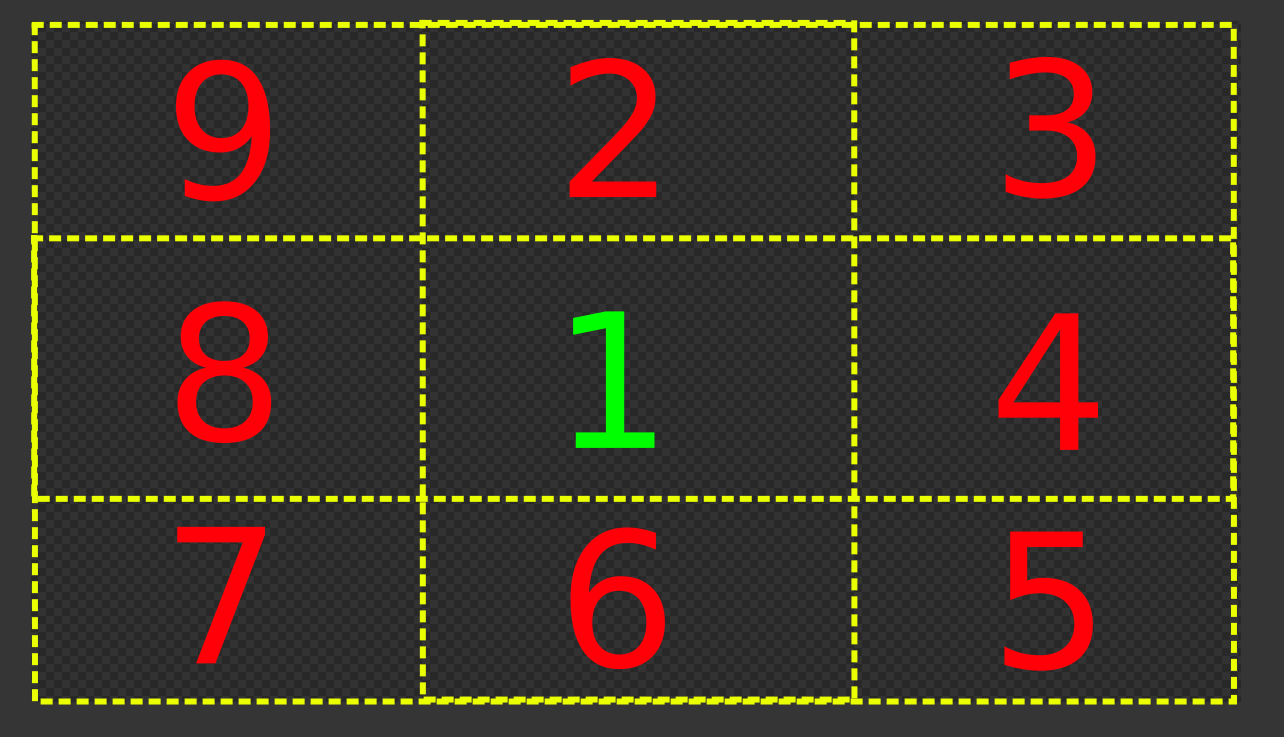
As an example: to denoise tile 1, the denoiser needs the information from the surrounding tiles: 2 through 9.
But the most important thing to understand about denosing:

