You may do it using a bumpmap. All you need is to create two textures.
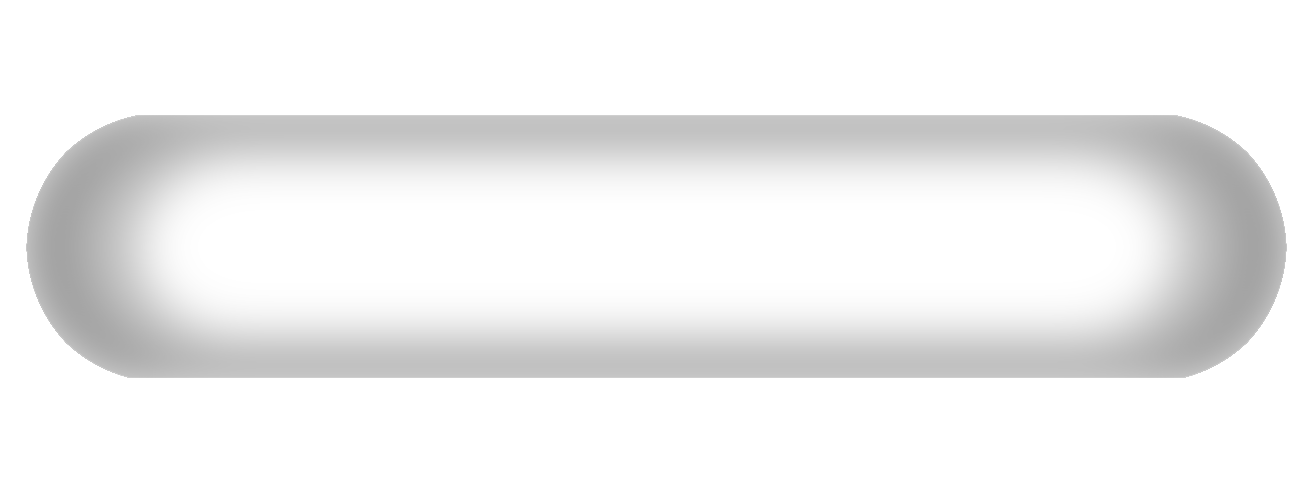
Create a stitch image in photoshop or gimp and transform it into a brush (https://www.youtube.com/watch?v=iGSK3Q0Iy3c). It's color should be from over 50% grey to almost white color.
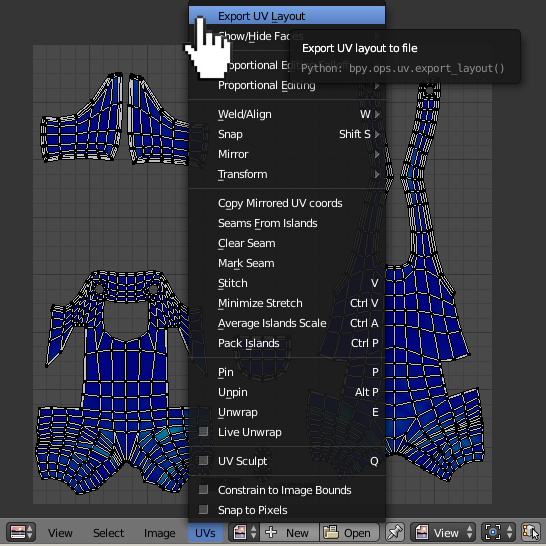
Export your unwrapped UV Layout.
In photoshop layer it over a 50% grey color layer to see where to put stitches. Use your newly created brush to paint them on the grey color layer using this.
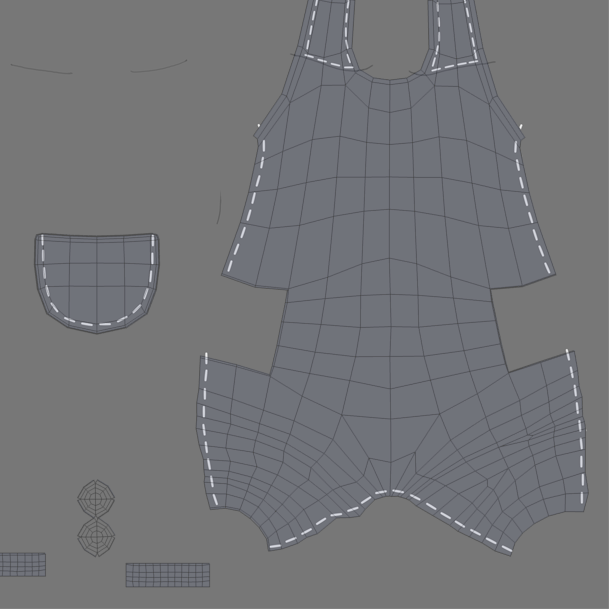
Use a method as shown here: https://www.youtube.com/watch?v=gbDA3XinISs

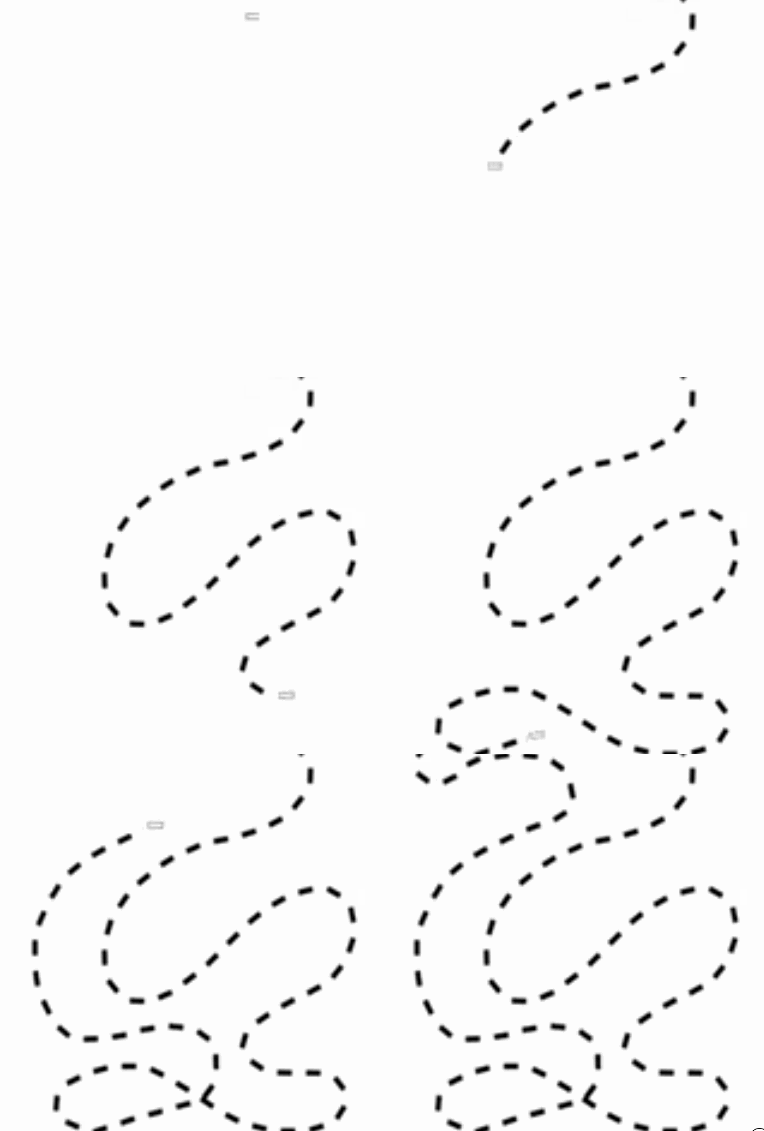
Now you have a bumpmap (let's call it BUMP).

You need also to create a black and white texture as pictured below (let's call it MASK). It'll act like a mask for mixing two different materials.
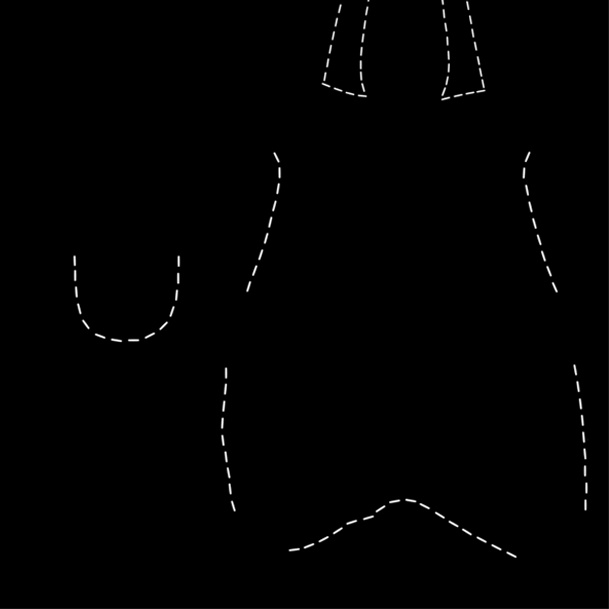
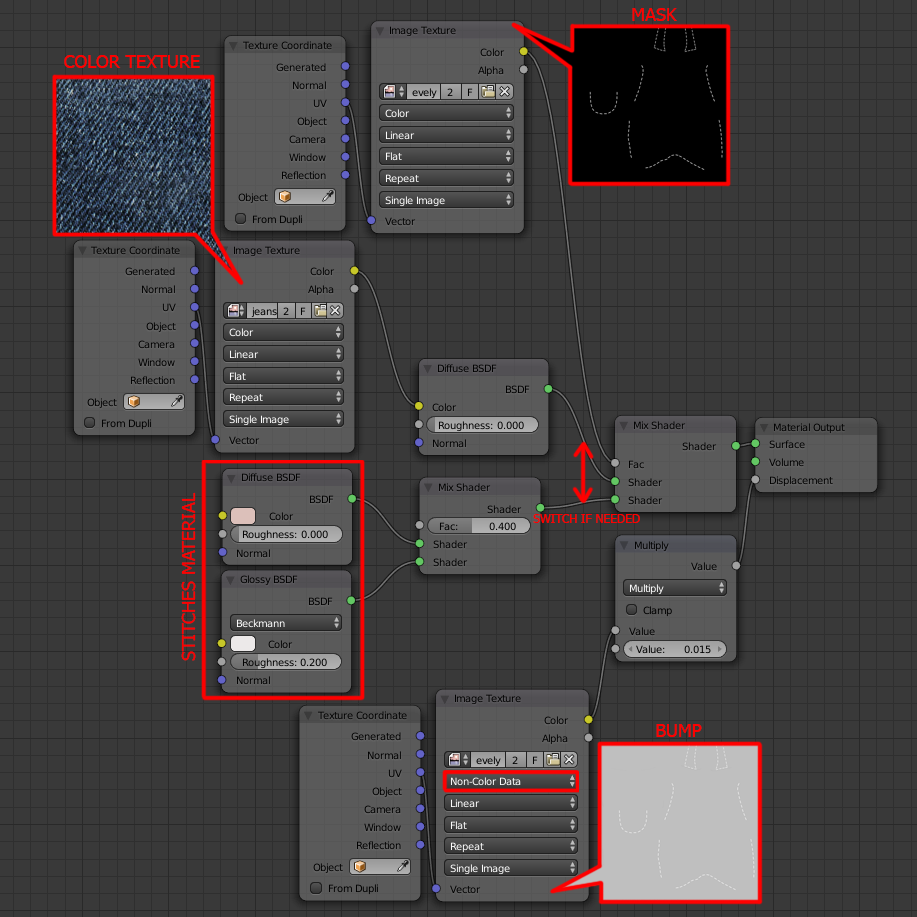
Set up the nodes as pictured below. We'll use a BUMP texture to create a depth to the stitches. Plug it to the Displacement input of the Material Output node. Add a Math-->Multiple node between them to control the bump size. Use a MASK texture to set a border between two materials (in this case jeans material and stitches material). Plug it to the Fac input of the Mix Shader. Now you have a full control over jeans (or leather in your case) and stitches shading within one cycles material using only textures.
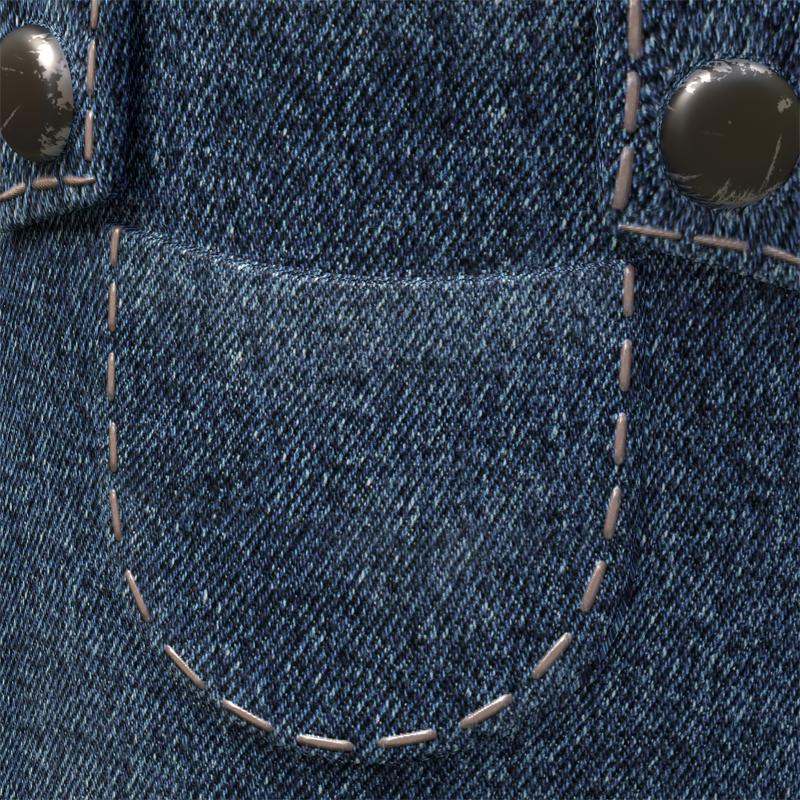
Here's how the stitches present in final render. With the proper mix of Diffuse and Glossy shaders they may look quite convincing.
