added 111 characters in body
Source Link
TARDIS Maker
  • 5.8k
  • 1
  • 31
  • 54

A trick that I like to use, is the add a bevel modifier before a subserf in the modifier stack.

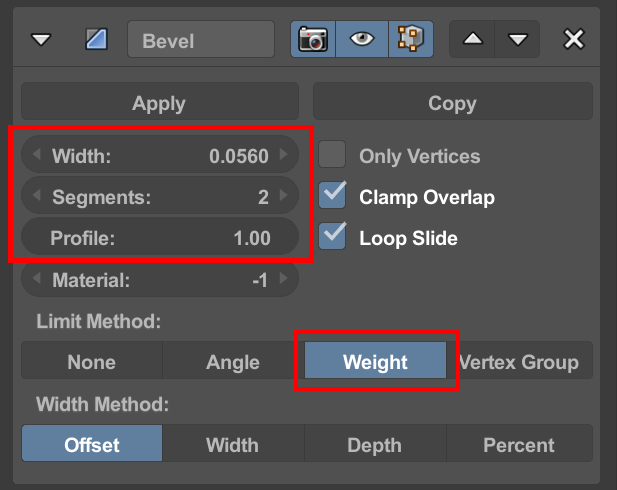
I set the segments to 2, and the profile to one, adjust the amount by eye, and then choose between the option of using the the angle of the edges to decide what will be hard edged (similar to using an edge split modifier), or using a bevel weight to have complete control over which parts are hard edged.

enter image description here

To add the bevel weights, press CtrlE and select Edge Bevel Weight. Then type in 1.

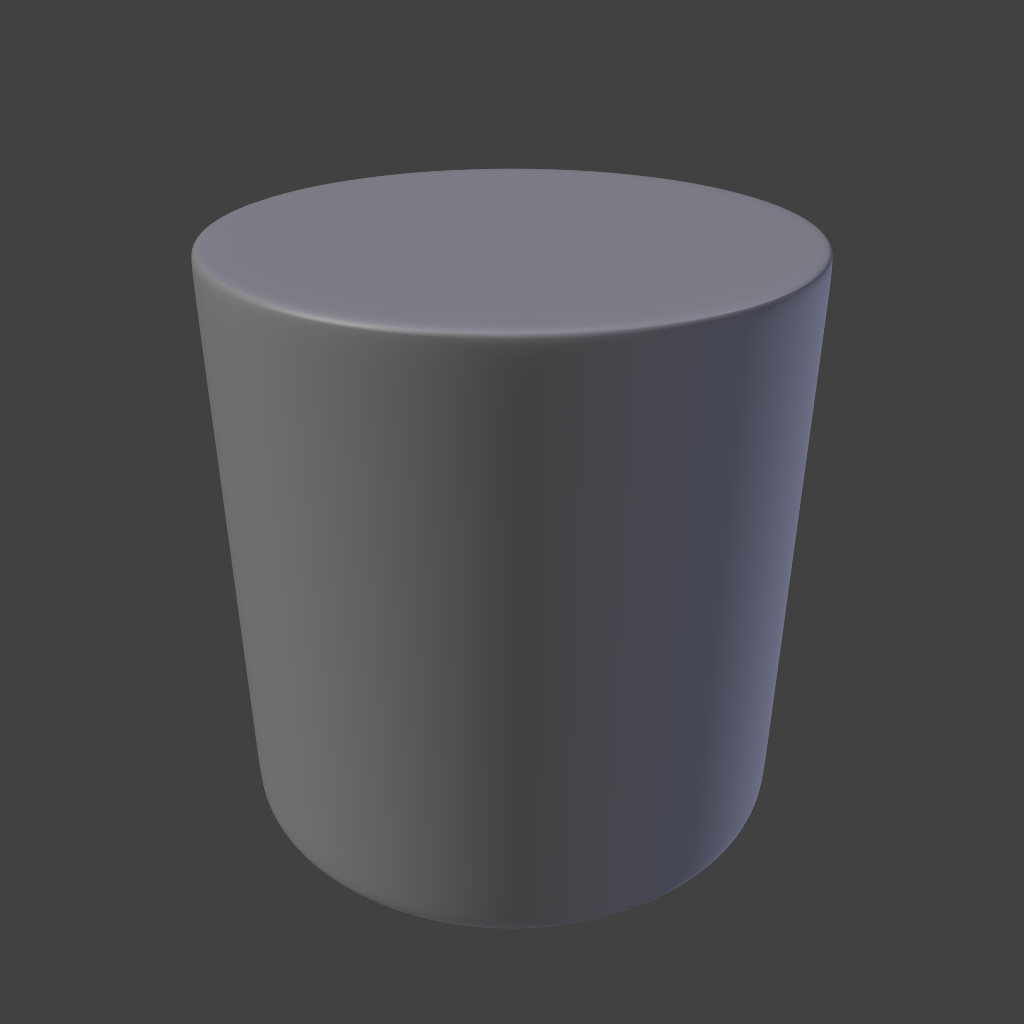
And the result

enter image description here

This is really good for a non destructive workflow, allowing the mesh to be changed considerably without having to remove supporting loops and re-add them.

There are some issues though.The bevel modifier can produce some sloppy topology, especially when dealing with only beveling some parts of a mesh. This can cause shading issues on depending on the original model.

A trick that I like to use, is the add a bevel modifier before a subserf in the modifier stack.

I set the segments to 2, and the profile to one, adjust the amount by eye, and then choose between the option of using the the angle of the edges to decide what will be hard edged (similar to using an edge split modifier), or using a bevel weight to have complete control over which parts are hard edged.

enter image description here

And the result

enter image description here

This is really good for a non destructive workflow, allowing the mesh to be changed considerably without having to remove supporting loops and re-add them.

There are some issues though.The bevel modifier can produce some sloppy topology, especially when dealing with only beveling some parts of a mesh. This can cause shading issues on depending on the original model.
A trick that I like to use, is the add a bevel modifier before a subserf in the modifier stack.

I set the segments to 2, and the profile to one, adjust the amount by eye, and then choose between the option of using the the angle of the edges to decide what will be hard edged (similar to using an edge split modifier), or using a bevel weight to have complete control over which parts are hard edged.

enter image description here

To add the bevel weights, press CtrlE and select Edge Bevel Weight. Then type in 1.

And the result

enter image description here

This is really good for a non destructive workflow, allowing the mesh to be changed considerably without having to remove supporting loops and re-add them.

There are some issues though.The bevel modifier can produce some sloppy topology, especially when dealing with only beveling some parts of a mesh. This can cause shading issues on depending on the original model.

added 90 characters in body
Source Link
TARDIS Maker
  • 5.8k
  • 1
  • 31
  • 54

A trick that I like to use, is the add a bevel modifier before a subserf in the modifier stack.

I set the segments to 2, and the profile to one, adjust the amount by eye, and then choose between the option of using the the angle of the edges to decide what will be hard edged (similar to using an edge split modifier), or using a bevel weight to have complete control over which parts are hard edged.

enter image description here

And the result

enter image description here

This is really good for a non destructive workflow, allowing the mesh to be changed considerably without having to remove supporting loops and re-add them.

There are some issues though.The bevel modifier can produce some sloppy topology, especially when dealing with only beveling some parts of a mesh. This can cause shading issues on depending on the original model.

A trick that I like to use, is the add a bevel modifier before a subserf in the modifier stack.

I set the segments to 2, and the profile to one, adjust the amount by eye, and then choose between the option of using the the angle of the edges to decide what will be hard edged (similar to using an edge split modifier), or using a bevel weight to have complete control over which parts are hard edged.

enter image description here

And the result

enter image description here

This is really good for a non destructive workflow, allowing the mesh to be changed considerably without having to remove supporting loops and re-add them.

There are some issues though.The bevel modifier can produce some sloppy topology, especially when dealing with only beveling some parts of a mesh. This can cause shading issues on depending on the original model.

Source Link
TARDIS Maker
  • 5.8k
  • 1
  • 31
  • 54

A trick that I like to use, is the add a bevel modifier before a subserf in the modifier stack.

I set the segments to 2, and the profile to one, adjust the amount by eye, and then choose between the option of using the the angle of the edges to decide what will be hard edged (similar to using an edge split modifier), or using a bevel weight to have complete control over which parts are hard edged.

This is really good for a non destructive workflow, allowing the mesh to be changed considerably without having to remove supporting loops and re-add them.

There are some issues though.The bevel modifier can produce some sloppy topology, especially when dealing with only beveling some parts of a mesh. This can cause shading issues on depending on the original model.