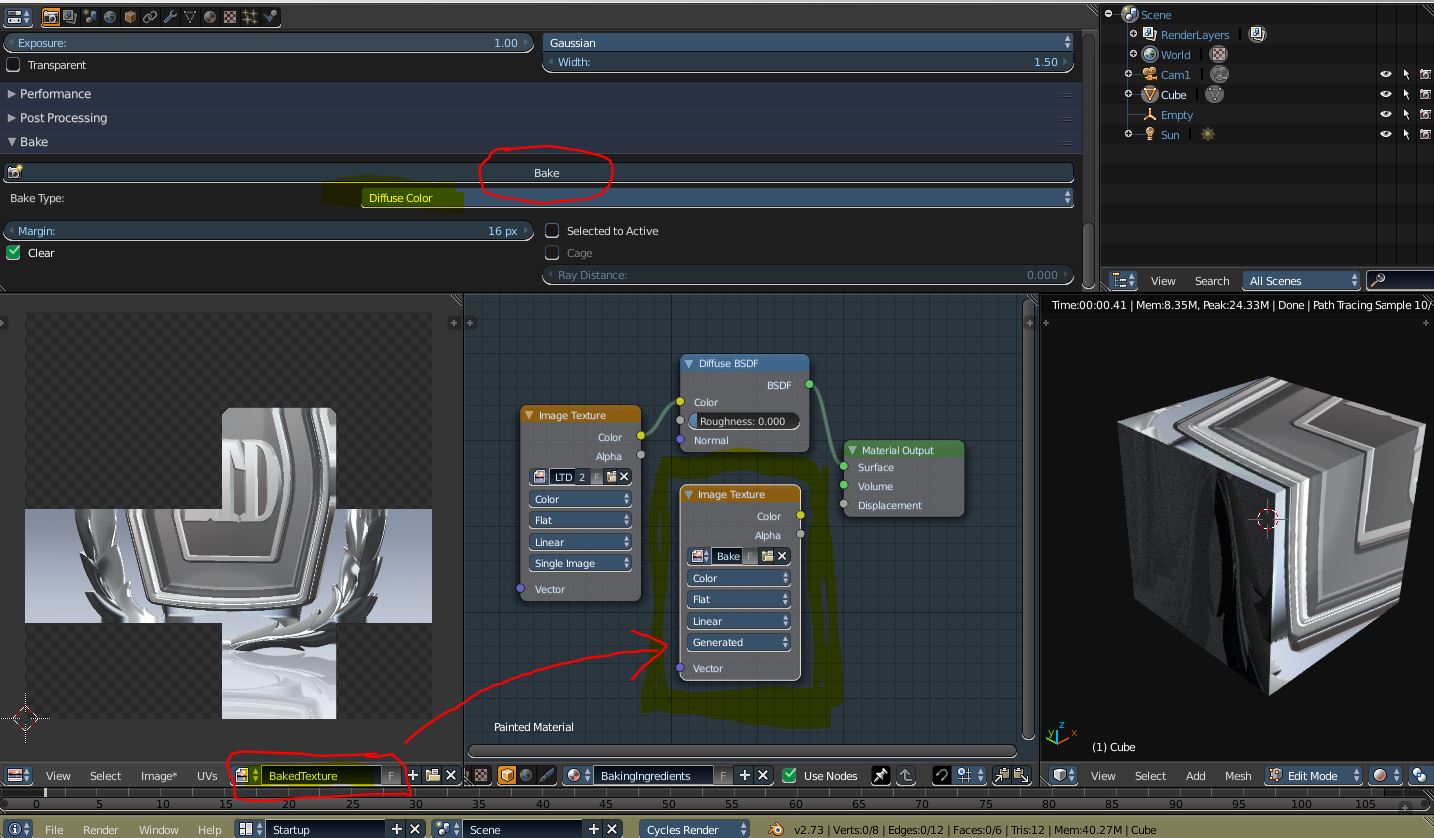
You can Bake the texture onto your UV map.
with your model selected in the 3d View, open the Uv/Image Editor and create a new image. Name it and dimension it however you like. Otherwise you can just leave the image blank for now.
With your model still selected in the 3d View, open the Node Editor. You don't need to mess with the material at all. Just add an Image Texture node using the blank image you just created. Make sure the Image Texture node is selected. It should have a brighter border than notes that aren't selected.
In the Render Panel of the Properties Editor, scroll down to the Bake section. The default Bake Type is Combined. If you just want the diffuse portion of the material, select Diffuse Color from the dropdown list.
Click Bake and the texture should appear in UV Editor aligned with your model's UV map.

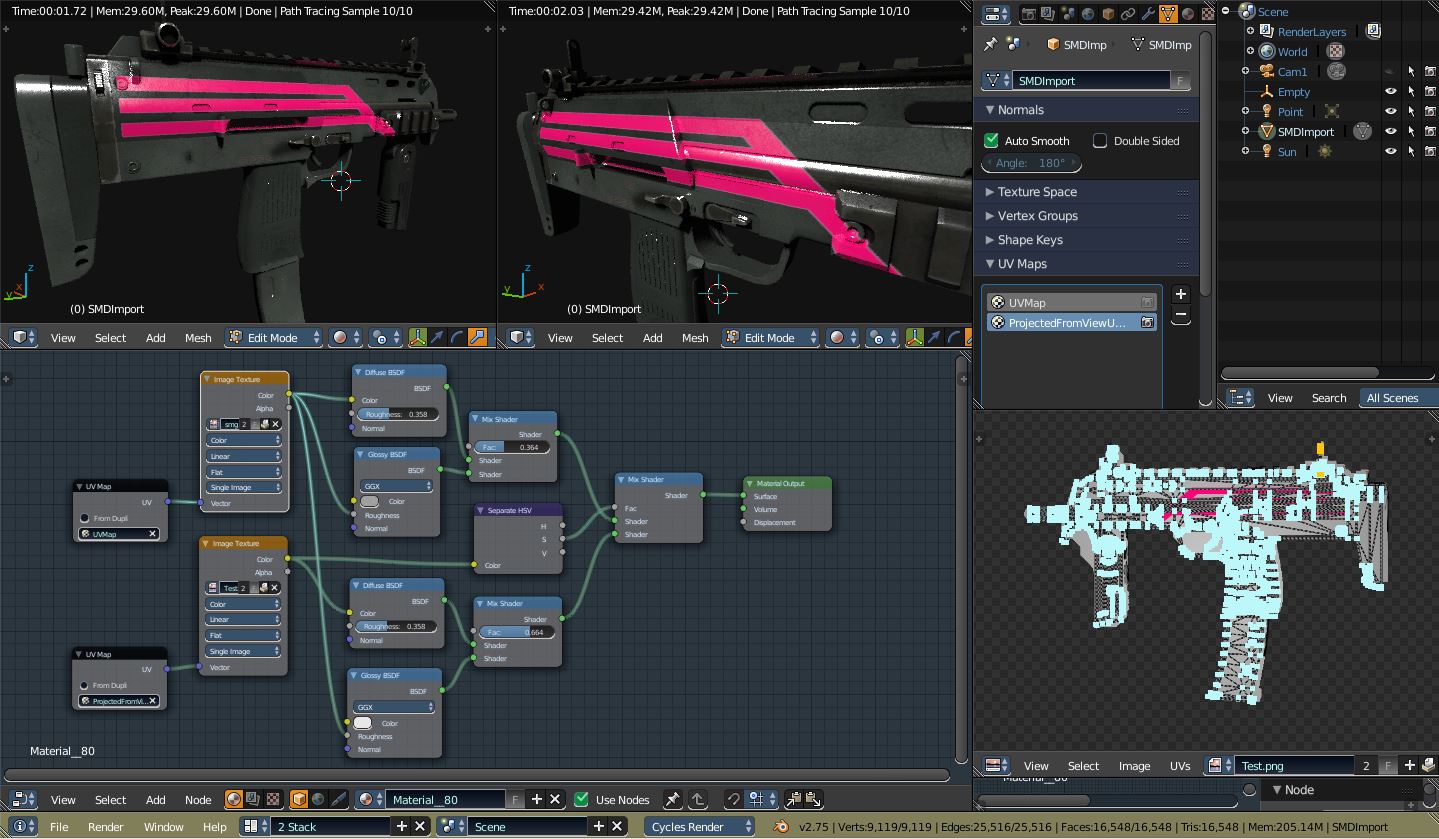
Pink stripes mapped to original material with a separate 'Projected from View' UV map. Return to step one to bake as one texture map. Just be sure to have the original UV selected as active in the Properties Editor when doing so.

