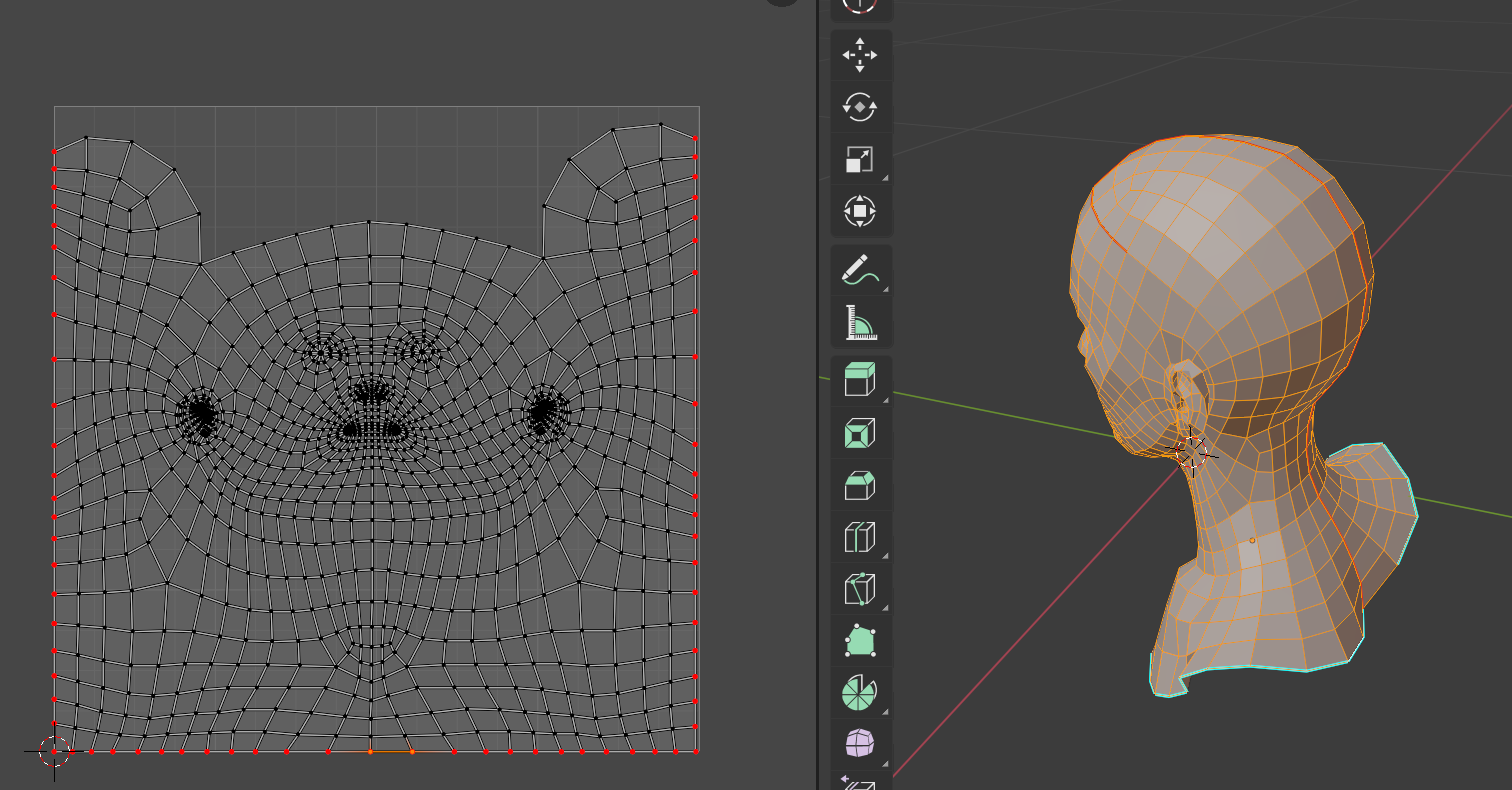
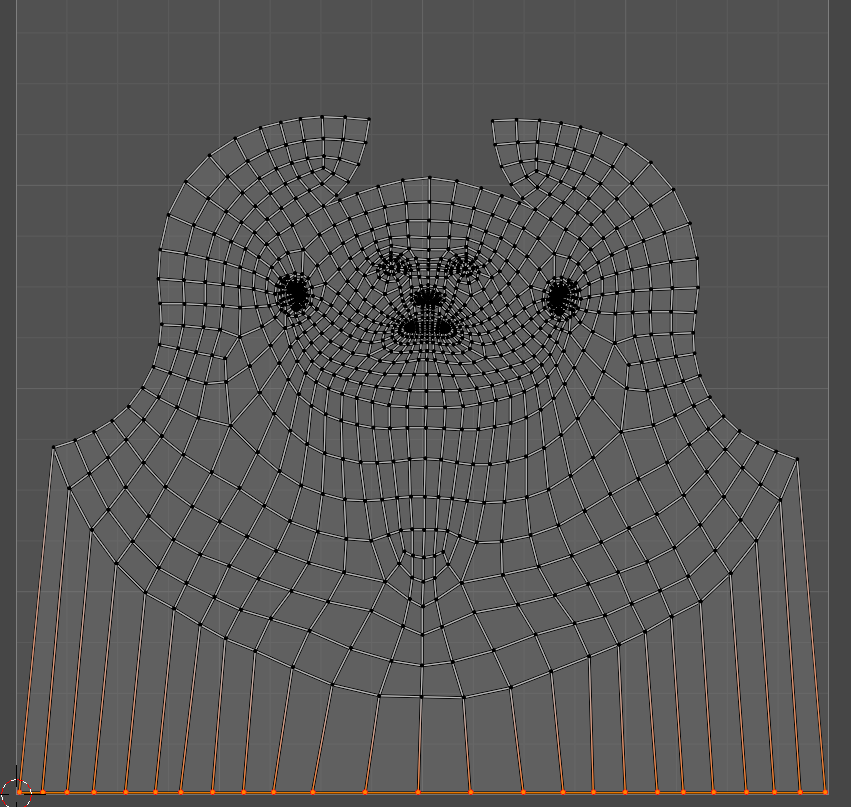
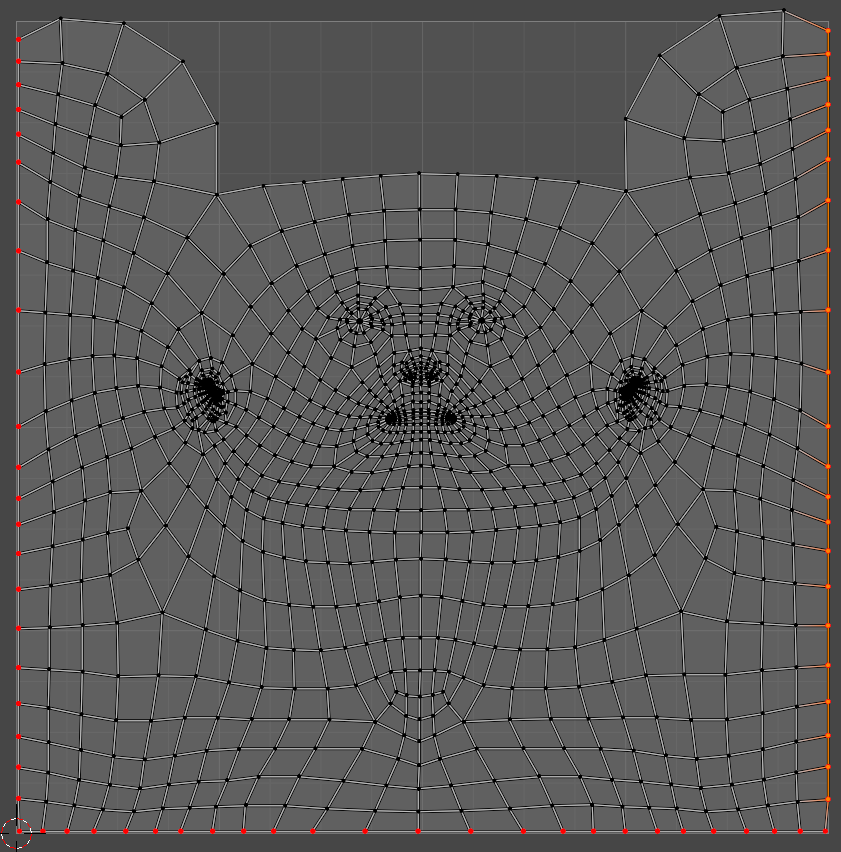
Perhaps something like this would be suitable :
This was achieved manually (but the manipulation of the UV could potentially be automated) from the female base mesh mentioned, using the following steps :
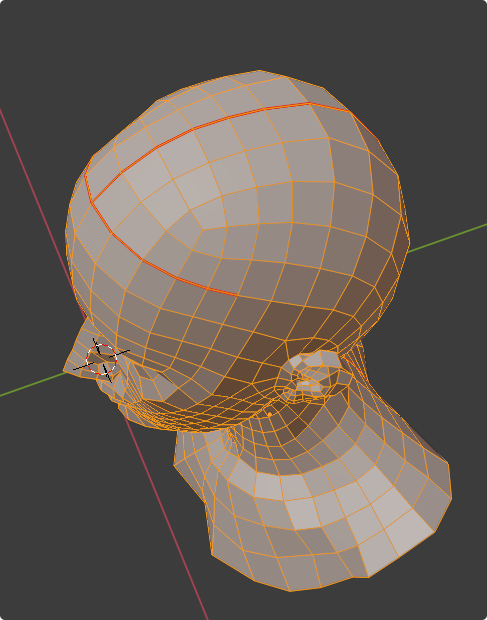
- In Edit mode, select the whole mesh and Clear Seams. Mark the back of the head seam as suggested.
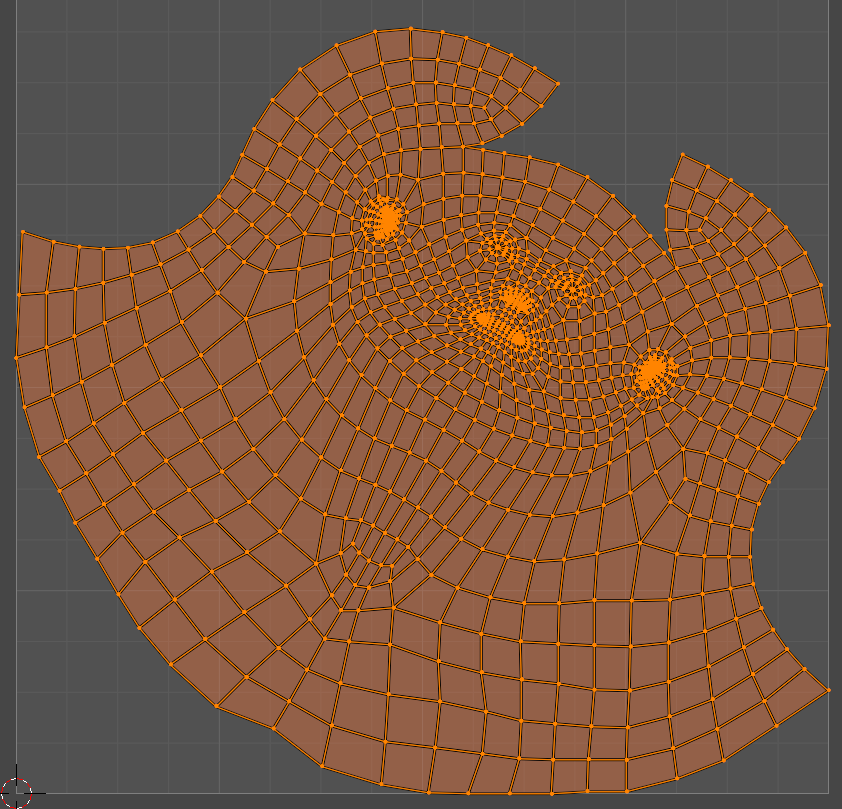
- In the UV editor, select all and 'unpin' all vertices (the downloaded mesh already included some pinned vertices). Perform a basic 'Unwrap'.
- In the UV editor, re-position and straighten the island. Select all the bottom row of vertices.
- Scale to zero in the Y axis (SY0Enter). Move and scale them along the bottom edge of the UV space (G and S). 'Pin' them (P).
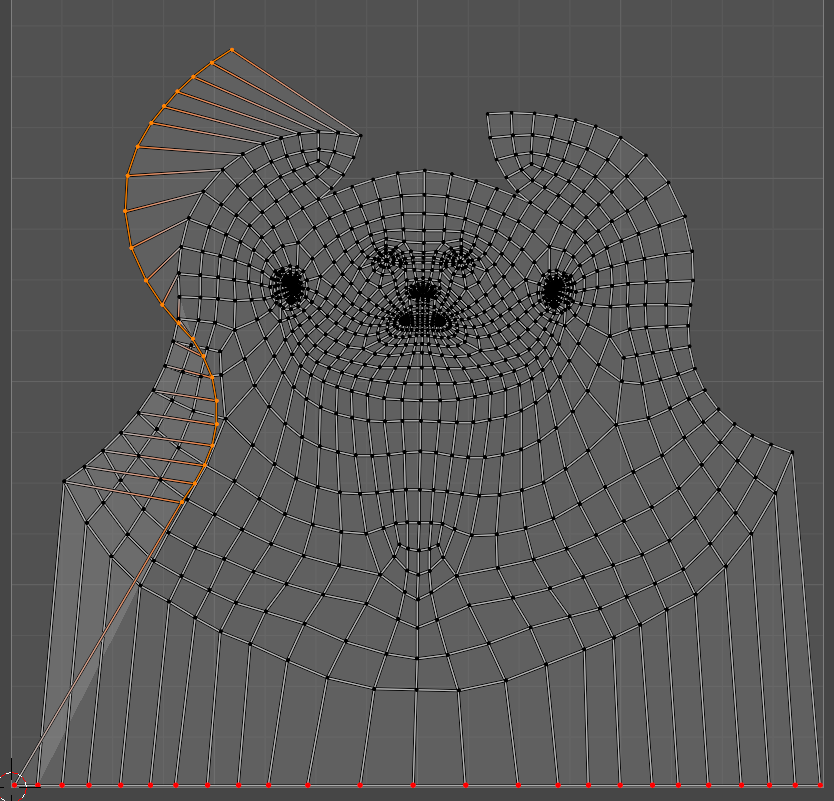
- Select the left-hand edge. Rotate them so they are close to vertical.
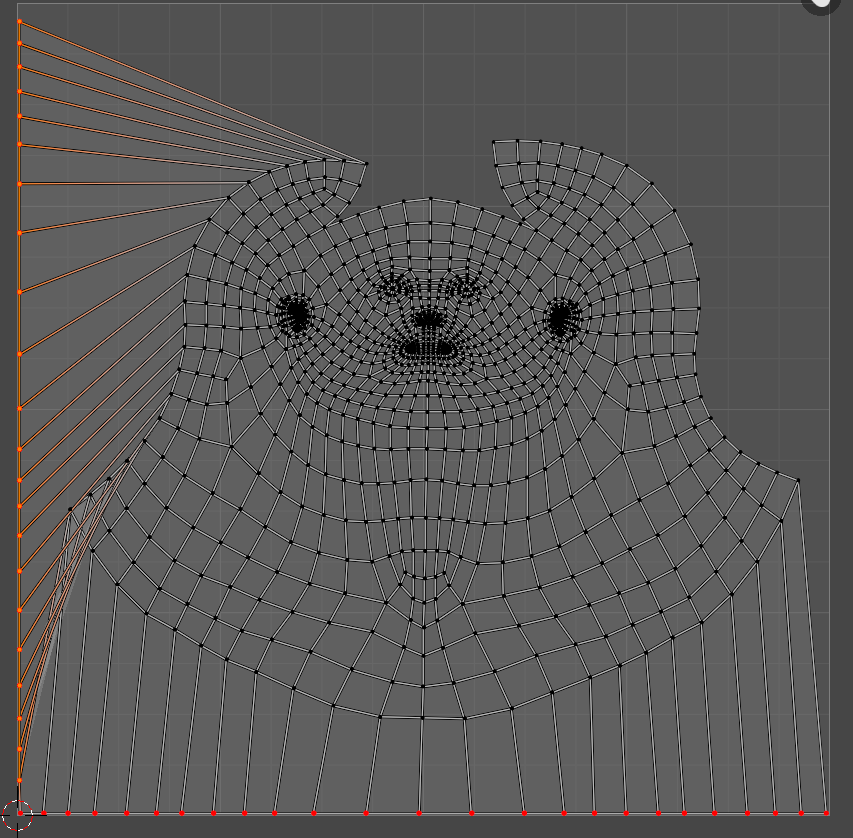
- Scale to zero in the X axis. Position, scale and 'Pin' them in place along the left-hand edge of UV space (as for bottom row).
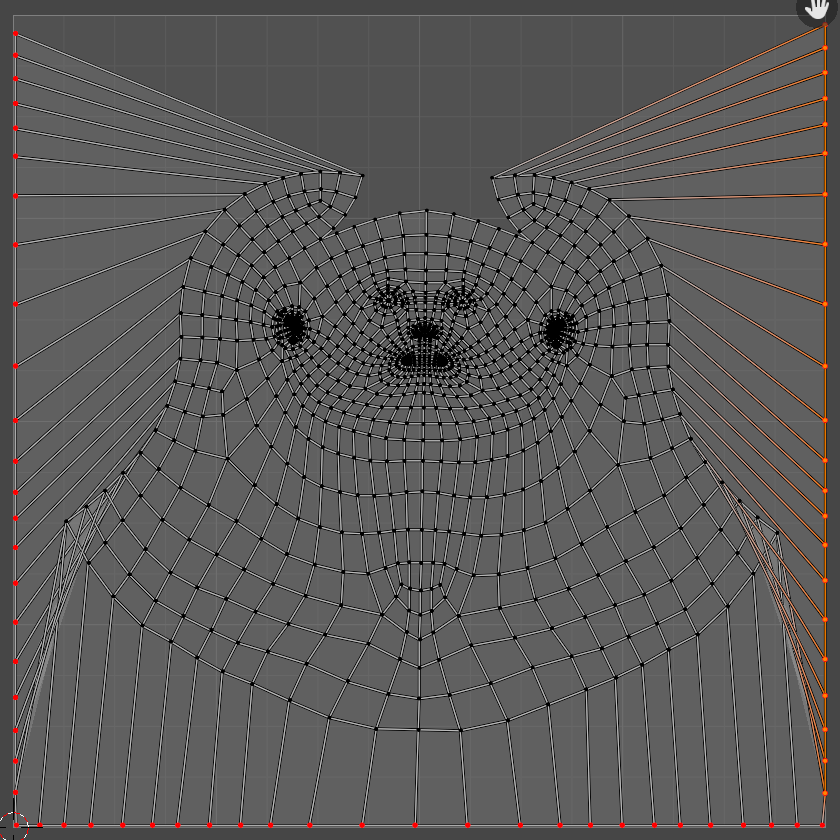
- Repeat on the right-hand vertices.
- Perform another basic 'Unwrap'
It would be feasible to script some of these actions (so you could potentially select an edge of vertices and then have an operator to automatically position and scale them along an edge).
Note that the 'basic' Unwrap function takes account of the 'pinned' vertices, leaving those in position and unwrapping the mesh with those restricted. However, some of the other unwrap functions (such as Cylinder, Cube, Sphere) ignore the pinned vertices and so cannot be used for this.
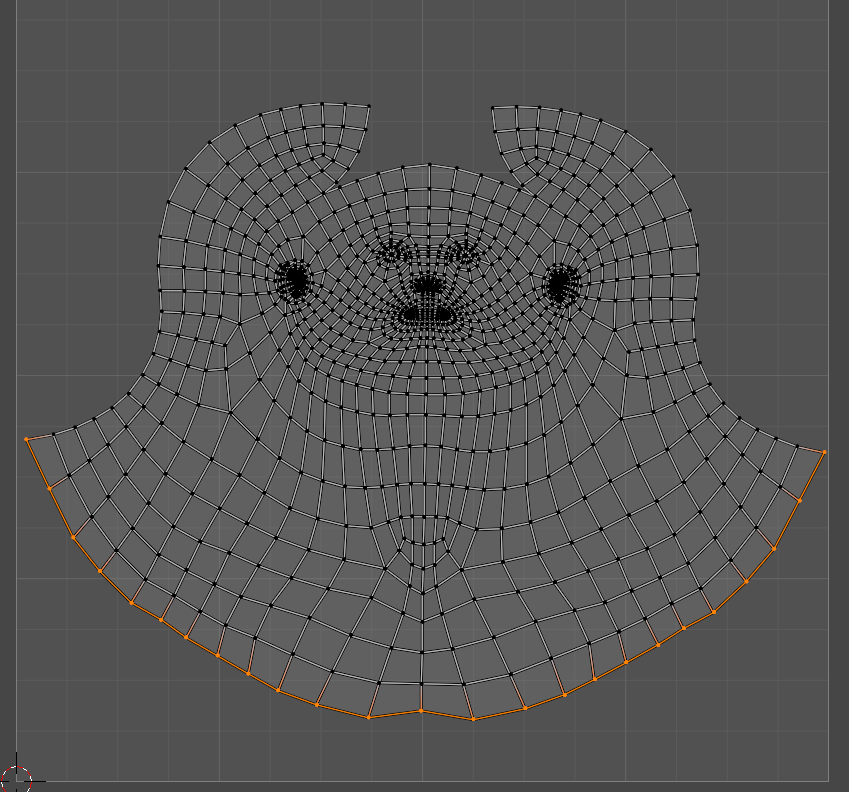
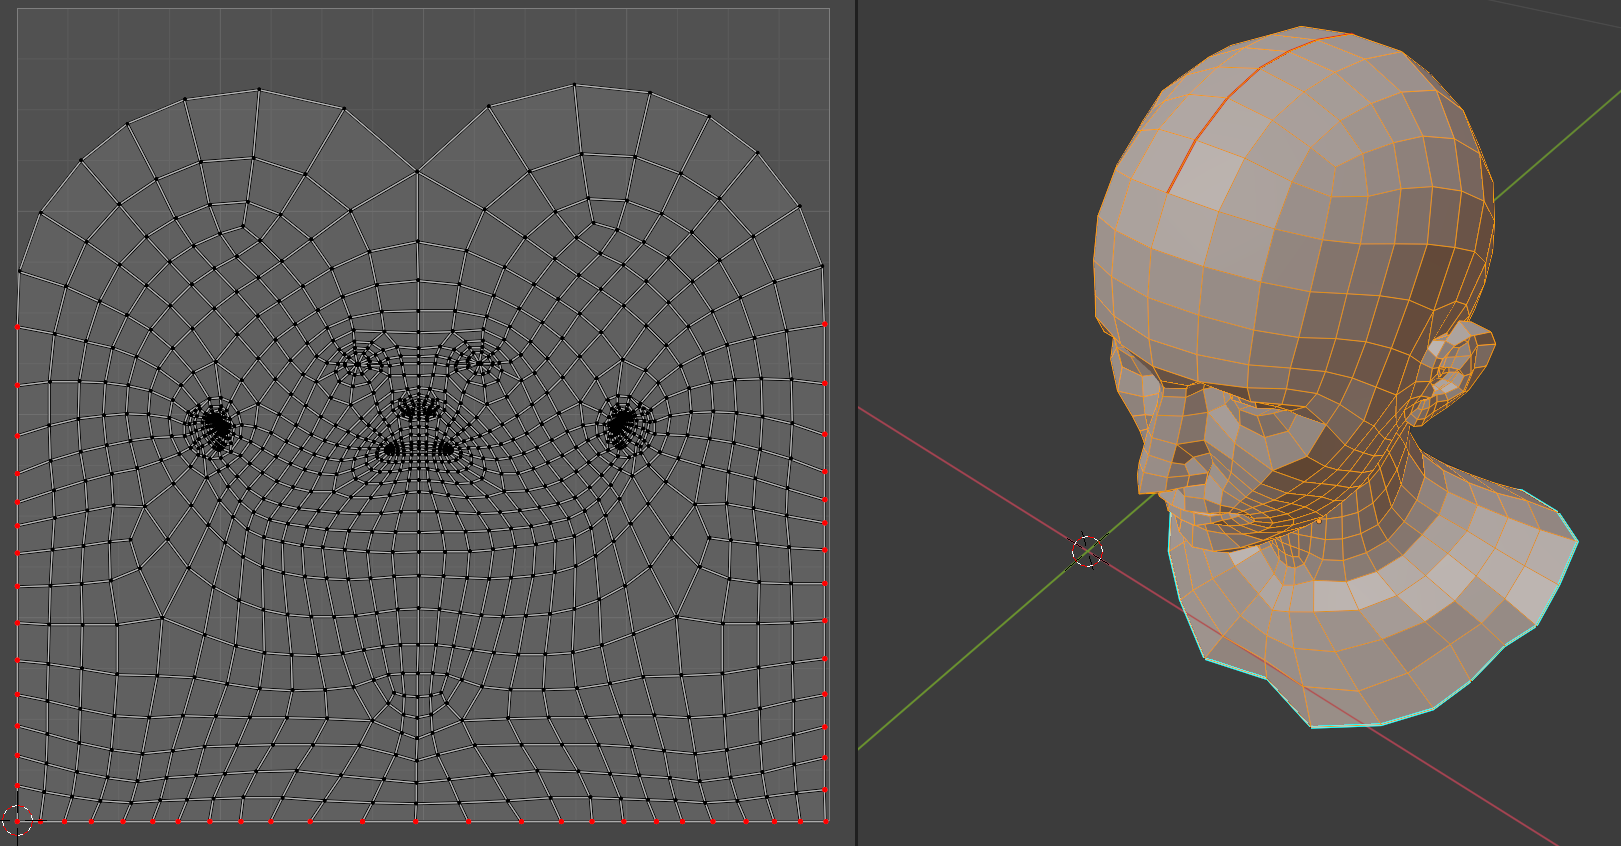
EDIT: Removing the 'T' from the forehead and unpinning a few vertices down the edge, then Unwrap again produces this - which looks pretty close to your example :

