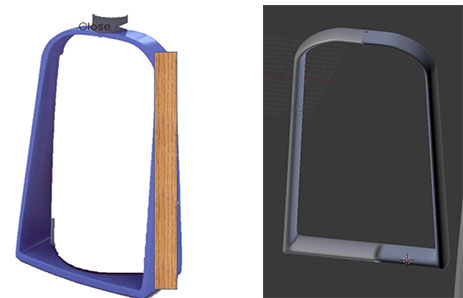
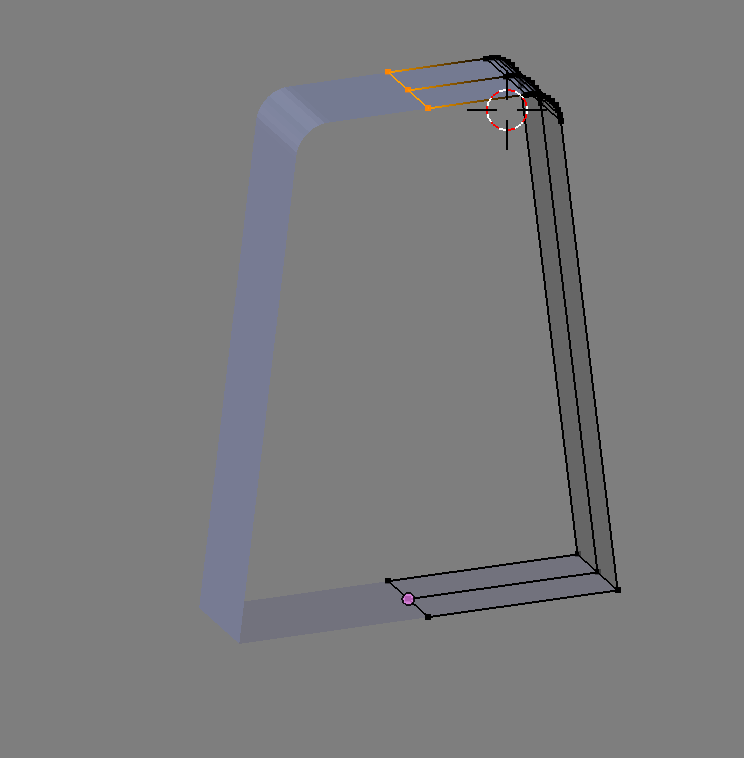
I'm trying to model this simple thing. Anyone have any idea how to do model this. Without the top black. I tried to do this but the half of the mesh looks different.
-
1$\begingroup$ Please use the "edit" button and add an image or sketch of what you'd like to model. $\endgroup$– DontwalkCommented Jan 25, 2018 at 18:59
-
$\begingroup$ If you are using a Mirror Modifier it looks like there maybe faces inside the mesh where it meets in the middle. $\endgroup$– DontwalkCommented Jan 25, 2018 at 19:09
-
$\begingroup$ No it is not mirror. I duplicate and bridge faces. $\endgroup$– EvriCommented Jan 25, 2018 at 19:12
-
$\begingroup$ The half of the mesh looks different because normals are inverted there. If you modeled it manually in Edit mode select all and Ctrl+N. If you used Mirror modifier try applying scale first and then the same with normals $\endgroup$– Mr ZakCommented Jan 25, 2018 at 19:13
1 Answer
One approach:
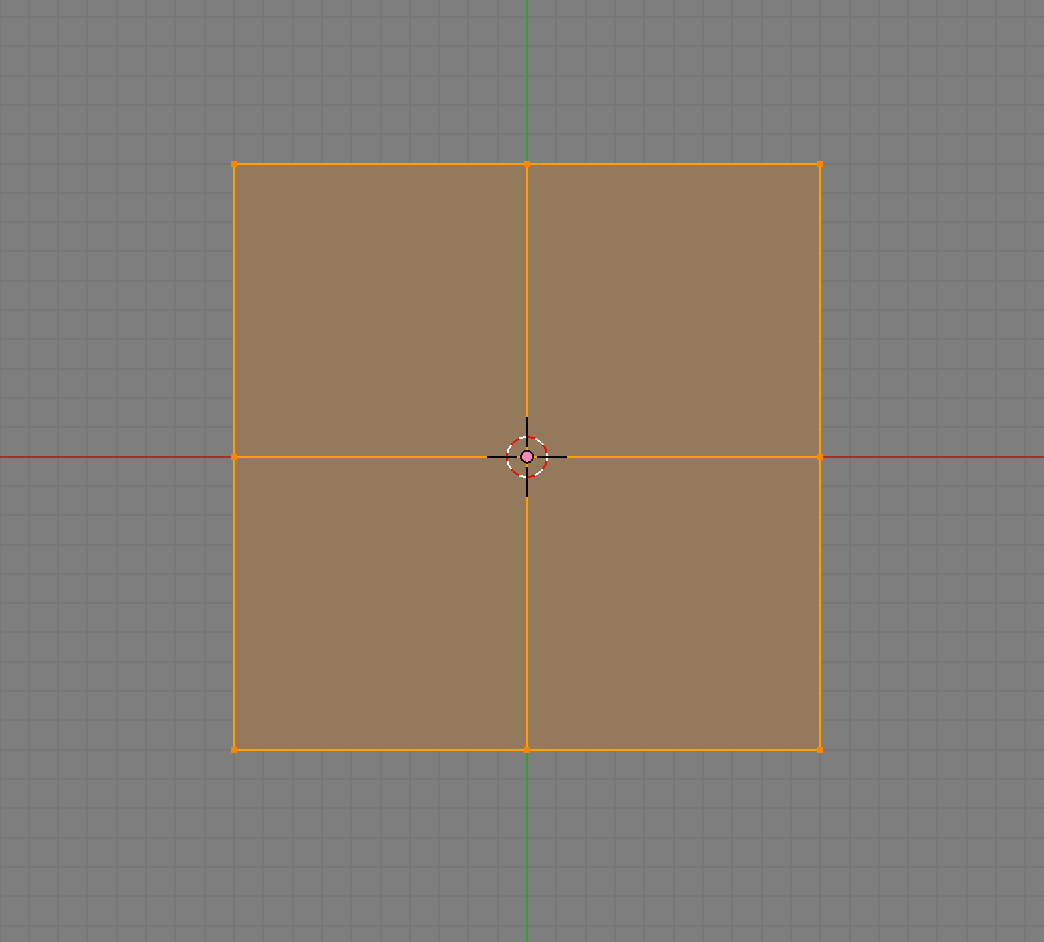
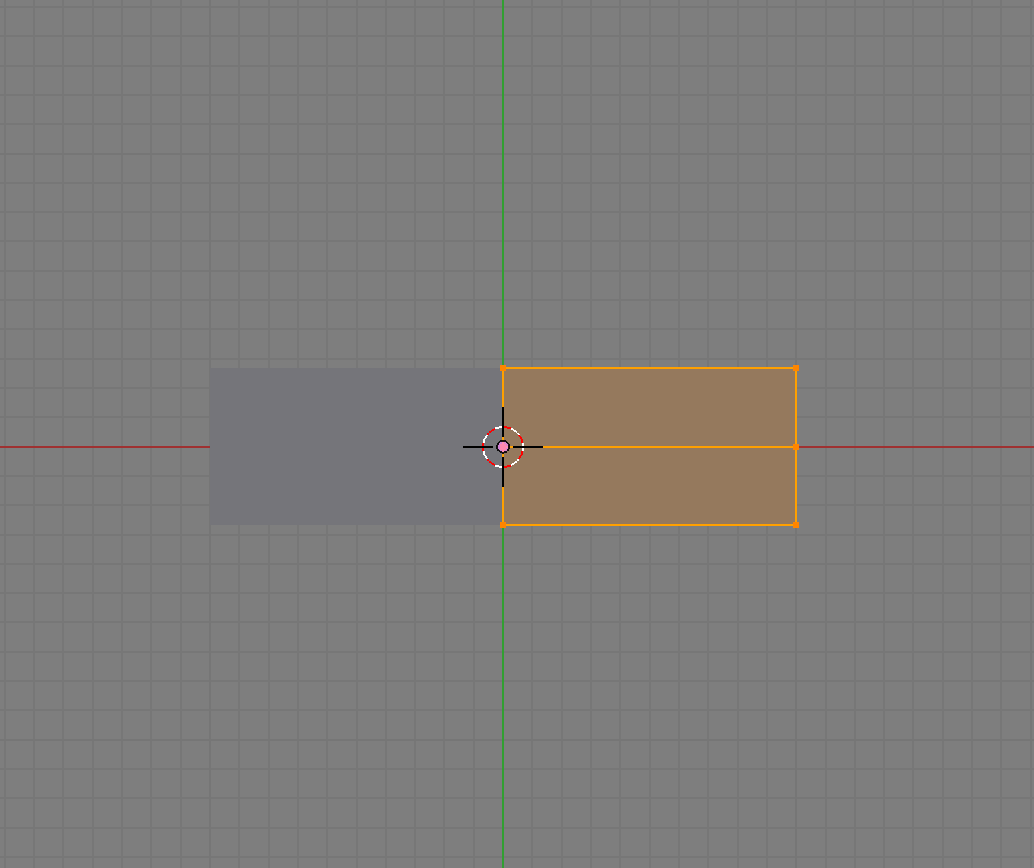
Make sure the cursor is centered SHIFT + “C” Add a Plane TAB into Edit Mode Subdivide the Plane press “W” > Subdivide
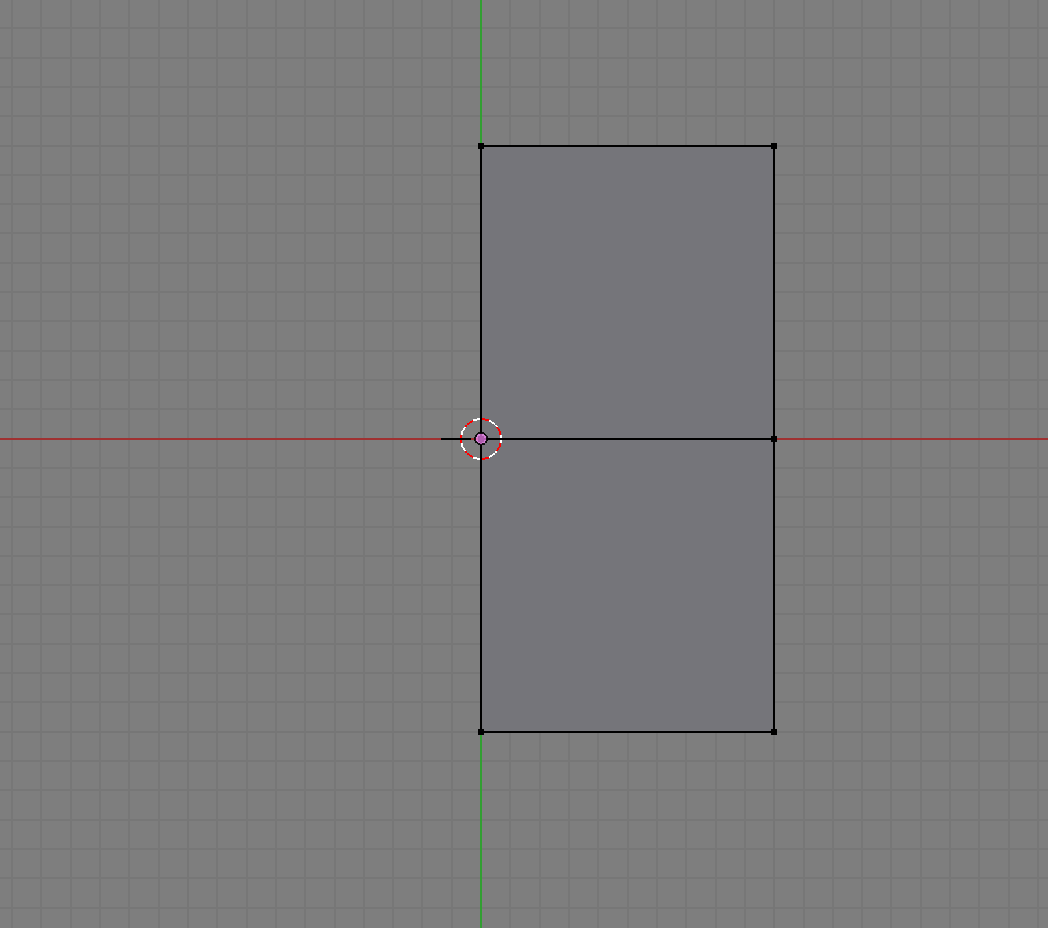
Delete one half
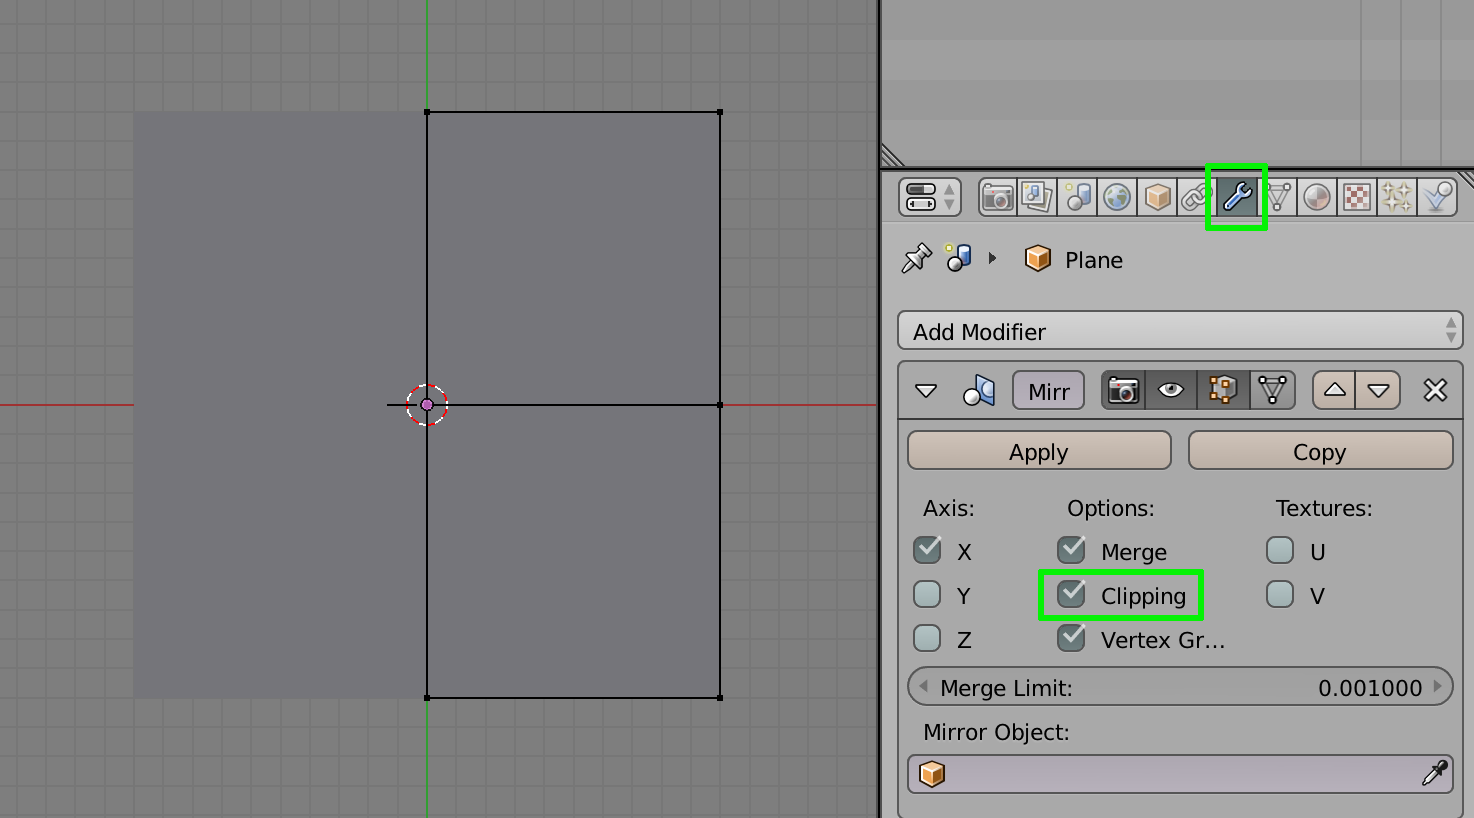
Add a Mirror Modifier and check the box next to “Clipping”
Select all of the vertices and press “S” + “Y” (in top view) to scale on the y axis only.
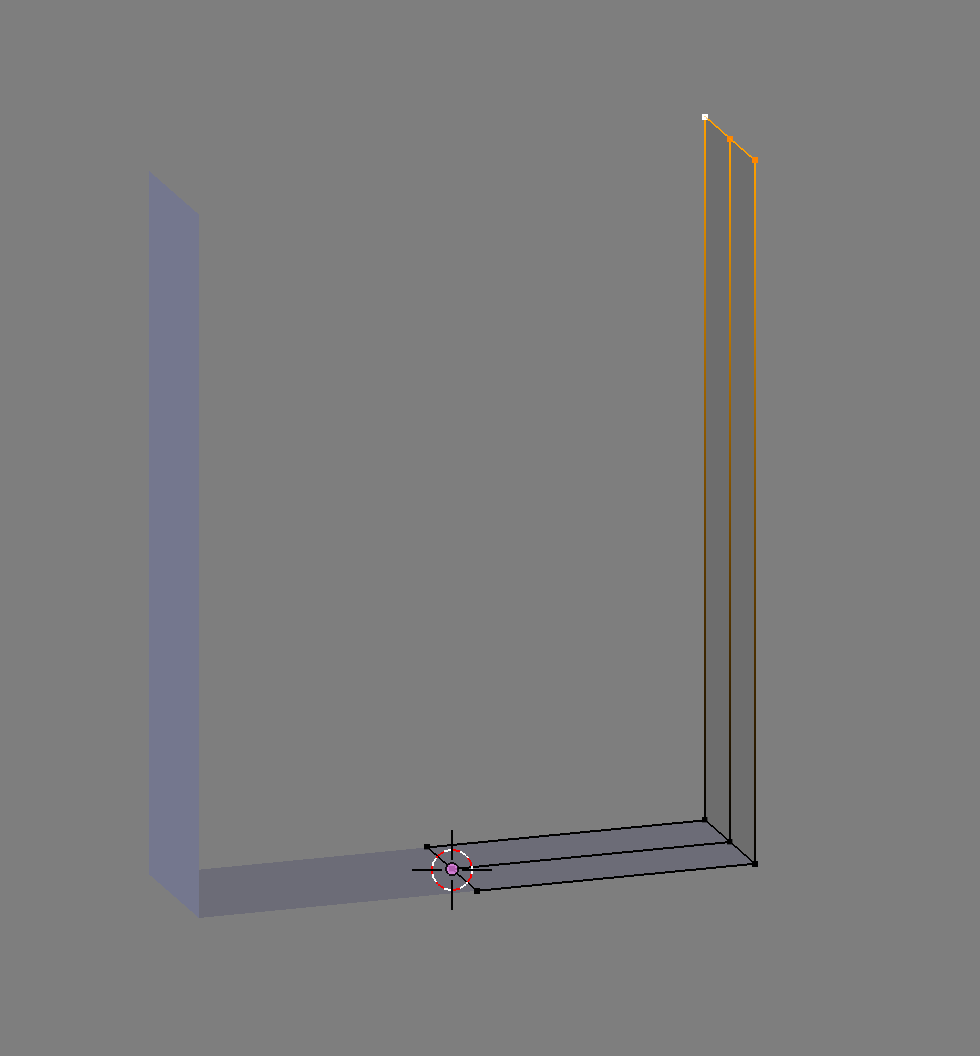
Select the edge and extrude up by pressing “E” + “Z” and Left Mouse Click to accept
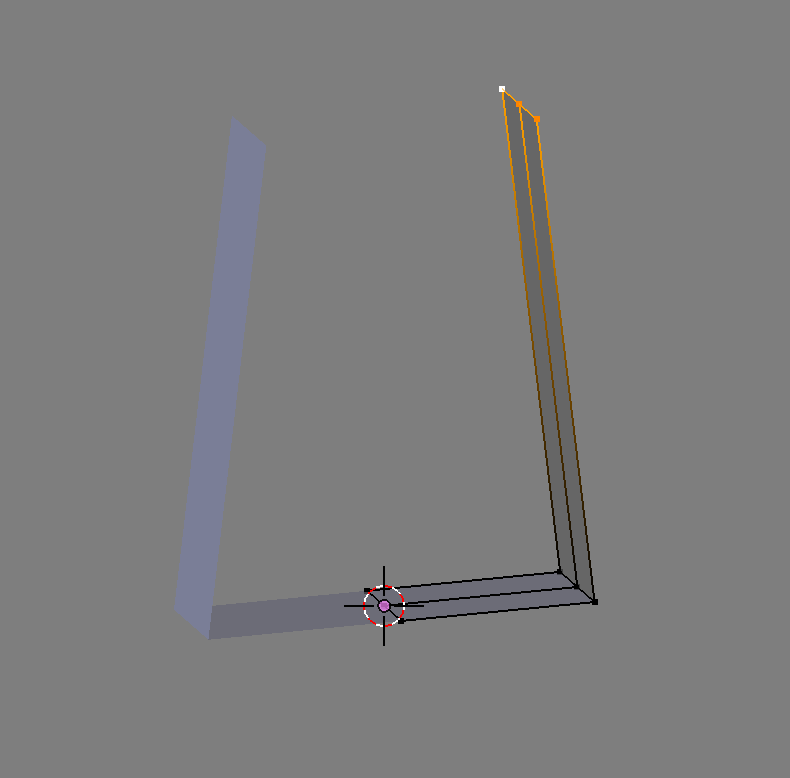
Press “G” + “X” and grab the edge inward (I exaggerated this)
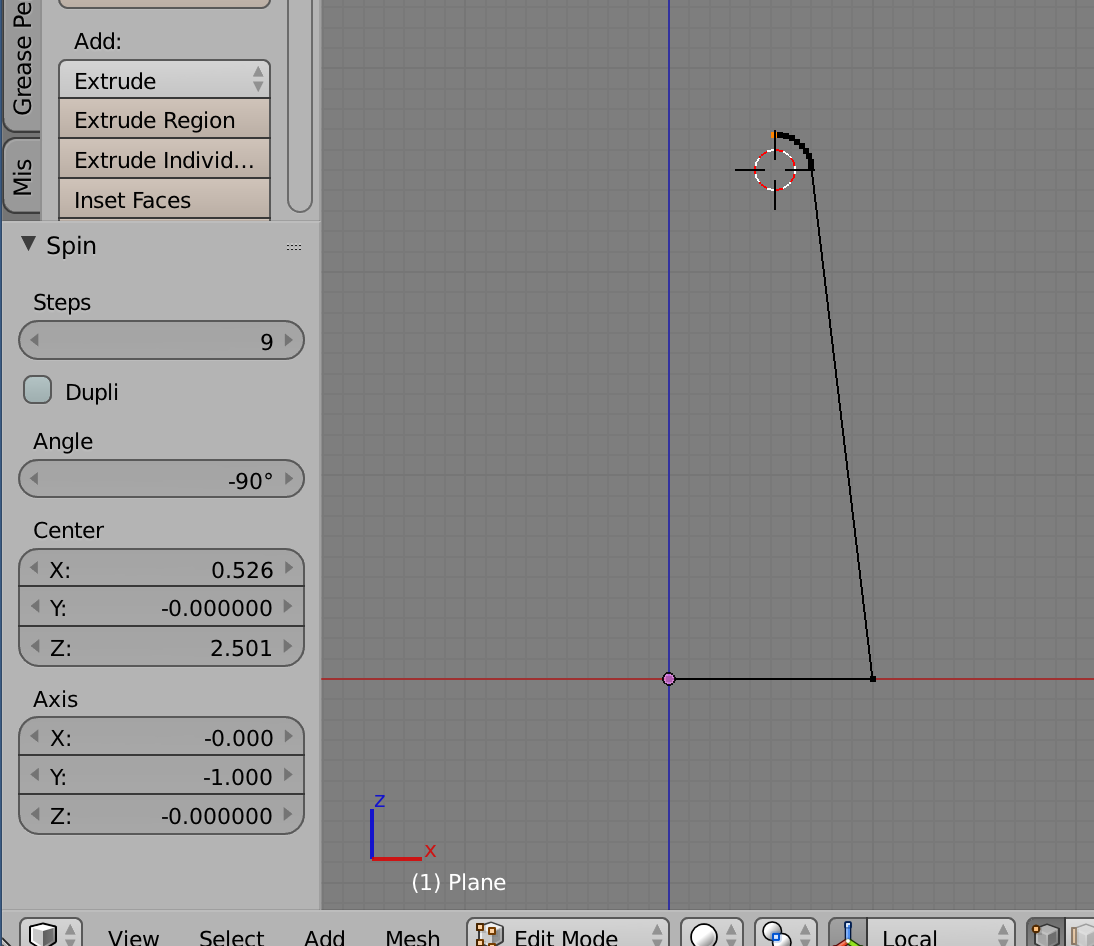
Place the cursor near the edge and press ALT + “R” to create a radius. You can adjust the radius in the operator panel “Before” you do anything else.
Press “E” + “X” and extrude to the center
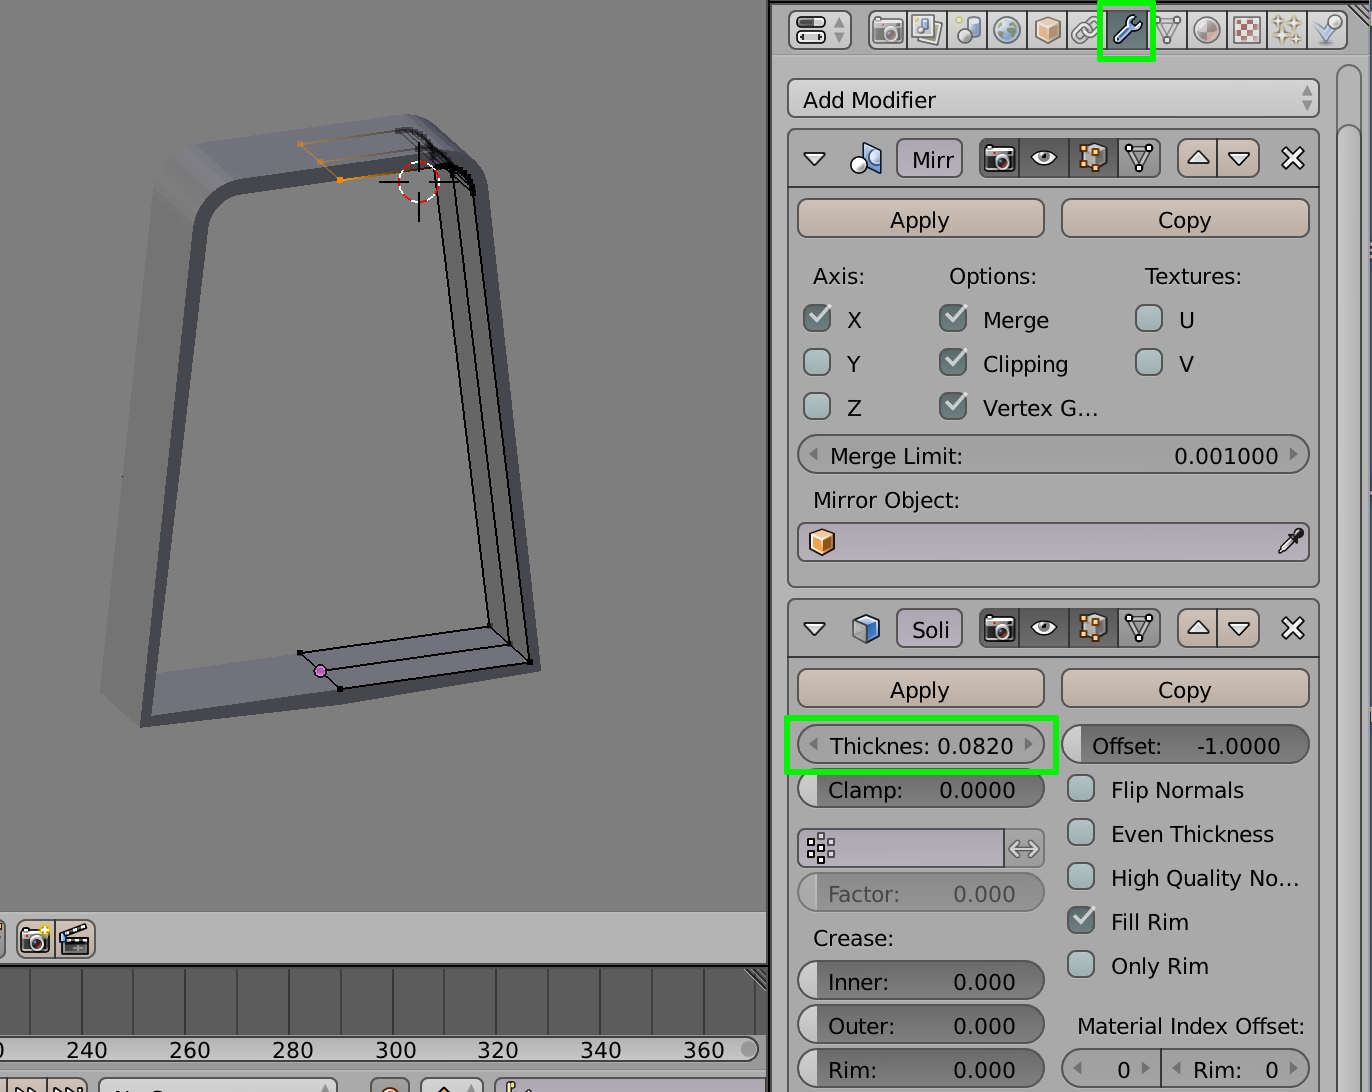
Add a Solidify Modifier and adjust the thickness to taste
-
$\begingroup$ How did you create the radius please? $\endgroup$– EvriCommented Jan 25, 2018 at 21:05
-
$\begingroup$ @ Evripidis Yuri Gazetis - In Front View place the Cursor next to the edge. Blender will create the radius around the Cursor. Pressing ALT + "R" will generate the radius. You can adjust the parameters in the operator panel on the left (Pressing "T" toggles the Tool Panel ) but need to do that BEFORE doing anything else. Look at the 7th image for reference. docs.blender.org/manual/en/dev/modeling/meshes/editing/… $\endgroup$– DontwalkCommented Jan 25, 2018 at 21:32
-
$\begingroup$ Thanks but now i have this problem. The radius created from left to right and there is no spin menu in tool side panel. $\endgroup$– EvriCommented Jan 25, 2018 at 21:35
-
$\begingroup$ @ Evripidis Yuri Gazetis - Pressing "T" toggles the Tool pane on and off. The Spin portion is only available immediately after you press ALT + "R" and should be at the bottom of the "Tool Tab". Change the Angle to positive or negative to change the direction of the radius. $\endgroup$– DontwalkCommented Jan 25, 2018 at 21:42
-
$\begingroup$ @ Evripidis Yuri Gazetis - Heres a detailed easy to follow tutorial vimeo.com/44841561 $\endgroup$– DontwalkCommented Jan 25, 2018 at 21:45

