0
$\begingroup$

I'm trying to get an image or movie inside some text to achieve something like this :image of fruit n veg in text

HOWEVER I'm aiming for the the text to be on a transparent background so i can re-purpose the text for any project.

I've found a tutorial on BlenderDiplom's channel that shows you how to add animated fire in the 3D view and then use the compositor to have it become the text- this is achieved in Cycles. The link to the video is here:

https://www.youtube.com/watch?v=5xQ4ppukCHE

But my problem with this method is that 1. The black background is present when rendered out and 2. I prefer working within Blender Render engine.

Now I know i can add an colour key node in the compositor to get rid of the black background but it also removes the any black in the image that's 'inside' the text.

I'm sure there's a super simple solution but I can't seem to crack it.

Any help will be much appreciated!

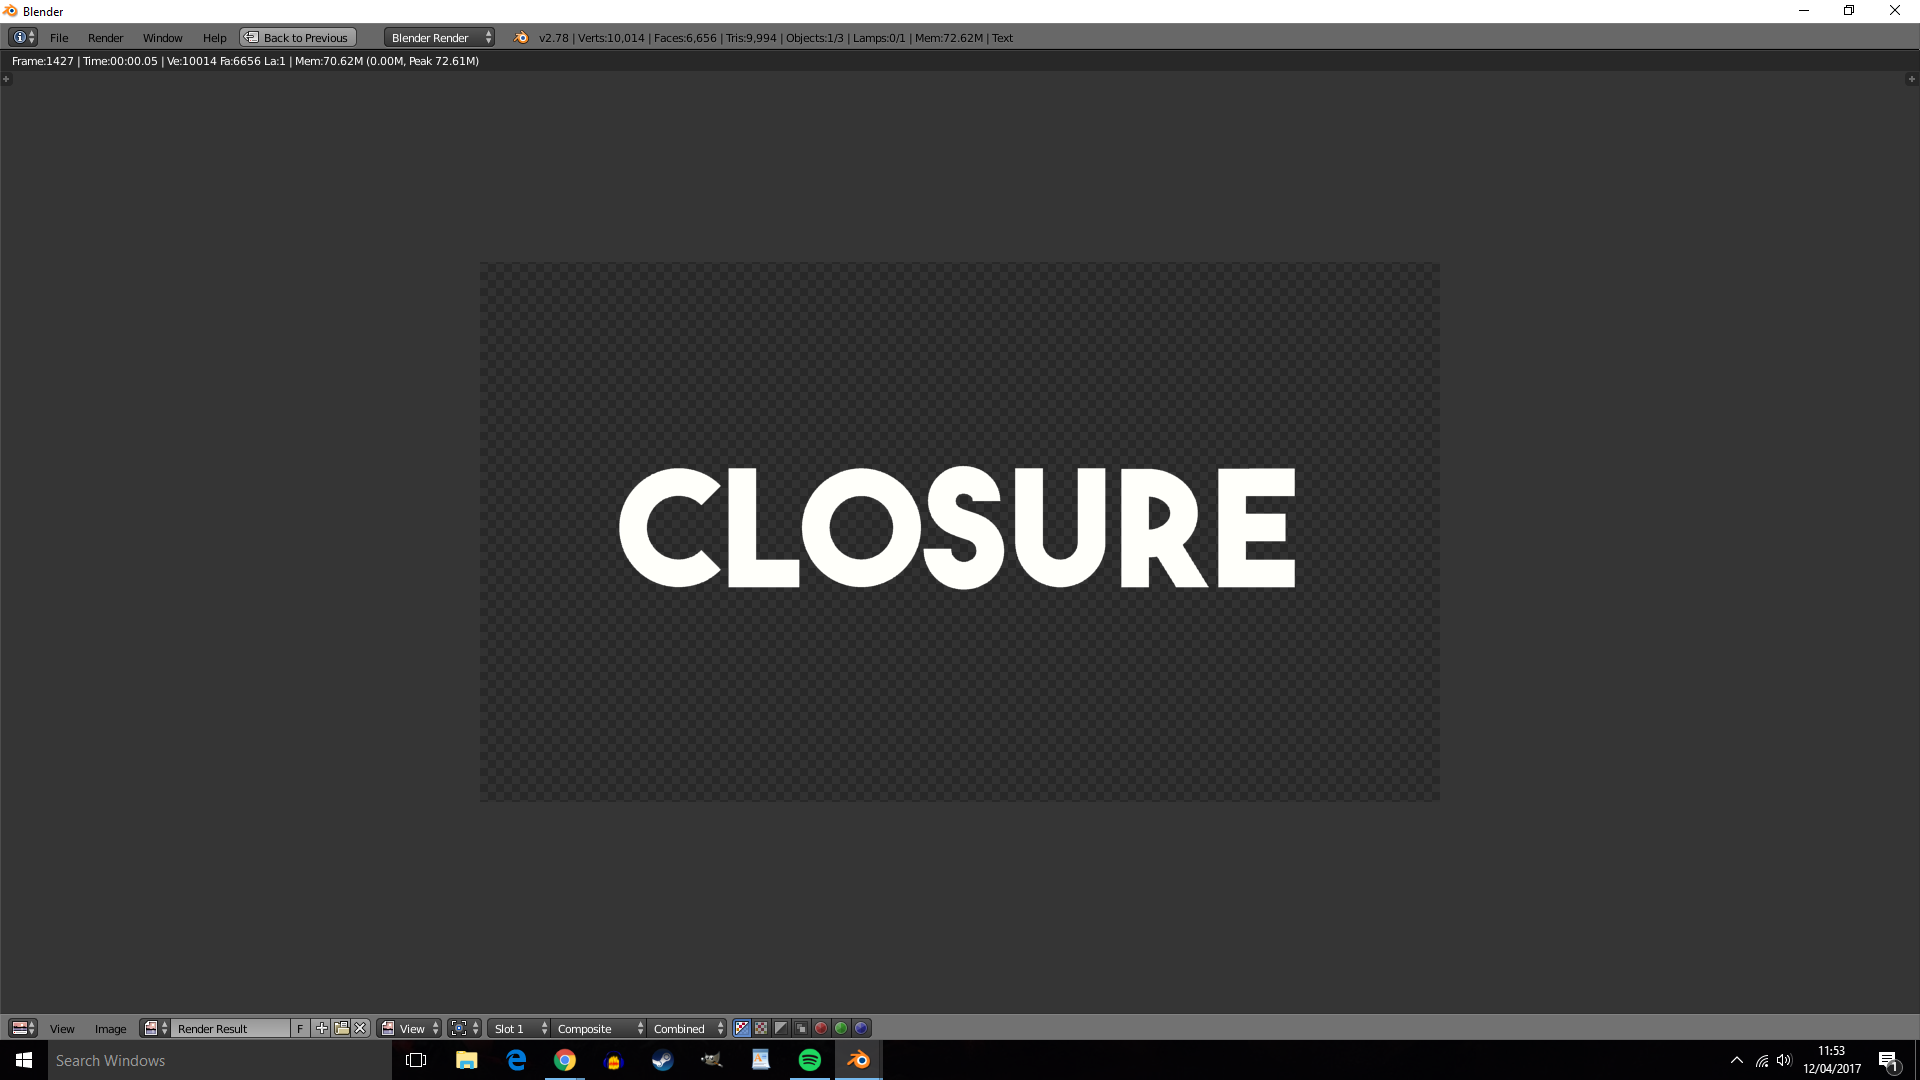
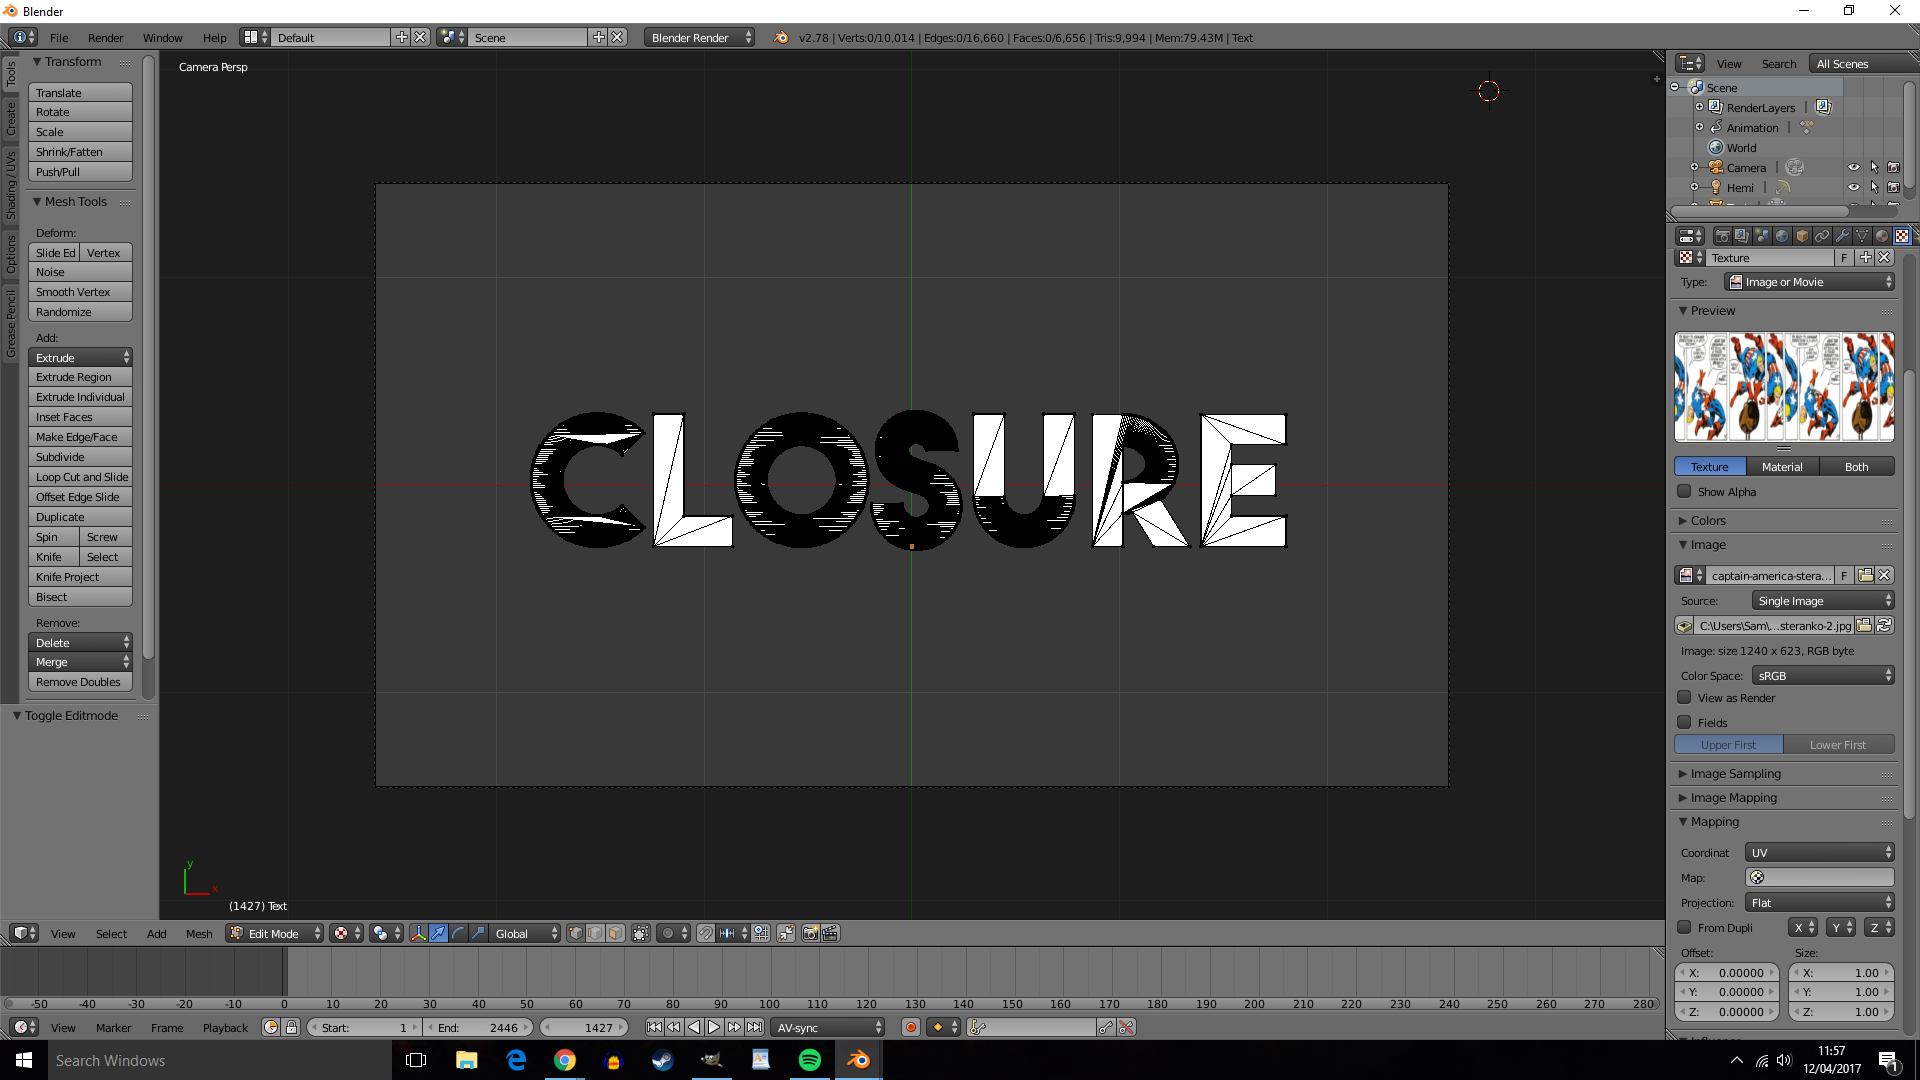
So i'm following Edgel's answer and tried to unwrap the text with the Smart UV Unwrap and Project from View and entered render view and the text remains white instead of showing the image inside the text:

render view of text

And here is the text in the 3D view in edit mode: text in edit mode in 3D view and texture panel to the right

$\endgroup$
1

1 Answer 1

1
$\begingroup$

This is remarkably easy to achieve in Blender.
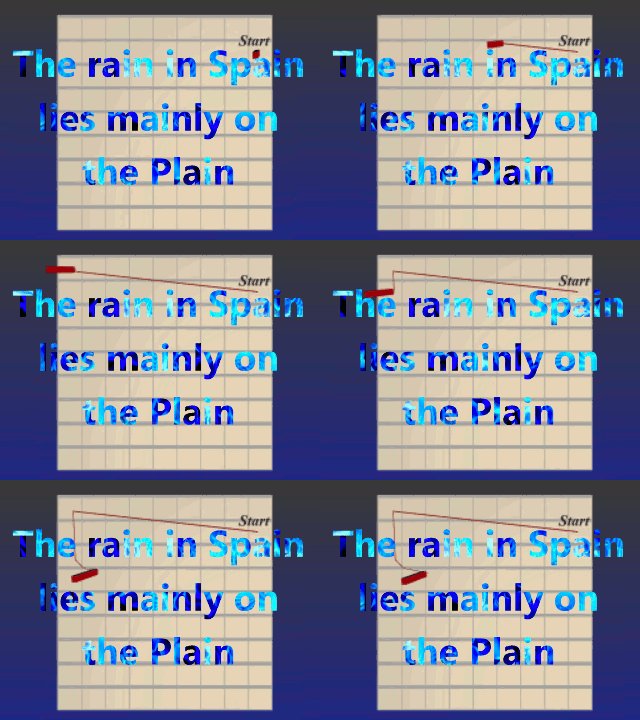
enter image description here

The text & font, once decided is typed in, converted to Mesh with ALT-C, given a Material slot and coloured white.

It's shading is set to "Shadeless", no Specular, and best rendered using a Hemi Lamp, not a Sun.

If you use a Sun, set it to "No shadows" as a precaution, or remove the shadowing in the text's material properties at bottom.

Give the text a texture slot and use your video or image.

If it's video, in the image tab tick on the "Auto Refresh" box. Tick the "Cyclic" box also when looping is necessary.

Edit: (15/4/2017)

At this point we come to a choice -

If you want a kalidascope effect, do a UV unwrap and select the top choice "Unwrap". i.e. you select "Unwrap" twice, or press U from Edit Mode and select "Unwrap".

If however you want the video to be spread across the text normally and without distortion, in the texture Properties (at right) open the "Mapping" tab and select "Generate". (it's usually defaulted to UV)

The video should now appear in the text and play. (Press CTL-A)

-=====-

The choice as to whether to use the Blend file to lay the text over another video, or store it as it stands in a bunch of single frame image files (.png) will decide what you do from here.

For example, you can simply load your background video into the "Background Image" panel and drag it's opacity to full - OR - add a 'plane' under the text in the 3D window and texture that with the background.

This would avoid filling a folder up with single frame png image files. Choose the output as say - H264 with RGB highlited. One single, good quality file.

This was my choice here and rendered out using "OpenGL". (Top left of 3D window - "Render-->OpenGL render animation")

-=====-

If it's deemed desirable to store this as an alpha layered video, then read on those who don't know how...

In the Render properties, open the "Shadings" tab and select "Transparent" at the right.

Make sure the Post Processing panel boxes are both unticked. (No nodes are used)

The text can now be rendered out on a transparent background by setting the render output to a folder of your choice and the format set to PNG (images), it's RGBA button clicked at far right.

Back in the 3D window press "N" and open the display tab, tick the "Only Render" box, untick "World Background".

You should be ready to render now. I did this in OpenGL and also checked that it worked using Blender Render.

A lot of single framed images will be produced. (These can be zipped and bundled into a single file for storage)

You can test to see if the transparency is there by loading one of the images into Gimp or the VSE. A checkered pattern should be under the text.

$\endgroup$
7
  • $\begingroup$ Cheers for the detailed speedy explanation. I'm working through your answer right now but being the newbie I am I'm pretty lost when it comes to UV Wrapping. How do I smart UV unwrap, is there a button or keyboard shortcut? I understand UV Wrapping is marking 'seams' and smart UV Wrapping means blender marks the seams itself...i think. But I don't know why you even UV Wrap in the first place! Anyway, if you can link me a good resource to understanding UV unwrapping (it's purpose and the process) then I'd eat my hat! $\endgroup$
    – user33287
    Commented Apr 12, 2017 at 10:39
  • $\begingroup$ EDIT: found the unwrap options box- go into edit mode then hit the U button then select the option. $\endgroup$
    – user33287
    Commented Apr 12, 2017 at 10:51
  • $\begingroup$ Right, i've clicked the Smart UV unwrap and tried the Project from View unwrap option and when I go into the rendered mode to see the image inside the text it's not there. I'll put the screenshot in the question above. $\endgroup$
    – user33287
    Commented Apr 12, 2017 at 10:54
  • $\begingroup$ @user33287, chances are you're viewing in Object mode but using "Solid" texture. Bottom center of window - click on the little ball to expand it's menu and then choose "Material". $\endgroup$
    – Edgel3D
    Commented Apr 12, 2017 at 18:24
  • $\begingroup$ Further to the above... Your first pic appears to be taken after rendering. Looks like you haven't textured the image. I did a detailed answer somewhere in here some time back on how to place textures on surfaces. If you can find that, you'll see a step by step procedure. Also, try OpenGL rendering. $\endgroup$
    – Edgel3D
    Commented Apr 12, 2017 at 18:32

Not the answer you're looking for? Browse other questions tagged .