8
$\begingroup$

I can export a 3D model from MagicaVoxel as an OBJ file and import it into Blender no problems. The colours come UV-mapped onto a 256x1px PNG file.

I'm trying to get Blender to render this effect where each 'voxel' in the model has distinct rounded edges, like this:

enter image description here

I created a bump map image like so:

enter image description here

and then added a new texture to my material.

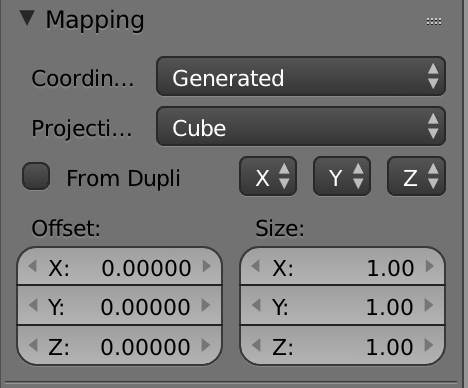
I set the mapping to "Generated" instead of UV. I set this to a Cube projection.

enter image description here

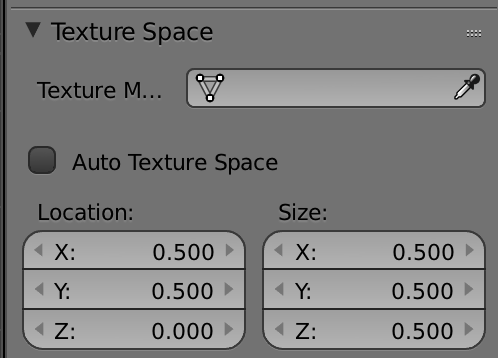
I got the scale right by setting the Texture Space like so:

enter image description here

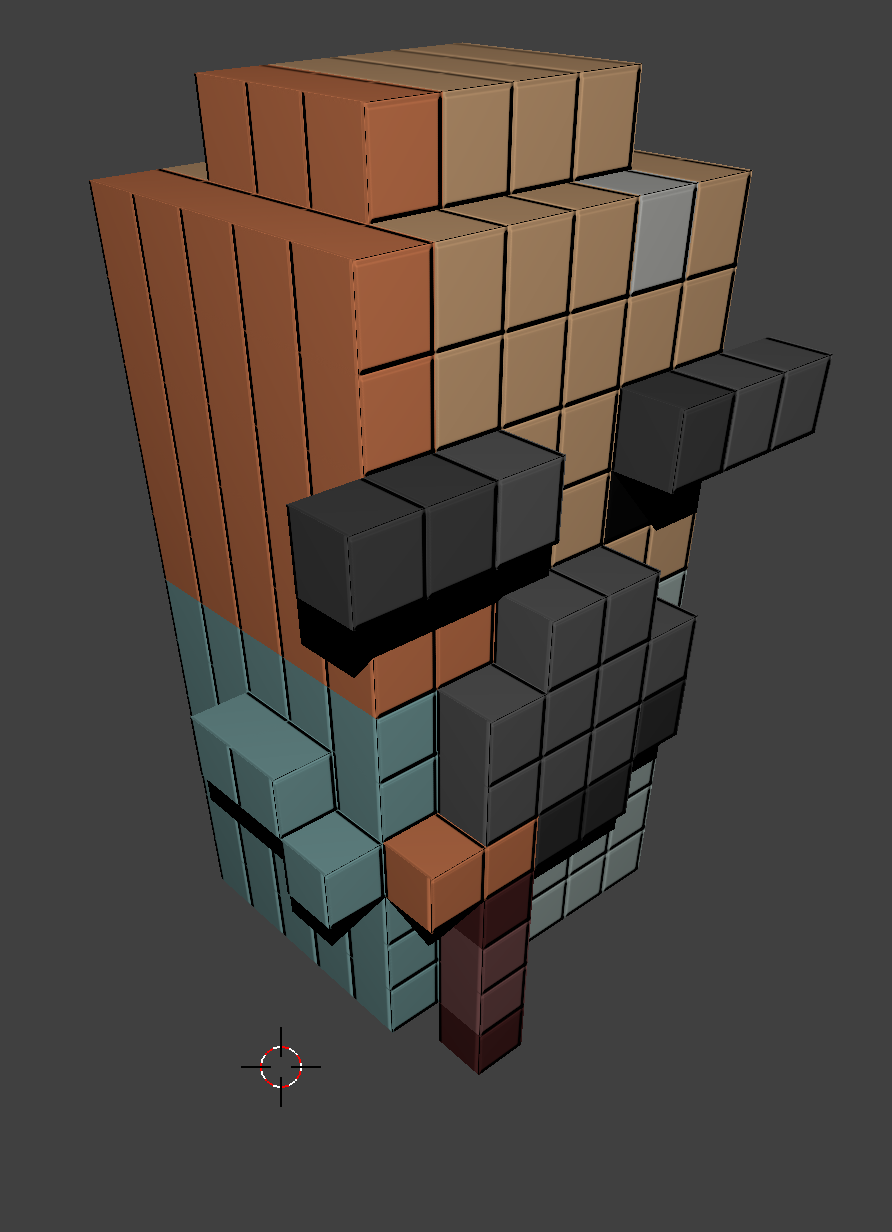
Now when this new texture's Influence is set to Diffuse Color, I see this:

enter image description here

so the positioning seems correct.

However, when I set the influence to Geometry Normal, I see this:

enter image description here

What am I missing here? I guess this is because the Normal Map uses the RGB values to set the normals so I'm missing a dimension of displacement? If I try to use "Displacement" instead I get this:

enter image description here

Do I just need more of a gradient on my tile image? Or am I doing something more fundamentally wrong...

UPDATE:

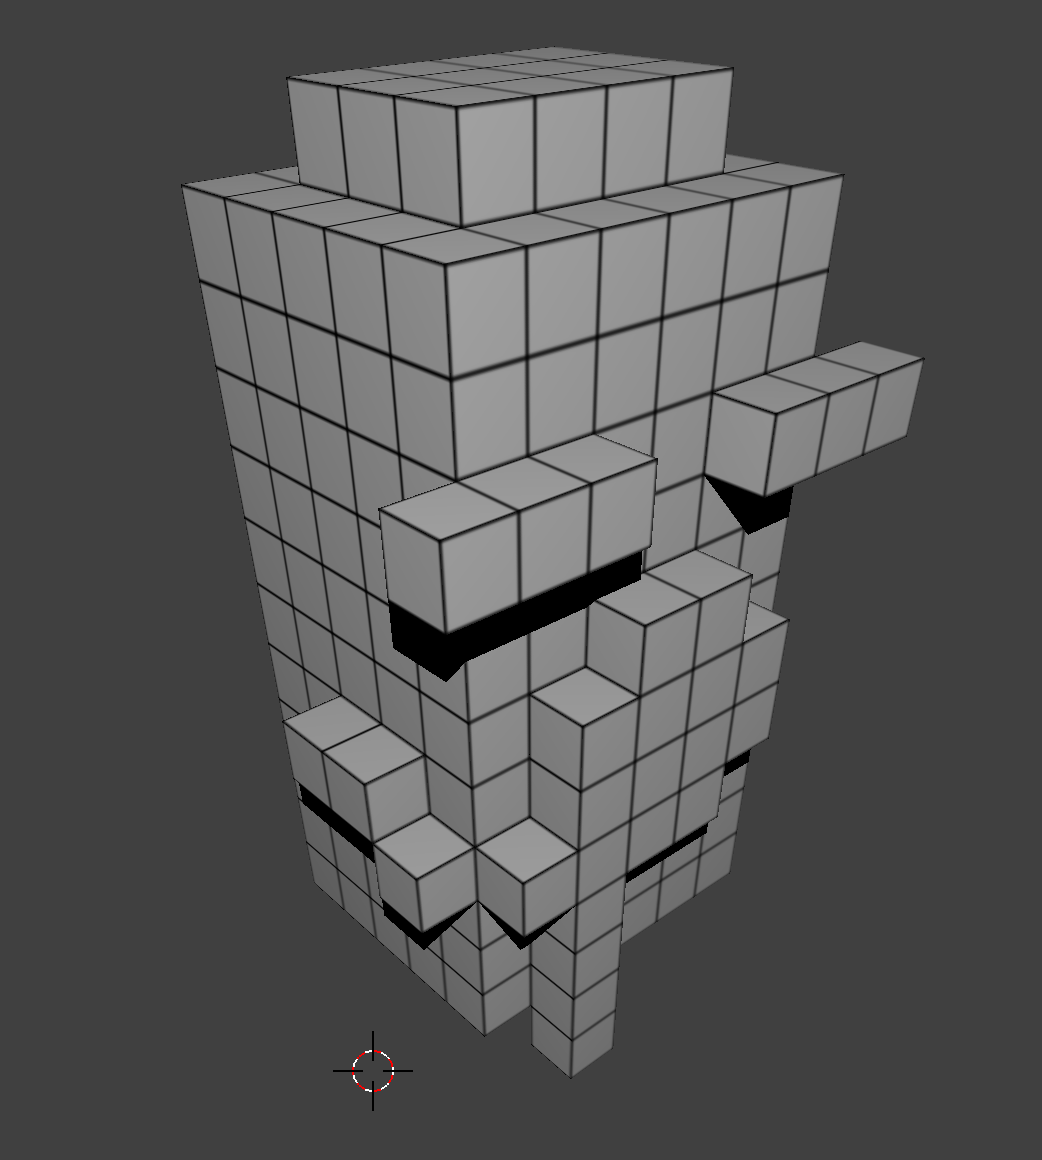
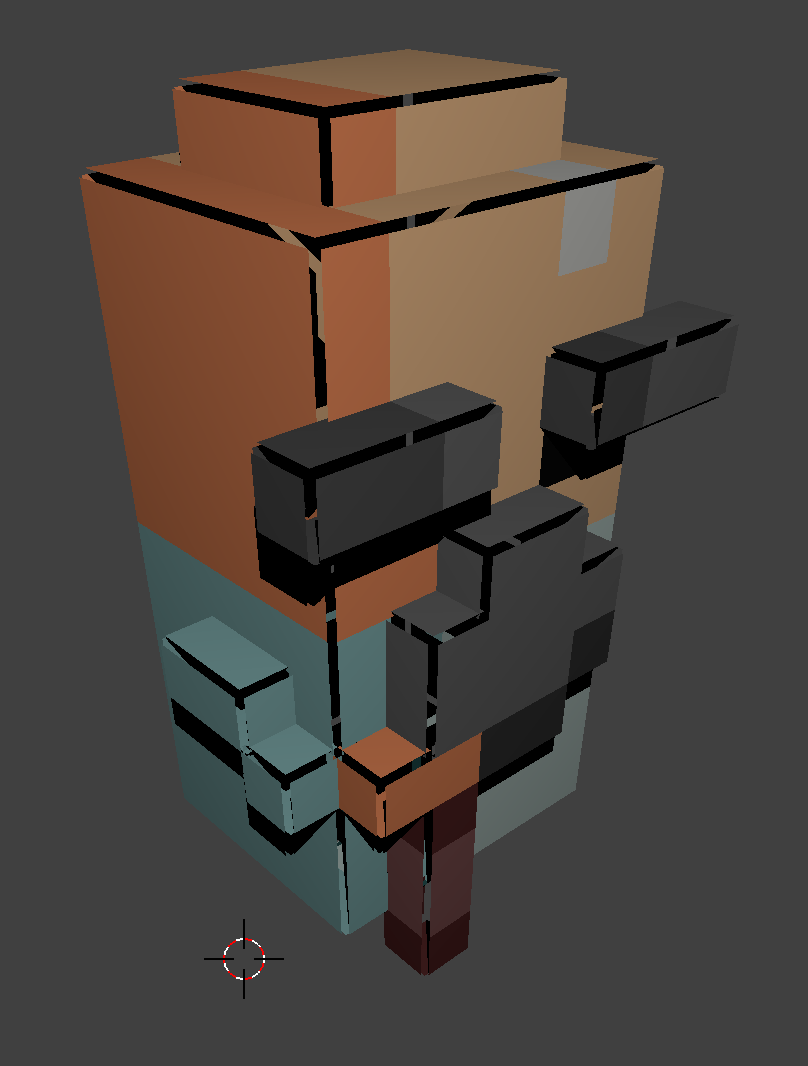
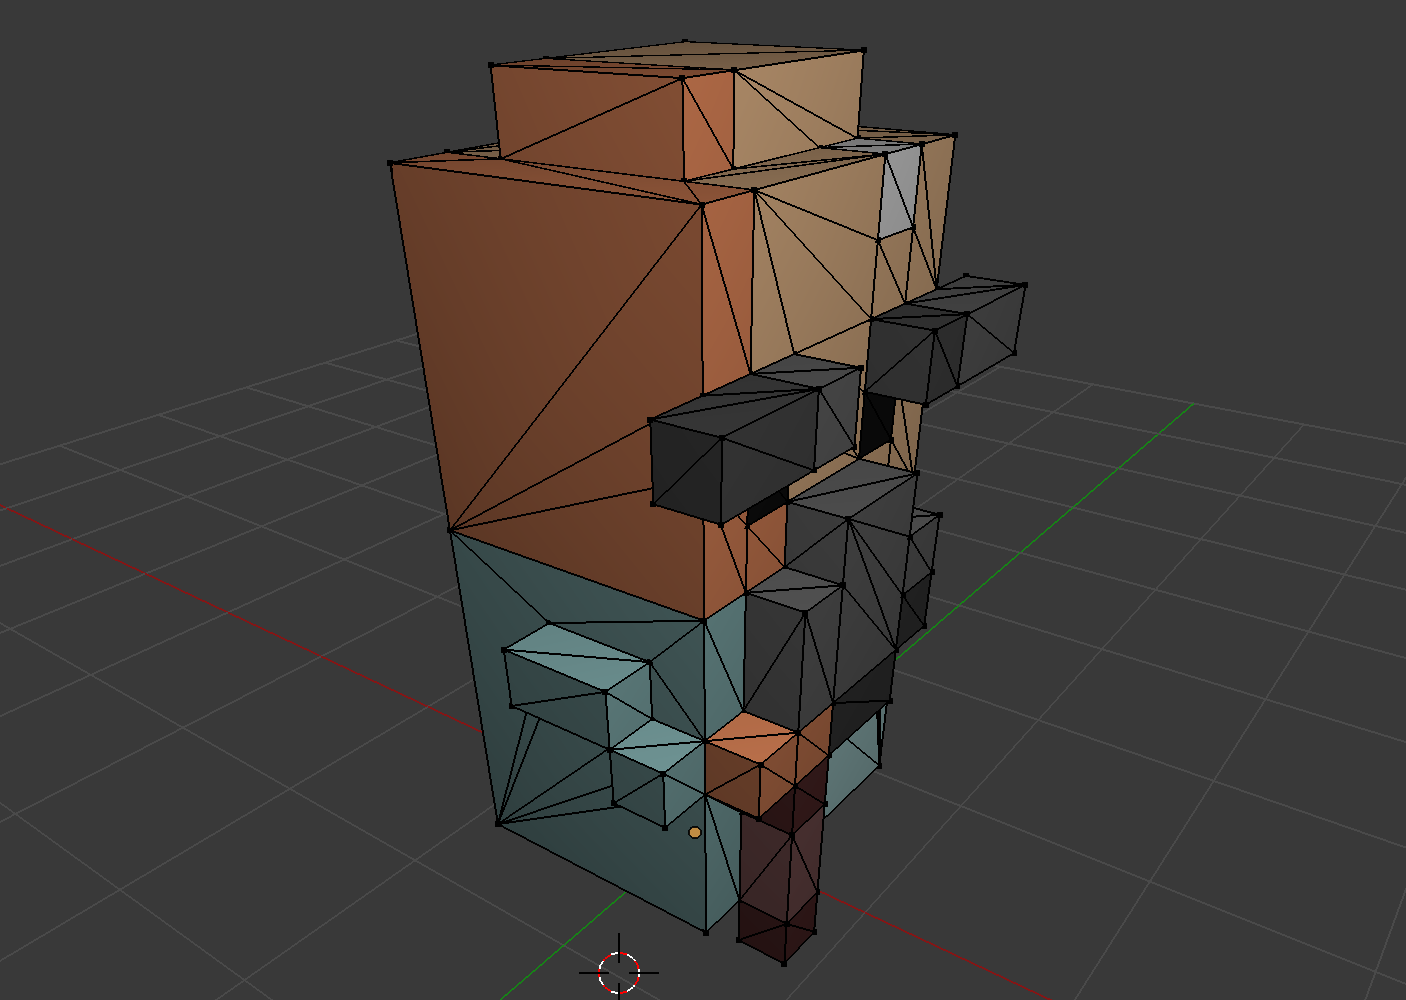
Here's what the mesh looks like - it's not individual cubes.

enter image description here

Another Update It really seems like a bug to me - if I can see the image mapped correctly as a diffuse color texture then why wouldn't it apply the corresponding bump map?

I've uploaded my packed .blend file here: https://www.dropbox.com/s/q3m23wurzeyqv19/rounded-grids-question.blend?dl=0

$\endgroup$
4
  • $\begingroup$ Which renderer are you using? $\endgroup$
    – 10 Replies
    Commented Dec 22, 2016 at 0:23
  • $\begingroup$ huh, good question. +1 $\endgroup$ Commented Dec 22, 2016 at 2:00
  • $\begingroup$ Is each block a separate object? Based on your displacement error it seems not, but I think to get the result you're after they would need to be. $\endgroup$
    – Danial
    Commented Dec 22, 2016 at 4:58
  • $\begingroup$ I'm using the Blender Render engine. I tried Cycles but that wouldn't let me use a cube projection of my bump texture. $\endgroup$ Commented Dec 22, 2016 at 7:54

1 Answer 1

4
$\begingroup$

UPDATED ANSWER 1

Yeah, it might be a bug, you could report it into the bug tracker.

Here's the best workaround I could find:

  1. set the influence to diffuse
  2. create a second uv map (a quick Lightmap Pack should be fine)
  3. bake into a uv-mapped texture (Bake mode: Textures)
  4. now you can use this texture (in Cycles as well!) for the bumps

Cycles renders look better anyway, so you could consider this an improvement instead of a sad workaround :)

ANOTHER, EVEN BETTER, WAY TO DO IT

An hour later an even faster method occurred to me, where you don't need Blender Internal at all:

  1. export-import as ply (the smaller faces in ply correspond to the original "grid")
  2. add a second uv map.
  3. when you actually unwrap it, just select "Reset" - this assigns the full UV space to each face
  4. use your original bump texture, which will be assigned to each grid face

ORIGINAL ANSWER

The simplest way to do this is to add the Bevel Modifier to all of your cubes - you have a lot of control without messing with materials and textures. Increase the segments of the beveling until you are happy with the result.

The following question can help you to do this efficiently: Add the Same Modifier to Multiple Objects at Once?

If the OBJ format export-import creates triangles from the quads, then the bevel modifier could have problems. See this for converting back to quads: How do I convert a triangle mesh to a quads one?

$\endgroup$
6
  • $\begingroup$ Thanks - unfortunately I don't have individual cubes - MagicaVoxel outputs a reasonably well-optimised mesh - I updated the question with a screenshot. $\endgroup$ Commented Dec 22, 2016 at 7:55
  • $\begingroup$ Try the PLY format (instead of OBJ) as export-import. If it doesn't work, you could upload your blend file (with the used textures packed inside it) $\endgroup$
    – lbalazscs
    Commented Dec 22, 2016 at 11:51
  • $\begingroup$ I've not had any better luck with the PLY output - while it does make lots of smaller faces I still have this issue that seems to relate to the behaviour of Generated Cubic Texture Coordinates only working on one plane as a bump map (but as expected as a diffuse color map) $\endgroup$ Commented Dec 24, 2016 at 14:09
  • $\begingroup$ Yes, but the smaller faces in ply correspond to the original "grid", so maybe you somehow could separate them into individual cubes. But anyway I found a faster workaround, see the updated answer. $\endgroup$
    – lbalazscs
    Commented Dec 24, 2016 at 22:26
  • $\begingroup$ Yeah! I'd started trying to use Python scripting to achieve what you achieved by selecting "Reset" on the UV coordinates, thank you! $\endgroup$ Commented Dec 28, 2016 at 11:41

You must log in to answer this question.

Not the answer you're looking for? Browse other questions tagged .