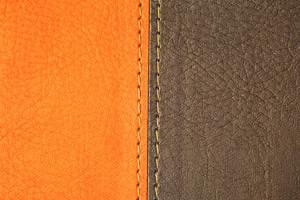
How should I create realistic stitching on my 3D model's leather grip via texturing? I have tried doing so by making threads with meshes and duplicating them as a curve, which is suggested by many online tutorials but that raises my project's polycount too much. Is there a way to add stitching texture on top of my leather material of my model? Any help is appreciated.
-
2$\begingroup$ Texture painting allows you to "paint" the stitching onto your model. $\endgroup$– samblerCommented Aug 22, 2016 at 13:28
-
$\begingroup$ @Mr.Benson You use Cycles or Internal Render? $\endgroup$– Paul GonetCommented Aug 22, 2016 at 16:18
-
$\begingroup$ @Paul Gonet Cycles Render $\endgroup$– Mr.BensonCommented Aug 22, 2016 at 16:51
-
$\begingroup$ @sambler I'll try out texturing painting though I'm new at it. I'll let you know if it worked out. Thanks for the suggestion. $\endgroup$– Mr.BensonCommented Aug 22, 2016 at 16:55
-
2$\begingroup$ You can also try to bake the stitching (modeled) to the cloth surface. $\endgroup$– lemonCommented Aug 22, 2016 at 17:41
1 Answer
You may do it using a bumpmap. All you need is to create two textures.
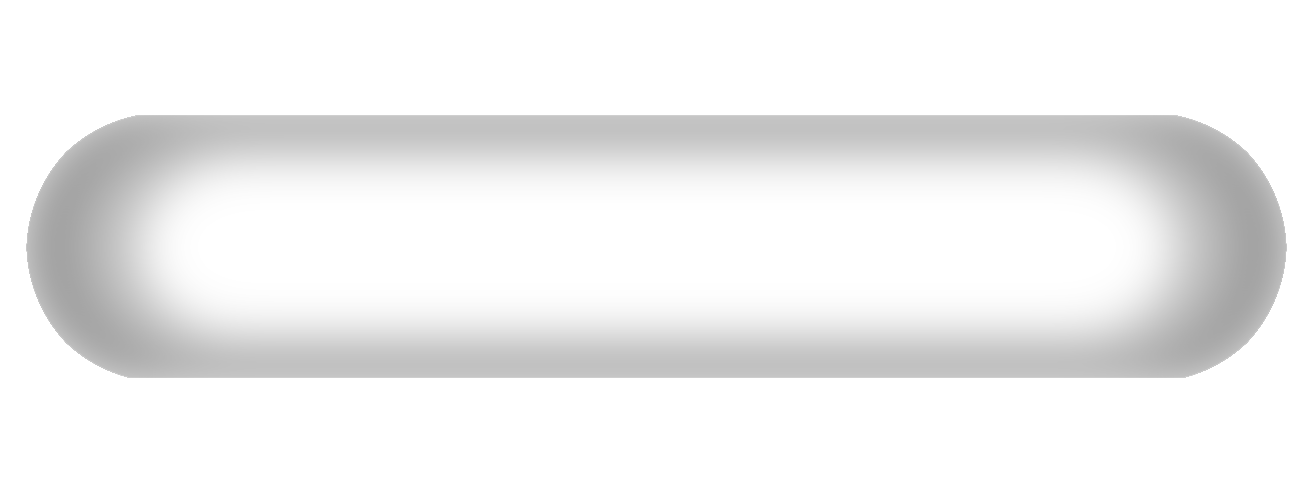
Create a stitch image in photoshop or gimp and transform it into a brush (https://www.youtube.com/watch?v=iGSK3Q0Iy3c). It's color should be from over 50% grey to almost white color.
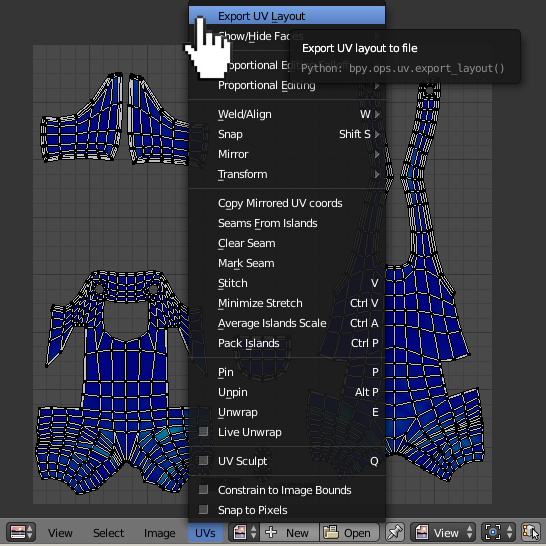
Export your unwrapped UV Layout.
In photoshop layer it over a 50% grey color layer to see where to put stitches. Use your newly created brush to paint them on the grey color layer.
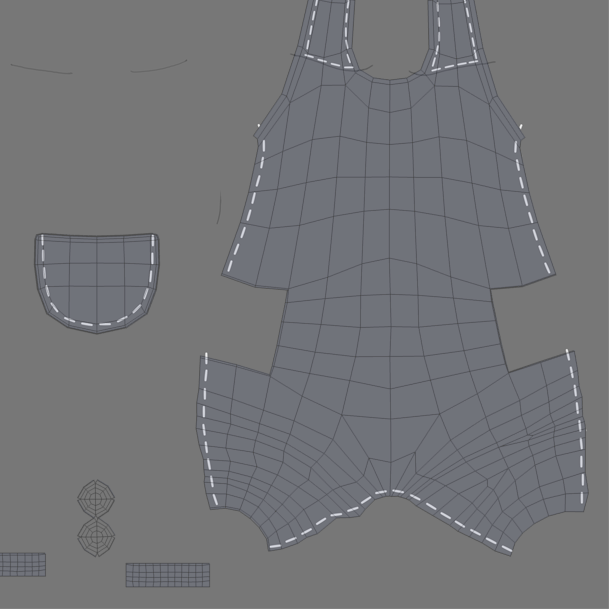
Use a method as shown here: https://www.youtube.com/watch?v=gbDA3XinISs

Now you have a bumpmap (let's call it BUMP).

You need also to create a black and white texture as pictured below (let's call it MASK). It'll act like a mask for mixing two different materials.
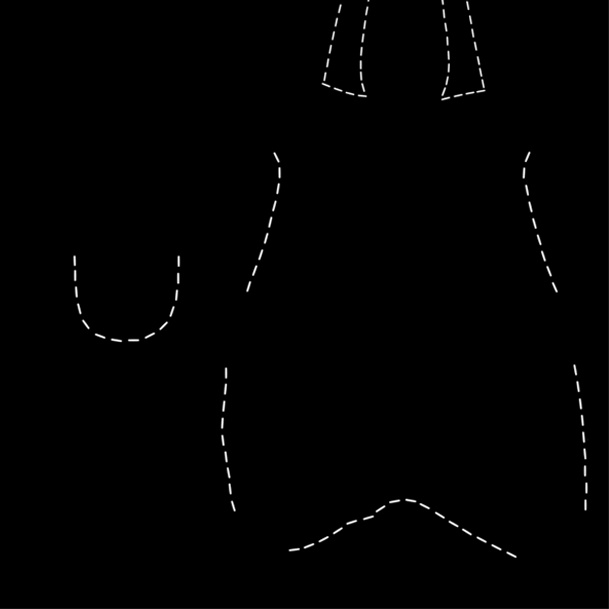
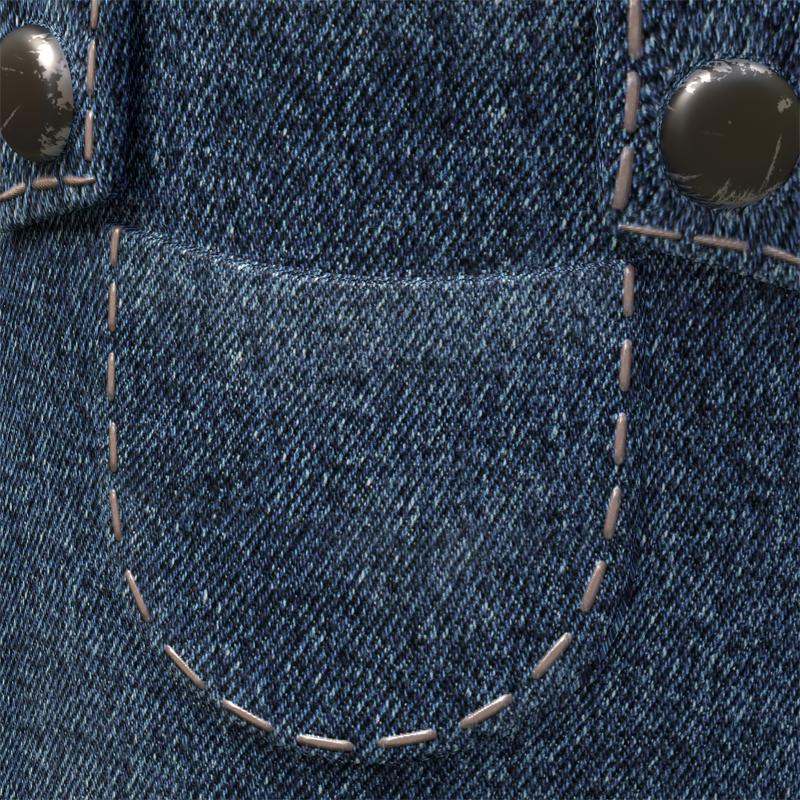
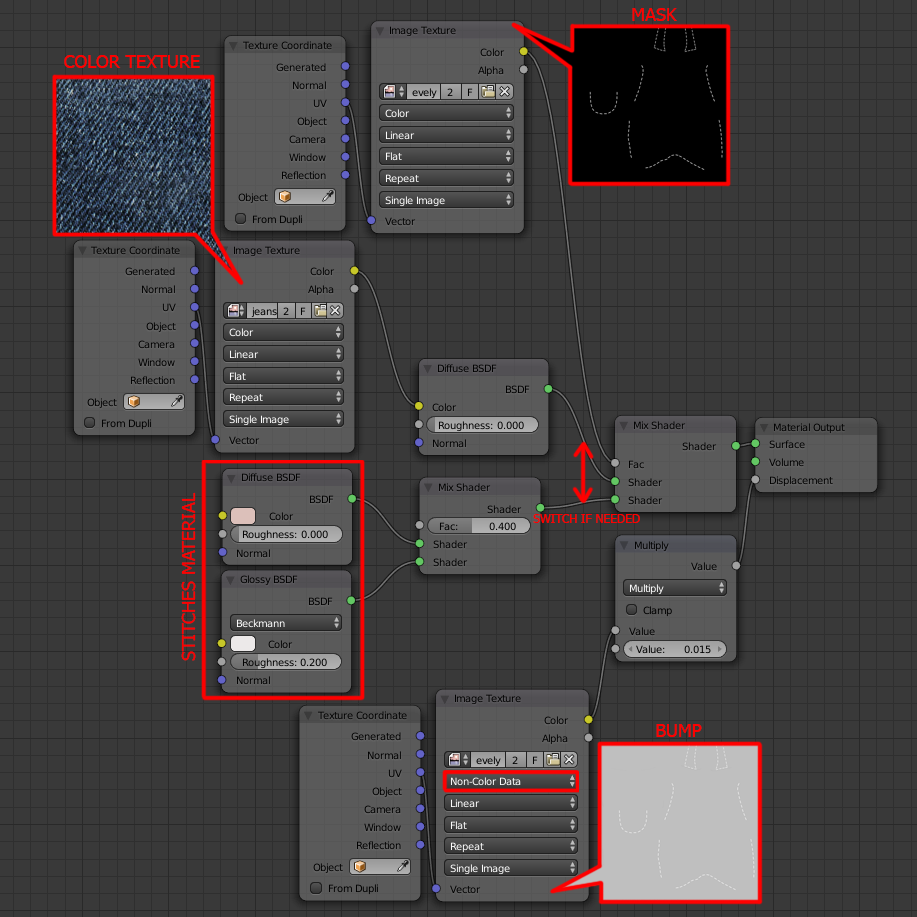
Set up the nodes as pictured below. We'll use a BUMP texture to create a depth to the stitches. Plug it to the Displacement input of the Material Output node. Add a Math-->Multiple node between them to control the bump size. Use a MASK texture to set a border between two materials (in this case jeans material and stitches material). Plug it to the Fac input of the Mix Shader. Now you have a full control over jeans (or leather in your case) and stitches shading within one cycles material using only textures.
Here's how the stitches present in final render. With the proper mix of Diffuse and Glossy shaders they may look quite convincing.

-
$\begingroup$ I may post an answer showing how to use @lemon 's concept also (baking normals), but I guess it is more time consuming as you 'll need to model all the stitches by hand. $\endgroup$ Commented Aug 22, 2016 at 20:07
-
$\begingroup$ Thank you so much for your detailed answer, but for me, my colour texture is actually a leather material created by nodes instead of a image, how should I connect the whole group of nodes of my leather material into the whole map??? $\endgroup$ Commented Aug 24, 2016 at 4:58
-
$\begingroup$ In the same way as I shown above. Imagine that there're no jeans texture nodes there. Just replace it with your leather shader (plug your leather shader output into the Shader input of the Mix Shader). $\endgroup$ Commented Aug 24, 2016 at 12:57
-
$\begingroup$ I have made the texture I preferred at last, thank you for your answers so much! $\endgroup$ Commented Aug 24, 2016 at 16:22
-
$\begingroup$ Glad to hear that mate :). Thanks for upvoting. $\endgroup$ Commented Aug 24, 2016 at 21:17

