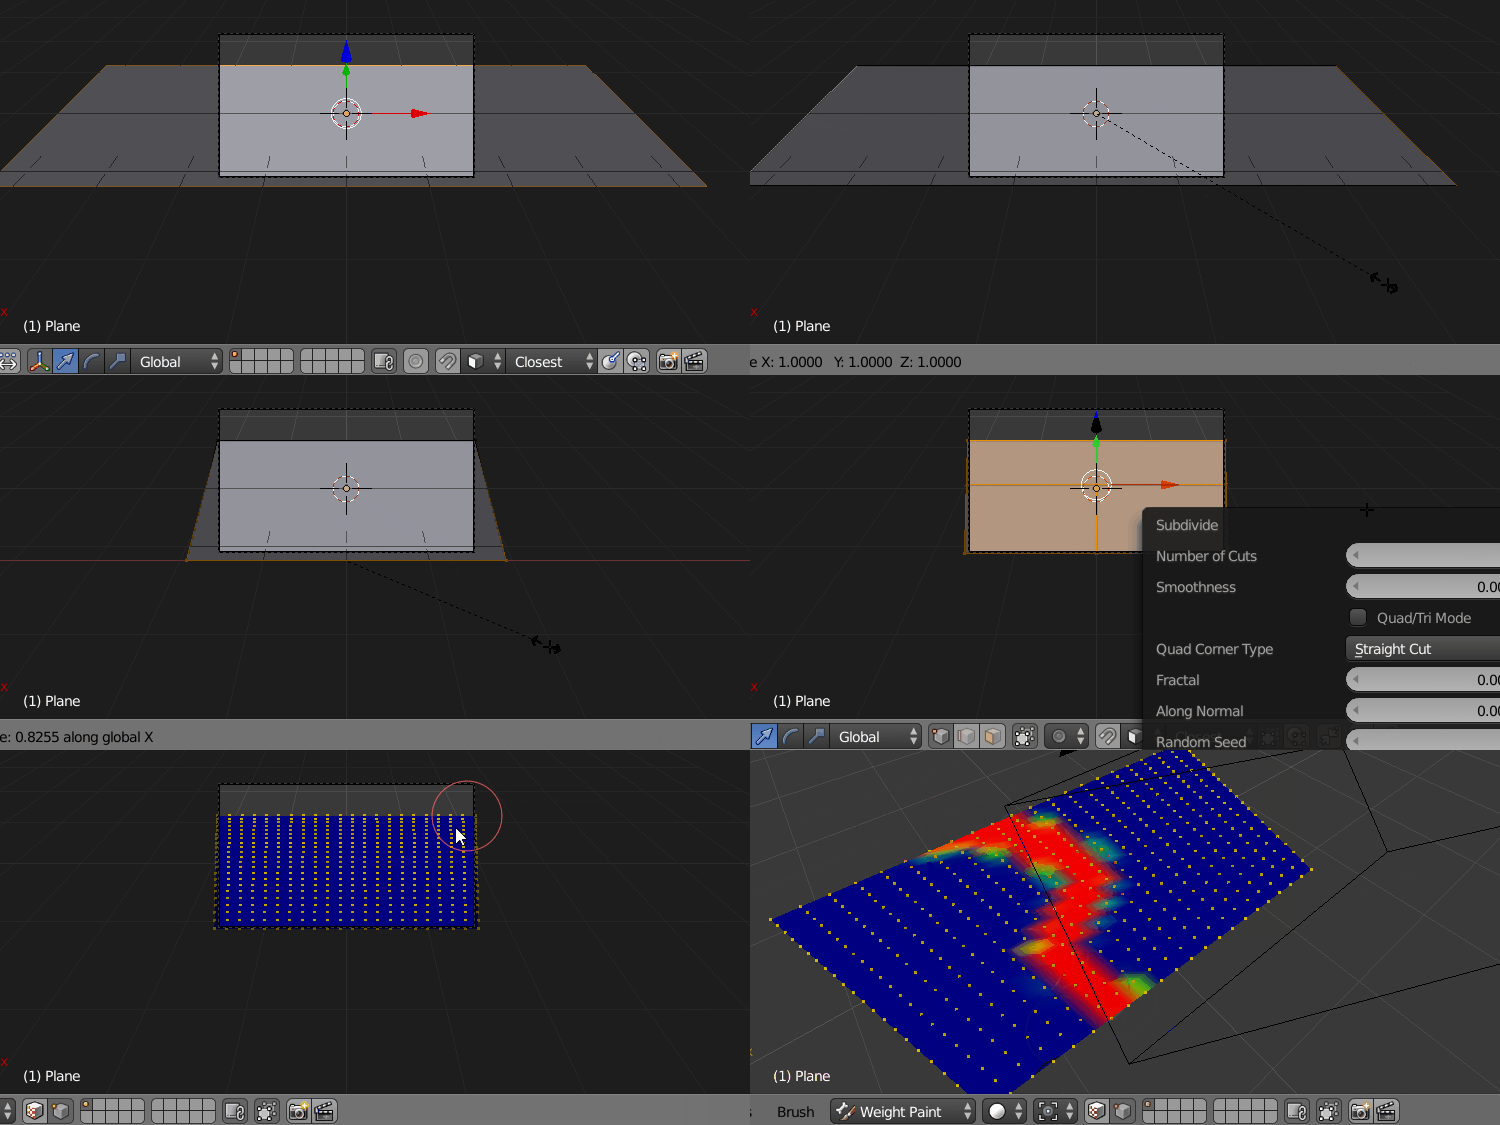
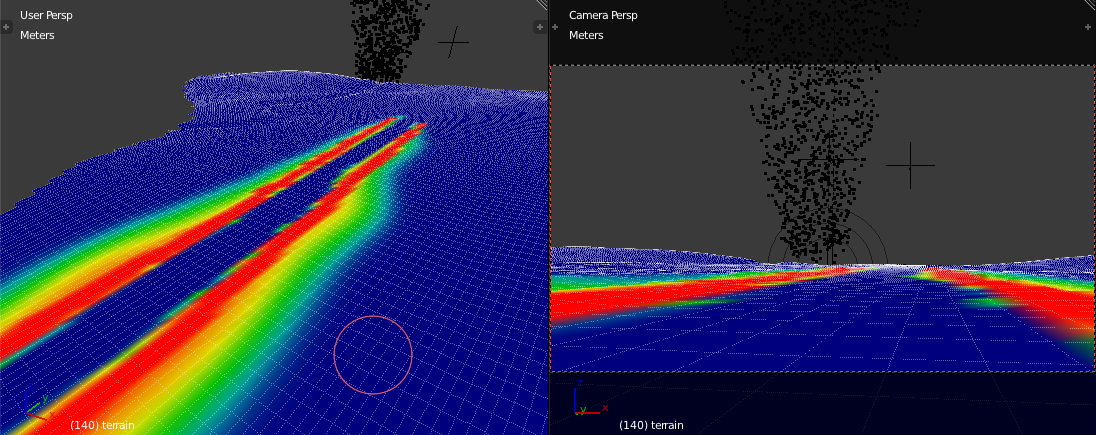
I'm currently weight painting and find myself glancing back and forth between camera view and user perspective view to check where I'm painting in relation to my camera boundaries (for an environment scene).
Is there a way to view the camera boundaries from within the user perspective view?
6 Answers
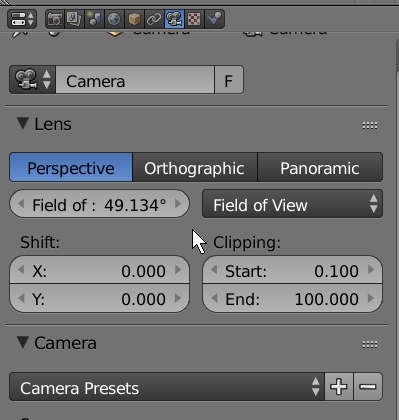
Another option is to simply scale up the camera object. It doesn't effect the FOV at all. Select the camera, go to the properties panel and Camera > Display > Size.
Scale it up until the frustrum covers your painting area. You can see it from any angle. Alternatively you could parent a lamp with a square cone to match the camera frustrum.
Add a spot lamp and constrain it to the camera and copy the camera's Field Of View to lamp Size. You will have to scale the lamp's Y axis to fit aspect ratio.
-
$\begingroup$ Hardly intuitive, but highly effective results! $\endgroup$– PatdogCommented Aug 21, 2016 at 11:39
-
$\begingroup$ Thanks I think it would make a neat little addon if automated. $\endgroup$ Commented Aug 21, 2016 at 12:09
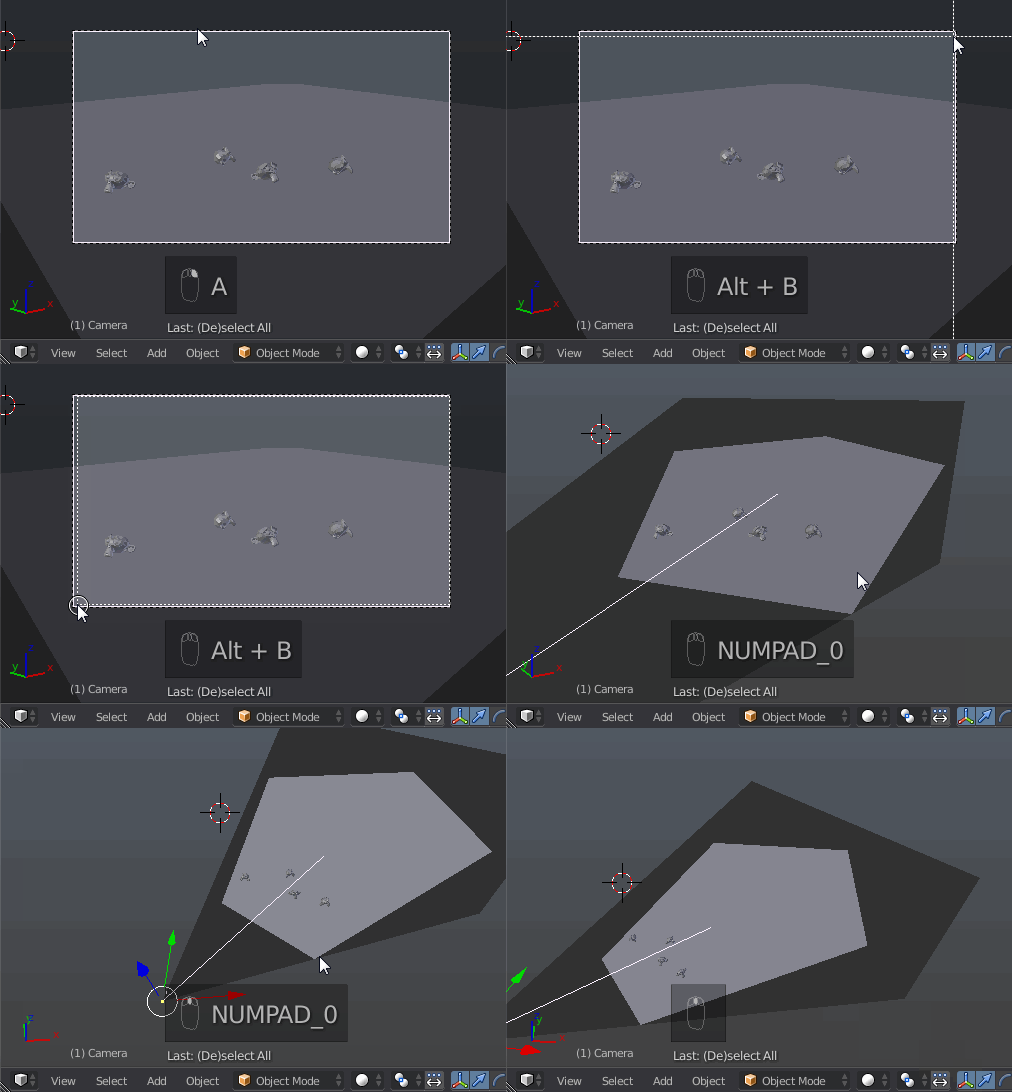
I don't think it's possible as of 2.77, but a quick workaround would be to use Clipping Border to visualize what's visible from camera regarding its field of view angle setup.
- Enter camera view (Numpad 0) and enable Clipping Border tool with Alt+B.
- Draw the rectabgle which should be the same as camera boundaries.
Now once exiting the camera view you'll see large grey cone of nearly the same area visible to the camera.
Note:
Clipping border means that any geometry out of its boundaries is hidden.
The border drawn may be not the most convenient while in 3D Viewport because of grey area it consists of.
-
$\begingroup$ Well that just makes my method look stupid haha. $\endgroup$ Commented Aug 18, 2016 at 14:28
-
$\begingroup$ @RayMairlot well I wouldn't say as Clipping Border hides any other geometry which may be undesirable and it has quite strange visualization in 3D Viewport (it's much more friendly with mesh), but the method is faster. $\endgroup$– Mr ZakCommented Aug 18, 2016 at 14:39
-
$\begingroup$ Thanks for this, have never used that before but looks like it should work. I also thought your idea Ray was good! $\endgroup$– DanCommented Aug 18, 2016 at 20:43
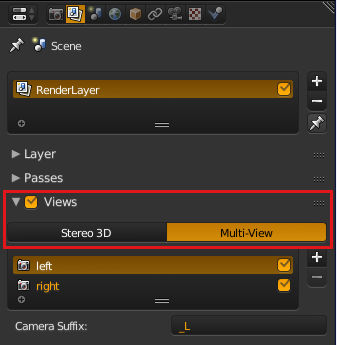
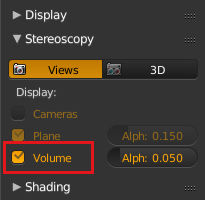
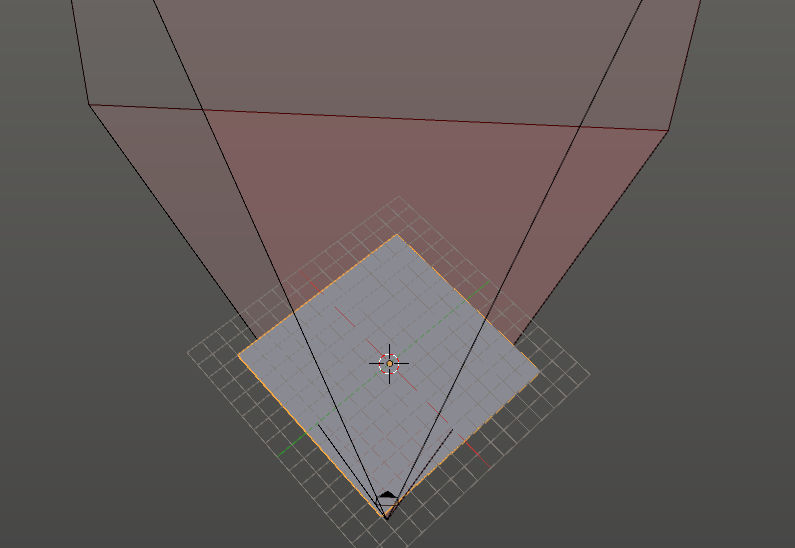
Blender has an option to display camera bounds. The option is only available for the 3D stereoscopy camera. If we want to use it for a normal camera it is possible to enable the multi-view option without altering the camera view, this needs to be disabled again to render unless you setup the camera properly.
Once enable we have the stereoscopy panel in the 3Dview properties panel (N)
Currently there is no built in way to do this. Someone did start building a patch for this here, with the developer, Ulysse Martin, stating:
I'm not convinced about the usefulness of this too finally. So I close the task for the moment, and if users request such a feature, I'll reopen it.
If you feel this is an important feature I would suggest commenting on the patch as Ulysse Martin suggested.
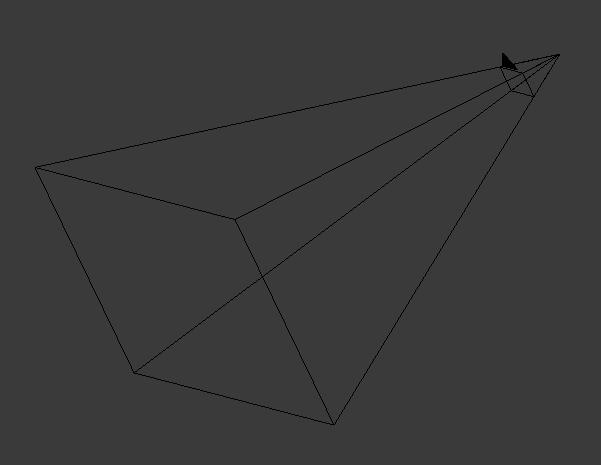
However, I was able to make a rough camera frustrum by modelling it with geometry:
- Select the camera, press Shift+S and choose Cursor to selected.
- Go to the camera view (Numpad 0) and add a Plane with Shift+A, which results in:
(This depends on the Editing user preference Align To set to View, so new objects are aligned to where you are looking)
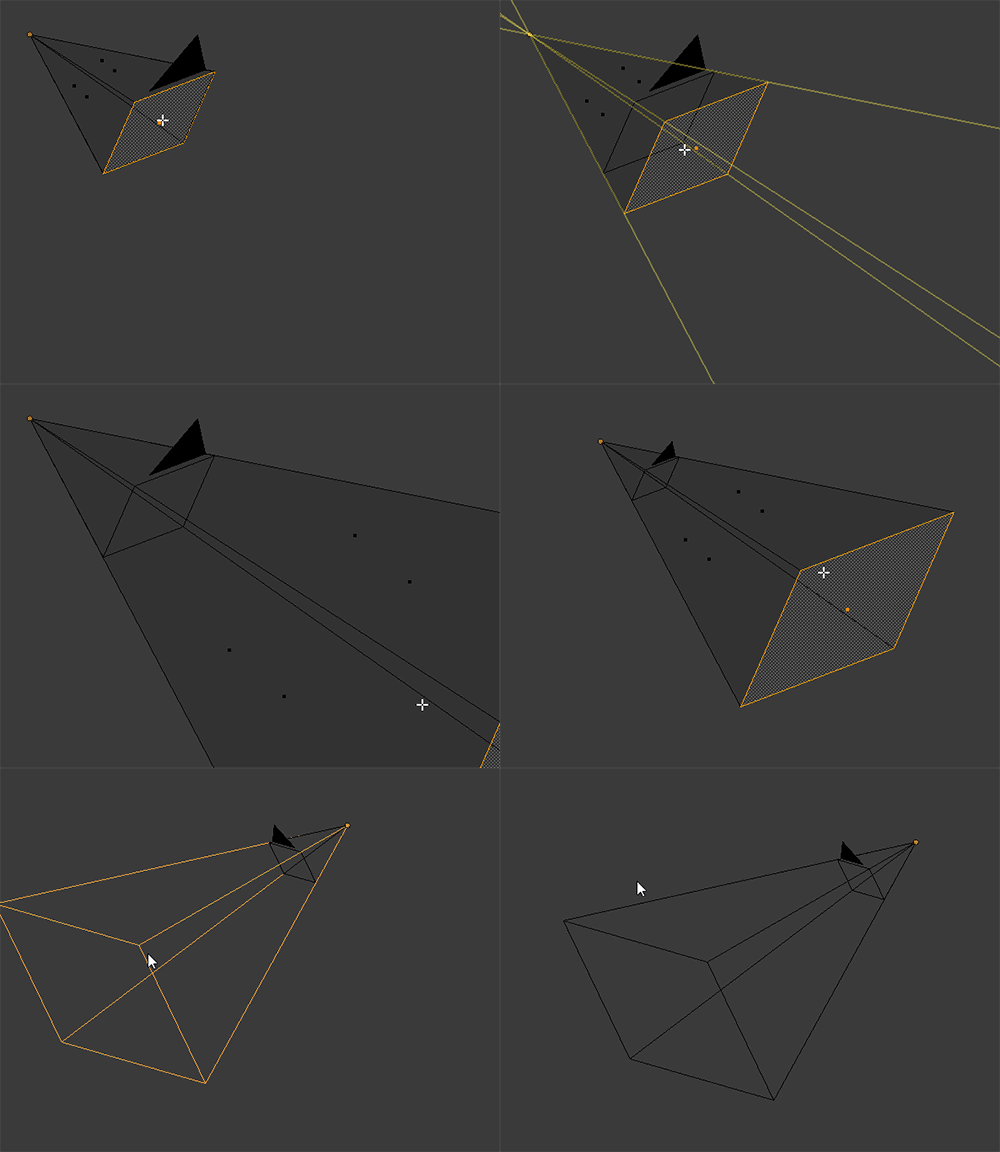
- Extrude the plane along its face normal until it aligns with the front of the camera.
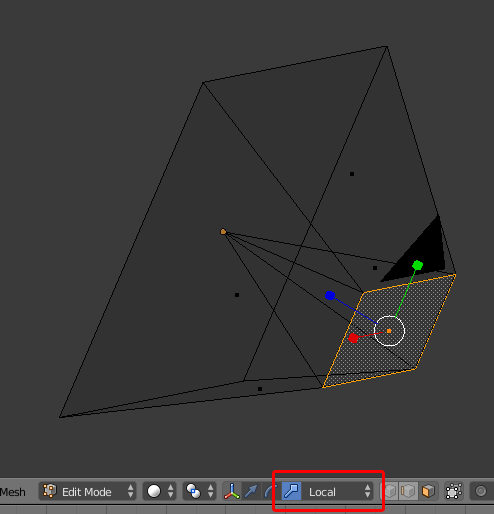
- Scale down the face so it matches the camera shape. Using a local transform manipulator can help with this:
Select the other end of the cube and press S,0 to scale down the face to a point.
Select the face that aligns with the front of the camera and press G twice to perform an Edge Slide. While edge sliding press C to turn off Clamping. You can now adjust the 'camera frustrum' to be as big as necessary:
You could then parent the frustrum object to the camera with Ctrl+P so it follows the camera if you move it.
For convenience, while doing this I set the object to Wire display mode by going to Object Properties> Display and setting Maximum Draw Type to wire.
I'm not sure if you want to go to this effort or if this is even useful doing it in this manner (as it may still be hard to tell what is inside or outside the object), but this is the only way I know of doing it.
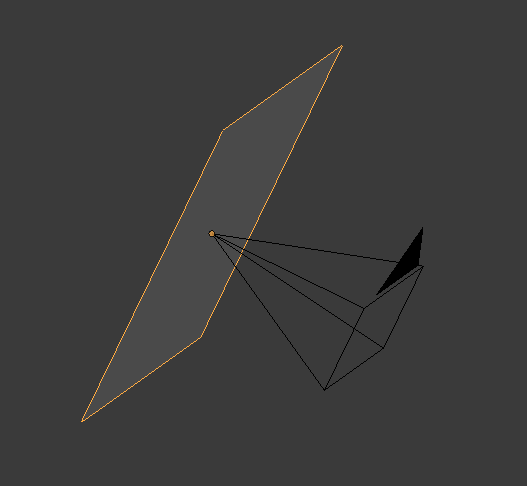
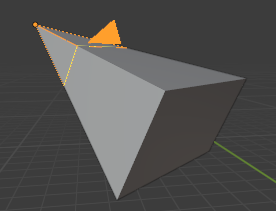
As an extension to Rays answer, this script automates making a camera frustum mesh object,
the object can also be scaled up to show it at further distances
import bpy
import math

scene = bpy.context.scene
camera = scene.camera

# this script tries to recreate what the camera shows in the viewport (orange pyramid) as a mesh

# the viewport camera looks like a point and a plane, this starts by making the plane

#  get the height scale for the new plane
#  like 9/16 for a 16:9 ratio
height_ratio = scene.render.resolution_y / scene.render.resolution_x

new_plane = bpy.ops.mesh.primitive_plane_add(
    size=1,
    enter_editmode=False,
    align='WORLD',
    scale=(1, height_ratio, 1),
    location=(camera.location),
    rotation=(camera.rotation_euler),
)

# make the plane have the correct aspect ratio (like 16:9)
# (for some reason, setting scale when creating doesn't work)
bpy.ops.transform.resize(value=(1, height_ratio, 1), orient_type='LOCAL')


#  using trigonometry to figure out the plane distance from the camera point
# (imagine looking from above the camera, and halving it into two right angle triangles)
#  using half the FOV as the angle, and knowing the length of the OPPOSITE side (0.5) , we can calculate the ADJACENT side (distance from camera point to the camera rectangle shown in the viewport)


# for the Soh Cah Toa trigonometry stuff, this is half the width of the plane (the plane width is 1)
opposite = 0.5

camera.data.lens_unit = 'FOV'
field_of_view = camera.data.angle

# this is the angle for the trigonometry right angle triangle
angle_radians = camera.data.angle / 2
extrude_distance = opposite / math.tan(angle_radians)

#  turn on edit mode
bpy.ops.object.editmode_toggle()
# select the planes face
bpy.ops.mesh.select_all(action='SELECT')
# move it to the same position as the camera rectangle shown in the viewport
bpy.ops.transform.translate(value=(0, 0, -extrude_distance), orient_type='LOCAL')
# extrude it backwards to the camera point
bpy.ops.mesh.extrude_region_move(
    MESH_OT_extrude_region={},
    TRANSFORM_OT_translate={
        "value": (0, 0, extrude_distance),
        "orient_type": 'NORMAL',
        "orient_matrix_type": 'NORMAL',
        "constraint_axis": (False, False, True),
    },
)
# join the extruded face in the middle into one point, so it makes a pyramid shape
bpy.ops.mesh.merge(type='CENTER')

# turn off edit mode
bpy.ops.object.editmode_toggle()

# now there should be a mesh the same shape as the camera object
# the new mesh can be scaled to see the camera frustum at a longer distance
Initial Solution: AltB select the camera boundary. Pro: Simple Con: Limited view of other references.
Alternative Solution: Vertex/ Face Mask. Pro: Flexibility & control Con: N/A. 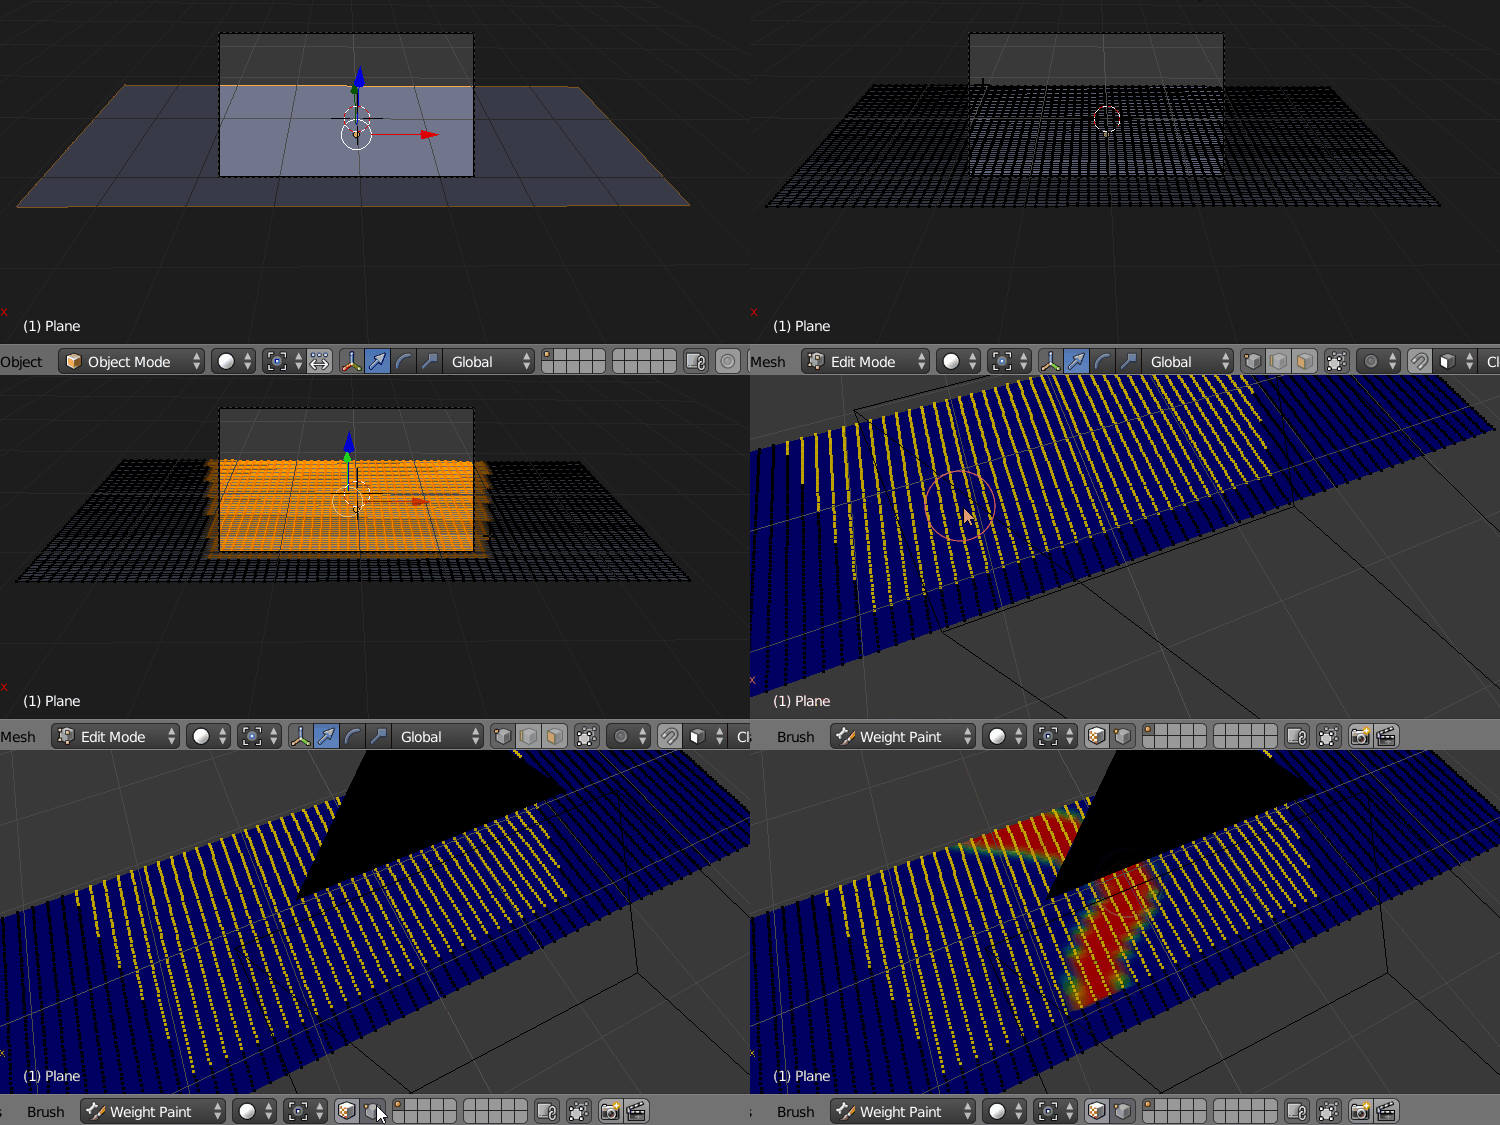
Most Efficient Solution: Adjust Mesh to Camera View. Pro: No wasted vertices Con: Camera is set - less flexible. 