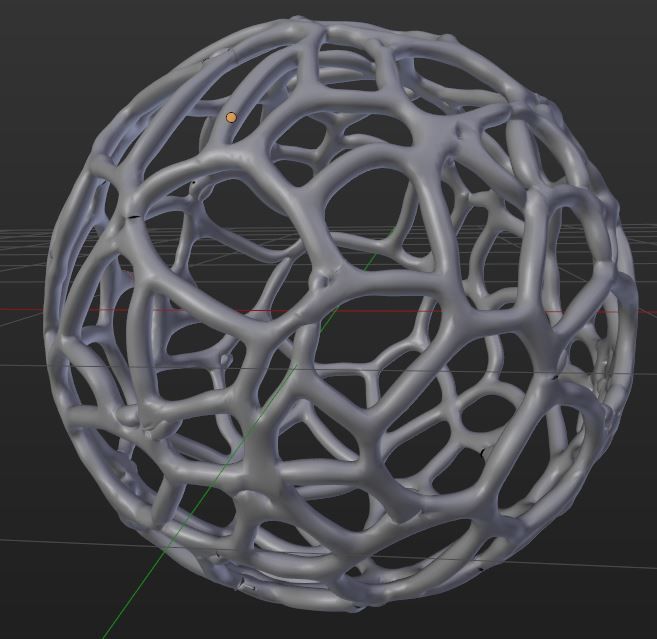
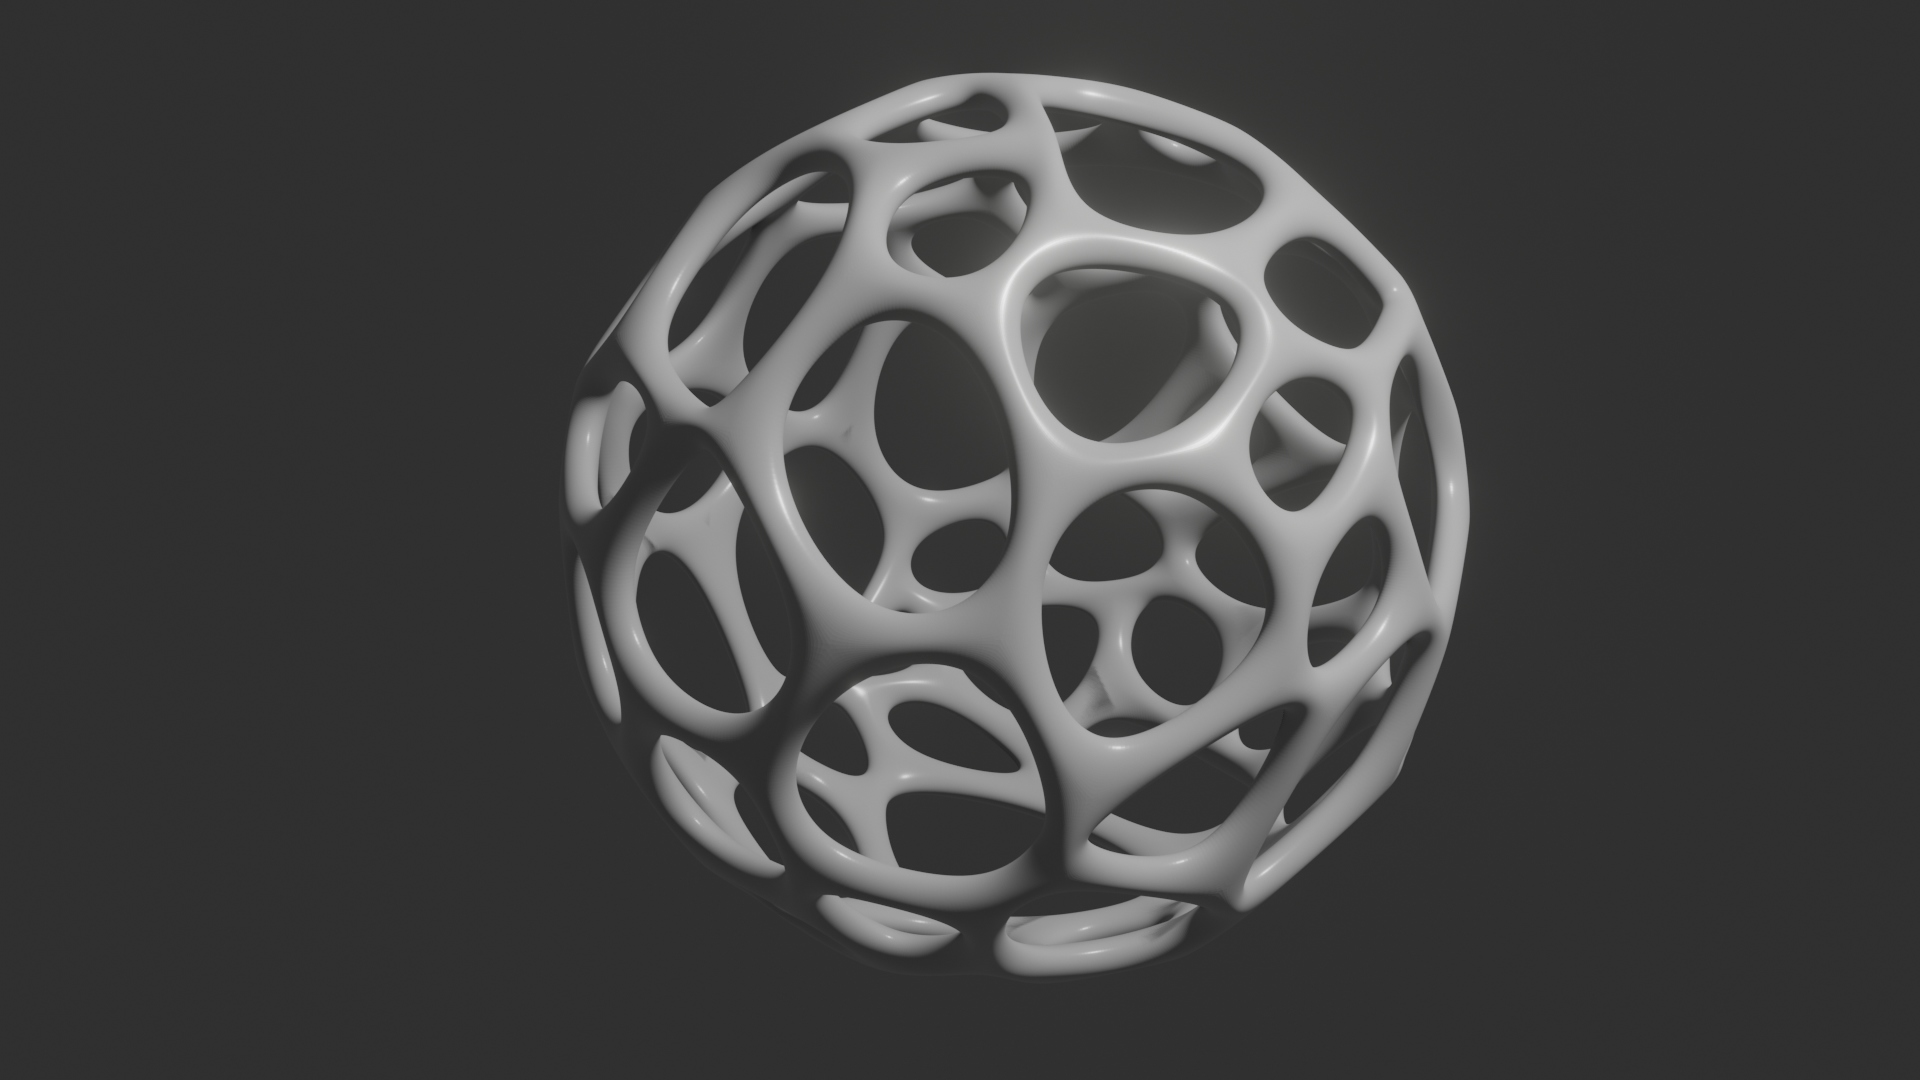
Check this blend here:

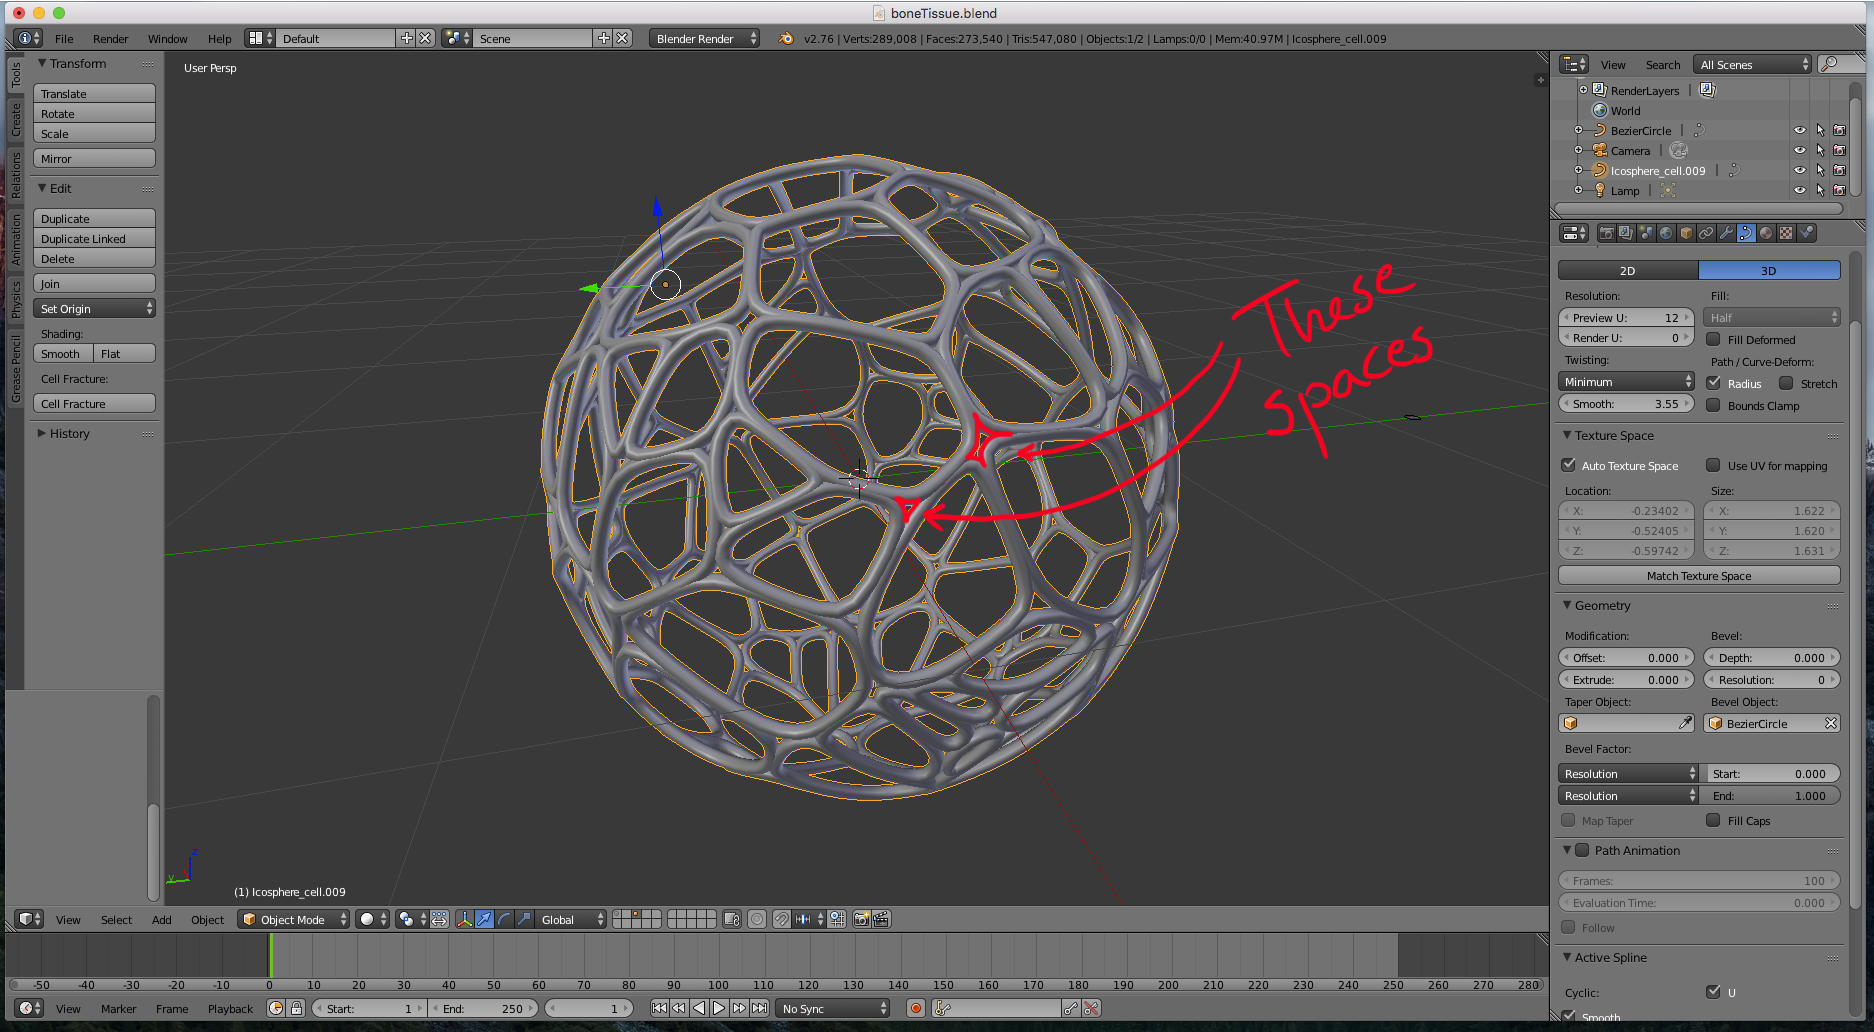
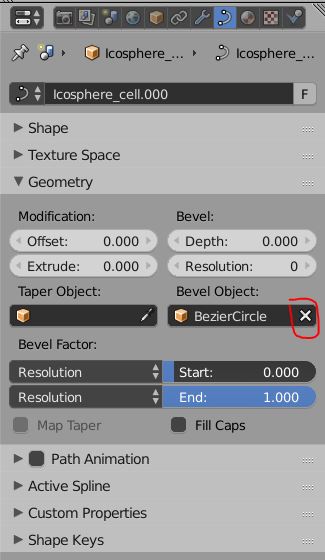
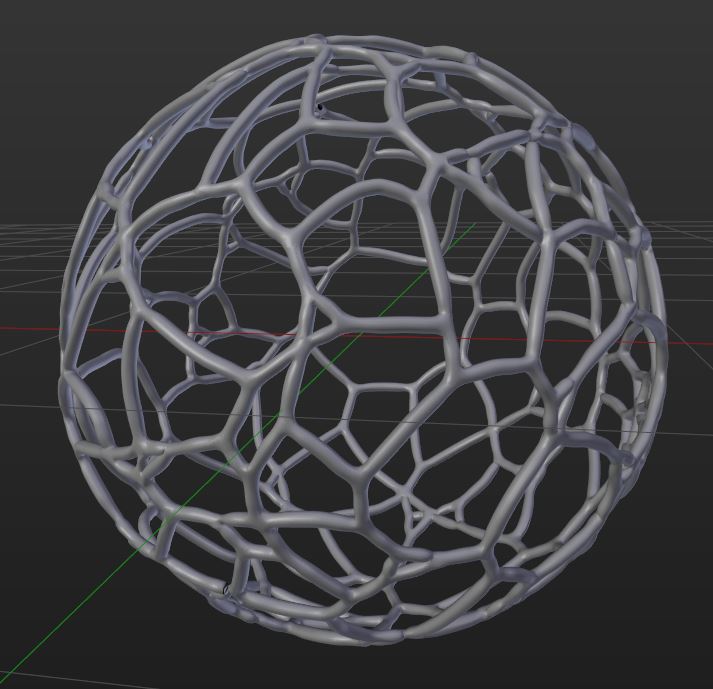
For geometry like this, I often use the Skin Modifier, because it can create these smooth branches automatically. But to use it, you need a mesh as a base, not a bunch of curves. So first, remove the curve profile from your geometry:

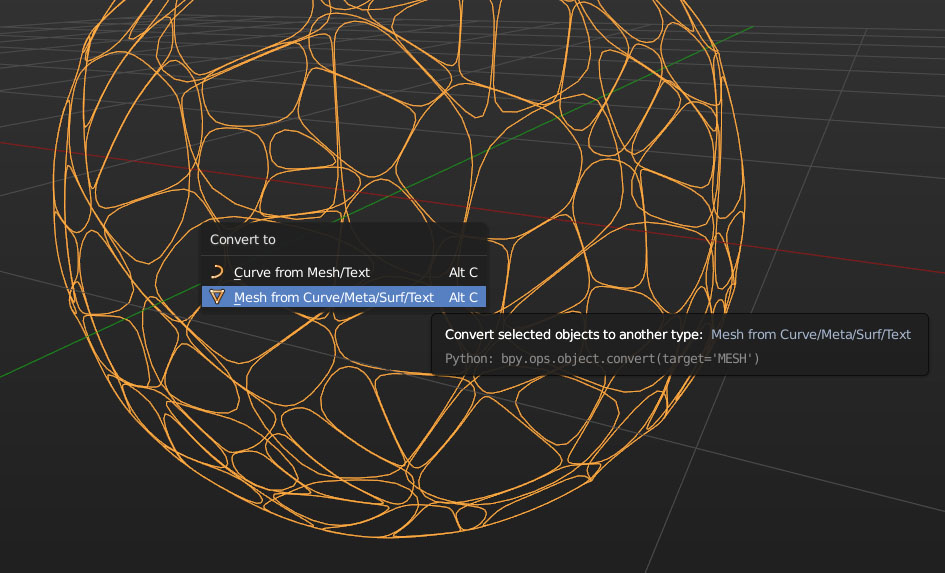
Next, use Alt + C to convert the lines to a mesh geometry:

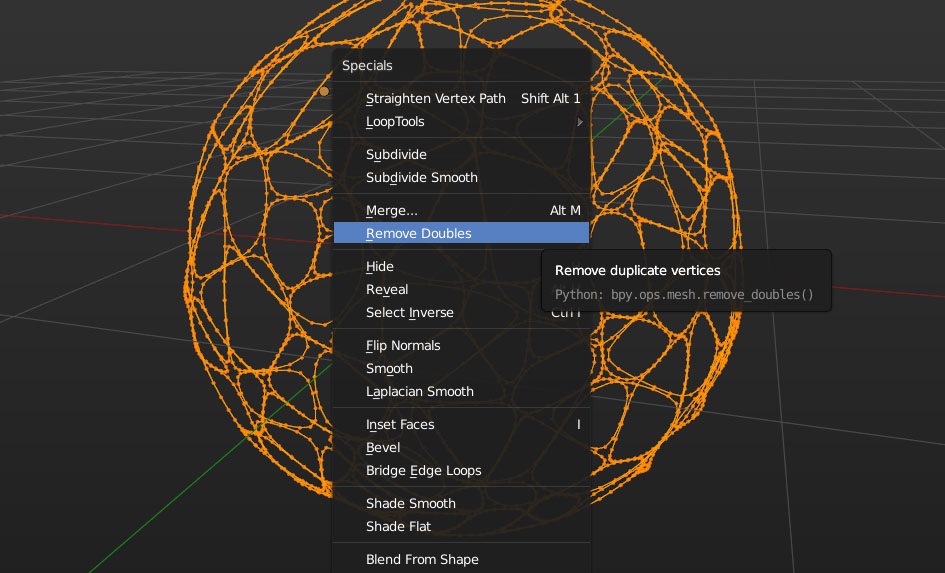
In Edit mode, remove doubles, using a high threshold value, to merge as many vertices as possible while still maintaining the shape you created initially. I was using a merge distance of 0.1 for your scene:

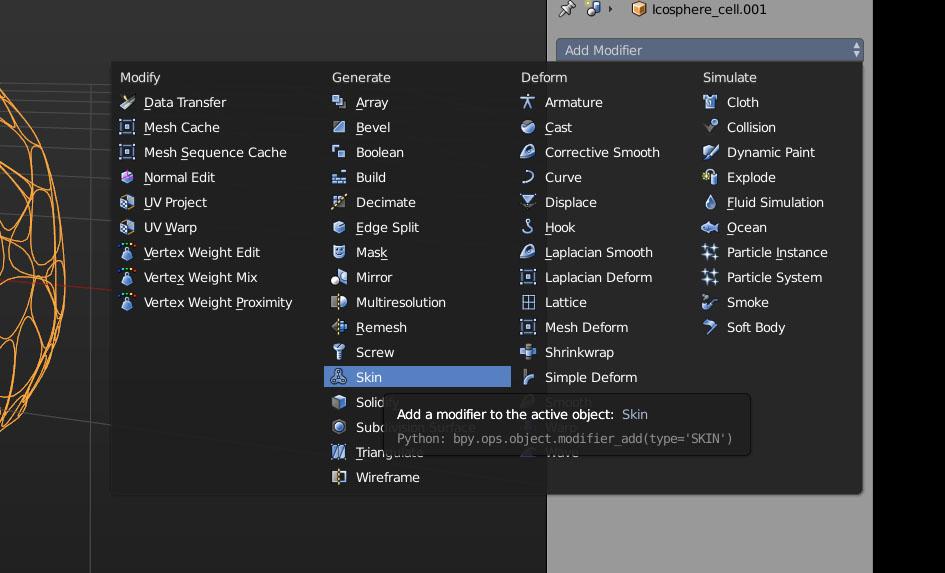
next, add the skin modifier (can take a while until it is on there, and save your scene before):

Finally, go to Edit Mode, and select all vertices, then hit Ctrl + A. This activates a modal operator, when you now drag the mouse you can scale the profile up and down. Scale down until the branch thickness is what you like, and then add a Subsurf Modifier to smooth out the skinned mesh:

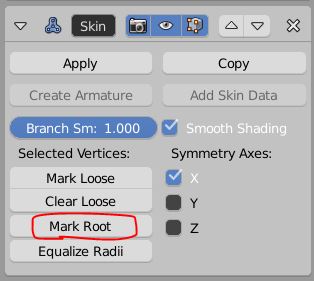
You can scale each point individually using the shortcut I mentioned before, so variation can be created easily. You might however get some areas with artifacts. Sometimes, marking a different vertex as the root can resolve or at least improve it:

Now play with the thickness:
