2
$\begingroup$

I'm trying to create a simple environment map for a Unity game I'm working on but I'm getting weird lighting issues, it seems like the lighting for each face is rendered differently. I'm using Blender Render in Blender v2.76.

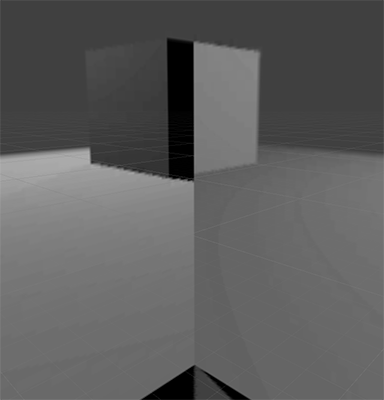
I've added the map as a skybox in Unity which displays the problem:

Visual issue in Unity

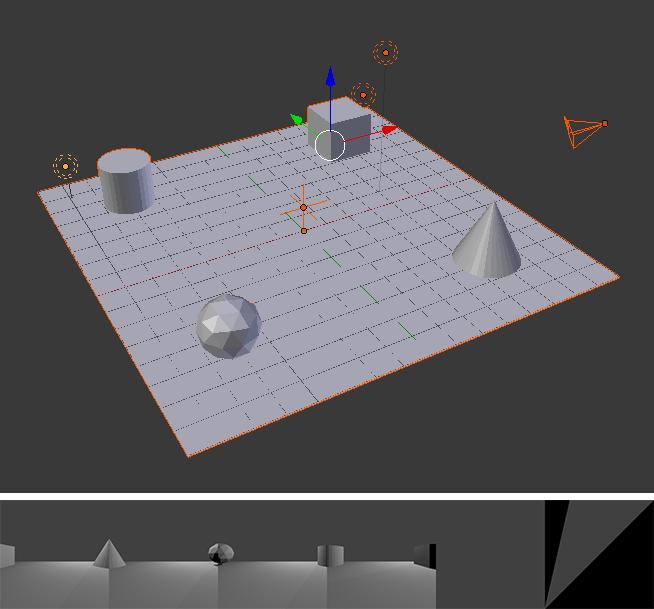
I've created a very simple scene that displays the problem, it only has a few objects in a single mesh with a couple of lights. An empty above center is used as the Viewpoint Object.

The environment settings are using the static map defaults except that I've switched to Equirectangular coordinates.

Scene and environment output

Above is the environment map output though rearranged so the faces to connect to make the problem more obvious. Last two faces are bottom and top respectively, notice how the bottom is much darker than the plane is in the other faces as well.

Why am I getting this odd lighting behavior?

Example file:

$\endgroup$
5
  • $\begingroup$ Could you upload a .blend file to blend-exchange.giantcowfilms.com $\endgroup$
    – Shady Puck
    Commented May 20, 2016 at 11:29
  • $\begingroup$ Absolutely, you can get it here. I'm unable to add more than two links to the post (those two pictures count as two) so I can't update the post with the link, if someone update it I'd be thankful. $\endgroup$
    – SvDvorak
    Commented May 20, 2016 at 12:13
  • $\begingroup$ Ok, seems like I got the reputation for updating the question, fixed now. $\endgroup$
    – SvDvorak
    Commented May 20, 2016 at 12:26
  • $\begingroup$ Is your final image a result .exr file shown in Cycles or imported into Unity ? How did you make your hdri map ? For info about creating hdri from render see blender.stackexchange.com/questions/13853/… (if Cycles). $\endgroup$
    – Mr Zak
    Commented May 20, 2016 at 20:29
  • $\begingroup$ I'm using the Environment Map-texture functionality in Blender Render, so not using Cycles at all (Environment Maps are only available in Blender Render). The output is a PNG-file, shown at bottom with rearranged order of faces, while the first image in the question is the map applied as a skybox in Unity. I've pretty much done what is shown here, more info about environment maps is available here $\endgroup$
    – SvDvorak
    Commented May 21, 2016 at 16:47

1 Answer 1

1
$\begingroup$

I believe your issue is that you are using the Blender Render engine instead of Cycles (much newer). This would definitely lead to the darker bottom faces because Blender Render does not utilize bounce lighting (in real life, if you have a desk with a cavity under it and a white carpet floor for example, when photons hit the carpet, they bounce and also hit the underside of the desk, illuminating it). Blender Render also cannot do proper environment maps.

To fix all of these problems, go to the top bar and where it says Blender Render, instead select Cycles Render from the dropdown:

enter image description here --> enter image description here

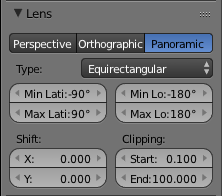
Select the camera and go to the Camera Object Data tab in the Properties panel. Change the settings under Lens to Panoramic and Equirectangular. This will create a true world image.

Settings After Being Fixed

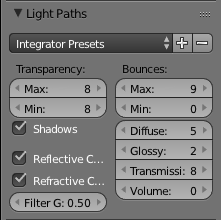
Go to the Render Settings tab in the Properties panel. Under Light Paths, change the settings to these. These are the optimal bounce lighting settings that I use in almost every render. While on the subject of lighting, I would highly recommend repositioning your lamps and changing their strength and color so that the image looks better.

enter image description here

Go to Properties panel > Render Settings > Sampling and change the Render: samples to 250. Also change the Clamp Indirect: value to 3. Both of these will improve your image's clarity.

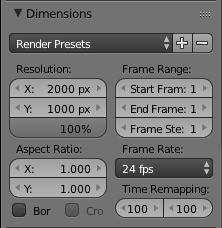
Go to Properties panel > Render Settings > Dimensions and change the X: and Y: dimensions to 2000x1000. Up the percentage slider to 100%.

enter image description here

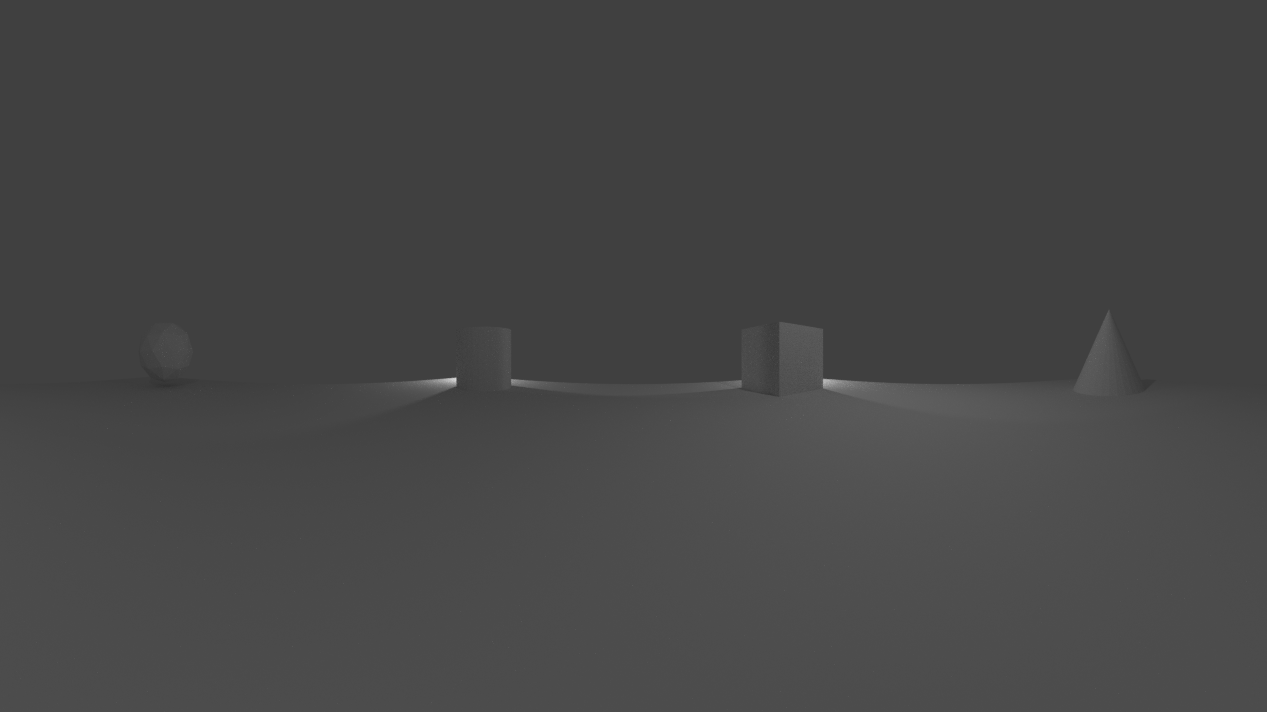
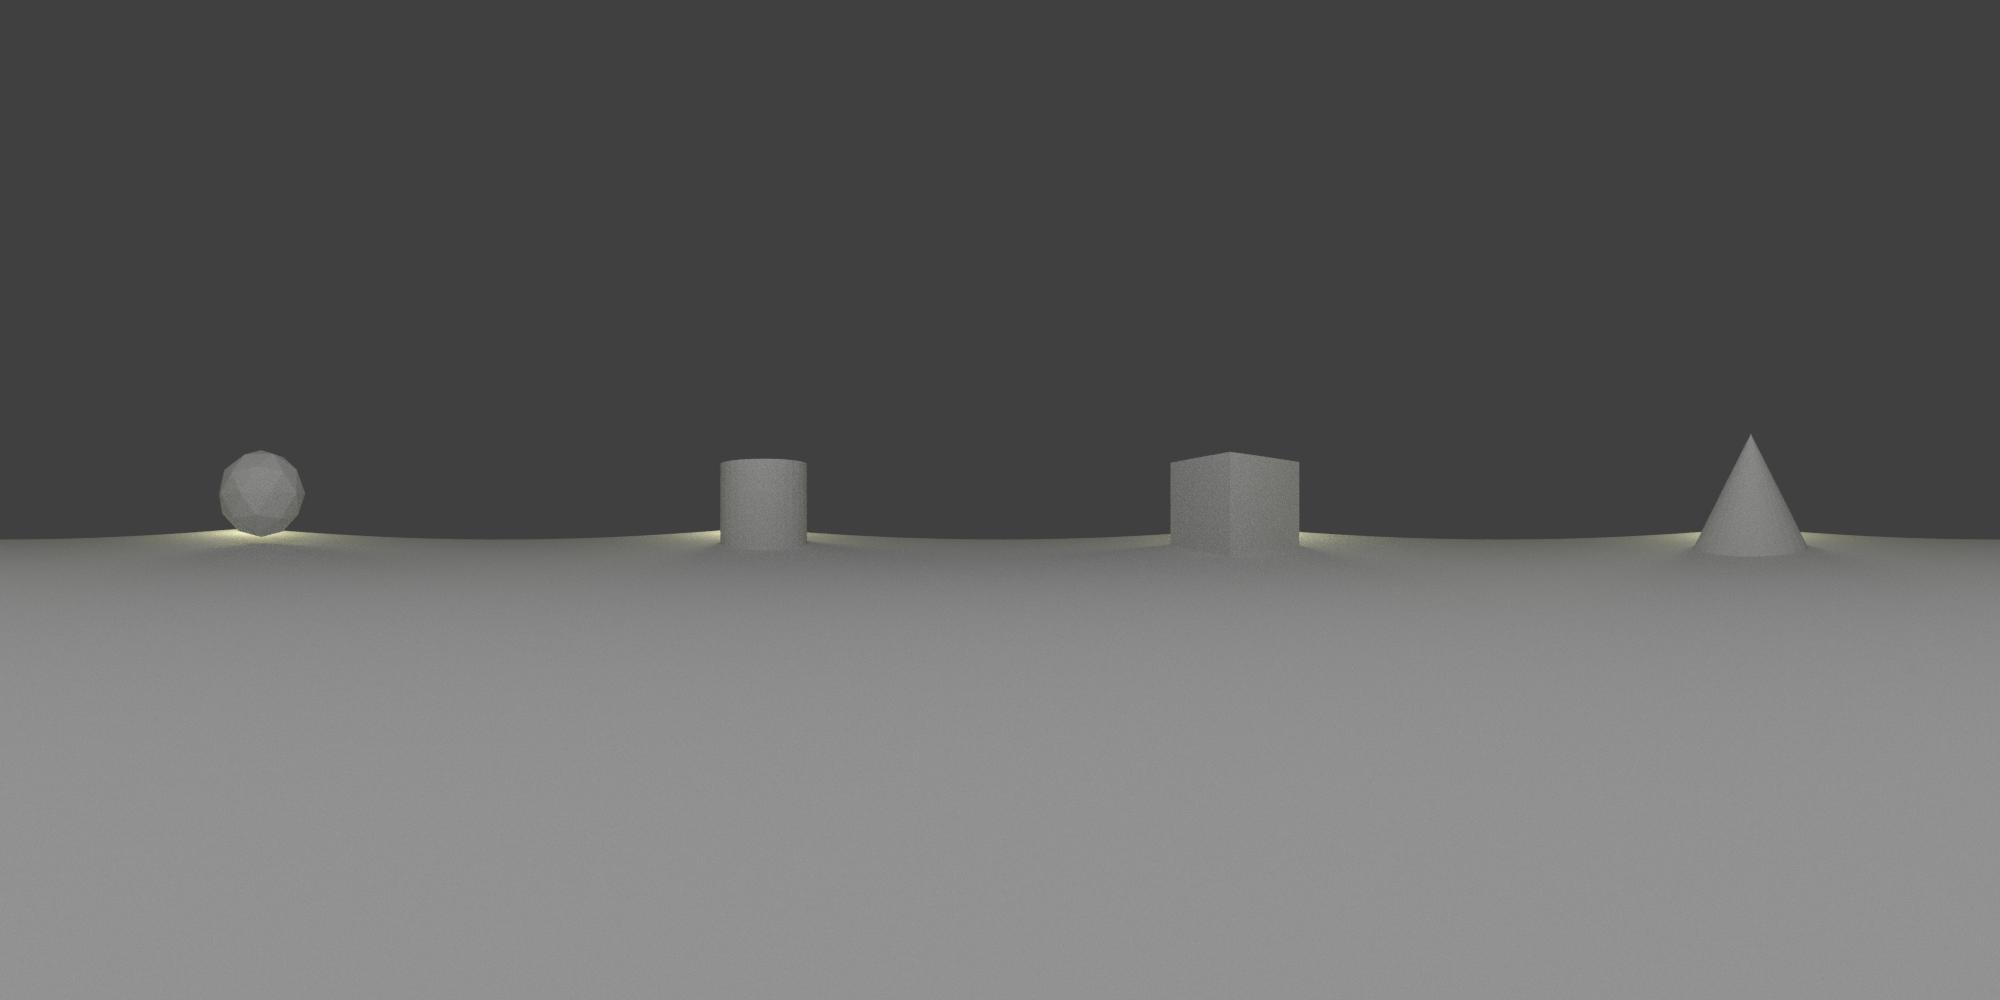
Lastly, since I assume you want a panorama like this:

enter image description here

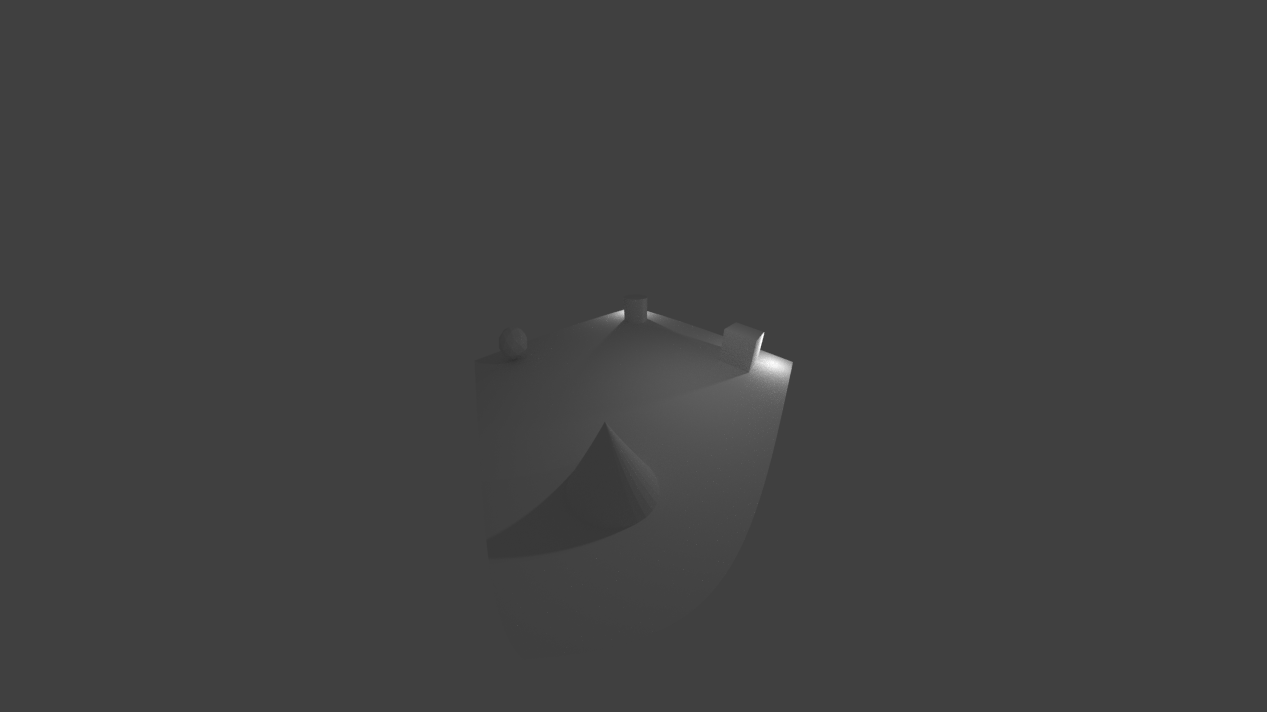
...and not like this:

enter image description here

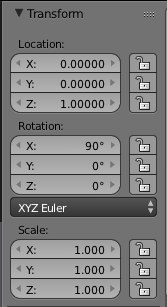
...change your camera positioning in the 3D View Properties panel to this:

enter image description here

After adjusting the lighting as well, I was able to make this:

enter image description here

Also, here is the adjusted .blend file:

$\endgroup$
4
  • $\begingroup$ Thank you for the very detailed answer! I was looking to make a 6-sided cubemap but your solution works too if I switch to a cylindrical map in Unity. And using Cycles is just better obviously, I was using Blender Render because the Environment Map feature is only available with that renderer. Which is why I'm a bit perplexed when you say that Blender Render cannot do proper environment maps... are you saying that feature is broken or deprecated? This is the functionality I'm talking about. $\endgroup$
    – SvDvorak
    Commented May 23, 2016 at 8:44
  • $\begingroup$ Oh, and regarding the lighting, this is not actually the scene I'm working on; it was just a barebones example scene to show the issue I'm having. But thanks for pointing it out anyway! $\endgroup$
    – SvDvorak
    Commented May 23, 2016 at 8:45
  • $\begingroup$ @SvDvorak Glad to help. I was not aware of that functionality in BI. Perhaps you are correct. I use Cycles because it's more updated, and I haven't found many tutorials to teach me BI. Also, the environment maps in Cycles just seem easier. $\endgroup$
    – Shady Puck
    Commented May 23, 2016 at 11:07
  • $\begingroup$ I kinda figured, that functionality is a bit hidden though it was the only I found for creating a cubemap. Creating an actual cubemap using Cycles is a lot trickier, you have to render an animation with a rotating camera and then compose the images together. But using a cylindrical skybox with your solution is so much easier while letting me use Cycles. $\endgroup$
    – SvDvorak
    Commented May 23, 2016 at 12:37

You must log in to answer this question.

Not the answer you're looking for? Browse other questions tagged .