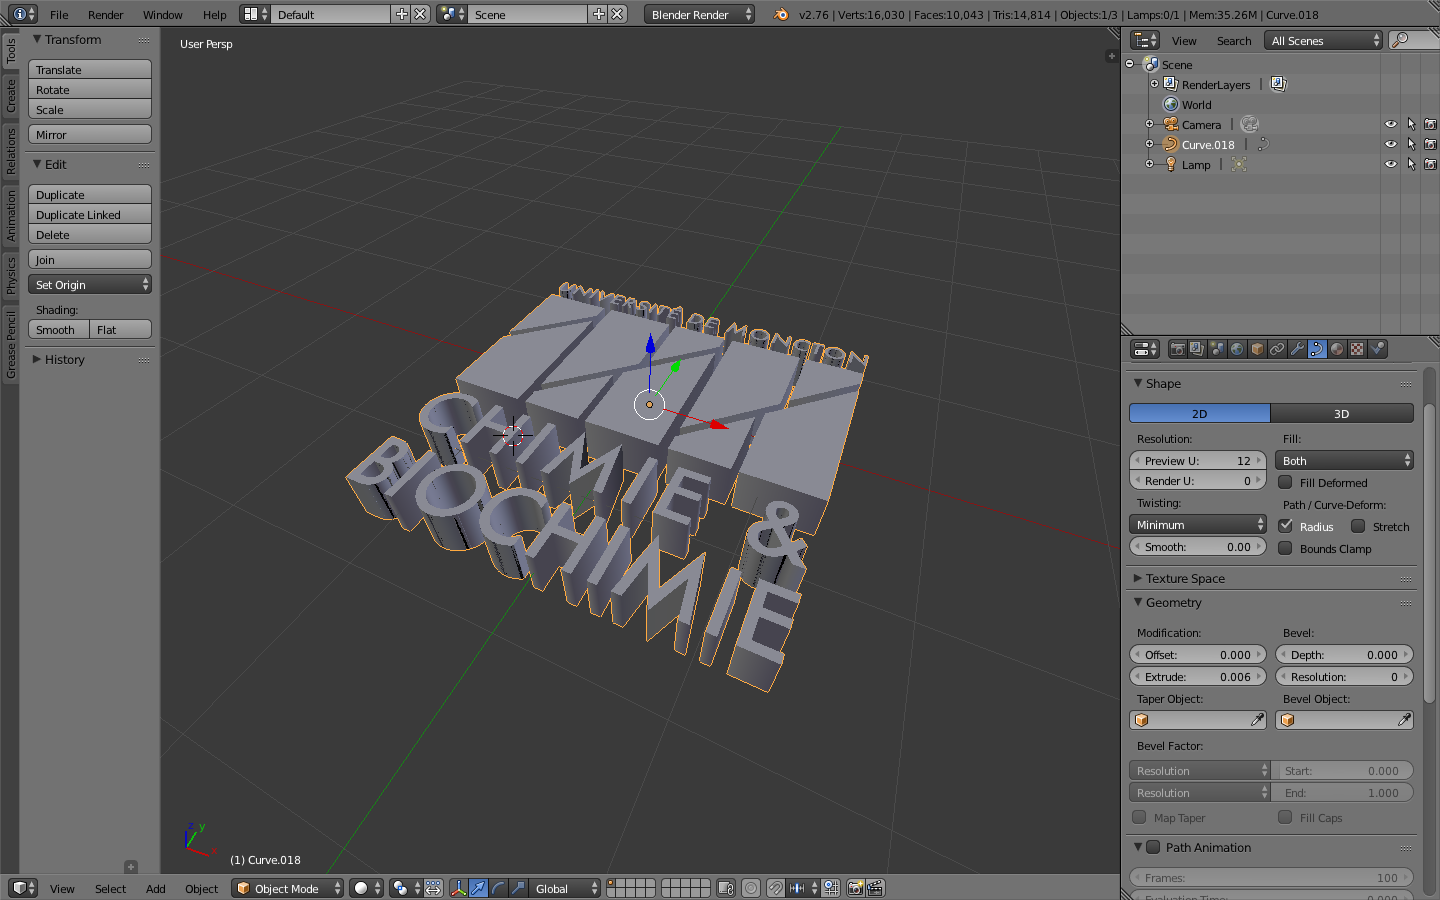
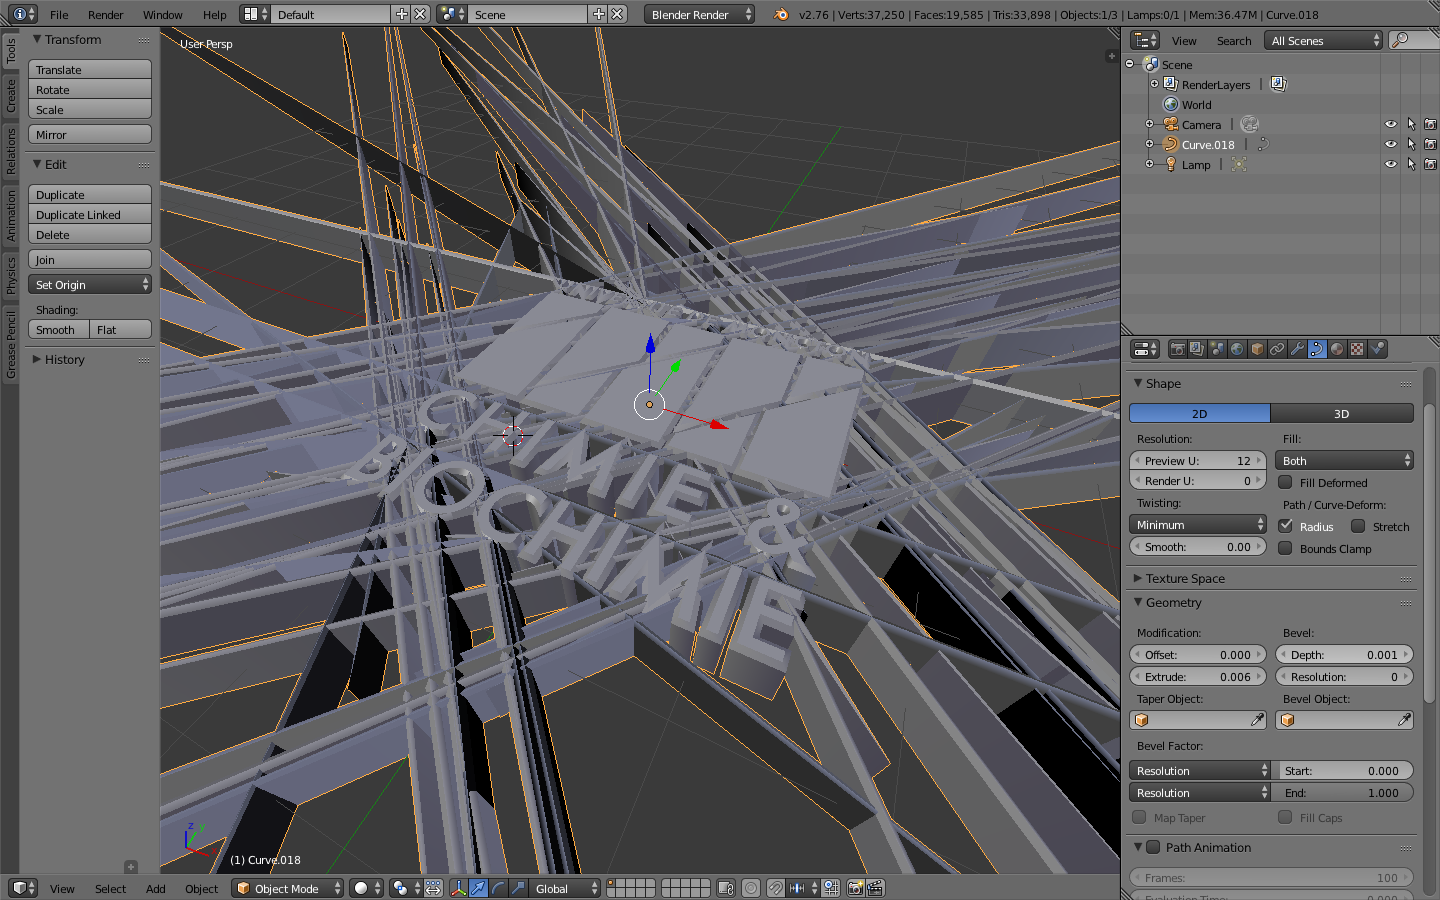
This is the result of really messed up topology. This is to be expected when you're working with curves. Remember, curves are geometry also! The main difference between them and vertex based objects are how you interact with them.
There are two ways that you can get a clean enough mesh for beveling. You can clean up the original mesh, or you can remodel it. I personally would remodel it. This is usually a cleaner and more controlled way to do it because you're deciding where the geometry goes instead of letting Blender do it.
Cleaning up the original mesh
Start off by removing the bevel and extrude. We'll bring those back once the text is a nice clean mesh.
Then press AltC and select To Mesh. This will convert your text from a curve to a mesh.
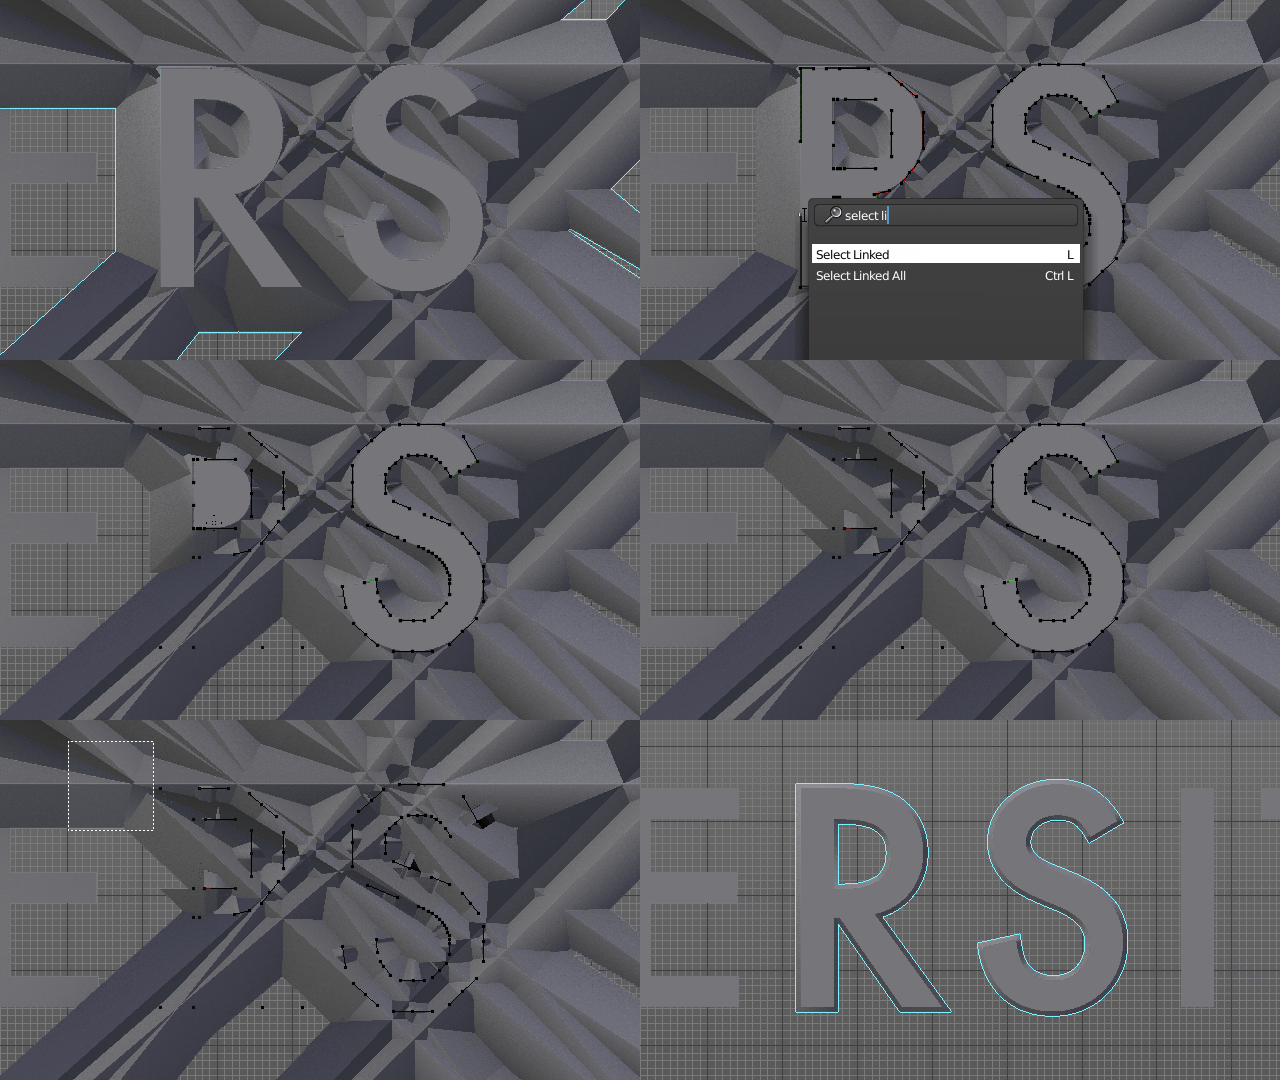
Then Tab into edit mode. Now we'll start the actual cleaning. To start off, press W and select Remove Doubles. This will remove the doubled vertices which are extremely common in meshes like this.
Now comes the hard part, removing geometry. The most important thing is the outline, so start by removing all the interior faces. Press A then X and select only faces. This will get rid of all of the faces. But the edges will still be there, so carefully select some of the unnecessary edges (I like to box select them with B, and delete them (always use the edges option, using selecting vertices will delete remove the outline). Make sure to leave the outline intact.
Now that we've gotten rid of the interior edges, it's time to clean up the outline. Why?
(img)
Well, I think think I need to say anything...
There are a lot of edges that are somewhat like that. To take care of them, let's switch to vertex view mode using CtrlTab so that we can see them.
Start by selecting some of the virticies that are in streight parts of the lettering. Press G to move them. You're looking to see if they're dragging along any other edges. If they are, delete them. This time, use the Vertices option.
This get's rid of most of the harmful edges and virticies. Now it's time to get rid of the ones that just aren't necisary for the shape. These are vertices that are in straight parts of the mesh, and vertices that don't give any more important information to curves.
With these ones, select them individually, and delete using the option of Dissolve Vertices.
Just be sure that you don't remove too much it can be hard to go back. For me, I tend to remove every other vertex while making sure that what I'm removing doesn't effect everything else much.
Finally, carefully work on filling in everything. For this, just try to follow good guidelines of topology. Avoid triangles, but be okay with adding them if necessary. This part of it is hard to really explain because you basically just have to give it a try and see what works.
Modeling from scratch
This is probably my favorite method for doing things like this. You can see part of the reason above, the first method is a lot of work. I find for these kinds of things, I prefer starting from scratch because I can completely skip the cleaning part, and go straight to making an outline, and then filling it in.
To start off with this, bring in a background image of the logo/text, or import the logo/text and place it below the grid. Go into top view, add a plane, go into edit mode, and delete three of the verticies. From here, move one of the remaining vertex into place, and use CtrlLeft Mouse to extrude out an outline.
Then fill it in like we did in the first method.
Extruding and Beveling
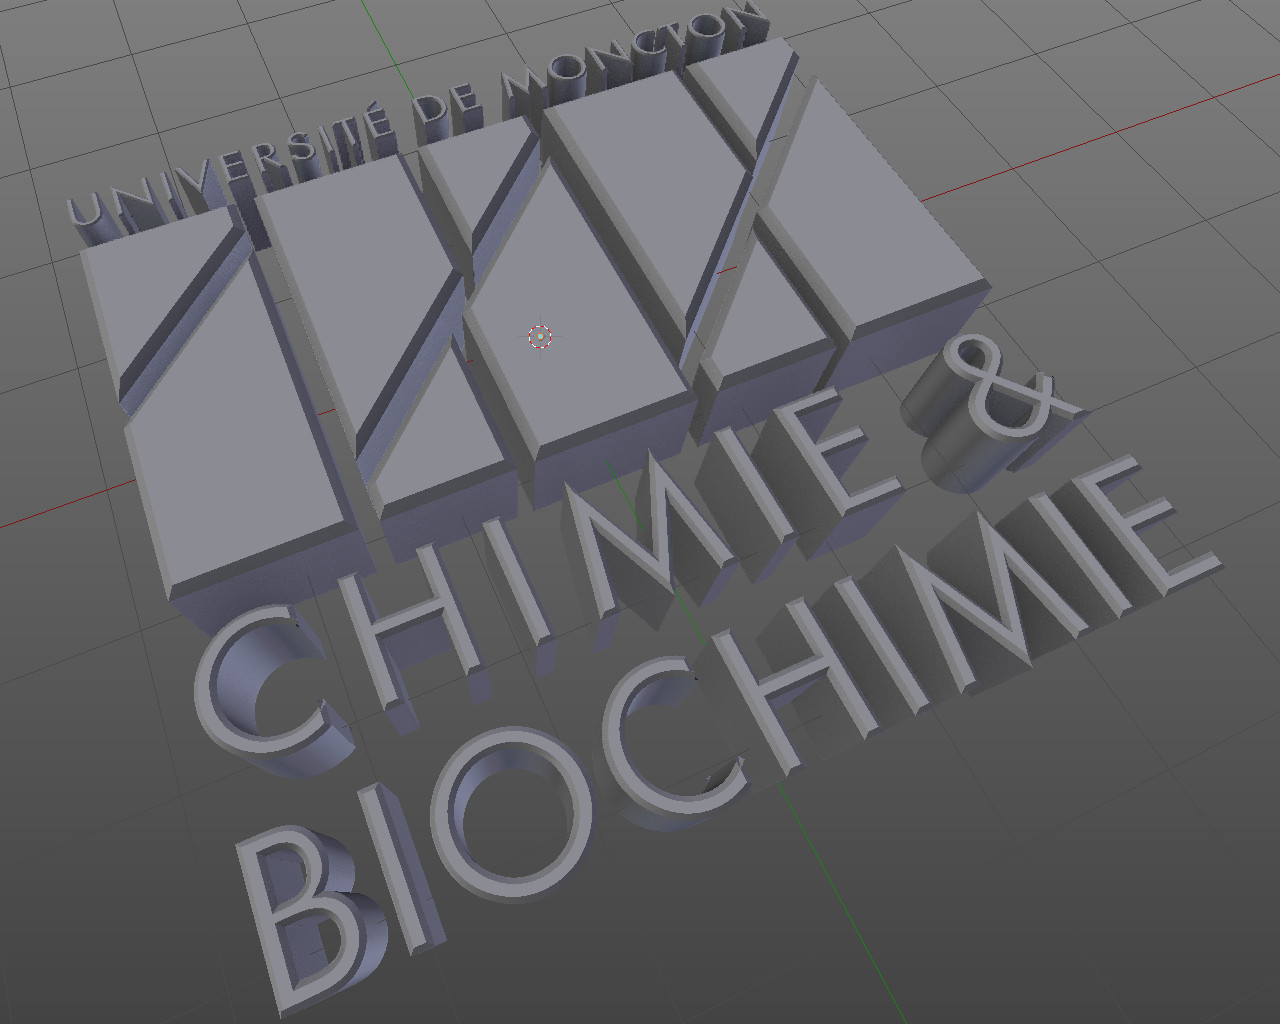
To finish off those two methods, we need to extrude out the logo, and we need to bevel it. Do this by adding a solidify modifier and a bevel modifier and adjusting the settings from there.

