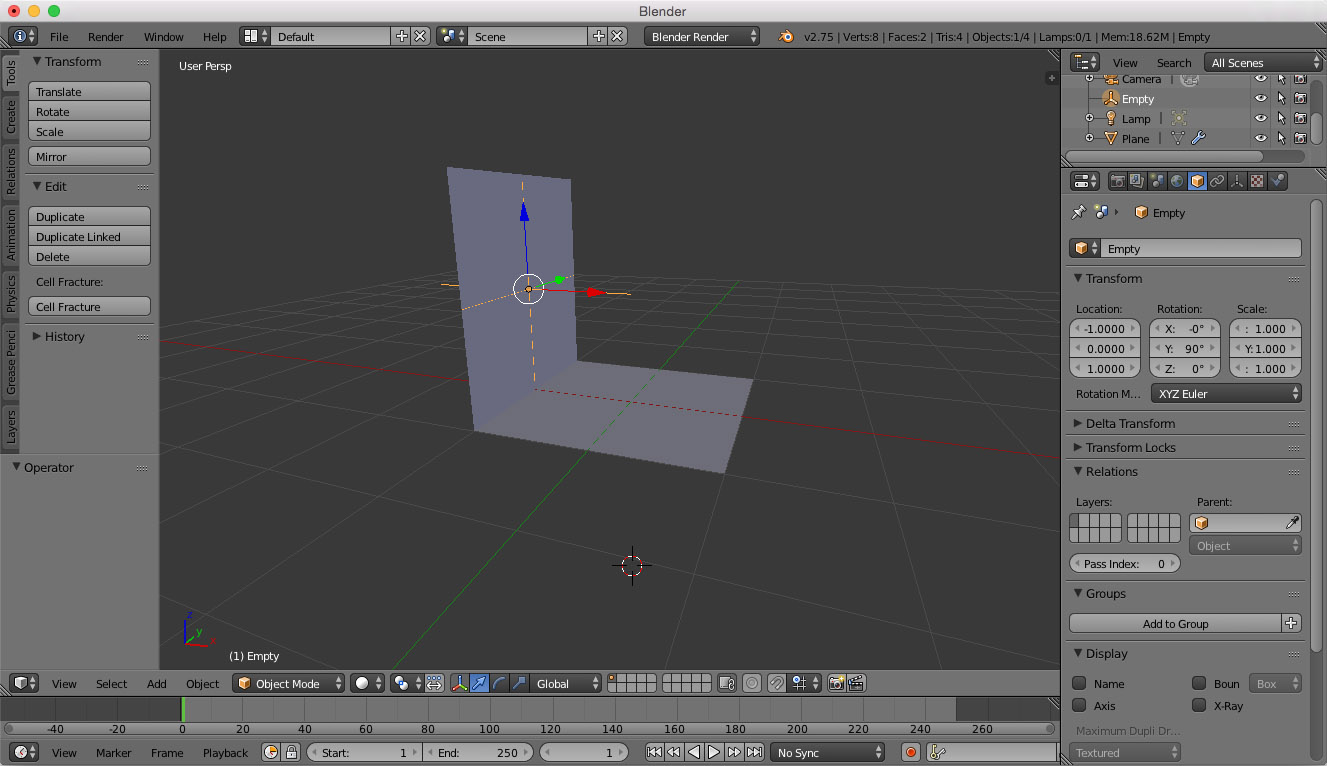
The principle outlined in the video is the following:
- Create a plane (shift+a mesh > plane) with default size/radius 1 and place it at 0, 0, 0
- Create an empty (shift+a empty) and change its coordinates to -1, 0, 1
- Select the plane
- Add an array modifier
- In the modifier settings, select Object offset and in the field below select the Empty (just like in the video)

- Increase the count of the modifier to 4 and voilà

- If you want to move your mesh around, either move it with the empty or hit Apply in the array modifier and the mesh will be independent from the empty but also you cannot modify the array modifier anymore.
Now there is a mirror modifier for some reason there. So before Step 3, add a mirror modifier and you will see no change. You have to go in edit mode and move the vertices to the right (or left), then you will see the mirror double. I didn't follow the tutorial so I don't know why he's doing this.
Simple technique, but it's really far from being intuitive ! Thank you for the video, I learnt what this object offset is all about. You can make all sorts of patterned shapes like cogwheels with this.


