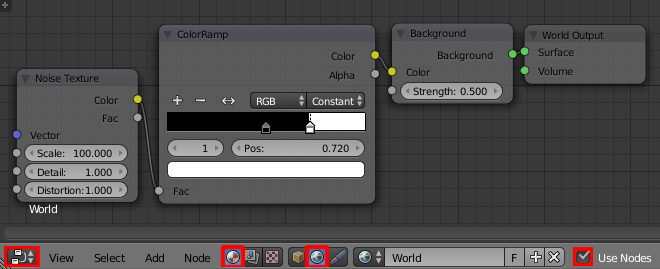
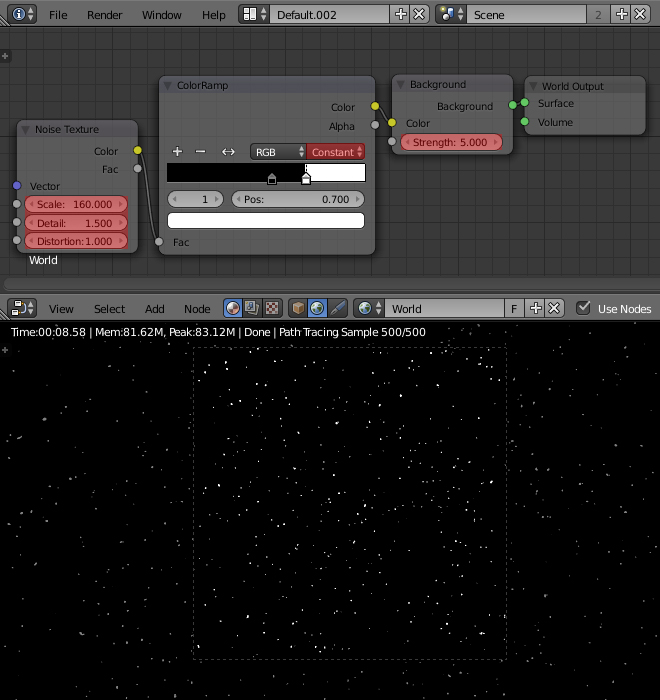
First you need to jump over the the Node Editor view, then select Shader Nodes and World. Also make sure Use Nodes is checked.

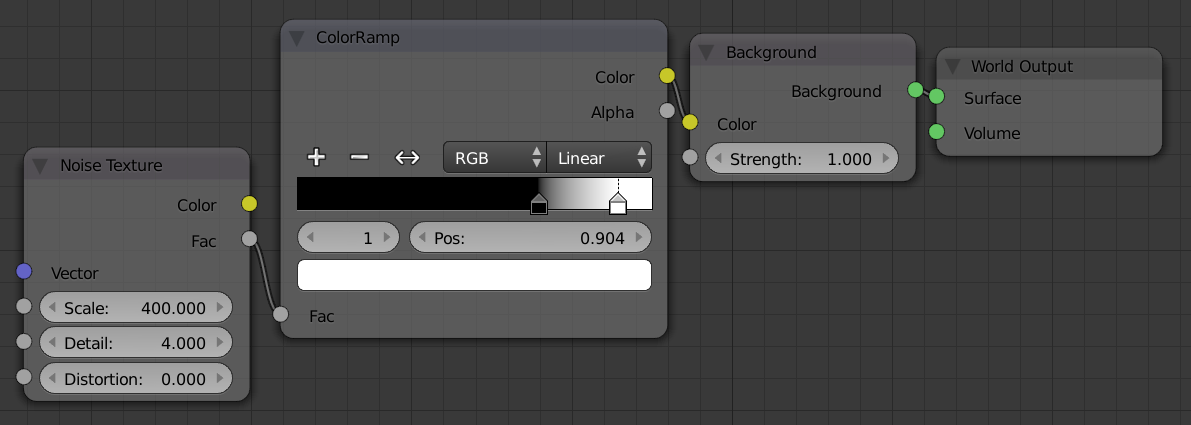
Then add a Noise Texture node and a Color Ramp node. Plug the Fac of the noise texture into the Color Ramp, and the Color of the Color Ramp into the Color of the default Background shader.

You can then adjust the Color Ramp and Noise Texture how you would like to create the desired starry effect.
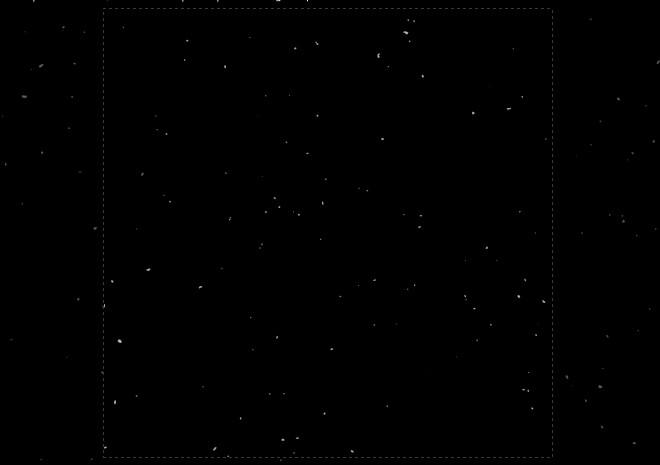
- Noise Texture Scale. This controls the size and amount of stars. Higher scale means more, smaller stars; smaller scale means less, larger stars.
- Noise Texture Detail. This will adjust the shape and variation in brightness in the stars. Higher value will mean more irregularly shaped stars, but there will be a greater variation in the brightness of the stars.
- Color Ramp Swatches. Adjusting the color swatches on the Color Ramp will change the size and shape of the stars. The farther apart the swatches are the bigger and more irregularly shaped the stars will be.
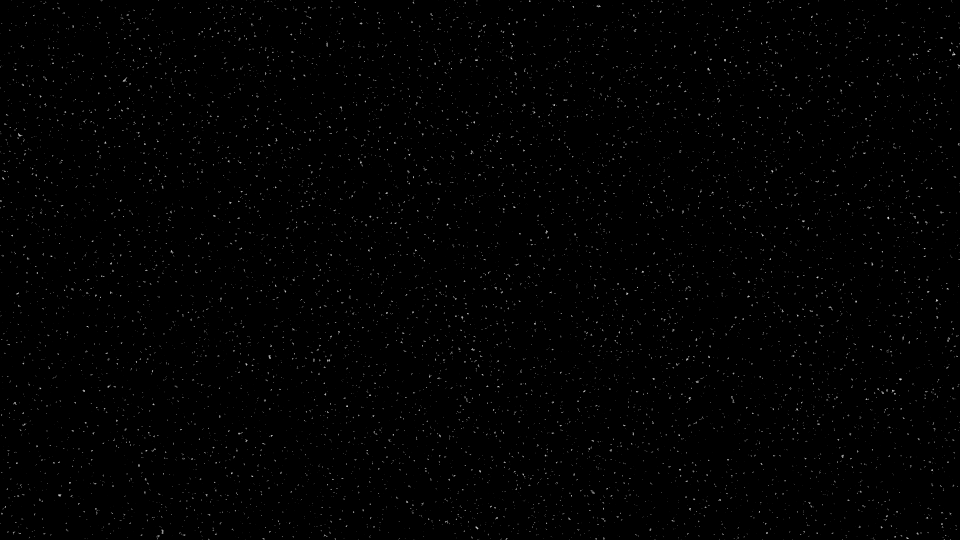
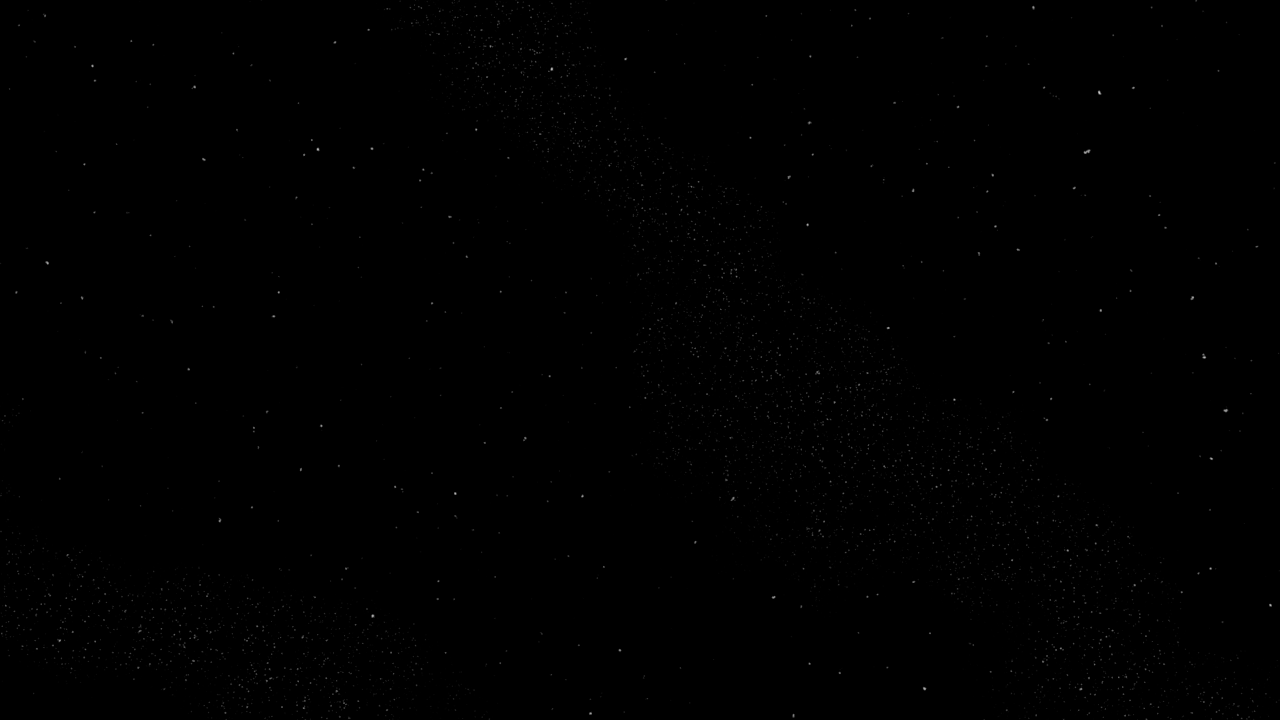
Shown above are the settings I used to create the below render.
