I'm trying to bake a transparent png image with Cycles. It drives me crazy trying to work out how to do this. Can anyone guide me how to accomplish it, or is it possible at all?
1 Answer
As far as I know it's not possible to bake images with transparency in Cycles, but it's possible to figure out some workarounds, depending on what you want to achieve.
To bake a transparent shadow texture:
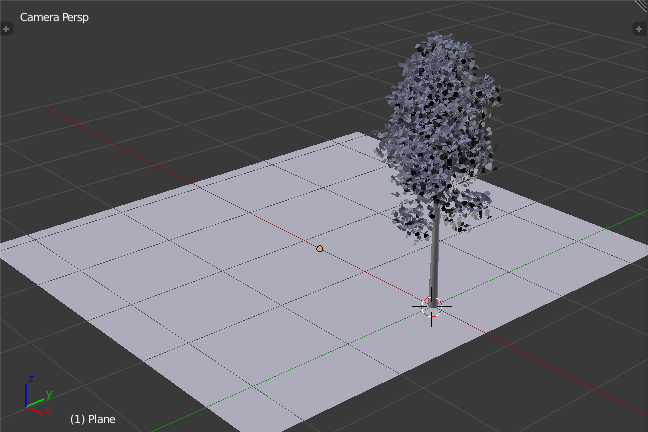
Set up your scene. I'll just use a simple tree in my example. Place a plane under your objects and scale it big enough to catch all the shadows.
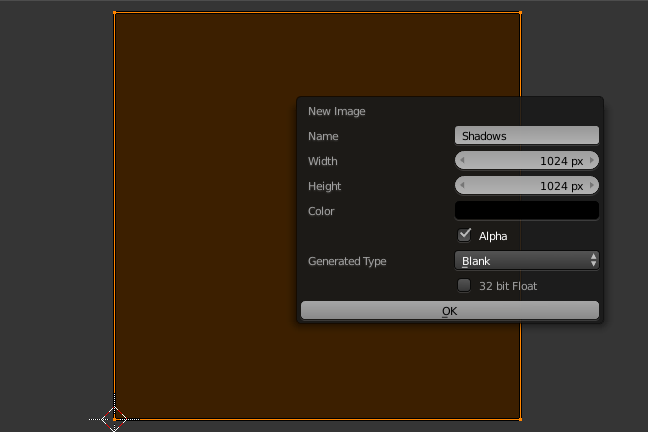
Create a new image in the
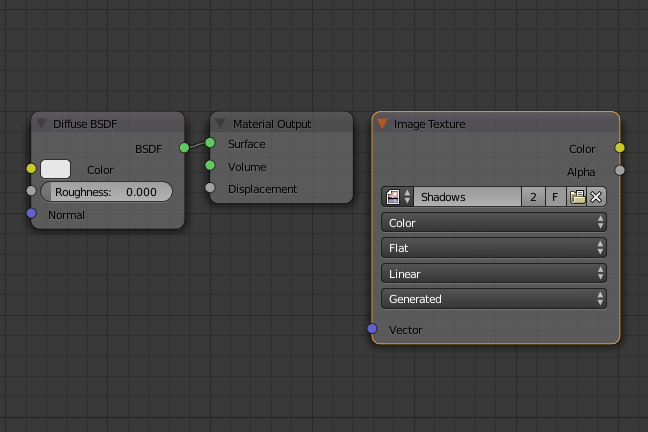
UV/Image Editorand unwrap the plane.Create a simple diffuse material for the plane. Add an
Image Texturenode to the material and select the new image you just created.In the
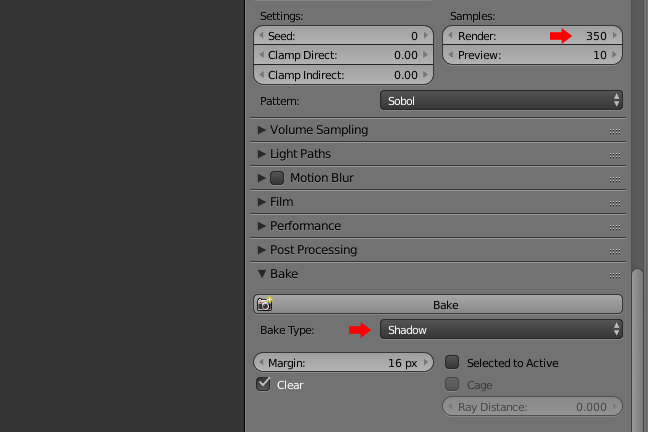
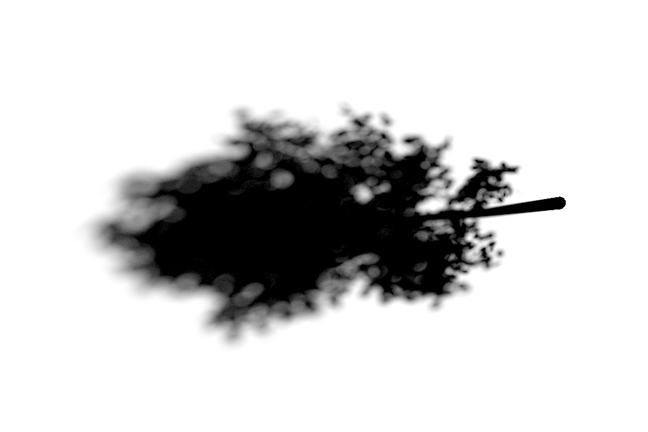
Render PanelsetSamplesto a nice number (depending on your scene) and setBake TypetoShadow.Bake the image. You should have something like this:
Go to
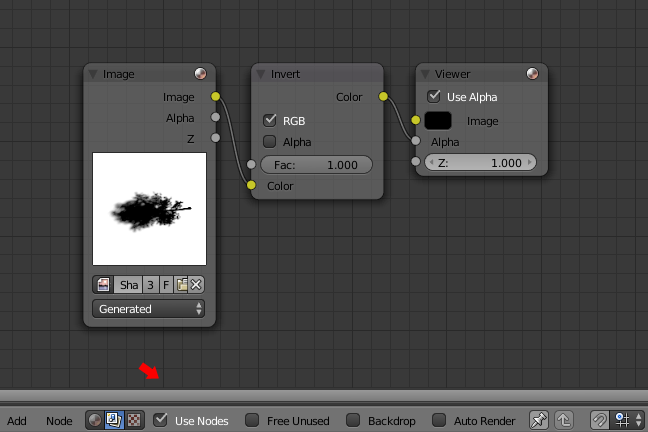
Compositing, selectUse nodesand delete the default nodes. Then set up the nodes like this:In the
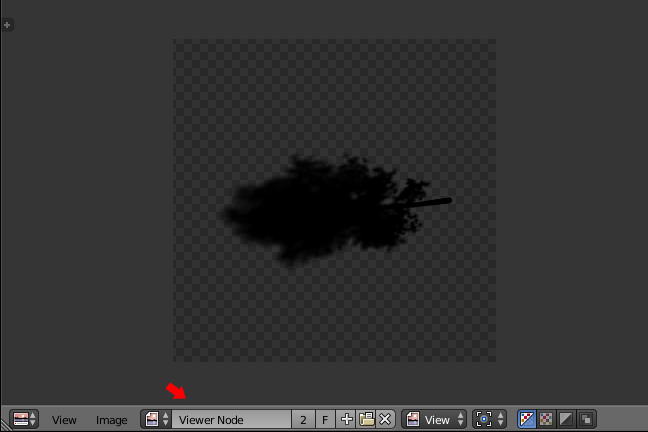
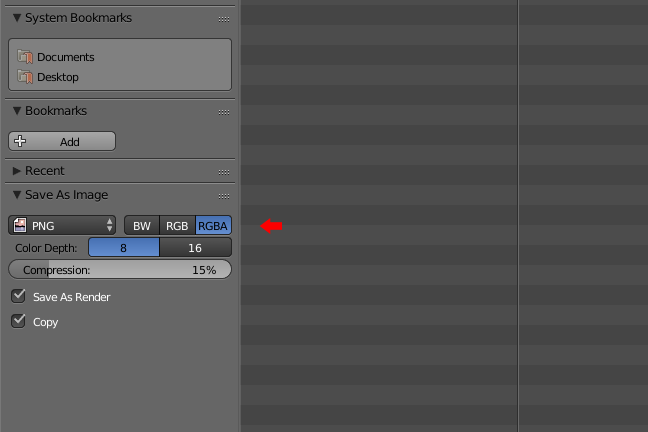
UV/Image EditorselectViewer Nodefrom the drop down list.Save the image as an
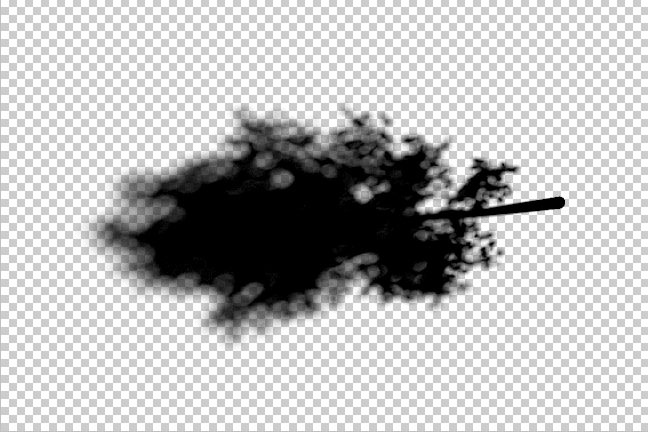
RGBAfile (*.png,*.tga- whatever you need).Your baked transparent shadow texture is ready.
-
$\begingroup$ Happy I could help - it was an interesting challenge to figure out :) $\endgroup$– KarolinaCommented Nov 27, 2015 at 12:32
-
$\begingroup$ Sorry just one thing about the point 6. i think you must check "alpha" in the "invert" panel also because if you don't check it the image results empty. $\endgroup$ Commented Jul 7, 2016 at 18:42
-
$\begingroup$ You don't have to check the Alpha option in the Invert Node. This option activates the alpha channel inversion and since our baked image doesn't really have an alpha channel (we're just creating one), there's no point to invert it. The only thing we're doing here is inverting the colours of the baked image. Black becomes white, and white becomes black. You can notice this change if you connect the Invert Node Color output with Image input of the Viewer Node (take a look at the Viewer Node output - like in the step 7 of my tutorial above). $\endgroup$– KarolinaCommented Jul 14, 2016 at 19:38
-
$\begingroup$ Just to explain what happens here: black in the alpha channel means transparent and white means visible. We connect the Invert Node Color output with Alpha input of the Viewer Node and this basically tells Blender to take the colour of the Image input of the Viewer node and paint the image with this colour (I chose black, but you can choose any colour). Then take the inverted black and white version of the baked image from our Invert Node and use these colours to create an alpha channel for the image (again, look at the Viewer Node output as you make these changes). $\endgroup$– KarolinaCommented Jul 14, 2016 at 19:38
-
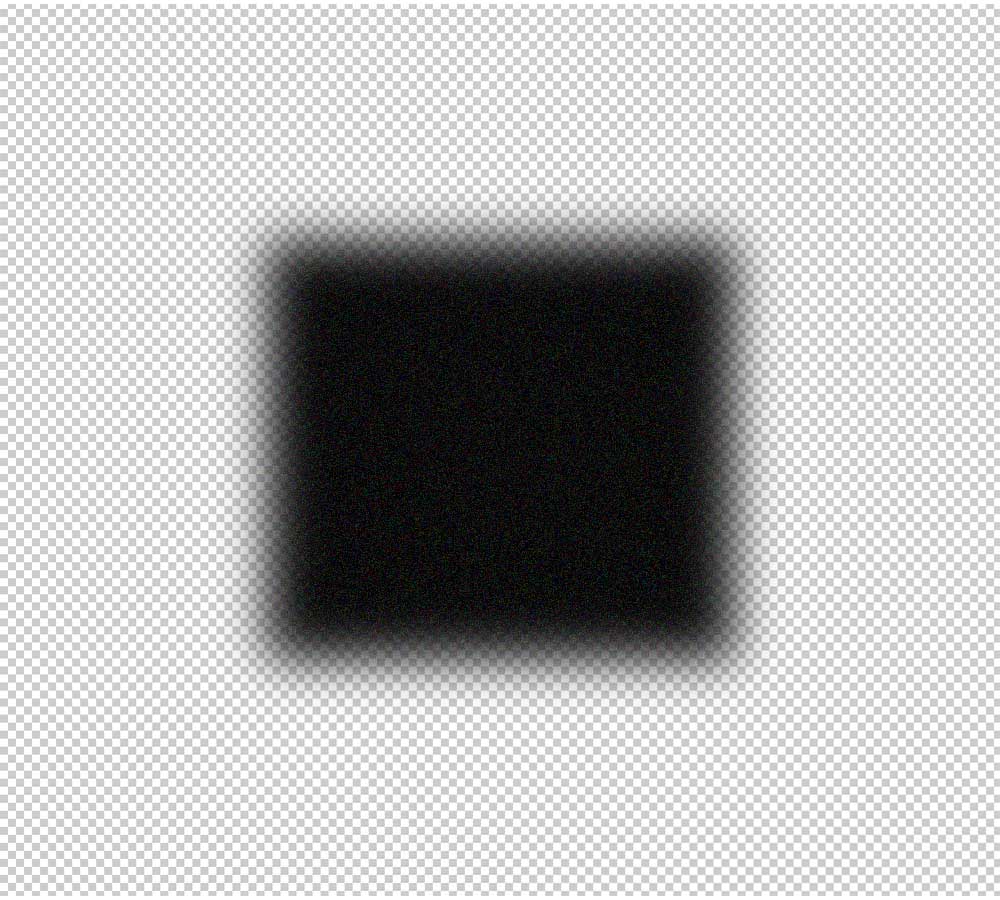
$\begingroup$ It may seem the resulting image is full black, but if you open it in a Photoshop (or any other software that can read alpha channels), you'll notice that it actually does have an alpha in the shape of the baked shadow. The Viewer Node output in Blender also shows what will be visible and what will be transparent in the final image (checkered background means transparent). If this is still confusing, choose red as the colour in the Image input of the Viewer node and it will be easier to see the image is not actually empty. $\endgroup$– KarolinaCommented Jul 14, 2016 at 19:38

