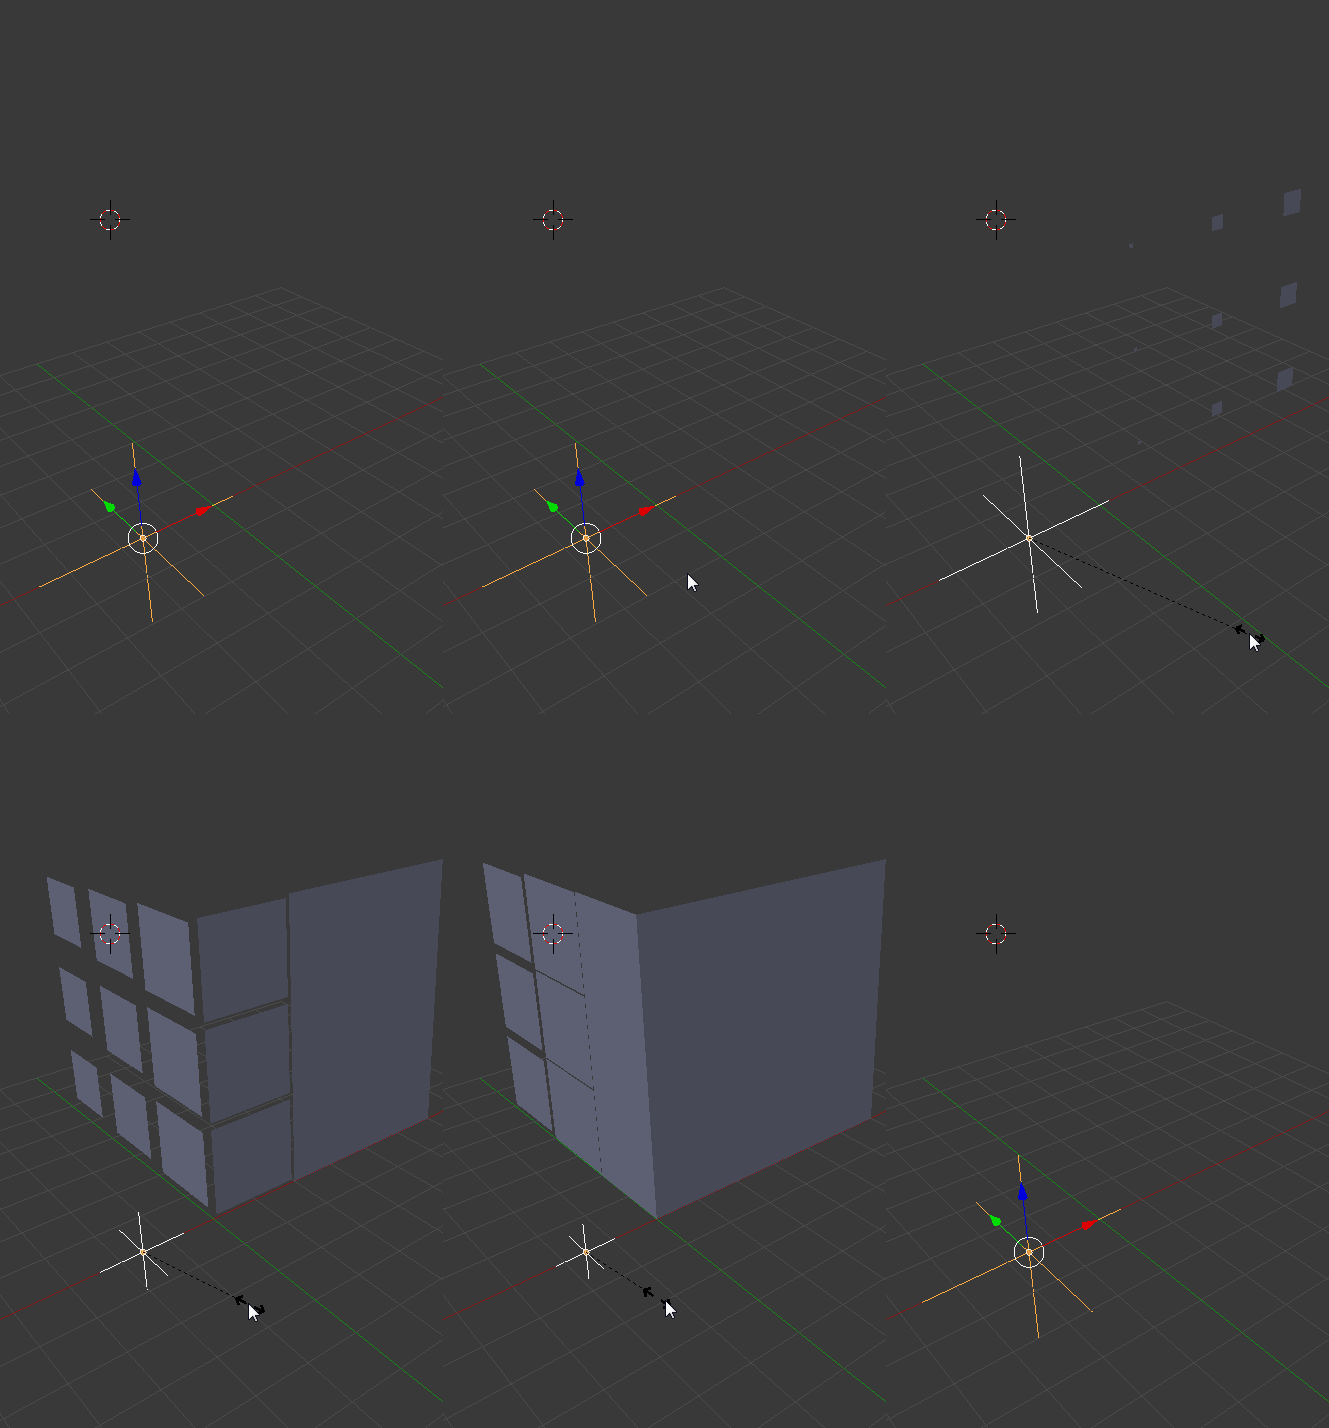
I was just wondering how I could do a building animation that the building process would scale each face instead of just making it visible. I couldn't find any examples though I have seen it in documentaries so I will try to explain it as well as I can. Blender has a build modifier that build your object using the faces, now the modifier just makes the faces appear. I want to know how if possible to make a growing effect on each face that will grow from it's center point to it's full size and will to this through out the entire object from end to end. If I can I might add some reference videos or photos if I find some.
-
$\begingroup$ I found a video but it is for cinema 4d link $\endgroup$– user16764Commented Oct 11, 2015 at 3:15
-
$\begingroup$ Another one is link $\endgroup$– user16764Commented Oct 11, 2015 at 3:17
-
2$\begingroup$ The second video is similar to this For the first you may want to look at the animation nodes addon $\endgroup$– samblerCommented Oct 12, 2015 at 15:04
-
$\begingroup$ Nearly the same result as in first video could be done using Explode modifier along with particle system with Emit from set to Grid and slightly changed options for rotation and emitting particles. $\endgroup$– Mr ZakCommented Mar 31, 2016 at 17:03
3 Answers
I believe going into how to do these things would be better served by tutorials elsewhere, so I have provided some links and suggestions of how to get started.
If you have specific questions, feel free to post those as separate questions on this site, unless they are specific to this answer.
If I were to go through all of the information here step-by-step, I believe it would be an unacceptably large amount of information. That being said, I may make a youtube tutorial on this one, as it was pretty fun to do. If/when I do, I will be sure to swing back around to this post and include a link or two.
For Drivers, I would recommend this Link, and youtube/vimeo.
For the Dynamic Paint Method - Learn up using youtube or vimeo I thought this one was pretty good
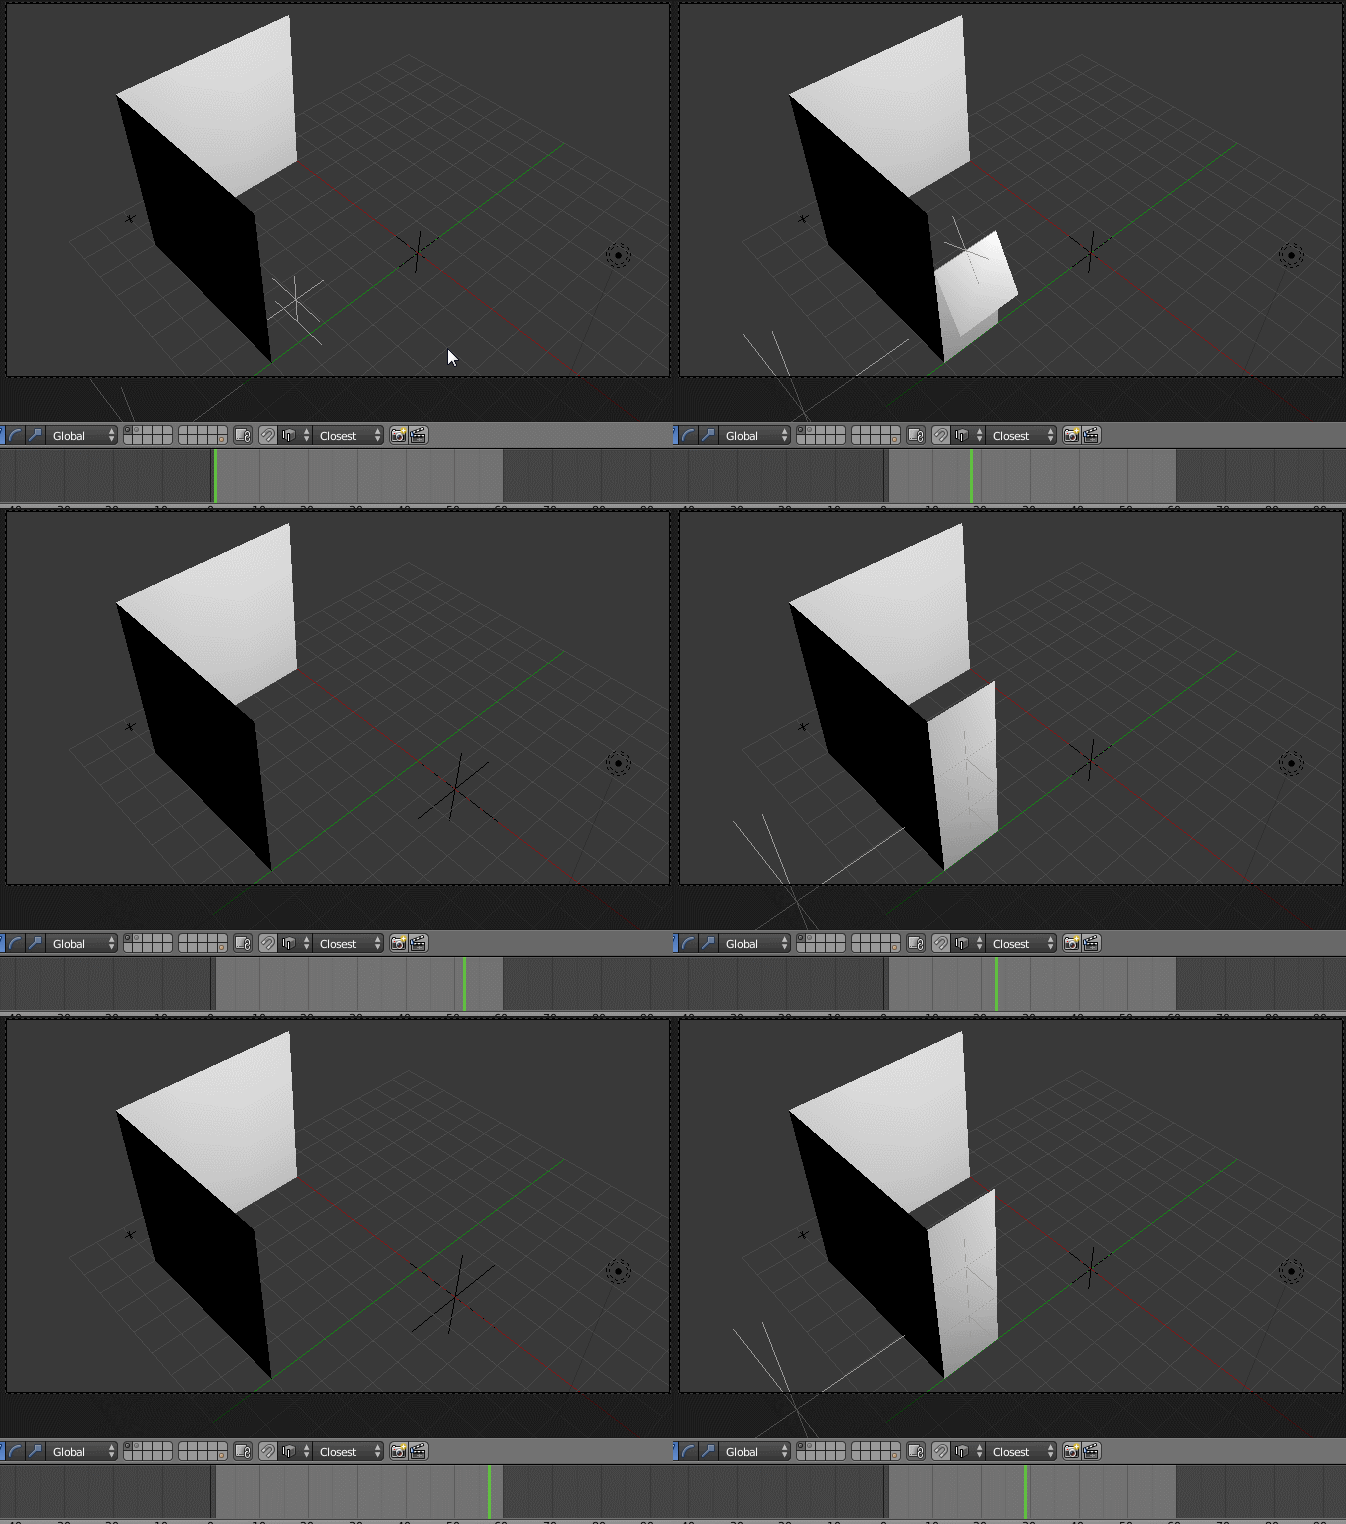
This just uses drivers, empties, and keyframing:
Warning not a very good implementation
I know people here can expand on at least the Canvas method used here to help you get the particle emission looking good.
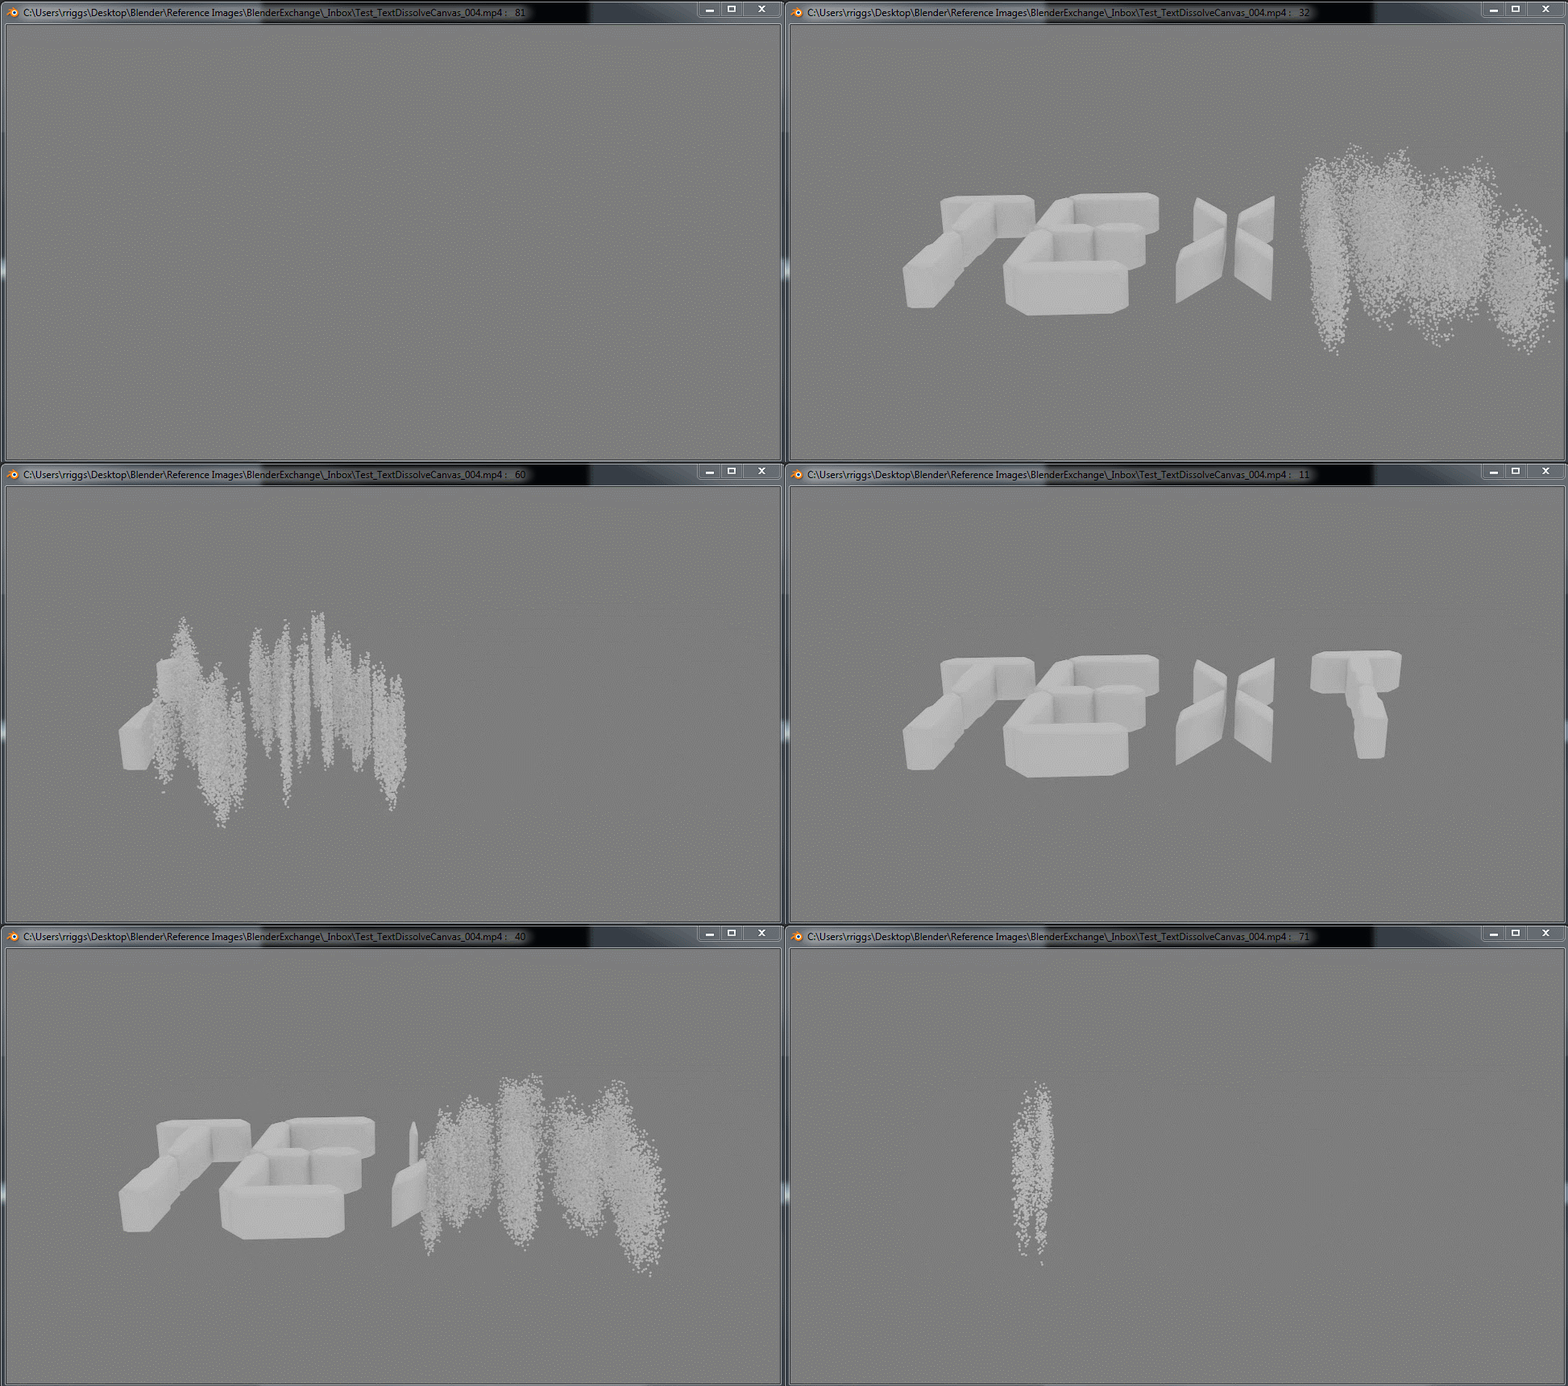
As for the text disappearing, it is being boolean differenced by the moving mesh body, with a canvas plane parented to it - the text mesh is the brush.
The canvas plane also emits the geometry - in this case (again not the best with brush and canvas so any help modifying what should be done here is very welcomed).
The rendered effect:
Maybe a quick way to get a similar effect would be to put a simple Subsurf Modifier before the build modifier. This doesn't scale the faces, but with a high subdivision number (eg.6) it makes each face grow in smaller steps instead just appear one face at a time.
Use the build modifier.
Simple example:
- Open a new blend file
- Delete the cube
- Add a sphere
- In modifiers, add modifier, select build. If you are on frame 1 of the animation, you will see the sphere disappear.
- Start the animation and the sphere will appear one face at a time.
See https://www.blender.org/manual/modifiers/generate/build.html
-
$\begingroup$ The OP knows it, it seems. And what about the "growing" he asks in "growing effect on each face that will grow from it's center point to it's full size"? $\endgroup$– m.arditoCommented Oct 13, 2015 at 8:25


