29
$\begingroup$

In order to make a rendering look more realistic some additional maps are useful.

The documentation lists: diffuse,specular displacement-maps .

I watched a video tutorial The Secrets of Realistic Texturing which uses a commercial tool.

Are there any alternatives to calculate normal and displacement maps from an image texture, or can this also be achieved by some build-in transformations?

NOTE: As requested, this is related to image-textures that have been downloaded from a site like cgtextures which are image-only and lack of normal- and displacement-maps.

$\endgroup$
3
  • $\begingroup$ Can you be more specific? - Give some examples at least of other types. $\endgroup$
    – ideasman42
    Commented May 27, 2013 at 8:43
  • $\begingroup$ @ideasman42 Thanks you, I added a note. Currently I don't have a specific problem, just want to know how to create those maps. $\endgroup$
    – stacker
    Commented May 27, 2013 at 9:08
  • $\begingroup$ eh define those maps ?, still not sure what your question is, but this sounds like it may be too vague stack-exchange. Or the question should be: How do I make a normal/displacement map when all I have is a photo. $\endgroup$
    – ideasman42
    Commented May 27, 2013 at 9:52

7 Answers 7

45
$\begingroup$

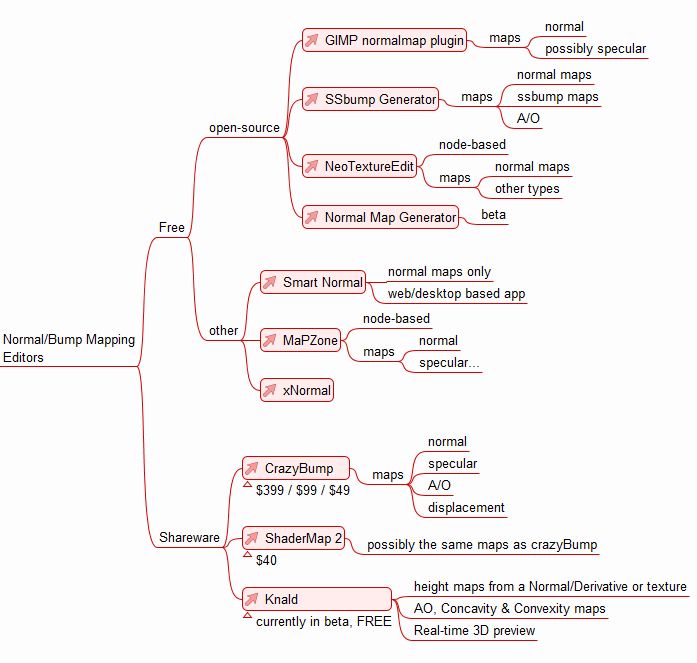
I've compiled a list of options when it comes to normal and bump map creation. All that remains is to try few of these out and see which results you like best.

To me, the most advanced of the free solutions is MaPZone 2.6, but I haven't tried any of these so I am not sure.

Or you can try the web based Smart Normal, for very basic normal maps generation.

Another tool is Knald which offers high quality, accurate height maps generated from a Normal/Derivative or photo-sourced texture.

I didn't include urls, since they can be easily googled.

enter image description here

$\endgroup$
4
  • $\begingroup$ @Dwelle thank you, excellent way to answer this question. $\endgroup$
    – stacker
    Commented May 27, 2013 at 12:14
  • $\begingroup$ SSBumpGenerator claims to be OpenSource but on SourceForge you don't get any sources. $\endgroup$
    – tgmath
    Commented May 27, 2013 at 16:38
  • $\begingroup$ I believe it's on their SVN, sourceforge.net/p/ssbumpgenerator/svn/HEAD/tree $\endgroup$
    – dwelle
    Commented May 27, 2013 at 16:50
  • $\begingroup$ Great answer! I'd love if it was updated to reflect which solutions Mac and PC users (or both) have access to - maybe one color on the chart for Mac, one for PC one for both? $\endgroup$ Commented Jan 16, 2018 at 23:39
11
$\begingroup$

Another possible answer might be the Gimp plugin called Insane bump.

To my knowledge it has a Normal, specular, AO, the same as Crazy bump and it's free and open source.

There is also another plugin called Normalmap, which can be installed as .deb gimp-normalmap in Ubuntu.

$\endgroup$
2
  • $\begingroup$ Just to add, Insane Bump needs gimp normalmap to generate normal maps $\endgroup$
    – Seph
    Commented Feb 28, 2014 at 6:24
  • $\begingroup$ answer is invalid $\endgroup$
    – Harry McKenzie
    Commented Jan 21, 2023 at 14:23
7
$\begingroup$

Generally it is much better quality-wise to do custom images based on the desired properties of the surface, using software made specifically for this. For a quick and dirty bump map, blender supports using a colour image as a bump map directly, without conversion to a black and white format. If you want a way to generate a bump/normal map inside blender, you can use baking.

The steps are roughly:

  1. Add a plane mesh, go to edit mode and unwrap it
  2. While still in edit mode and with everything selected go to image editor and add an empty image from the menu Image->New. Enter the dimensions of the colour image you want to convert to normal/bump map. Name your image appropriately.
  3. Add a texture to the material of the plane mesh, go to the Texture Properties tab, Change the tyoe to image, select the image texture that will be converted to bump/normal map, use UV coordinates and turn colour influence to 0 and normal influence to 1.
  4. Go to the Render Properties tab, Bake panel. Now you can choose the format to bake to, either bump or normal (tangent space is usually the preferred space here) and press the big Bake button.
  5. Watch your empty image that was added in step 2 get baked over by the renderer.
  6. Go to image editor again and save the image to a file.
$\endgroup$
6
$\begingroup$

If you have a situation where it's something you can photograph - Then you can go to structure from motion.

I take photos for every 15 degrees of a subject, use ppt-gui or vsfm to convert the photos into a point cloud, meshlab or cloudcompare to convert the point cloud to a high density mesh.

I then take the high density mesh into blender and create a low poly version either using the decimate modifier or by building it. I uv map the low poly version then I bake (using selected to active) normals, ao, vertex color and displacement.

This workflow can take more time, particularly computer time and will require a fairly fast machine. The most labour intensive bit is usually the uv mapping if you are mapping a complex object. It gives you a lot of maps that line up exactly and is quite physically accurate.

$\endgroup$
5
$\begingroup$

The method I use is not exactly "expert" and may yield different results. However, it is easy and free, and produces acceptable results for me. What I do, is make a black and white copy of my image texture, then with GIMP's built in filters, I apply the bump map filter.

You can find this under:

Map→Bump Map.

You can then apply other effects, such as increasing the contrast, to achieve better results. I have used this to generate displacement and normal maps for planets, for instance. It's not necessarily a "professional" method, but it's easy and works well for small scale projects.

Example:

example1 This texture I used to generate a normal map on this asteroid:
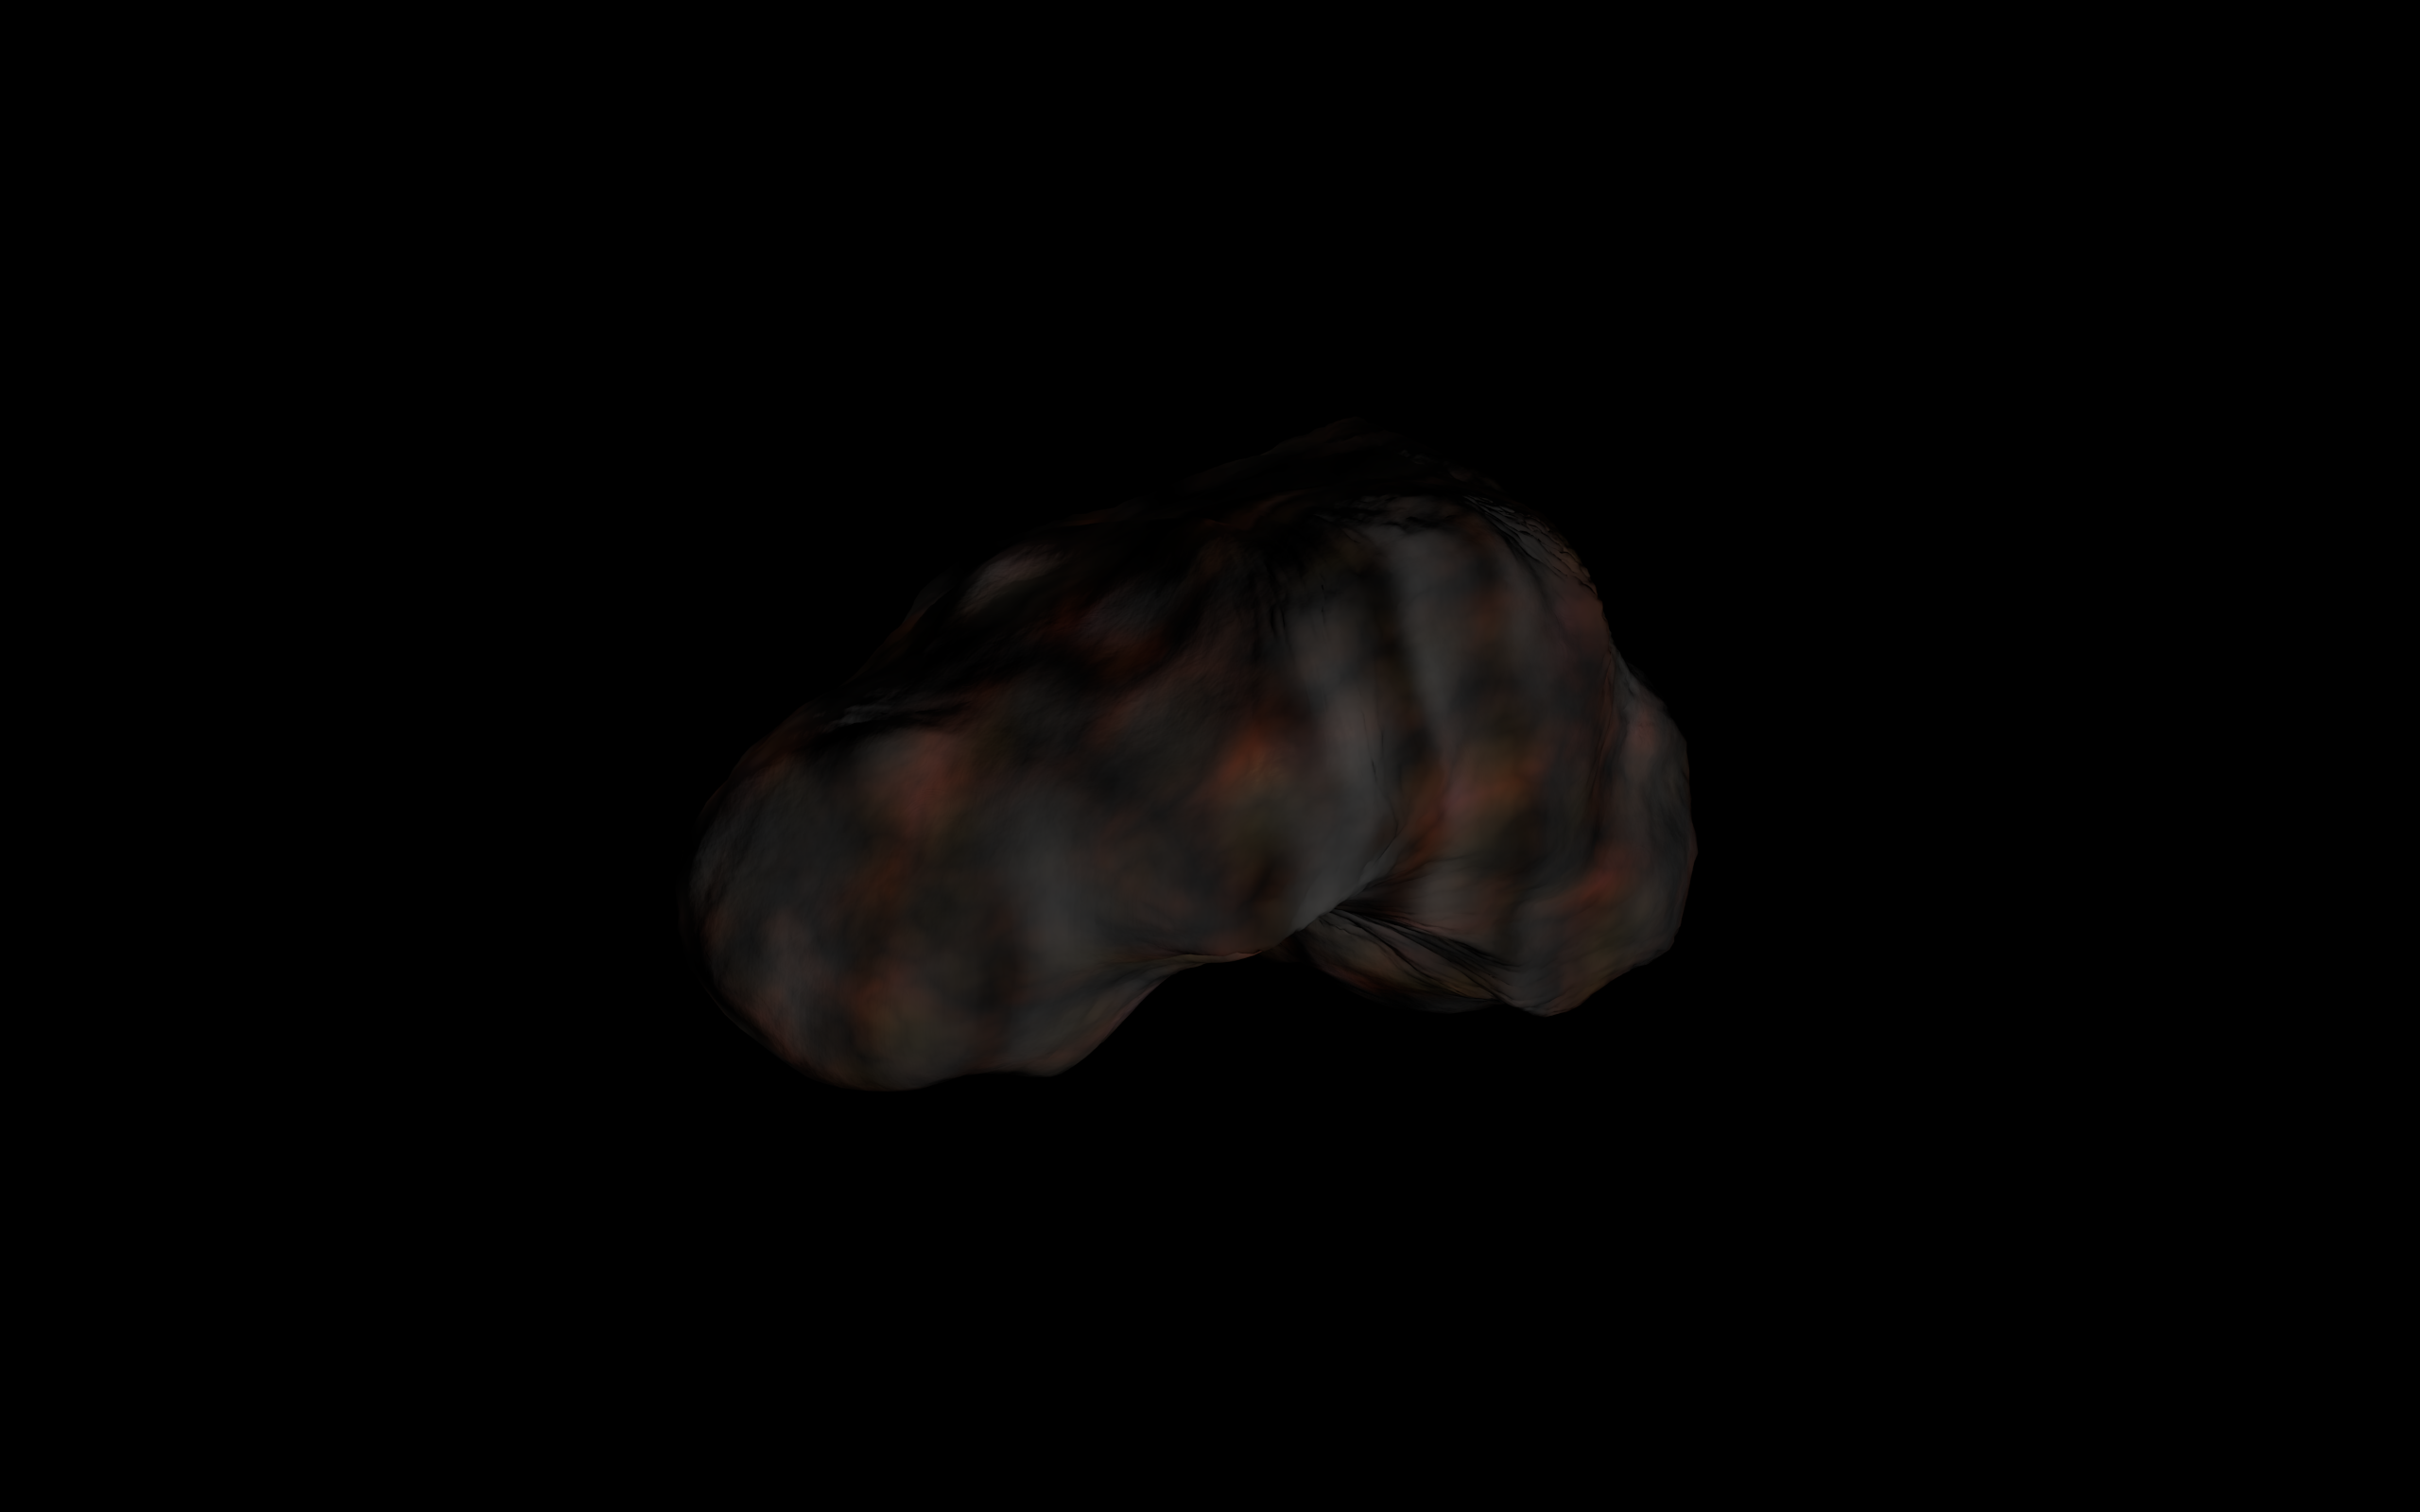
Asteroid
Please note that it is not as clear here because the asteroid has an "atmosphere" on top. I also used other (procedural) textures for displacement.

$\endgroup$
1
  • 1
    $\begingroup$ @RolandXor Thanks, I tried it, a nice trick to add some fake structure. $\endgroup$
    – stacker
    Commented May 29, 2013 at 6:50
4
$\begingroup$

Just to add to the list, even though the question is old. I've used AwesomeBump (https://github.com/kmkolasinski/AwesomeBump) to generate Normal, Specular, Bump and Height (which I guess is Displacement). It can also generate PBR textures. It's open source under LGPL.

$\endgroup$
1
$\begingroup$

I found a standalone version of insane-bump 2.5 from 2013. There is no documentation but it works: https://sites.google.com/site/ccdsurgeon/download (not sure this is related to the gimp-plugin). At least my anti virus software says it is clean.

$\endgroup$

You must log in to answer this question.

Not the answer you're looking for? Browse other questions tagged .