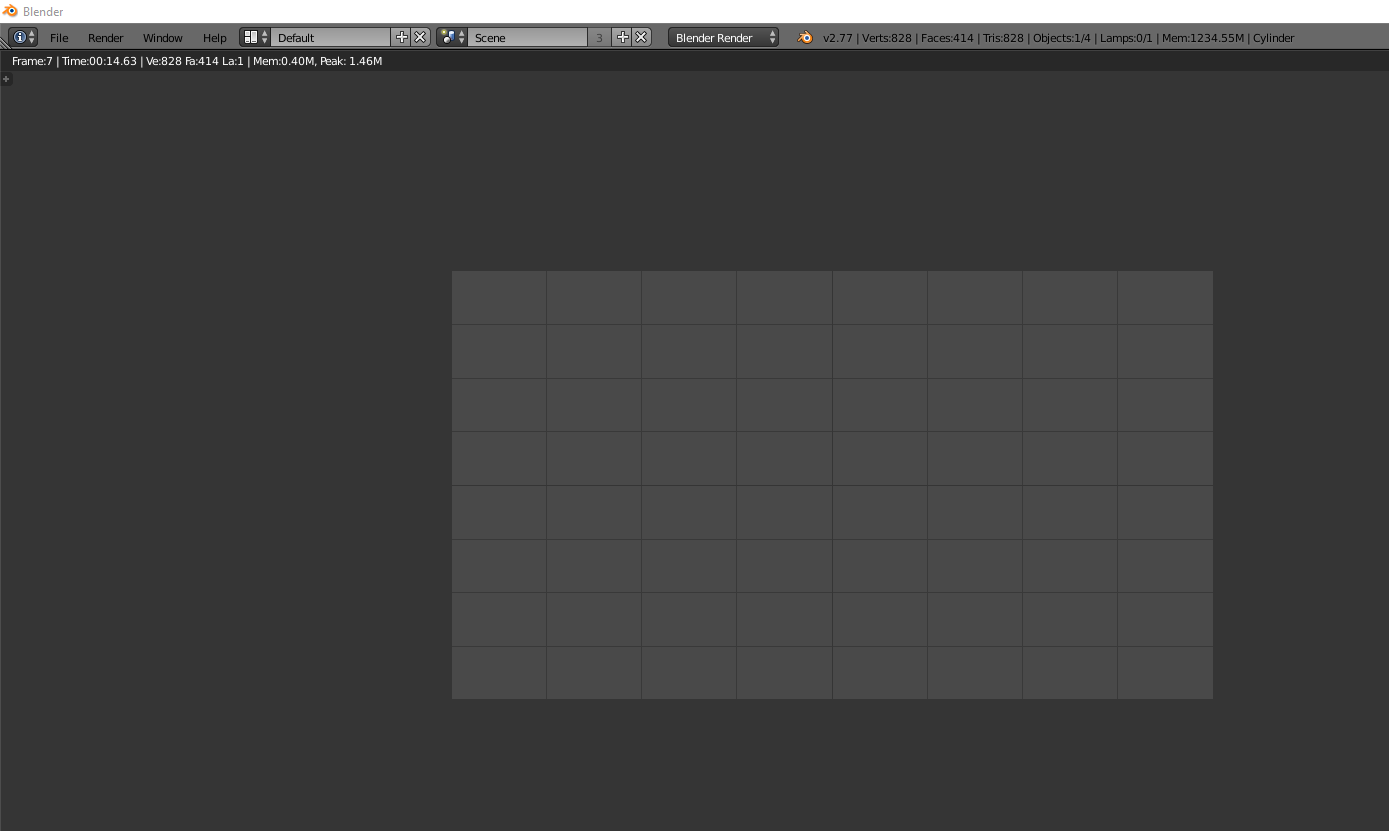
A scene I made is not rendering, at all.
This grey screen stays the same and nothing changes.

Here are my settings:
A scene I made is not rendering, at all.
This grey screen stays the same and nothing changes.

Here are my settings:
Please follow the links in blue for further details
To fix add some lights.
Lights are set at 0 power. To fix change the values to a higher number.
Lights have been disabled for rendering.
Enable the camera icon in outliner window.
Lights have incorrect Shader Nodes with incoherent output or disconnected nodes
World shader is set at 0 power. To fix change the values to a higher number.
World shader has incorrect Shader Nodes with incoherent output or disconnected nodes
You are rendering with EEVEE and have lights using nodes. EEVEE doesn't yet support light shaders using nodes. Either use Cycles render engine, or disable nodes in lights.
To fix clear the strips on the VSE or disable the Sequencer box.
To fix include the layer where the objects are as part of the render layers.
The camera might be behind a wall or another object
An object in front of the camera might be restricted from viewport display, making the issue not apparent in the viewport or render preview.
Camera clipping might prevent surfaces very close to the camera from showing in the viewport but still prevent it from rendering correctly
If Backface Culling is enabled in the viewport surfaces might not block view in the viewport but still show in render.
The rendered image is that of the active camera's view. Not necessarily the view you have active in the 3d vieport. Press Numpad 0 to show camera view.
Active camera is aiming in a different direction.
You can have multiple cameras in the scene, but only one can be set as the active camera for rendering. Check that you are using the correct one.
In the Properties Window you can determine which camera is the active one
Or select the camera you want to make active in the viewport and press Ctrl+Numpad 0 to select the active camera.
To fix set the active camera back to an actual camera object.
This often manifests as a visible image during the rendering process that disappears once rendering is complete
Output node in compositor might be disconnected. The Composite node is the final output (not the Viewer node).
Compositing nodes have incoherent or incorrect setup - Check to see if any nodes are producing undesirable effects, by disconnecting, disabling or avoiding them all together.
Compositing doesn't use correct view layers, channels or passes - See if the input render node render layer name is correct, also make sure the correct color socket is being used, not the alpha, depth or other passes
Compositing is using render output from other scenes - Make sure the View Layer node is using the current scene from the dropdown menu.
Glare node has a high mix factor - If you are using the Glare filter make sure the Mix Factor is not set too high. Default value is $0$, high values will produce only the glow and ignore the image.
The clip distance for the camera is set incorrectly.
Make sure that you set the clip start and clip end so that the camera can see within a distance range that encompasses the scene. Geometry that is too close or further away than the set parameters will not render.
If your scene is too large or too small, if the scene is not within the range defined by the clip distance, then the camera will not "see the scene". Enable Display Limits on the camera to visualize the clip range.
The scene is so out of focus that you only see gray or some color that is predominant in the scene.
To fix, change the distance value to the actual distance form the camera to your object, and maybe try a higher number for the f-stop.
To find where your camera is focusing you can enable display->Limits. If you move the focus you'll see a cross mark that indicates where the focus point is:
A trick you can do is use an empty. Move the empty to the place you want the camera to focus on and select the empty (or any other object as the focus target).
While still images can be rendered without saving, for an animation no matter if rendered as an image sequence or a video file, Blender needs to save the render results. Therefore rendering an animation will fail if
The path for the Output is given starting with // which references the blendfile's path, but the scene is not yet saved (i.e. there is no blendfile path),
when rendering a video file, the option File Extensions is disabled and there is no full filename with extension given in the path field,
when rendering an image sequence with the Overwrite option disabled while the (either manually given or automatically generated) filename is already existing in the folder (note: video files can always be overwritten!).
Also read this related post: Why does my object not show up ?
Restarting my computer did the trick. Was probably a RAM issue.
The problem is, in the Output Properties under Post Processing > Pipeline the Sequencer is enabled. This is by default and usually no problem when you create a 3D scene and want to render it, as long as there is nothing in the Sequencer.
But you have a strip with a movie clip there, so the Sequencer determines what the output shows - and there is no strip for the scene. The problem now is, you can press Shift+A > Add > Scene, but the only option available there is "New Scene", you cannot choose the active scene in which you are in.
To do this, you have to create a new scene with the New button next to the scene name. I would not copy the original scene but start with a completely new scene.
If you now go to Video Editing and try to add a scene strip, there appears the name of the other scene ("Scene") to choose it as input. This way you can have many different scenes where you create 3D contents and additionally have one scene only for the video editing. In your case you have to add the movie clip there as well of course.
If you just want to render your object to see how it looks and do not care for the movie clip, you can disable the Sequencer in the post processing pipeline while you render.
If you do not want to use the Sequencer from the Video Editing at all, you can go there, delete the strip containing the movie clip and since it's the only one, your scene will now be rendered normally. To get the movie clip in the background you can add it in the Compositor and use an Alpha Overlay node to composite the 3D scene above it.
You may have no light but you don't realize it because in the Viewport Shading panel you have disabled Scene Lights and Scene World, so in Render Preview your scene is enlighted by the Material Preview world, but it won't be in the final render. The solution is to reactivate the options and create the lights or world you need for render.
This was happening to me and I had previously post processed an image and noticed the console mentioning post processing before the render would stop after 32 seconds. I turned off post processing in the render settings and my render would work again. Hope this helps
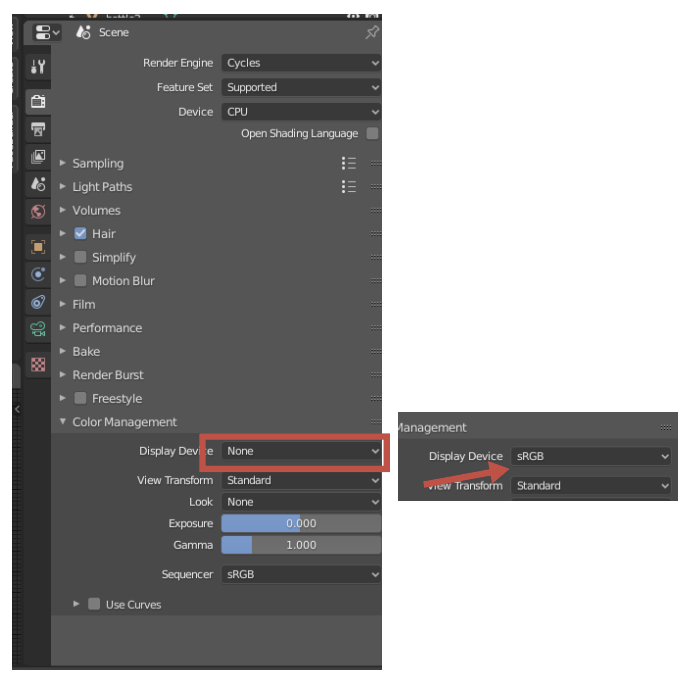
I had this problem and I found that my Display Device was set to 'None'. I set it to sRGB and it rendered.
Further reading on Color Management

When I was messing about with the mist with the compositor nodes I had left the Use Nodes and Backdrop buttons selected, as there was no longer anything to composite there was no longer anything to output I presume.
Additionally I found that the focus needs to be set to a specific object in the depth of field pane. If no object is set, you will get a blank screen