2
$\begingroup$

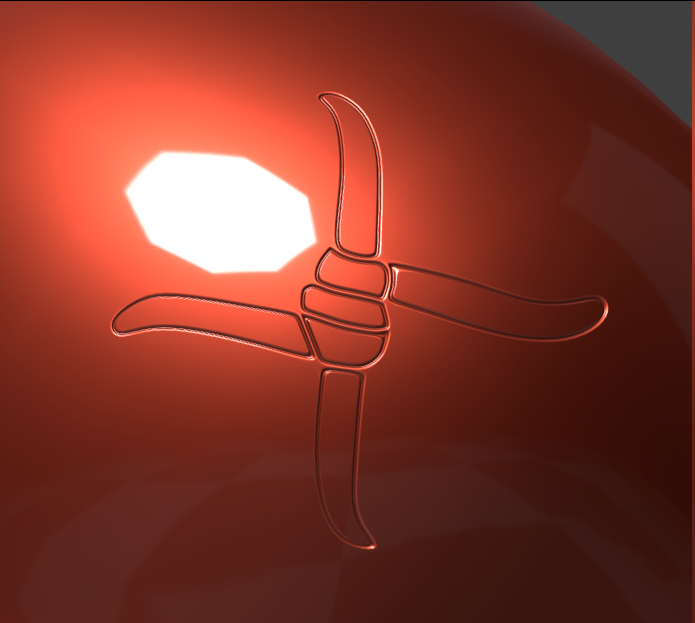
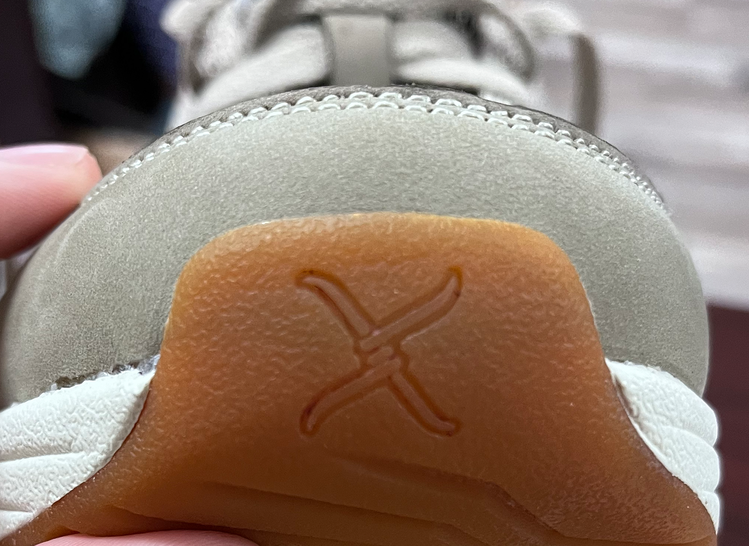
I'm trying to emboss a logo on the toe bumper of my shoe model. I've tried to input the logo as an image texture and use bump displacement, but I'm still a bit overwhelmed by shader editor and figuring out nodes and such. Also because the object I'm embossing it into needs to have an additional rubber texture, and I don't know if you can have two at once. My temporary solution was to trace the logo with the knife tool, extrude it inward, mark the edges as sharp, and then use the smooth tool in sculpt mode to clean up the nastiness, and it looks decent, but still messed up my mesh and it's not where I want it to be. What would be the best method to achieving this effect? Open to try several solutions. enter image description here
Here's what I want the result to look like which is on a real shoe: enter image description here
$\endgroup$
1
  • $\begingroup$ Yeah, I would absolutely do this with a texture, not actual geo. It's doable but why bother with the hassle? You could model it onto a flat plane, bake that down, then use stencil painting to put it where you want on the final texture. It's 100% possible to blend multiple normal maps together, pretty sure you can just use a MixRGB node set to either Add or Max blend modes. You can also model it into a flat plane, Then use a lattice/shrinkwrap mod and DataTransfer $\endgroup$
    – Jakemoyo
    Commented Sep 10 at 20:52

1 Answer 1

1
$\begingroup$

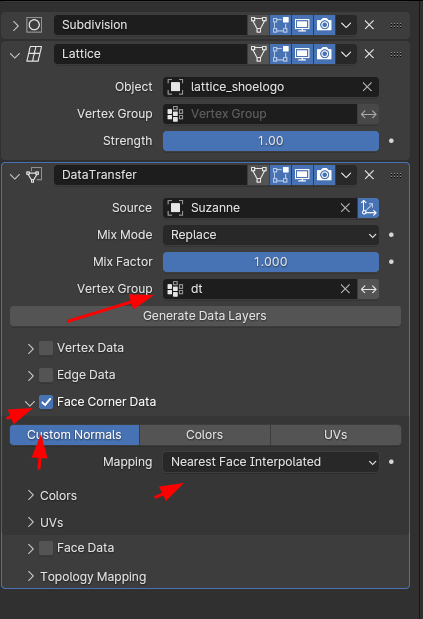
Yeah, you will need to bake it down if you want it to be totally clean but you can just model it out from a flat plane, then use a single layer lattice modifier and a DataTransfer modifier to transfer the normals on the outside verts only.

Final Result:

enter image description here

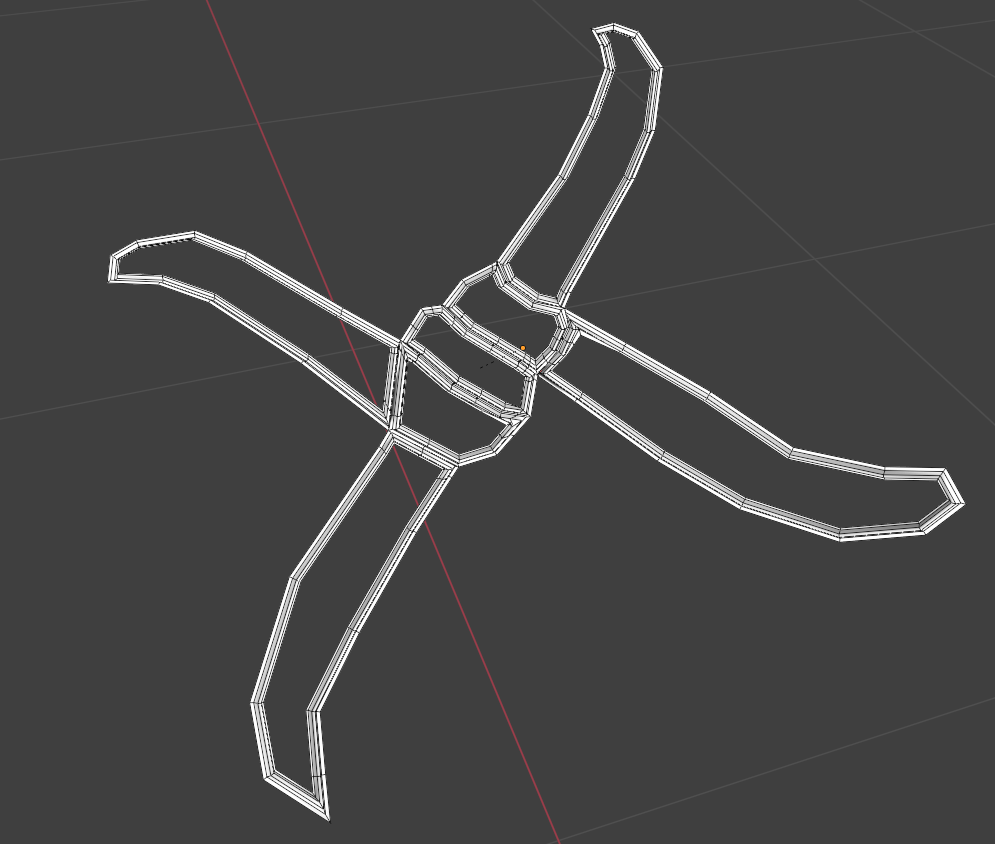
Plain Model with No Modifiers: enter image description here

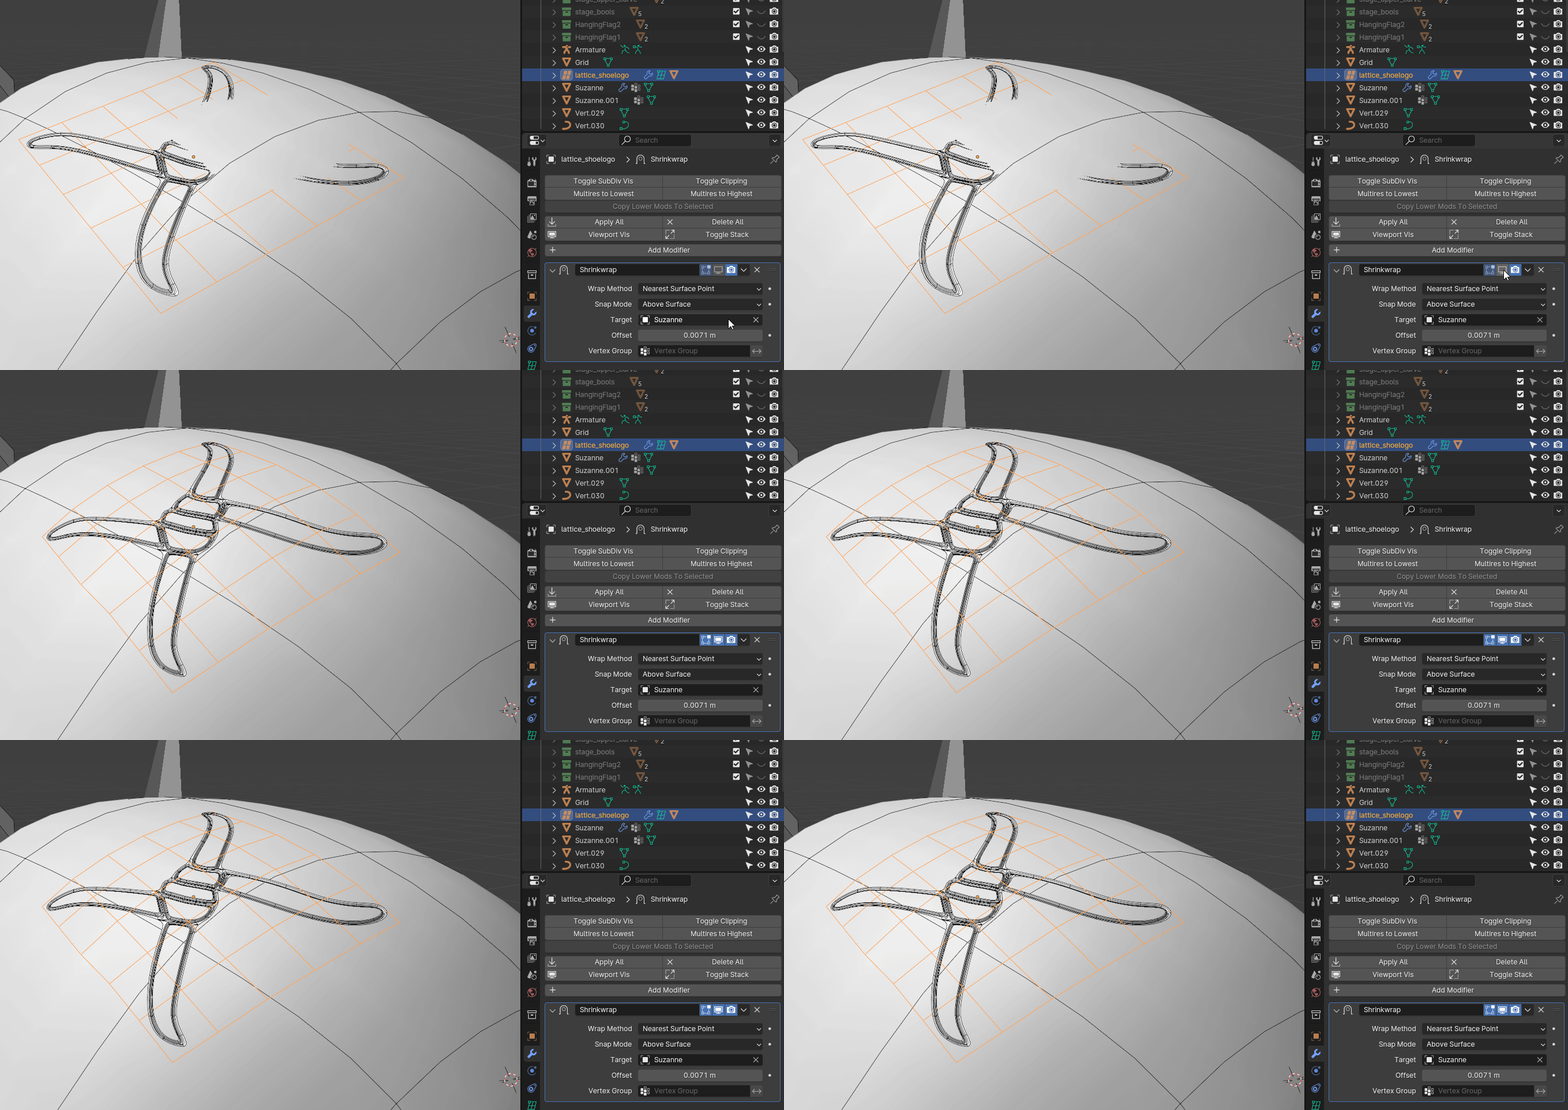
Use a single-layer Lattice object Shrinkwrapped to the target object.

enter image description here

A bit more info on the process in this post.

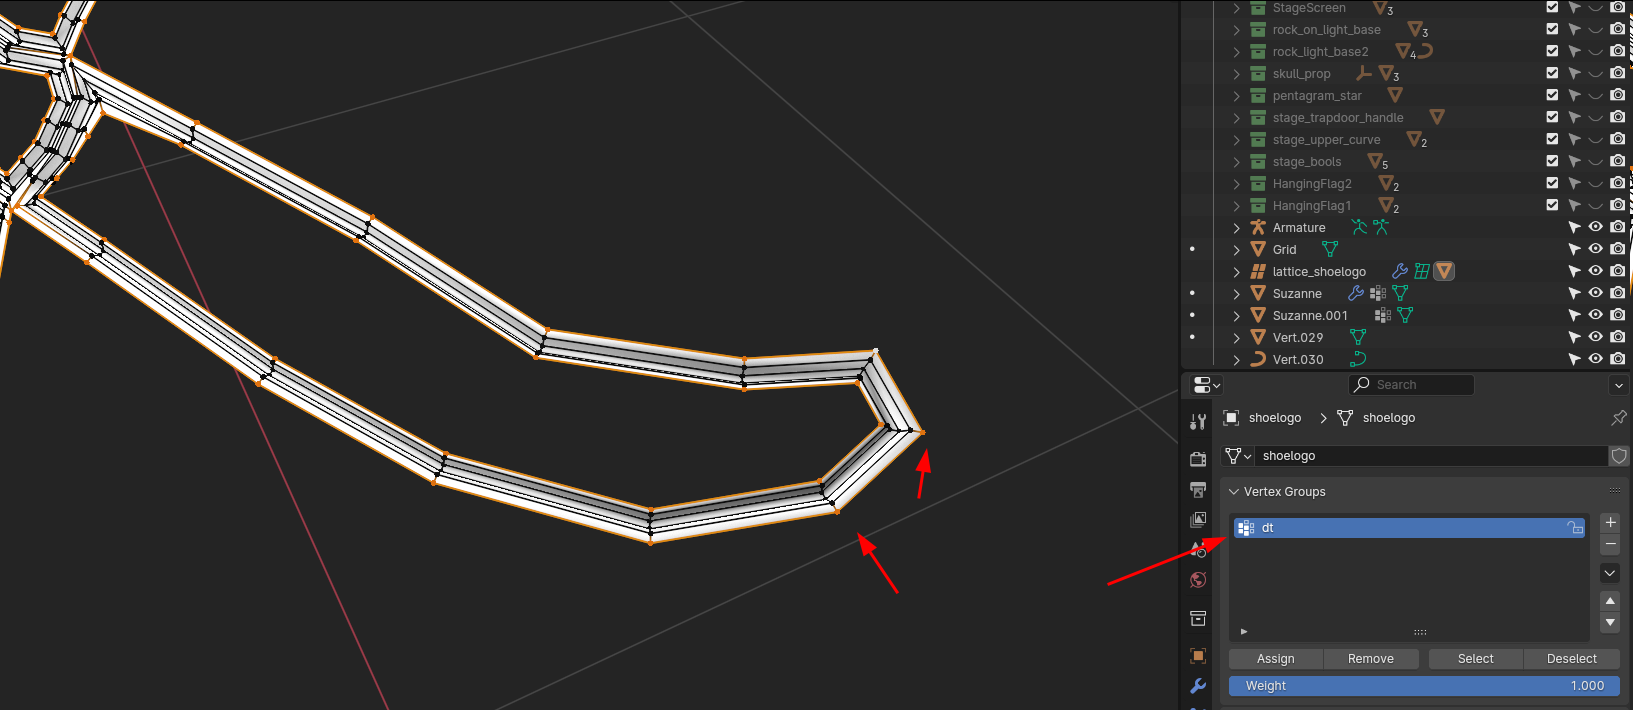
Add these verts to a vertex group for the DataTransfer modifier. enter image description here

And then use these modifiers to shrink it to the surface and transfer the normals to blend it in.

enter image description here

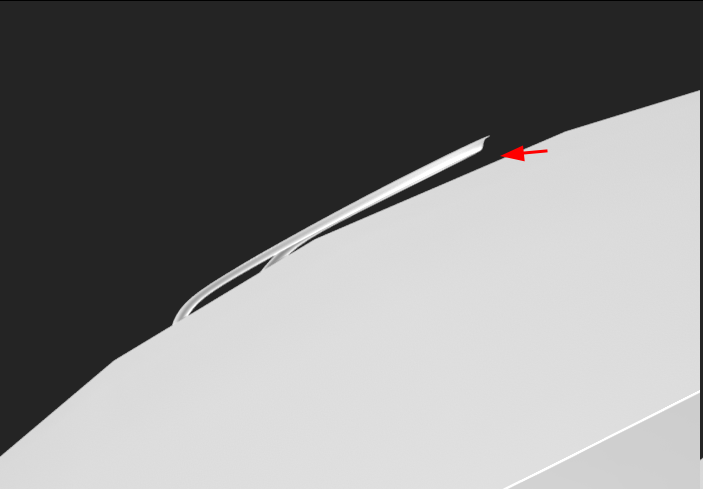
It's technically sitting just off the surface but is basically imperceptible if it's not viewed at an orthogonal angle.

enter image description here

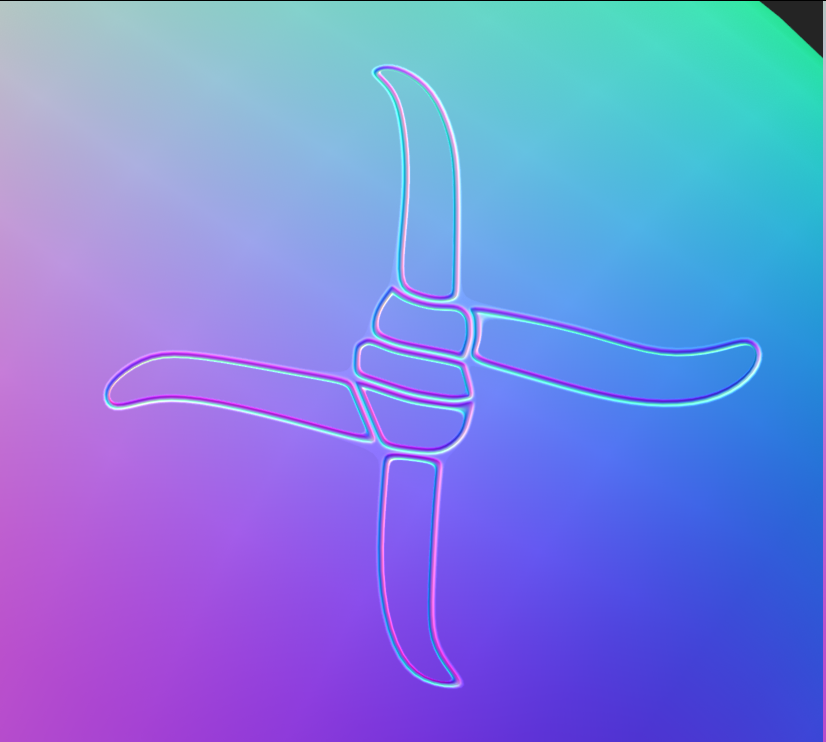
Once you bake down the normal map it's totally clean.

enter image description here

$\endgroup$
4
  • $\begingroup$ Not just a viewing angle is the problem here, also shadows $\endgroup$ Commented Sep 11 at 6:28
  • 1
    $\begingroup$ Yeah but the point of this workflow is to bake down the detail to a normal map. After that the shadows issue goes away entirely. $\endgroup$
    – Jakemoyo
    Commented Sep 11 at 13:19
  • 1
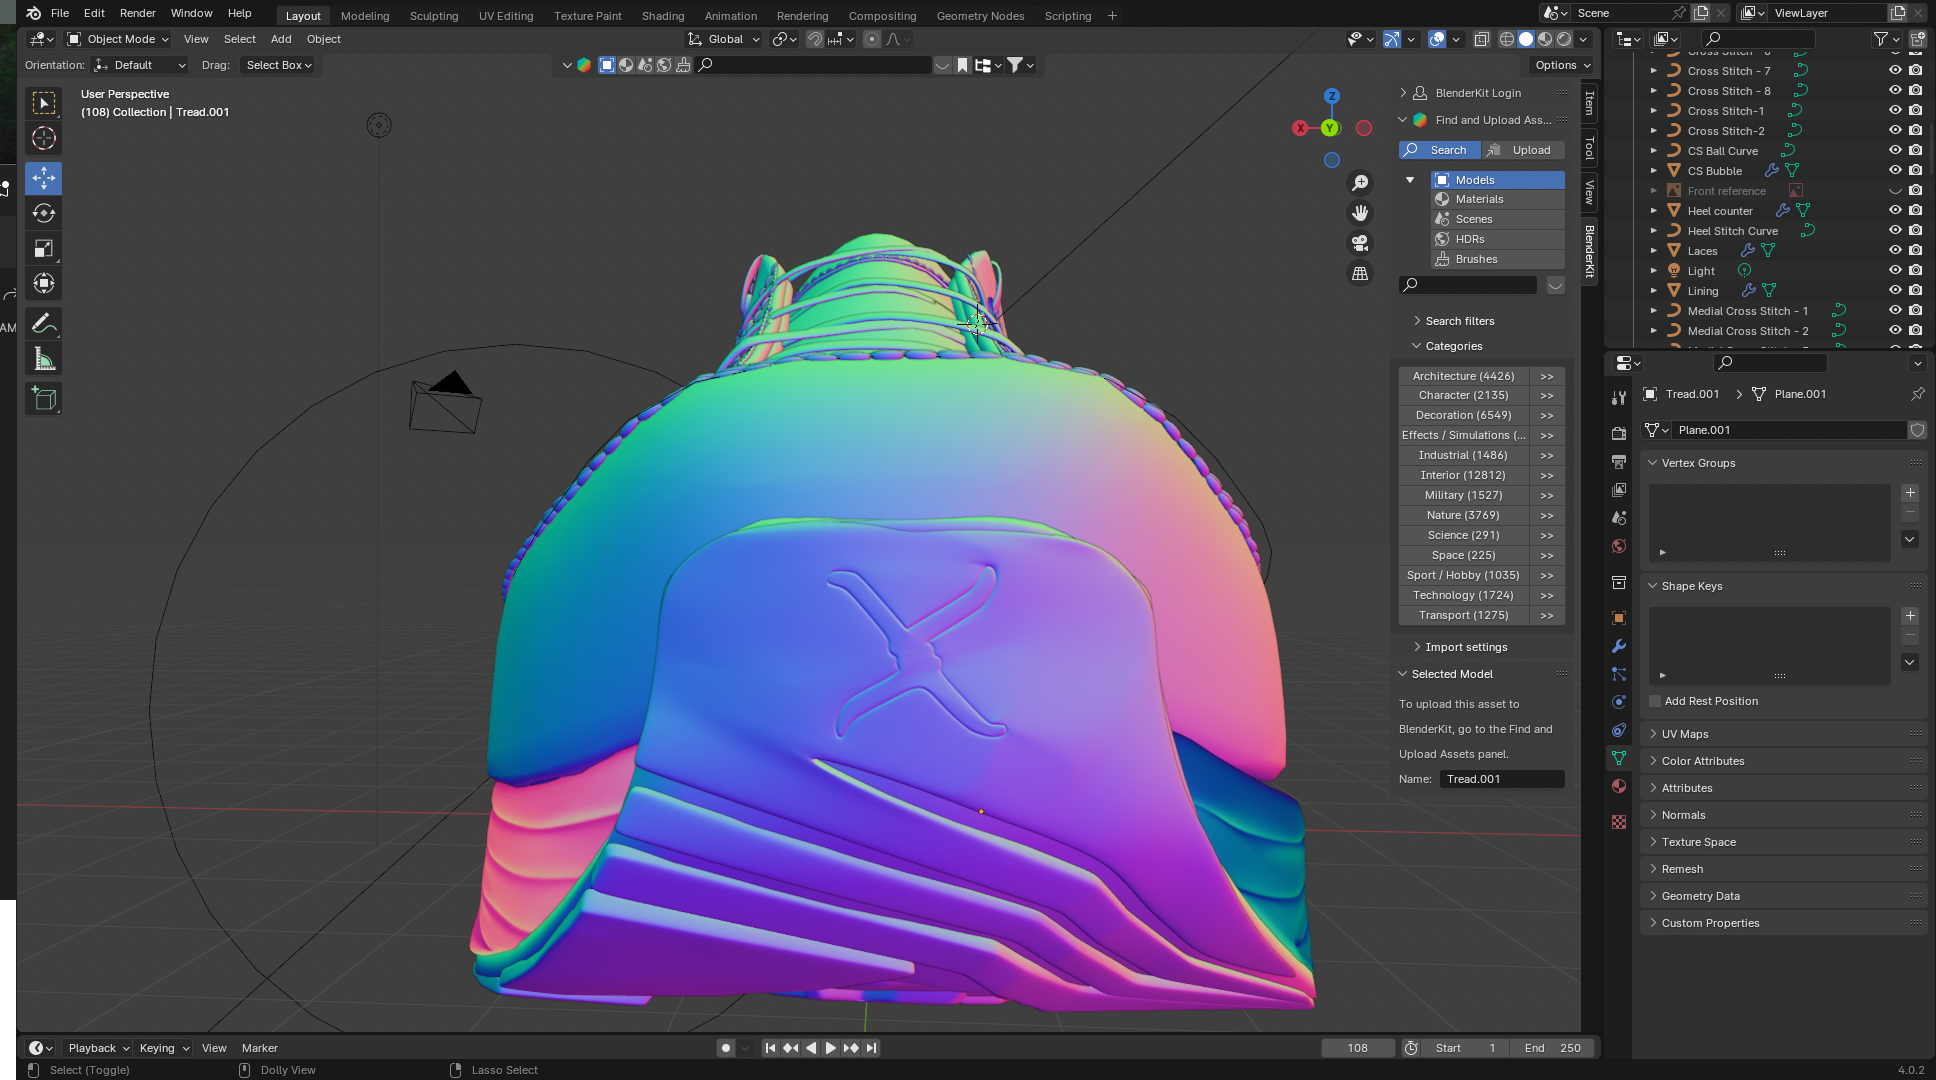
    $\begingroup$ Thank you so much for the in-depth answer..though I think this might still be above my understanding of the program. I was able to follow all the steps up until baking down to a normal map. I tried looking up how to do that: increase subdiv -> duplicate logo -> add blank image texture to both -> change to cycles -> bake type:normal -> check cage -> cage dist.: 1m -> bake -> open image editor to see results. I think I did something wrong because it did nothing to my 3D viewport $\endgroup$ Commented Sep 11 at 21:39
  • $\begingroup$ You will need to apply the normal map to the material the mesh has. The image editor just allows you to inspect the texture itself. Like [this ](docs.blender.org/manual/en/latest/render/shader_nodes/vector/…) $\endgroup$
    – Jakemoyo
    Commented Sep 12 at 13:23

You must log in to answer this question.

Not the answer you're looking for? Browse other questions tagged .